
How to make a simple crop farm in Minecraft?
Building a simple crop farm in Minecraft can significantly enhance your efficiency and ensure a steady supply of food or materials. Whether you're a seasoned player or just starting, understanding the mechanics of a semi-automated farm can change your gameplay experience. This guide will walk you through creating a basic yet effective crop farm using water, dispensers, bone meal, an observer, a piston, and a lever. Moreover, we'll discuss the benefits of constructing and sharing your farm on Gamever servers, where you can enjoy collaborative farming with friends and other enthusiasts.
A Simple Crop Farm's Essentials
A crop farm in Minecraft automates the process of growing and harvesting crops. By incorporating redstone mechanics, you can create a farm that requires minimal manual intervention, maximizing your productivity in the game.
A Step-by-Step Guide to Building Your Crop Farm
1. Preparing the land
- Watering the Farmland: Start by selecting a flat area for your farm. To create farmland, pour a bucket of water onto the ground and use a hoe. Water hydrates the soil, ensuring your crops grow faster and don't uproot.
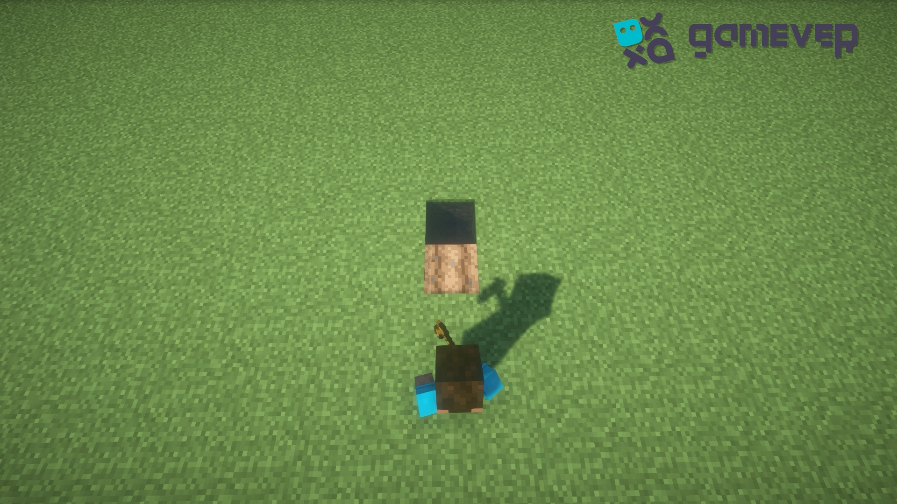
2. Setting Up the Dispensers
- Placing Dispensers: Position three dispensers facing the farmland. You will use these to dispense bone meal, which will accelerate your crops' growth.
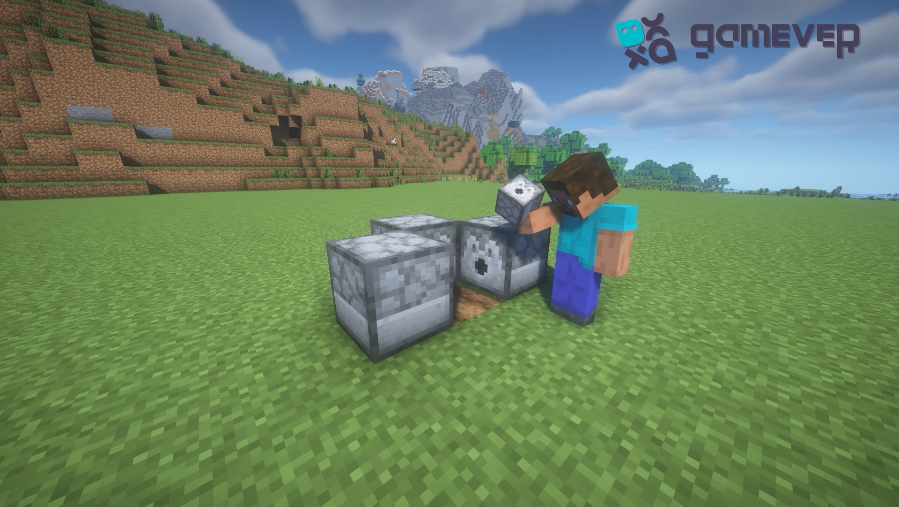
- Filling Dispensers: Stock each dispenser with bone meal. Bone meal acts as a fertilizer, instantly advancing the growth stages of your crops.

3. Installing the Observer and Piston
- Observer Placement: The observer will detect the use of the dispenser and signal the entire structure.
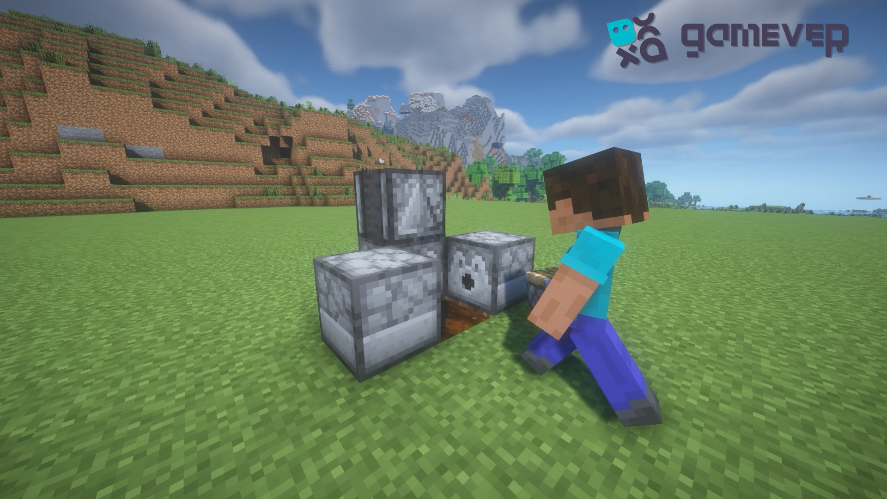
- Piston Installation: Situate a piston next to the observer. When activated, the piston will break the fully grown crops, making them ready for collection.
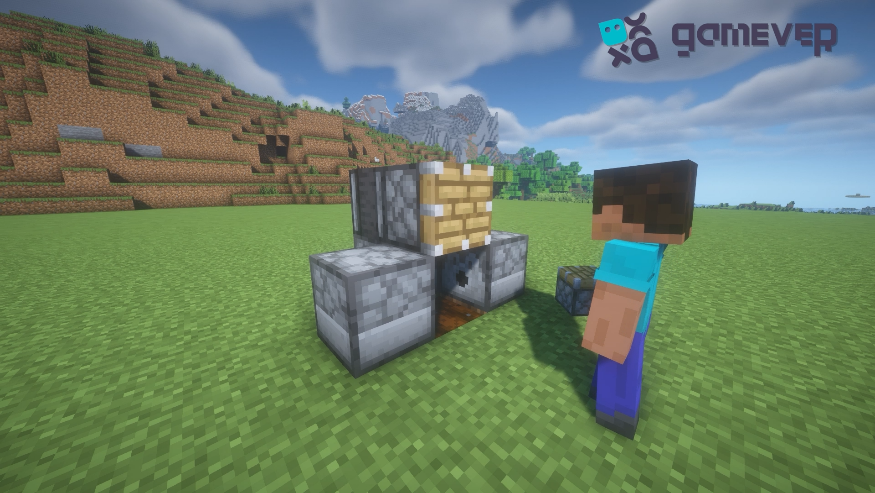
4. The Redstone Circuit is completed.
- Adding Redstone Dust: Connect redstone dust from the observer to the dispensers and piston. This circuit transmits the signal from the observer to the devices, coordinating their actions.
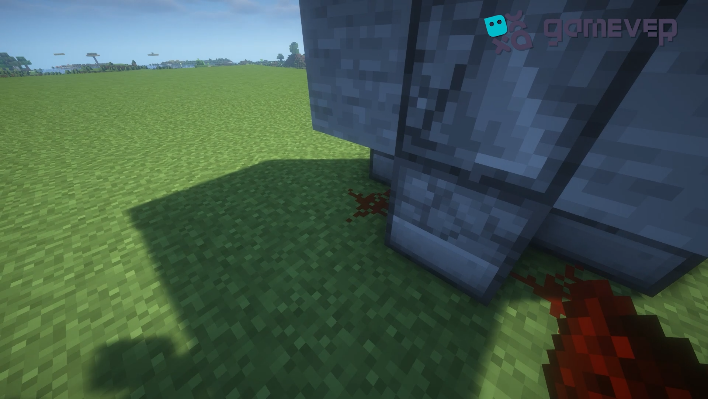
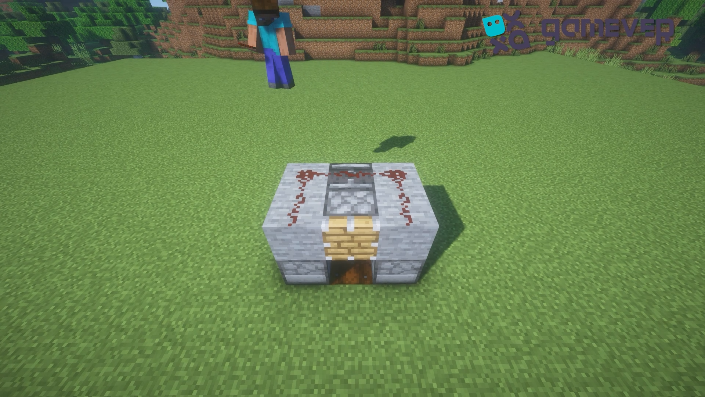
- Lever Installation: Place a lever on the dispenser. The lever acts as a manual control, allowing you to activate or deactivate your farm.

- Block Installation: Place any solid block in front of farmland.
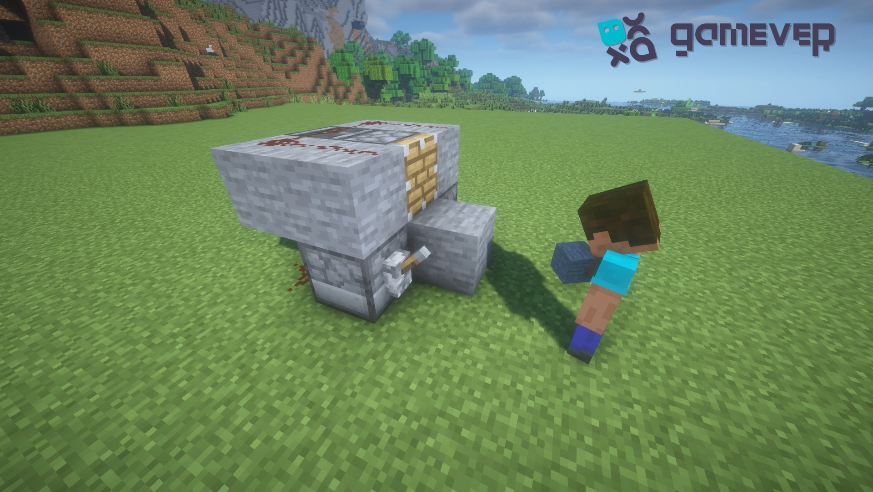
5. Farm Operation
- Activating the Farm: To use your farm, flip the lever and hold down the right mouse button while aiming at the farmland. The game will grow your crops, harvest them, and drop them for you to collect.
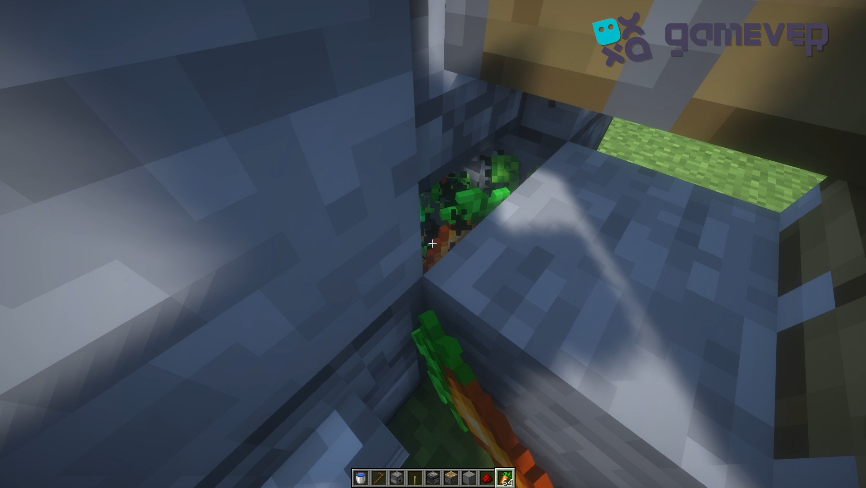
Maximizing farm efficiency
Regular Maintenance: Check your farm periodically to replenish bone meal and collect harvested crops.
The advantages of Gamever servers for farming are significant.
Building your crop farm becomes more rewarding when you share the experience with others. The Gamever servers provide a community-focused environment where you can:
- Collaborate with peers: exchange farming techniques, share resources, and work together on large-scale agricultural projects.
- Stable Gameplay: Enjoy uninterrupted farming with Gamever's reliable server performance, ensuring your redstone devices and farms operate smoothly.
- Showcase Your Creations: Share your innovative farm designs with a broader audience, inspiring others and receiving feedback.
Conclusion
A simple crop farm in Minecraft can significantly boost your productivity, providing a reliable source of food or materials. Following this guide, you'll learn how to create a semi-automated farm that simplifies the cultivation process. Additionally, consider joining Gamever servers to enhance your Minecraft experience, where community, collaboration, and creativity thrive.