
Withering Heights in Dragonwilds: Three Curse Fragments and Four Shrines
Withering Heights is a fetch quest for three curse fragments, and one of them is gated behind a four-shrine puzzle that includes a murder mystery. Dragonwilds' sixth primary quest takes you into Fellhollow, teaches you the Soul Rift mechanic that the whole region runs on, and ends at Imaru. It also carries a rule worth knowing before you start a second world: the shrine puzzle resets every time, even after you have finished the quest. Here is the whole route.
On sourcing. The walkthrough below comes from the community RuneScape: Dragonwilds wiki, and can change with any patch.
Before You Start
You need Dragon Slayer completed. Jagex confirmed it directly: "You'll need to complete 'Dragon Slayer' to reach the new area." Fellhollow access requires Dragon Slayer finished and Withering Heights partially started.
| Bring | Why |
|---|---|
| Good armour and weapons — power level 5 for the finale | Rotsworn zombies, skeletons, green dragons, Imaru |
| Food | Long instance, no healing potions in the game |
| A free inventory slot at the end | Imaru's head must fit, or you cannot complete the quest |
That last one is a genuine trap. "Make sure to have one free inventory space to complete the quest." Finishing a boss fight and being unable to pick up the reward is an avoidable way to lose a run.
And take a ranged option. One of the shrines requires killing a green dragon, which the wiki notes "can be safespotted with Ranged attacks" provided you are at least 150 m away so it does not engage.
Parts I and II: Getting Into Fellhollow
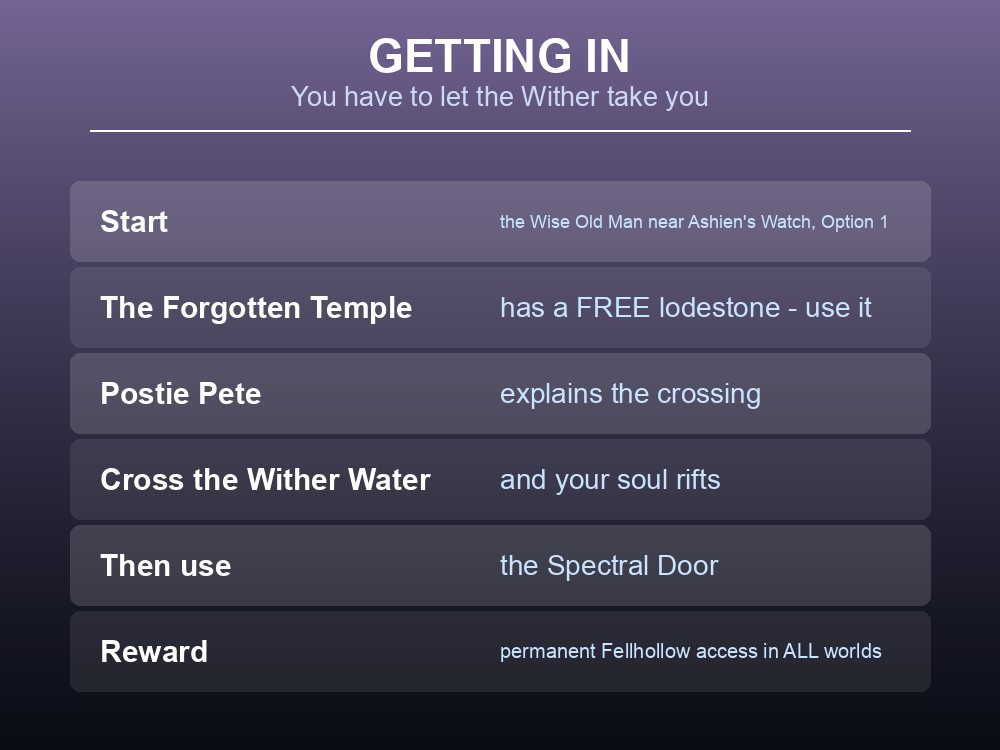
Speak to the Wise Old Man near Ashien's Watch. He has been studying a door covered in necromantic runes and gives you the password. Choose Option 1 to open it.
You arrive at the Forgotten Temple — and there is already a lodestone there. "As there is already a lodestone here, you will not need to spend your own materials to make a lodestone." That is a free fast-travel anchor into the region, and it costs you nothing.
Speak to Death inside the temple, who explains Imaru and the state of Fellhollow. Then follow out the right-hand side.
Then speak to Postie Pete, who explains the entry mechanic: to get into Fellhollow you must cross a river of Wither Water. As you cross, Wither builds and your soul rifts — and just before you cross fully, you enter the Soul Rift state and can use the Spectral Door.
This is the quest teaching you Fellhollow's core loop deliberately. Wither is normally the thing you avoid; here it is the key.
On the other side, follow the path to a Purification fountain and hit the spectral tangles until they disappear to cleanse yourself.
And note the reward for getting this far: "After arriving in Fellhollow for the first time… you will be granted permanent access to Fellhollow in all worlds." That unlock follows your character everywhere.
Then find Cathan, floating on a cliff beside three stone tablets.
Part III: The Three Fragments
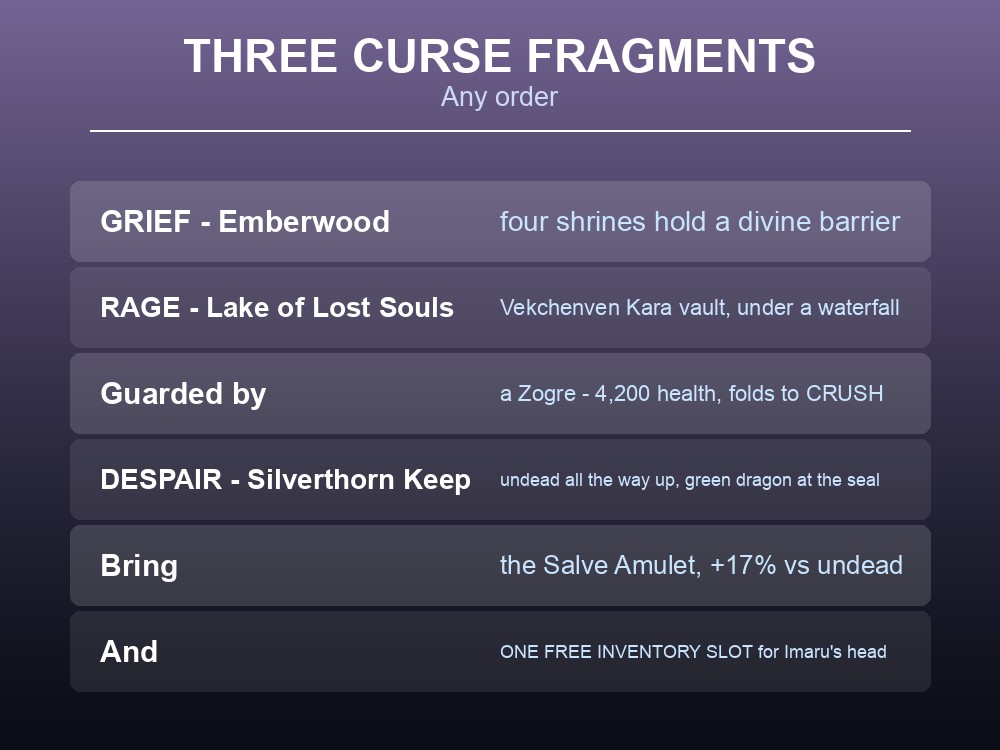
Cathan sends you for three curse fragments. They can be collected in any order.
| Fragment | Location | The obstacle |
|---|---|---|
| Grief | Emberwood | A divine barrier held by four shrines |
| Rage | Lake of Lost Souls | The Vekchenven Kara vault, under a waterfall — kill the Zogre at the end |
| Despair | Silverthorn Keep | Fight up through the undead; a green dragon guards the seal |
Rage is the most dangerous single fight of the three. The Zogre carries 4,200 health — the largest documented pool in the game — and resists slash, stab and air while folding to crush. Bring a warhammer or a mace, not a greataxe. The vault is also where the Wolfbane Dagger recipe lives, from a dragonkin effigy.
Despair is an attrition problem rather than a single fight. Silverthorn Keep is full of Rotsworn Zombies, Skeletal Archers, Rotsworn Warriors, Rotsworn Marauders and Zombies, with the green dragon in front of the seal itself. The Salve Amulet's +17% damage against undead pays for itself here.
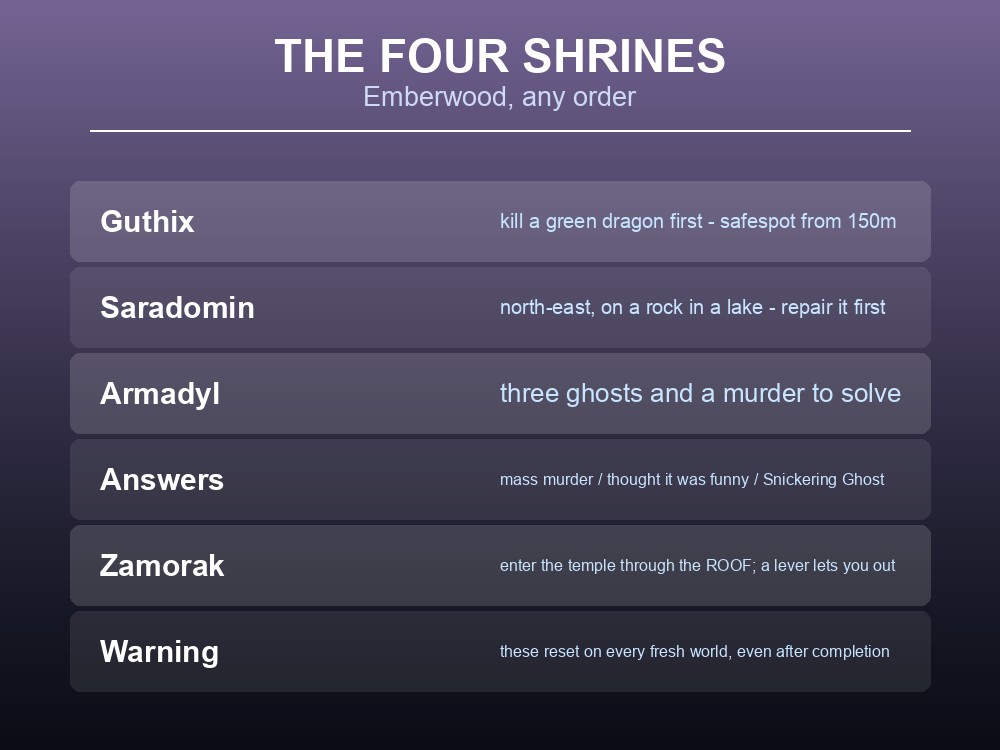
Grief is the puzzle. Four shrines must be activated in any order to dispel the barrier around Emberwood Village:
| Shrine | What it needs |
|---|---|
| Guthix | Defeat a green dragon, then interact. It is in a druid circle to the west, and will not accept interaction until the dragon is dead |
| Saradomin | North-east, atop a lone rock in a small lake. Repair it first by finding the Saradomin Symbol below, then interact again |
| Armadyl | East of where you killed the dragon, on a small island in the river — three ghosts and a crime to solve |
| Zamorak | Enter a nearby temple through the roof and jump in. A lever inside opens the gate so you can leave normally |
The Armadyl shrine is a dialogue puzzle, and the documented answers are:
- "There was a mass murder."
- "Because they thought it was funny."
- "The Snickering Ghost"
- "They found it too funny." — matching the motive. (The weather option also works.)
A nice piece of trivia if your group enjoys the references: the ghosts' story refers to RuneScape's infamous Falador Massacre of 2006.
And the rule that matters for anyone who plays more than one world: "If you start a fresh world, regardless of how far you have done the quest or fully completed it, you will need to re-activate all of the statues to dispel the barrier." Quest completion is character state. The barrier is world state.
Part IV: Imaru, and the Rewards
With all three fragments, go to the tower in Hope's Fall and interact with the seal on Imaru's lair. Choose Option 1 to dispel the curse and enter.
Her lair contains four Purifying Pools, patches of wither rot, and Imaru herself, who emerges from the river in front of you. Those pools are not scenery — the fight requires you to deliberately enter Soul Rifting during her spectral phases and then cleanse within 40 seconds, three separate times.
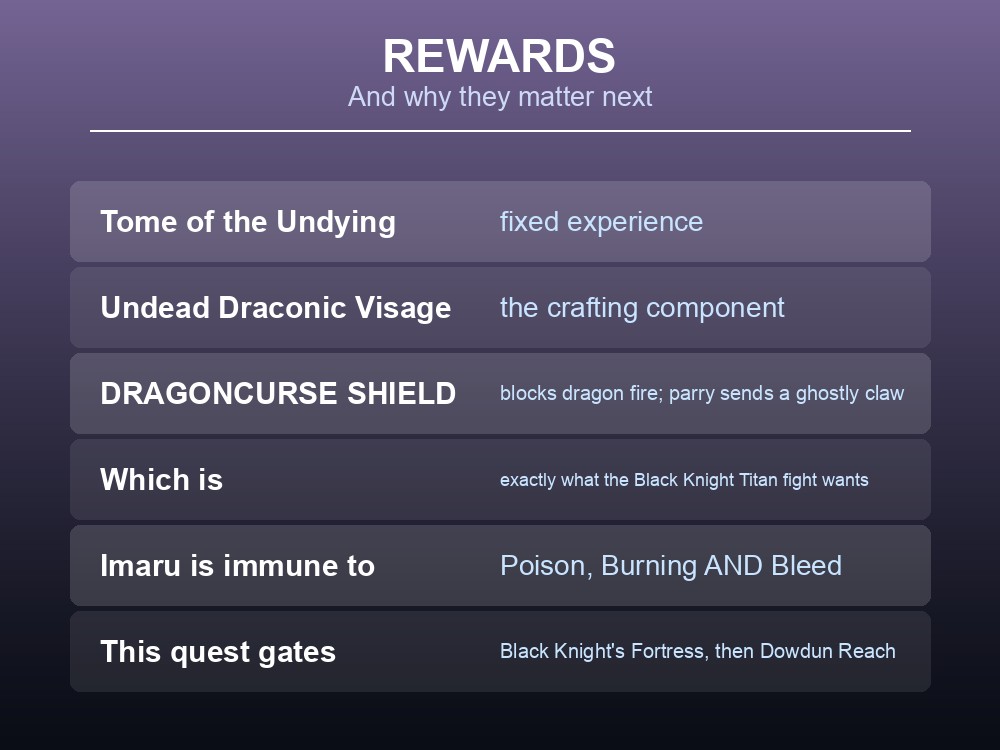
She is immune to Poison, Burning and Bleed, so weapon poison, weapon barbs and fire arrows are all wasted. Bring the Salve Amulet instead.
When she dies you receive Imaru's head — hence the free inventory slot. Take it back to Death at the Forgotten Temple to complete the quest.
The rewards:
| Reward | Notes |
|---|---|
| Tome of the Undying | A fixed-experience reward tome |
| Undead Draconic Visage | The crafting component |
| Dragoncurse Shield | Blocks dragon fire, and its parry sends a ghostly claw forward to damage enemies |
| A new Masterwork recipe | The Dragoncurse Shield itself |
The Dragoncurse Shield is the reward to care about. It is the third rung of the dragon shield line — built from an Anti-dragon Shield plus the Undead Draconic Visage, 45 Vault Shards and a Vault Core — and it is specifically recommended for the Black Knight Titan, the boss of the very next quest, because its parry does damage in a fight where you will block constantly.
And Withering Heights is the prerequisite for Black Knight's Fortress, which in turn gates Dowdun Reach and then the Umbral Sands. It is the second quest of Kuldra's Saga, and the hinge the rest of the campaign hangs on.
Practical tips
- Complete Dragon Slayer first. Fellhollow needs it plus a partially started Withering Heights.
- Keep one inventory slot free for Imaru's head at the end.
- The Forgotten Temple has a free lodestone — use it.
- Fellhollow access becomes permanent across all worlds once you soul-rift through the Spectral Door.
- The Zogre guarding Rage has 4,200 health and folds to crush.
- Green dragons can be safespotted with Ranged from 150 m.
- Armadyl's answers: mass murder, thought it was funny, the Snickering Ghost, found it too funny.
- Emberwood's four shrines reset on every fresh world, even after completion.
- The reward Dragoncurse Shield is what you want for the Black Knight Titan.
Running your own RuneScape: Dragonwilds server
A quest spanning three Fellhollow subregions and a four-shrine puzzle rarely finishes in one sitting, and picking it up later needs a world that has not gone anywhere. A gamever Dragonwilds server keeps Ashenfall available around the clock for up to six players, updates automatically so client and server versions never drift, and takes one-click backups before disruptive changes.
Conclusion
Withering Heights is Dragonwilds' sixth primary quest and the second chapter of Kuldra's Saga, requiring Dragon Slayer to be finished first. It opens at the Forgotten Temple — which comes with a free lodestone — and teaches Fellhollow's central mechanic by making you cross Wither Water and enter Soul Rift to use the Spectral Door, an act that grants permanent Fellhollow access across all your worlds. The body of the quest is three curse fragments: Rage from the Vekchenven Kara vault under a waterfall, guarded by a 4,200-health Zogre that folds to crush; Despair from Silverthorn Keep, behind a wall of undead and a green dragon; and Grief from Emberwood, gated by four shrines to Guthix, Saradomin, Armadyl and Zamorak — the Armadyl one being a solvable murder mystery. Note that those shrines reset on every fresh world regardless of quest completion. The finale against Imaru requires deliberately Soul Rifting during her spectral phases and one free inventory slot for her head, and pays out the Tome of the Undying, the Undead Draconic Visage and the Dragoncurse Shield — which is exactly what you will want for the Black Knight Titan in the next quest.
Want a quest chain that waits for your group? Rent a Dragonwilds server at gamever.io — instant setup, one-click backups and updates, and 24/7 uptime. Start with a free trial and use promo code WELCOME.