
The SAN Numbers in Palworld: Seven Thresholds and Seven Illnesses

Palworld tells you a Pal is "slacking off" or "depressed" and leaves you to guess what caused it. Behind every one of those messages is an exact SAN value, and once you know the ladder, base management stops being reactive. The critical number is not zero — it is 65, where a Pal starts wasting your time long before it does anything dramatic.
What Happens at Each SAN Level
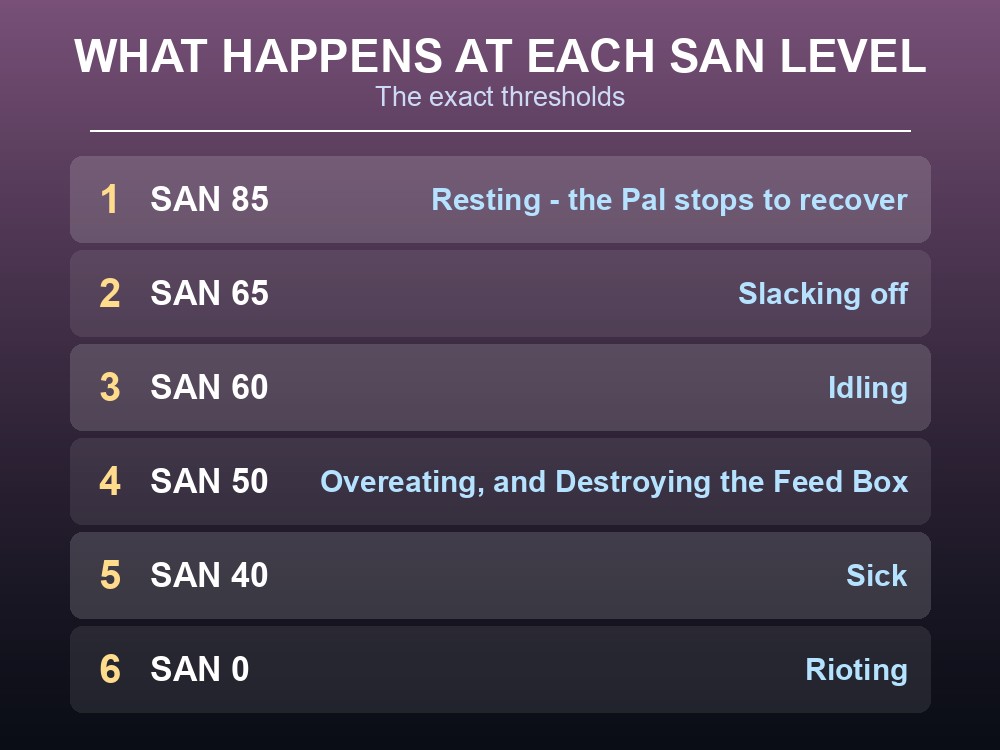
| SAN | Behaviour |
|---|---|
| 85 | Resting… — the Pal stops working to recover |
| 65 | Slacking off… |
| 60 | Idling… |
| 50 | Overeating! |
| 50 | Destroying Feed Box! |
| 40 | Sick… |
| 0 | Rioting! |
Read the top of that ladder carefully. A Pal begins Resting at 85 — that is not a problem, that is the system working. Losing a small amount of SAN and taking a break is how Pals are meant to operate, and interrupting it is counterproductive.
65 is the real deadline. Slacking off is where output starts silently dropping, and it is a full sixty-five points before anything visibly breaks. A base that "feels slow" without any obvious cause is usually a base sitting in the 60s.
The pair at 50 is the expensive one. At the same threshold a Pal both overeats — burning through food you are producing — and destroys the Feed Box, which then stops feeding everybody else. That is a compounding failure: one unhappy Pal removes the mechanism keeping the others fed.
Rioting at 0 is the visible disaster, and by the time you see it the base has been failing for a long while.
The Seven Illnesses
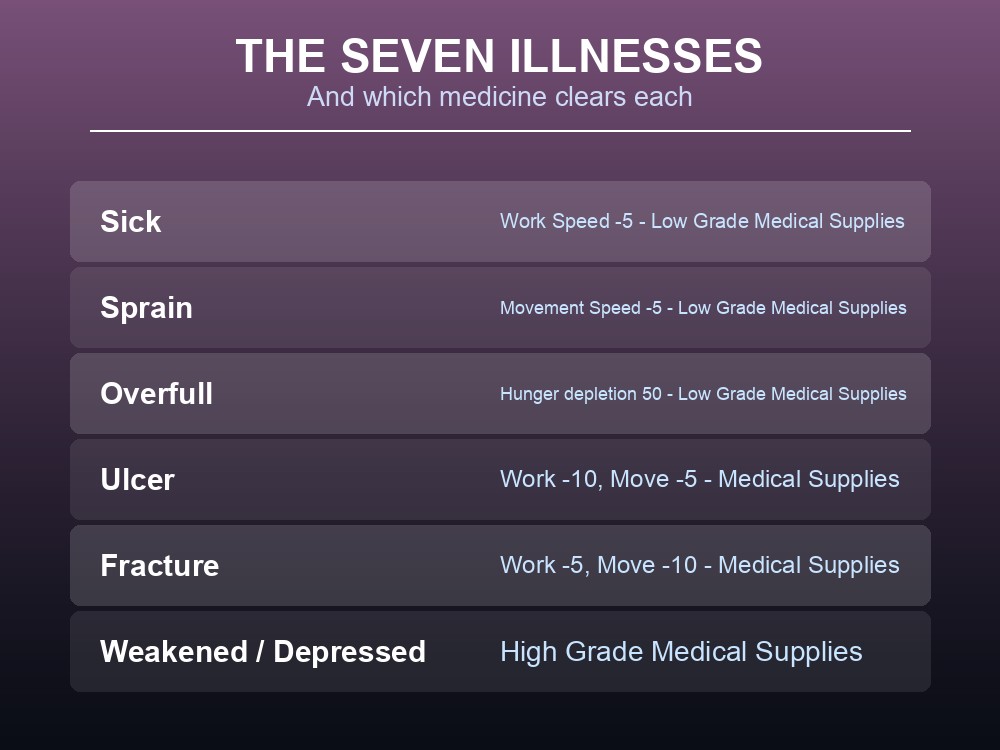
At SAN 40 a Pal becomes ill, and the illness carries a stat penalty on top of the low SAN:
| Illness | Penalty | Cure |
|---|---|---|
| Sick | Work Speed −5 | Low Grade Medical Supplies |
| Sprain | Movement Speed −5 | Low Grade Medical Supplies |
| Overfull | Hunger depletion 50 | Low Grade Medical Supplies |
| Ulcer | Work −10, Movement −5 | Medical Supplies |
| Fracture | Work −5, Movement −10 | Medical Supplies |
| Weakened | Work −10, Movement −20 | High Grade Medical Supplies |
| Depressed | Work −20, Movement −10 | High Grade Medical Supplies |
The cure tier tracks the severity exactly, which makes stocking simple: three illnesses take Low Grade, two take standard, two take High Grade. Keep all three tiers at the base — a Depressed Pal cannot be cured with Low Grade supplies no matter how many you have.
Depressed is the worst work penalty on the list at −20, and Weakened is the worst movement penalty at −20. Both need High Grade Medical Supplies, which is the tier players are least likely to have stockpiled early.
Overfull is the odd one out. Its penalty is not a stat but hunger depletion 50 — the Pal burns food faster, which is a direct cost to your farm rather than to its output. It pairs badly with the Overeating behaviour at SAN 50, and the two together will empty a Feed Box quickly.
Reading the Ladder
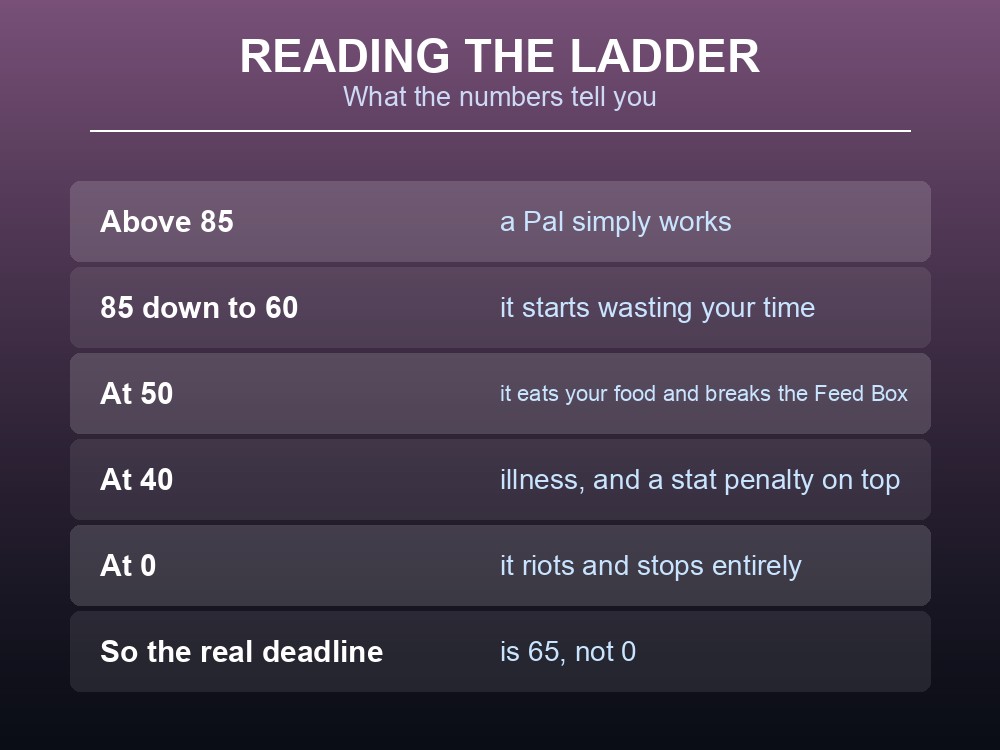
Above 85, a Pal simply works. That is the target state, and everything below it is degrees of failure.
Between 85 and 60 you lose throughput invisibly. Resting is normal; Slacking off and Idling are not, and neither triggers a notification you can act on. This band is why base output drifts downward over a long session without any single thing going wrong.
At 50 the Pal starts costing you resources rather than merely producing fewer. Overeating consumes food; destroying the Feed Box interrupts everybody. Fifty is where a SAN problem becomes a base problem.
At 40 you are paying medicine costs, and at 0 the Pal stops entirely.
So the practical rule is to intervene in the 70s, not the 40s. The tools are the ones covered in our base comfort guide: Hot Springs and Pal Beds restore SAN, and the SAN drain rating of each building determines how fast you lose it — the Human-Powered Generator at SAN −0.3 is the steepest drain in the game and will hollow out a workforce on its own.
And check what your Pals are assigned to. A Pal on a high-drain station needs SAN recovery nearby; the same Pal on a low-drain one may never need it at all.
Practical tips
- 85 = Resting (normal), 65 = Slacking off, 60 = Idling.
- 50 is where it costs you food — Overeating and Feed Box destruction.
- 40 = illness, 0 = Rioting.
- Intervene in the 70s, not when you see a riot.
- Three illnesses need Low Grade, two need standard, two need High Grade.
- Depressed (−20 Work) and Weakened (−20 Movement) need High Grade supplies.
- Overfull costs food, not stats — hunger depletion 50.
Running your own Palworld 1.0 server
SAN drains on the world's clock, which means a base only decays — or recovers — while the world is actually running. A gamever Palworld server keeps that clock going with full crossplay, automatic updates and one-click backups, so a Hot Spring you built is doing its job between sessions instead of frozen with the rest of the world.
Conclusion
Palworld's SAN system runs on seven exact thresholds: 85 Resting, 65 Slacking off, 60 Idling, 50 Overeating and Destroying the Feed Box, 40 Sick, and 0 Rioting. The deadline that matters is 65, not 0 — that is where output starts dropping with no notification — and 50 is where a SAN problem turns into a resource problem, because a Pal at 50 both eats your food and breaks the box feeding everyone else. Illness at 40 brings seven conditions with their own penalties and cure tiers: Sick, Sprain and Overfull clear with Low Grade Medical Supplies, Ulcer and Fracture need Medical Supplies, and Weakened (−20 Movement) and Depressed (−20 Work) need High Grade. Stock all three tiers, intervene in the 70s, and watch the SAN drain rating of whatever your Pals are standing next to.
Want a base that recovers while you are away? Rent a Palworld server at gamever.io — instant setup, one-click backups and updates, full crossplay and 24/7 uptime. Start with a free trial and use promo code WELCOME.