
How to make an iron farm in Minecraft?
Understanding Iron Farms in Minecraft
Iron farms in Minecraft are automated systems designed to produce iron ingots by exploiting the mechanics of iron golem spawning. Iron golems spawn in villages where zombie-like, hostile mobs pose a threat to the locals. In an iron farm, you create a setup that triggers the spawning of iron golems and then channel them into a system that kills them and collects their iron ingots.
Materials Needed
Shovels for digging
Three beds
Three profession blocks (e.g., lecterns, smithing tables)
Glass blocks
A zombie and a name tag
Three villagers
Stone blocks
Chests and hoppers
Stone walls
Three signs
Lava bucket
Water bucket
A Step-by-Step Guide to Building Your Iron Farm
Step 1: Preparing the Base
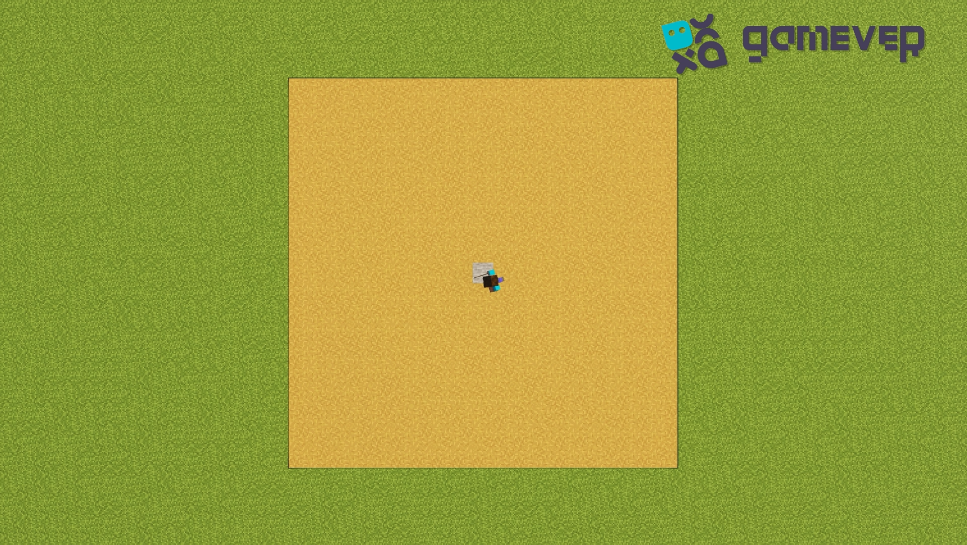
Start by marking a 19x19 square on the ground using the dirt path. This area will serve as the base of your iron farm.
Step 2: Digging the trench
Dig a trench that is 4 blocks deep and 3 blocks wide around the perimeter of your dirt square.
Step 3: Creating the Village Center
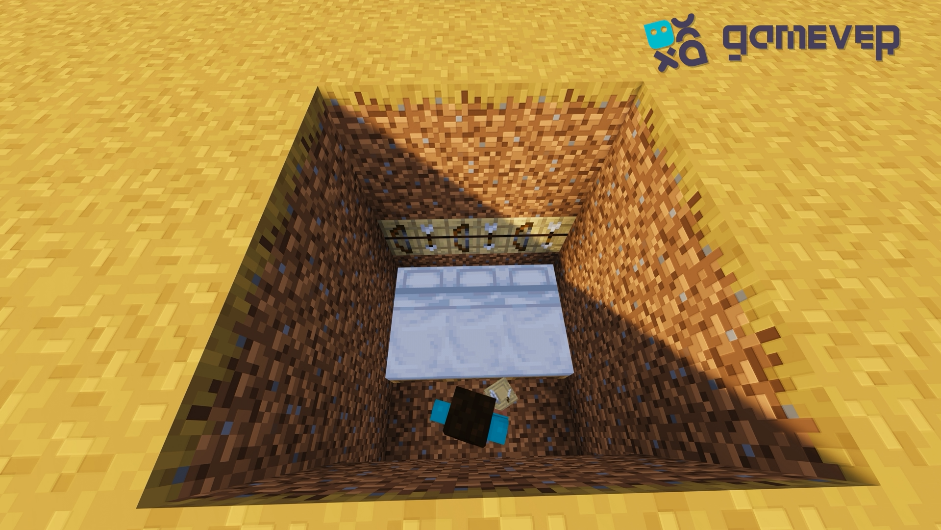
Dig into any of the four sides of your square and create a space for the villagers. Place three beds and any three profession blocks to simulate a village center. This area will trick the game into thinking there's a village, prompting iron golems to spawn.
Step 4: Setting up the Zombie Trap
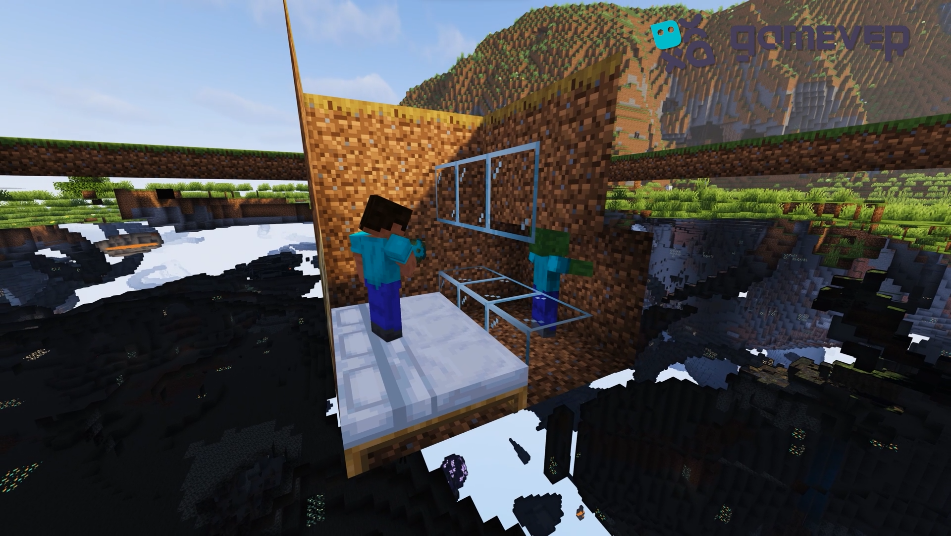
Build a glass fence around a small area and place a zombie behind it. Apply a name tag to the zombie to prevent it from despawning. The presence of the zombie will scare the villagers, triggering the spawning of iron golems.
Step 5: Adding the Villagers
Place three villagers near the beds and profession blocks. Make sure they are well-protected and cannot flee or come into contact with the zombie.
Step 6: Covering the Setup
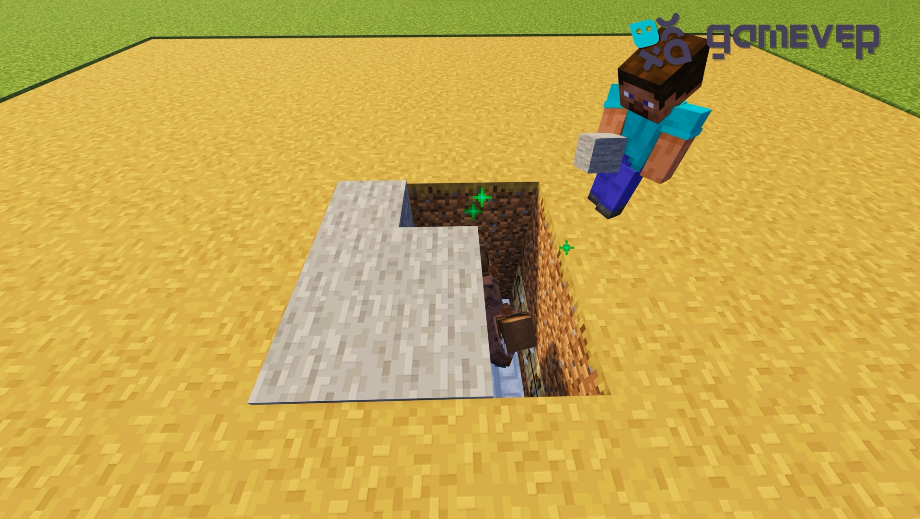
Cover the entire setup with stone blocks to protect your villagers and zombies from sunlight and external threats.
Step 7: Constructing the Killing Chamber
Near the trench, construct a killing chamber. Place a chest at the bottom and connect hoppers to funnel the iron ingots into the chest. Surround the area with stone walls.
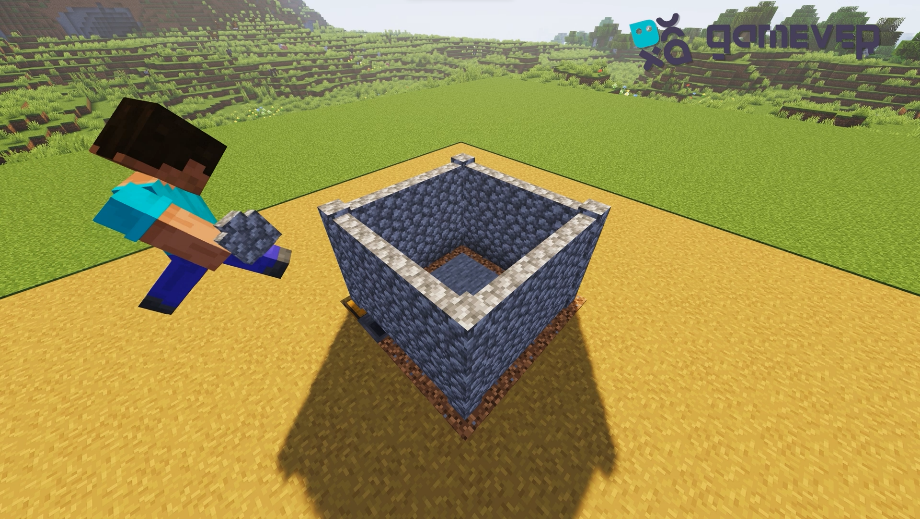
Creating a territory for the appearance of iron golems
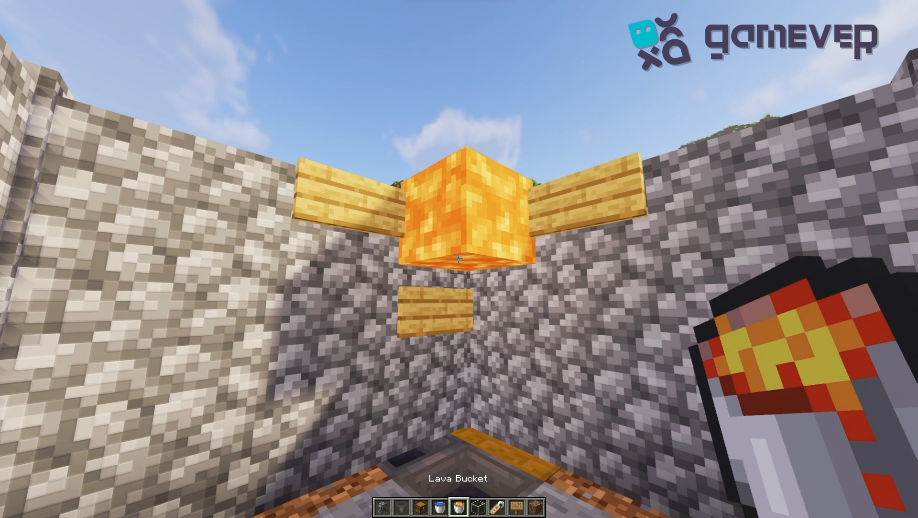
Step 8: Implementing the Lava Blade
On one side of the killing chamber, place three signs to hold the lava. Then, carefully place lava on top of the signs to create a lava blade. This will kill the iron golems and release their iron ingots.
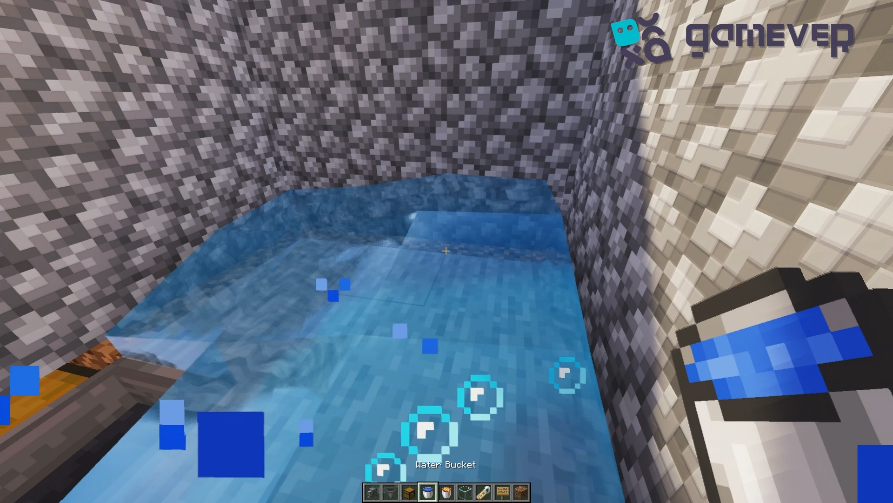
Step 9: Adding the Water Current
On the opposite side of the killing chamber, place a bucket of water to create a current. This current will push the iron golems into the lava blade.
Testing and troubleshooting
After completing the construction, it's crucial to test your iron farm and make any necessary adjustments. Check if iron golems are spawning and being directed properly to the killing chamber.
Customizing Your Iron Farm
Once you have mastered the basics of design, you can customize your iron farm for efficiency or aesthetics. You can expand the village, add more spawning platforms, or integrate the farm into larger builds.
Safety Precautions
When building an iron farm, be cautious around the lava and ensure that your villagers and zombies are secure. It’s also essential to build the farm away from your main base to avoid any mishaps.
Conclusion
Building an iron farm in Minecraft is a rewarding project that can greatly enhance your resource collection. With this guide, you now have the knowledge to create a functional iron farm that will provide a steady supply of iron ingots.
For an even more enjoyable Minecraft experience, consider playing on Gamever servers. Gamever offers a service where you can rent a server to play with your friends, making it the perfect place to test and showcase your new iron farm. Join the Gamever community today and take your Minecraft adventures to new heights!