
How to install Dynmap on Minecraft server
Dynmap is a popular plugin for Minecraft Spigot servers that provides a real-time, web-based map of your server's world. This powerful tool allows players to explore and navigate the virtual landscape, enhancing the overall gaming experience.
In this creative guide, we will walk you through the step-by-step process of installing the Dynmap plugin on your Minecraft server.
1. Check Dynmap Compability
Before installing any plugin, it's crucial to ensure that your Minecraft server is compatible with the version of Dynmap you plan to install. Visit the Dynmap plugin's official website or forum page to verify compatibility and download the appropriate version.
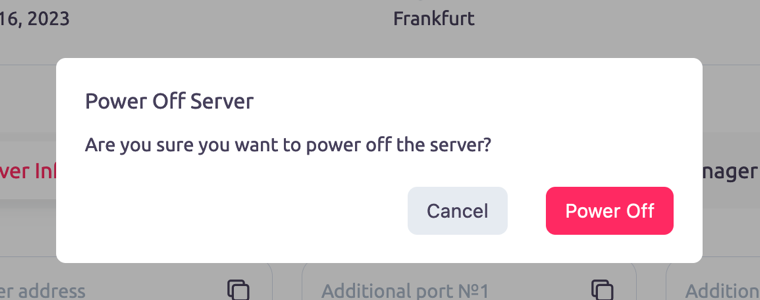
2. Stop Your Minecraft Server
To avoid any potential conflicts or issues during the installation process, it's recommended to stop your Minecraft server temporarily. This ensures a smooth installation without any interference.
3. Access Your Server Files
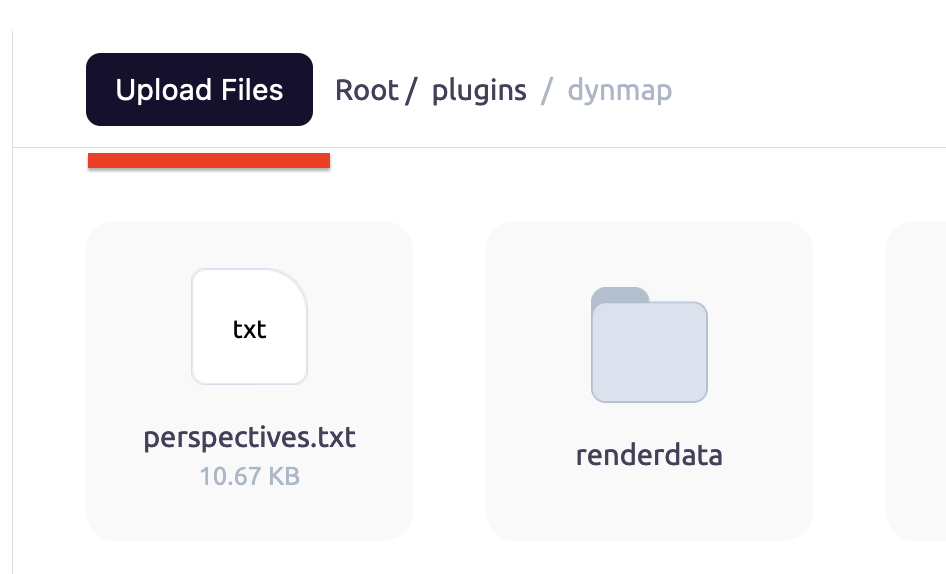
Using a file manager or FTP client, navigate to the directory where your Minecraft server files are located. This is typically the root directory of your server.
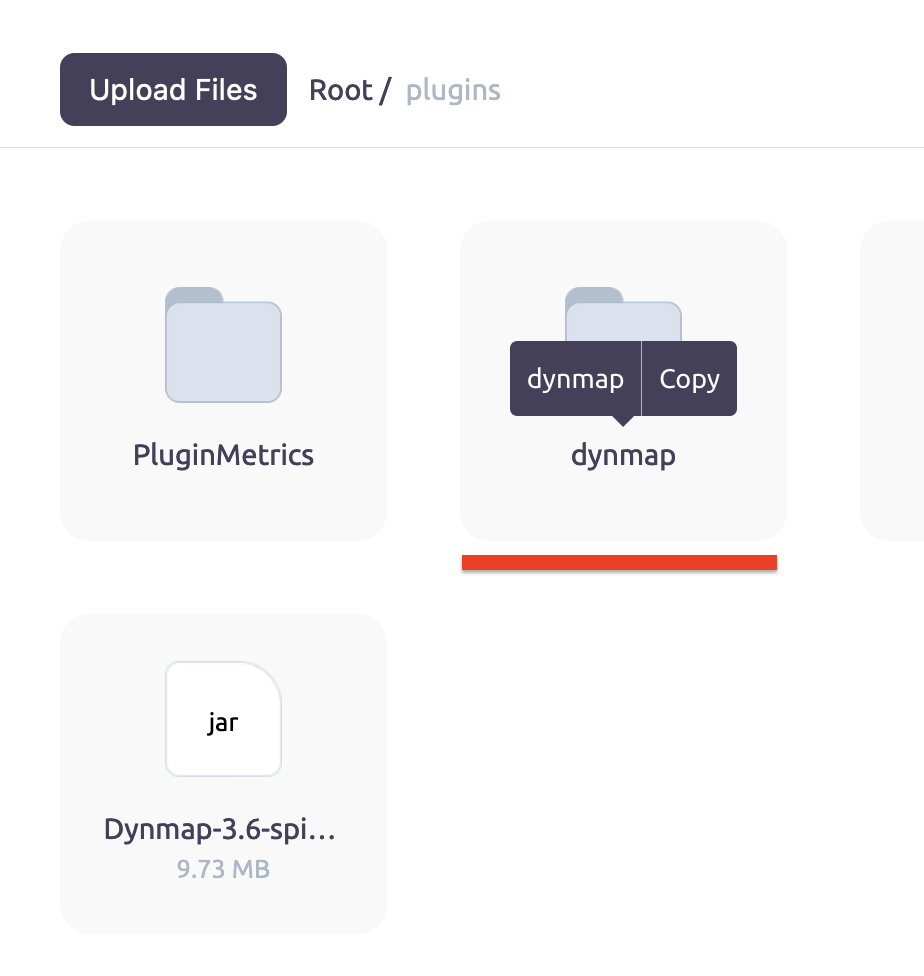
Within the server directory, locate the "plugins" folder. This is where all the plugins for your Minecraft server are stored.

4. Download and Upload Dynmap Plugin
Download the Dynmap plugin file from the official source. Ensure that you are downloading the correct version compatible with your Minecraft server. Once downloaded, upload the plugin file to the "plugins" folder on your server using your file manager or FTP client.
5. Restart Your Minecraft Server
After successfully uploading the Dynmap plugin, restart your Minecraft server. This will initiate the plugin loading process and allow Dynmap to be properly installed.
6. Configure Dynmap Plugin
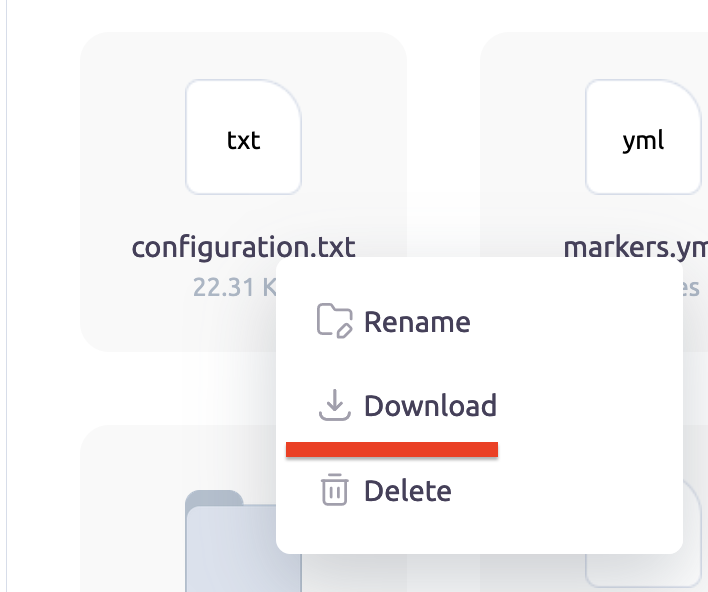
Once your server has restarted, navigate to the Dynmap configuration files. These files are typically located in a subfolder within the "plugins" folder. Open the configuration.txt file using a text editor (or download it and open) and customize the settings according to your preferences. You can set options such as map resolution, player visibility, and marker displays.
7. Set the Additional port address to dynmap port
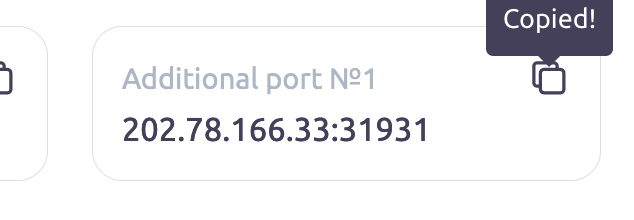
Open Ports tab (or Server Info tab) and copy the port (numbers after the :) of Additional Port №1.
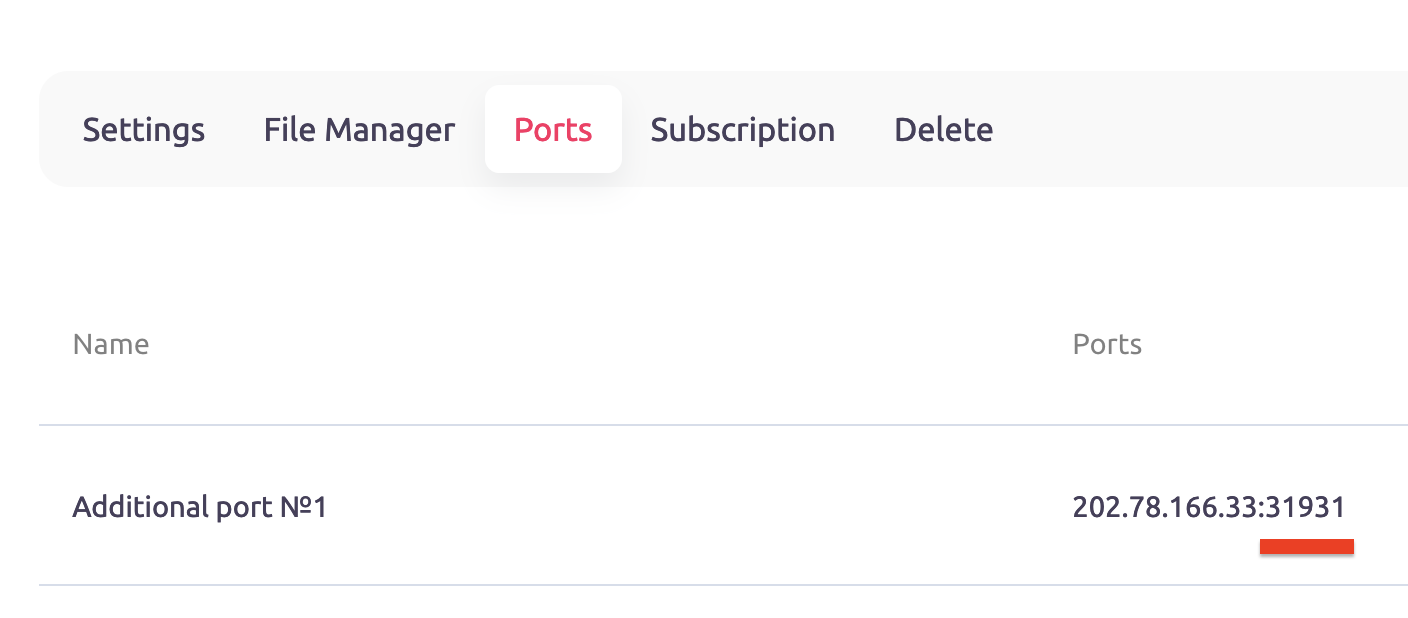
Then open configuration.txt and find the variable webserver-port. Change 8123 to the port obtained from the step above.
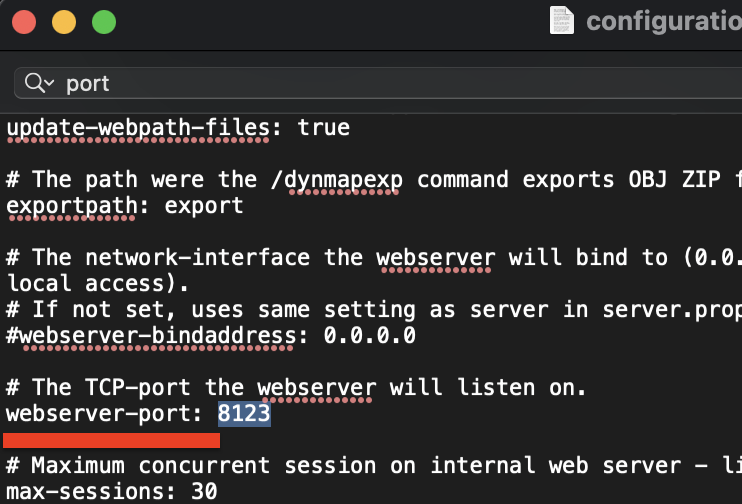
Save the file and upload it back to the server.
8. Launch Your Minecraft Server
After configuring the Dynmap plugin, start your Minecraft server again. The plugin will now be active, and you can access the Dynmap web-based map by opening a web browser and entering the appropriate URL, usually provided in ports/server info tab.
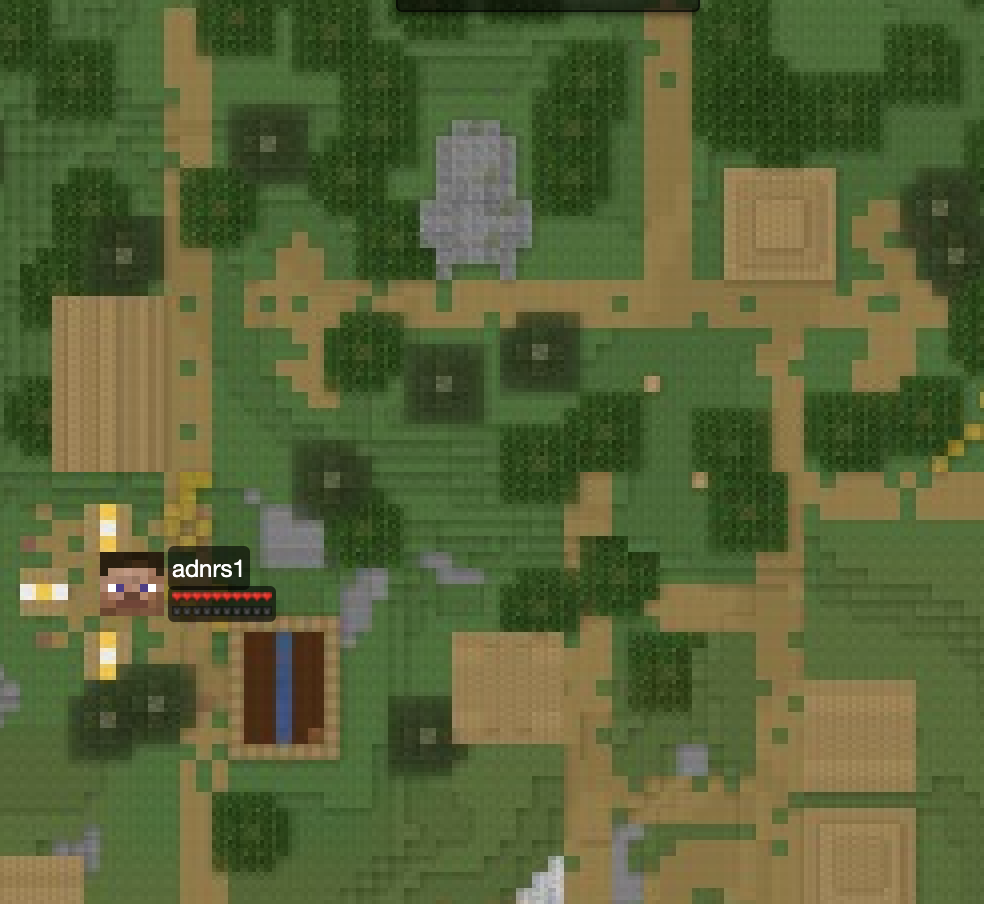
By following this step-by-step guide, you can easily install the Dynmap plugin on your Minecraft server. With Dynmap's real-time, web-based map, players can explore and navigate your server's world, enhancing the overall gaming experience. Enjoy the benefits of this powerful plugin and watch as your Minecraft server becomes even more immersive and captivating.