
How to Create Patrols in Soulmask
Hey there, Soulmask adventurers! Ready to level up your base defense game? Today, we're diving into the world of patrols. Imagine your guards walking around, keeping your base safe from all those pesky threats. Sounds epic, right? Let's get started and make sure your tribe is always on top!
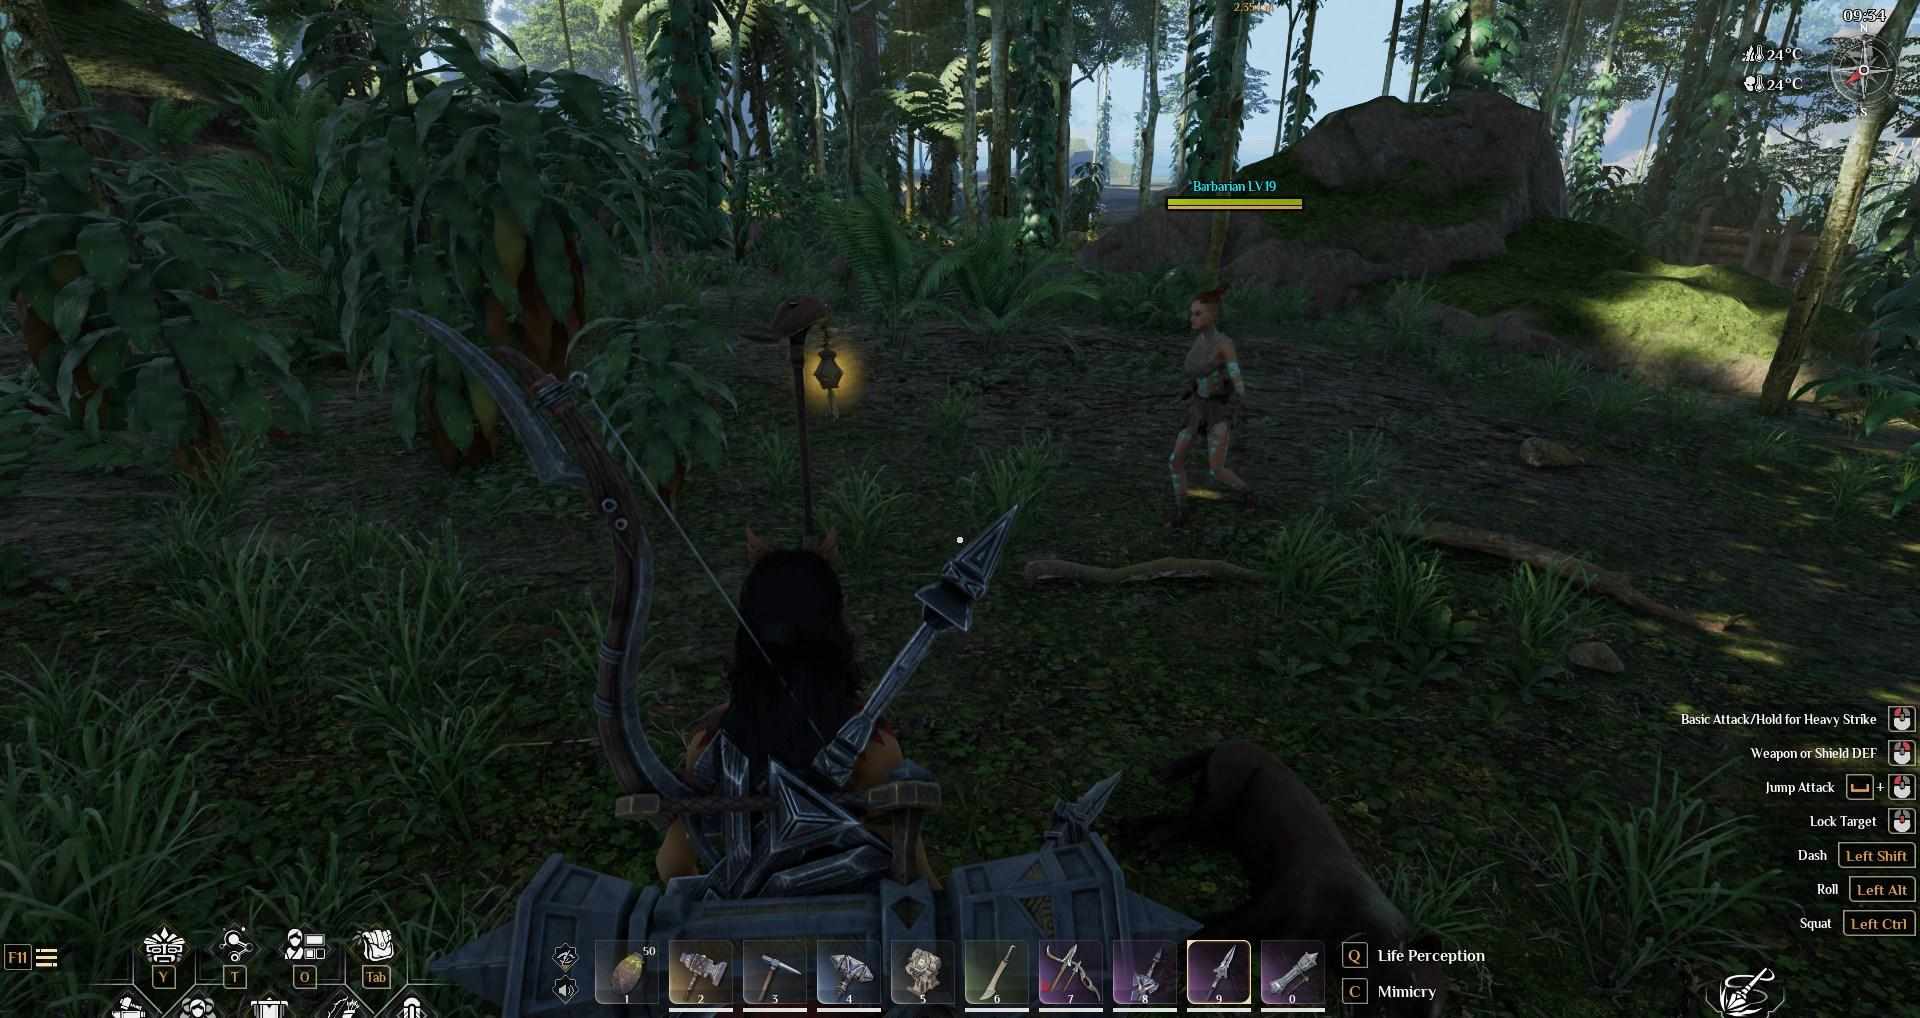
Crafting Patrol Route Checkpoints
First things first, you need to craft Patrol Route Checkpoints. These checkpoints are the backbone of your patrols. Head over to the wood area near the guard facility. Gather branches, thick rope, and planks to unlock and craft these checkpoints.
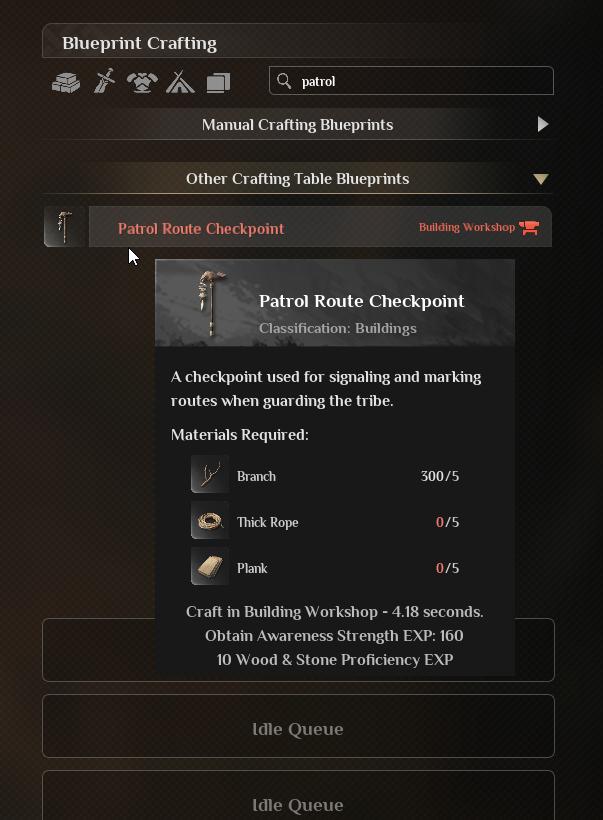
Once you’ve got your materials, place down the checkpoints along the route you want your guard to patrol. For example, if you're looking to secure your base, set up checkpoints in an arc formation to cover that area. You can name these checkpoints for clarity, like "West Rainforest," short for West Patrol.
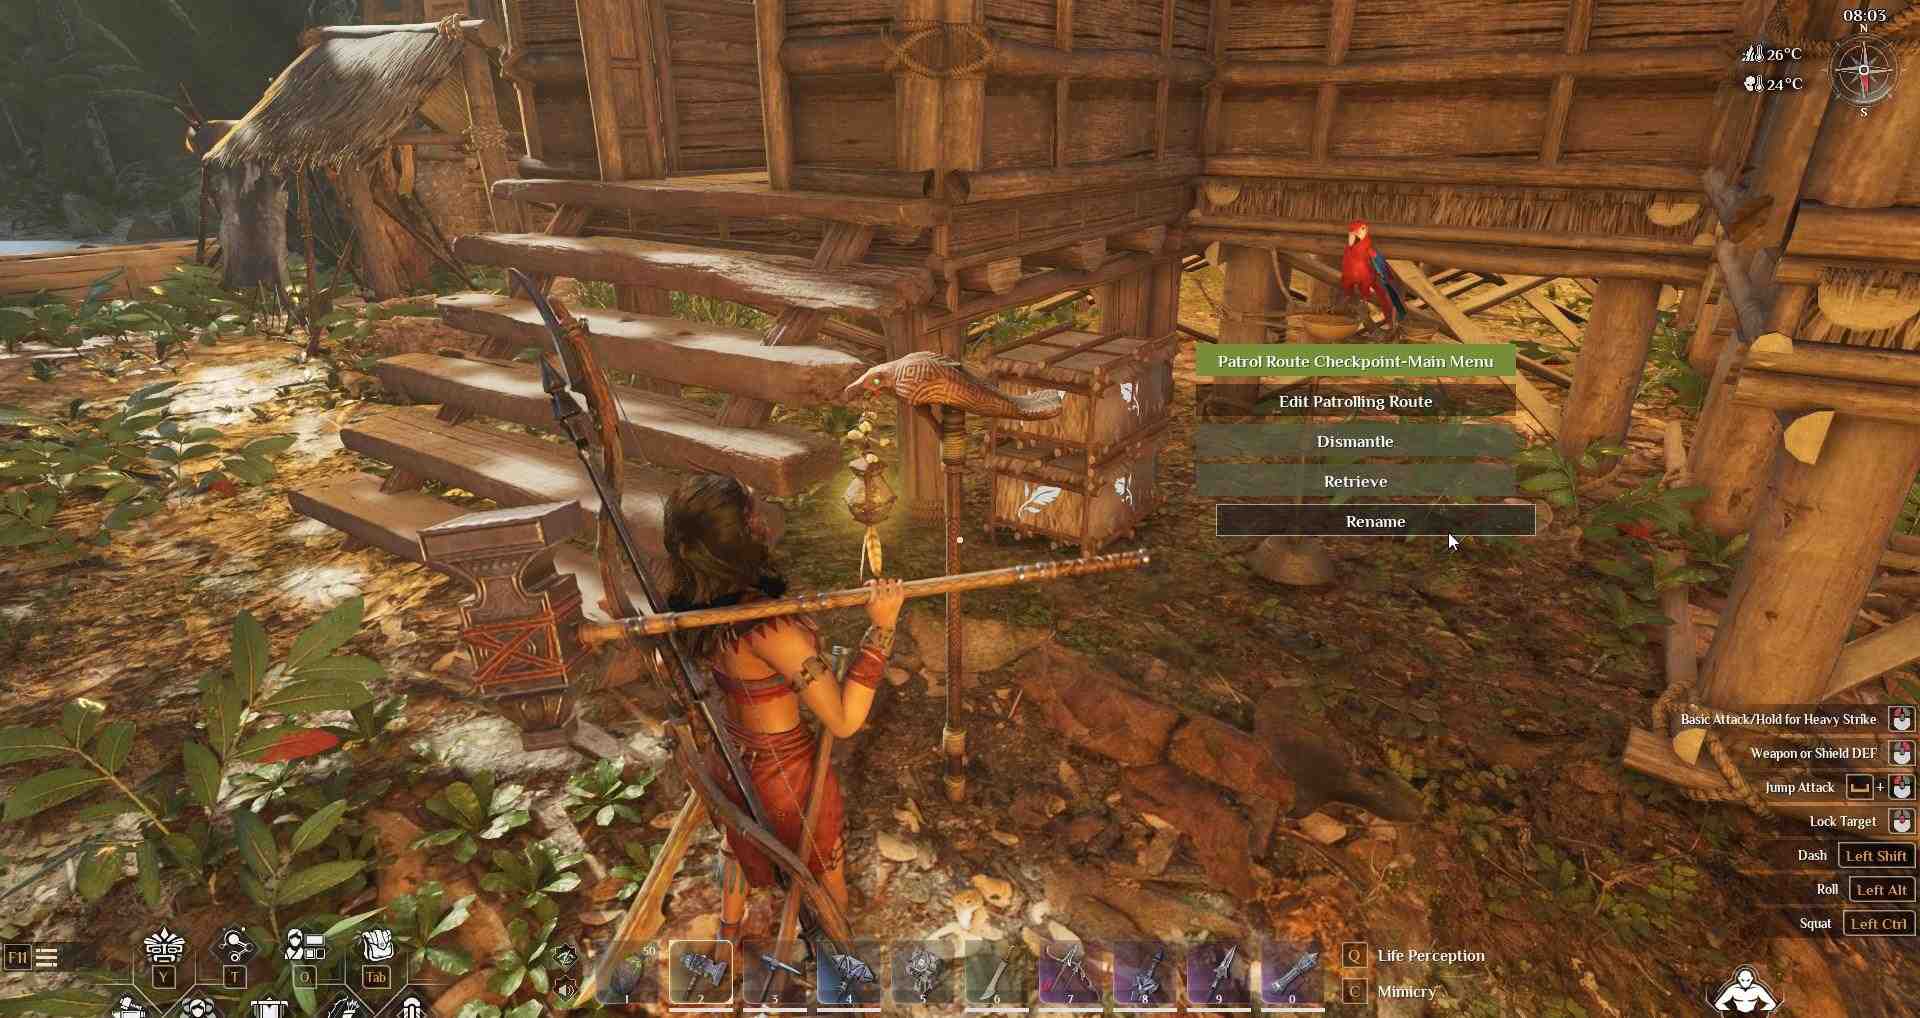
Assigning Guards to Patrols
Now that your route is set, it’s time to assign a guard. Find a capable tribe member, hit J to open the tribe menu, and go to Tribe Defense. Select "Create Patrolling Route" and choose the checkpoints you just placed.
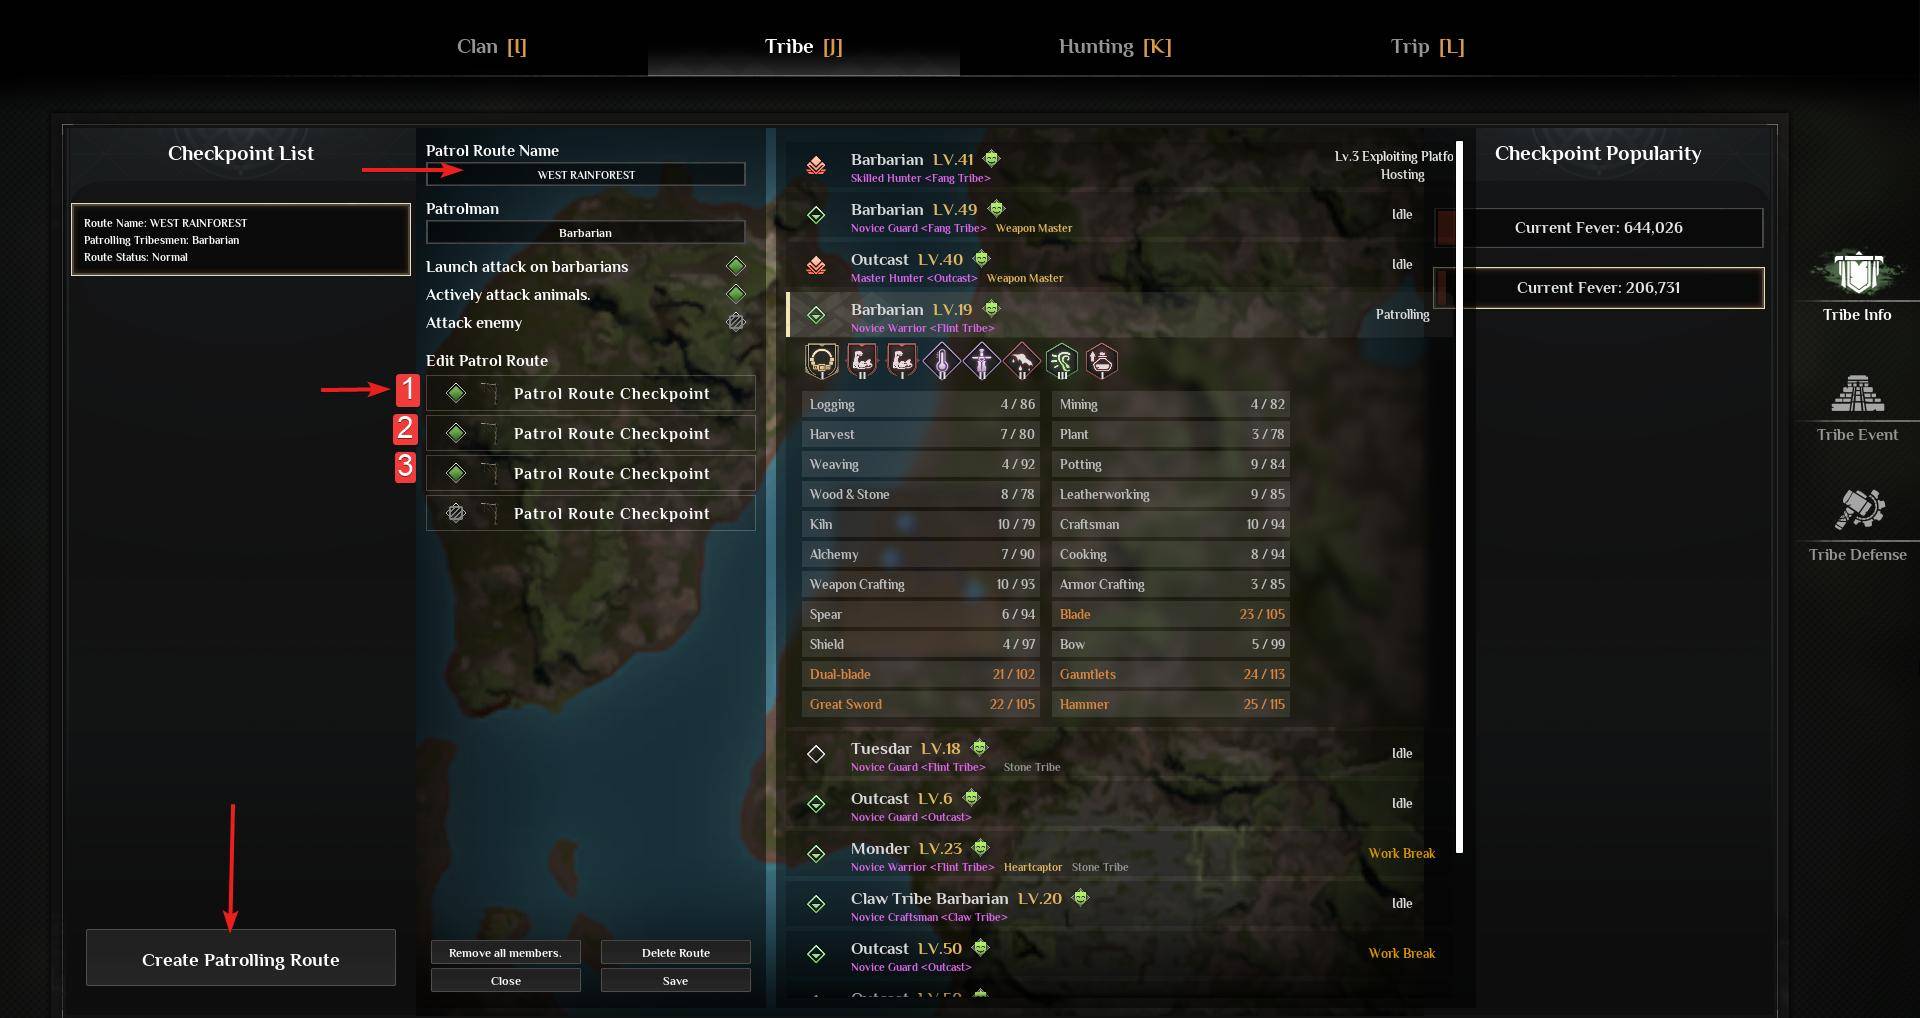
Name your patrol route, something simple like "West Patrol," and assign your guard. Once you save, your guard will start patrolling the area, ready to attack any intruders they spot. This is super helpful, especially later in the game when raids become more frequent.
Protecting Resource Sites
But why stop there? Let's set up multiple patrols. For instance, if you have a miner working in a dangerous area, set up a patrol to protect them. Place checkpoints around the mining site and assign a guard to patrol this route. This way, your miner stays safe from kidnappers and hostile tribes. It's all about keeping your resources and tribe members secure.
Dealing with Random Threats
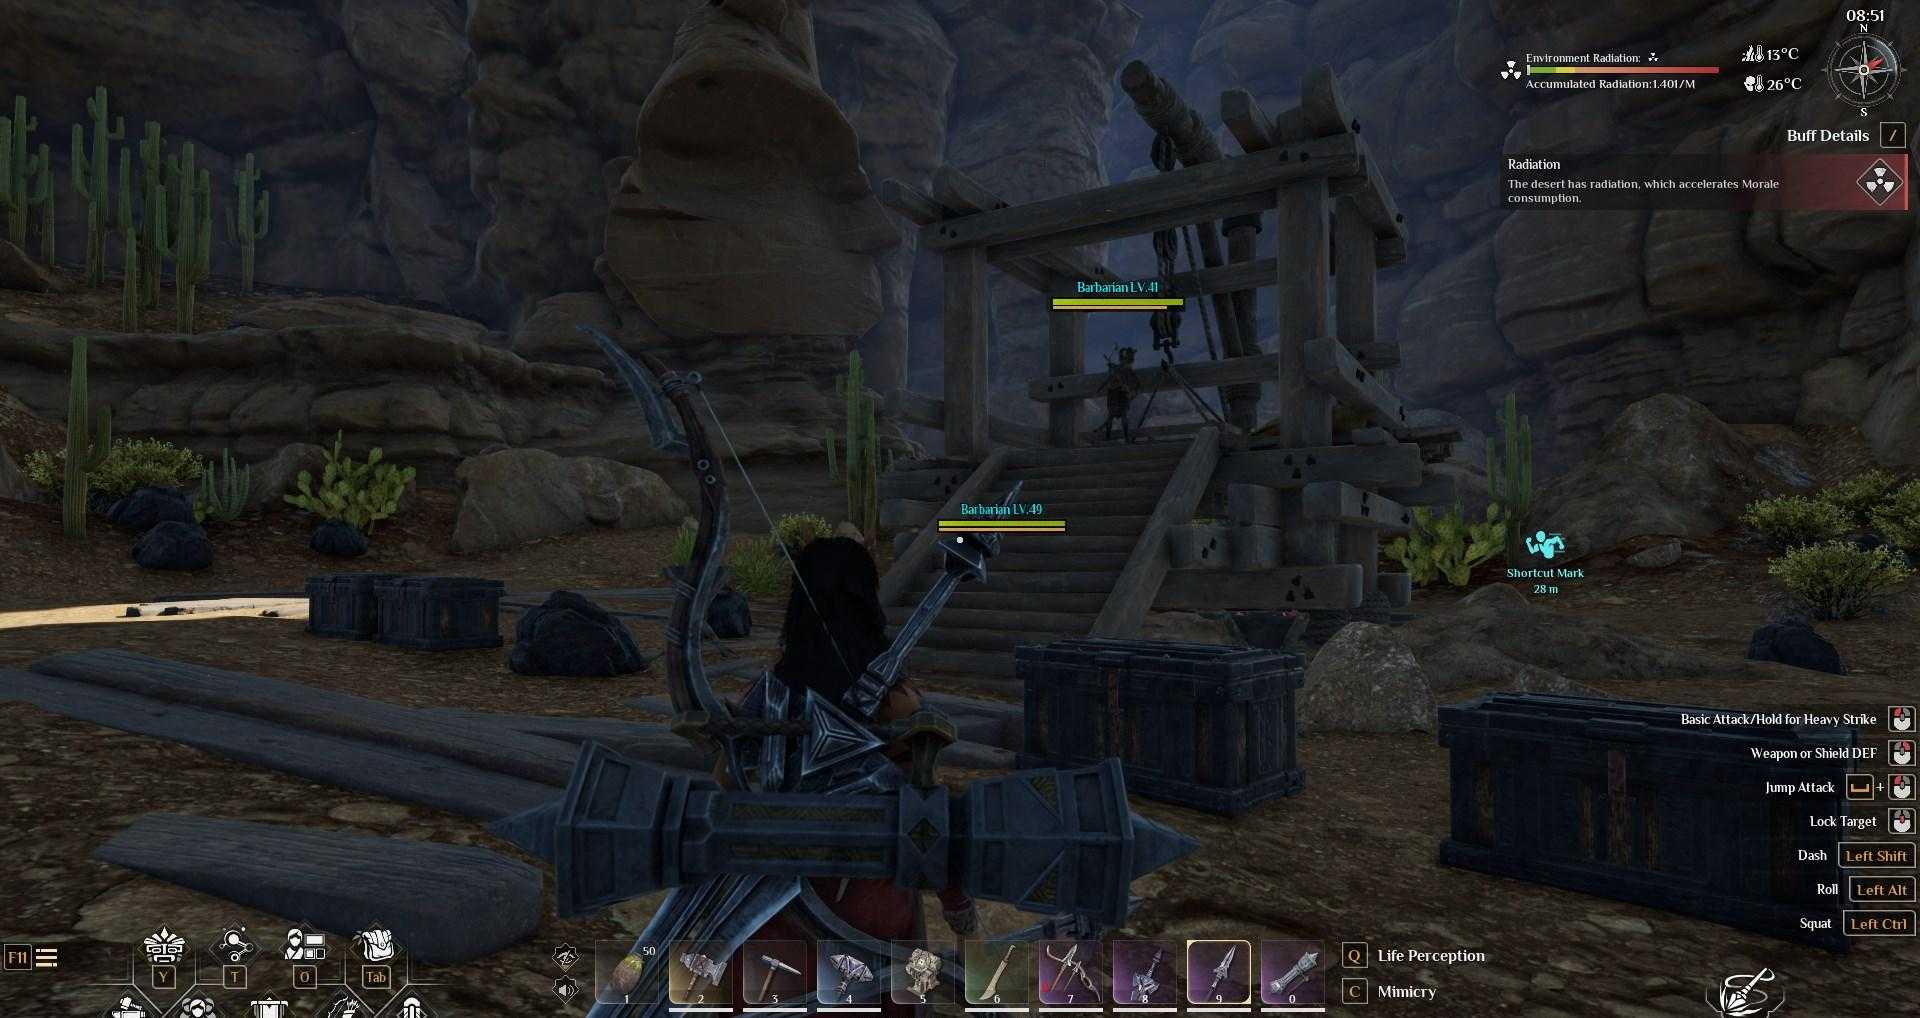
Setting up patrols is also great for dealing with random threats. If you have elite enemies lurking near your base, a patrolling guard can take them out before they cause any trouble. Name your patrol routes based on their locations or purposes, like "Iron Pit" for the area around your mines. This helps keep everything organized and ensures your guards know exactly where to go.
Step-by-Step Patrol Setup
Let’s walk through setting up a patrol again to make sure we’ve got it down. Open your tribe menu, go to Tribe Defense, and create a new patrol route. Place your checkpoints strategically, covering all crucial areas. Assign a guard, save, and watch as your base becomes a fortress of security. It’s satisfying to see your guards in action, defending your hard-earned resources and tribe members.
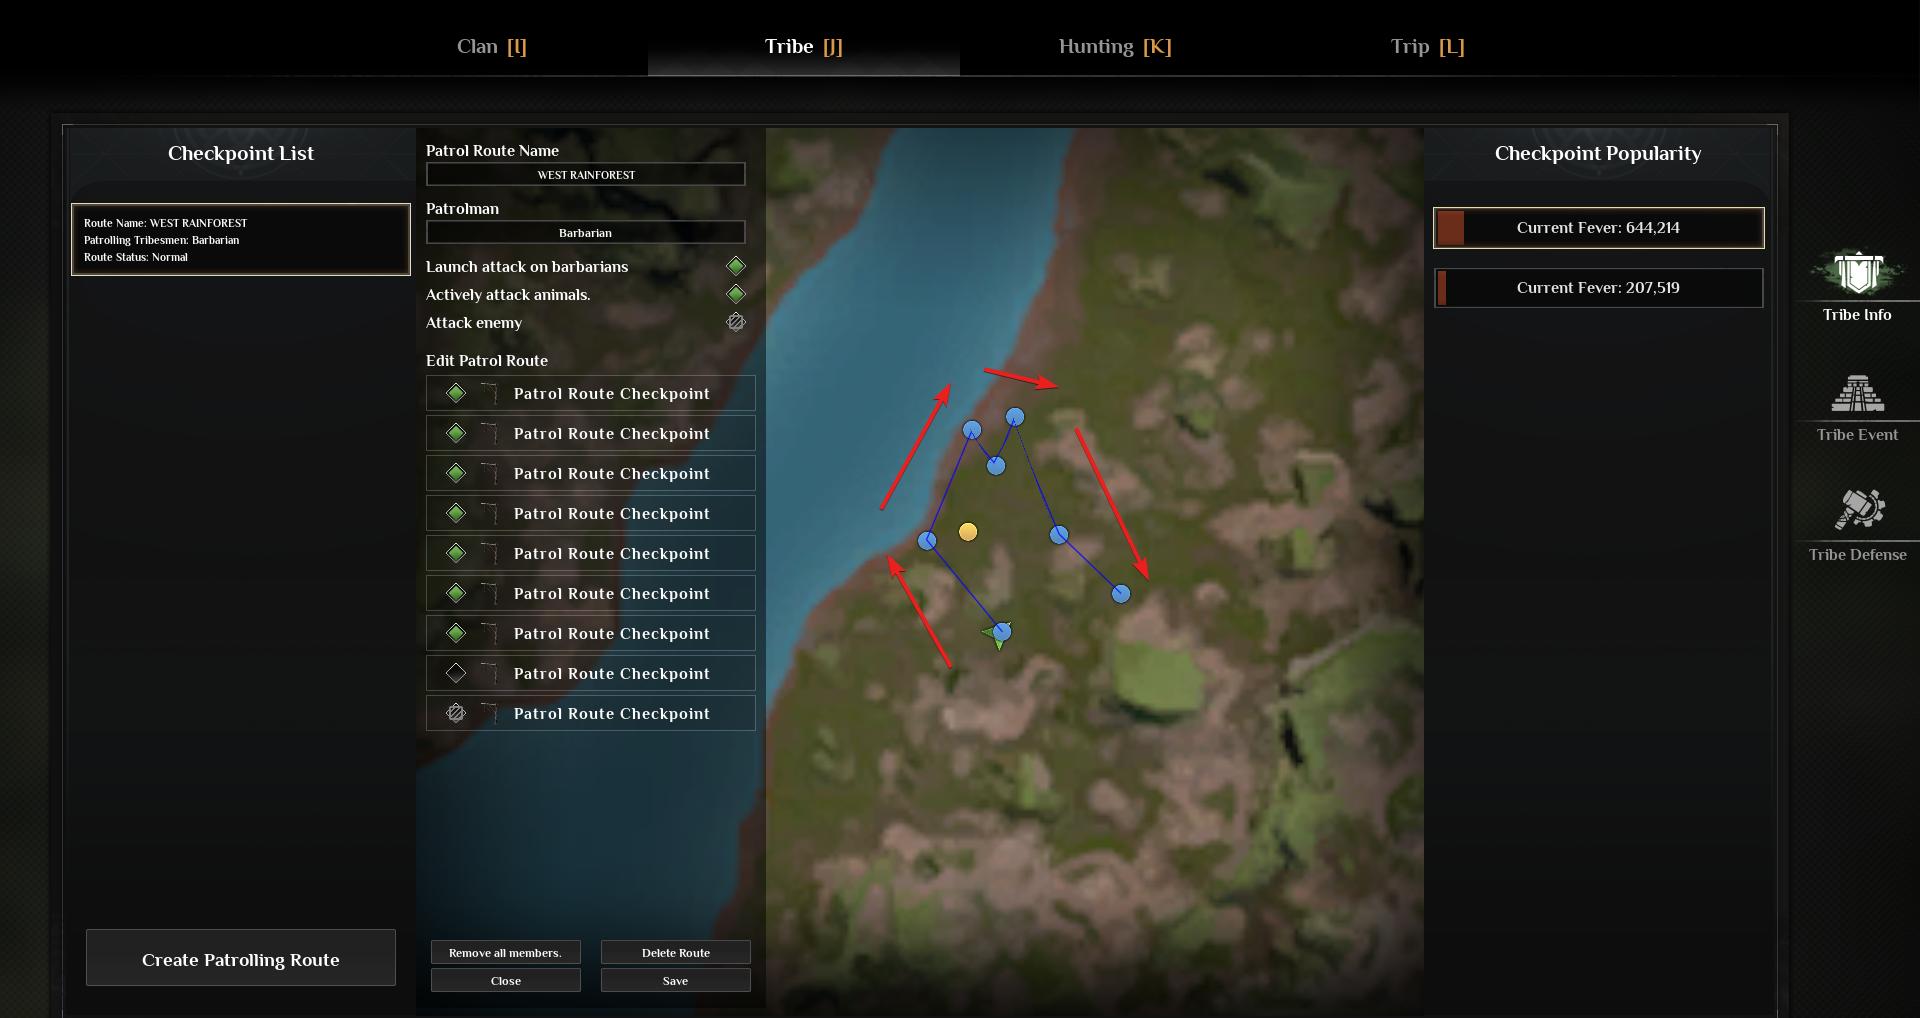
One more tip: if you have a large base, consider setting up multiple patrols to cover different areas. You can have guards patrolling the perimeter, the resource sites, and the main entrances. This layered defense ensures no threat goes unnoticed and unchallenged.
Creating patrols in Soulmask is interesting mechanics of Soulmask and really helpful for base defense. With patrols, your guards are always on the move, keeping your tribe safe and your resources secure. Follow these steps, place your checkpoints, assign your guards, and watch your base thrive under their protection. Ready to take your tribe to the next level? Set up those patrols and dominate the world of Soulmask!