
How to activate a beacon in Minecraft?
Players have access to a broad range of tools and features in the popular sandbox game Minecraft to enhance their experience. The beacon stands out among them as a powerful tool that grants adjacent players status effects. However, setting up and turning on a beacon might be a bit difficult. The goal of this post is to make the process straightforward so that you can make the most of the beacon's capabilities in your Minecraft world.
1. Introduction to Beacons
Beacons are unique blocks in Minecraft that cast a beam of light into the sky and provide nearby players with preferential status bonuses. Because of their advantageous qualities, such as speed, haste, resistance, jump boost, and strength, beacons are in great demand.
2. Crafting a Beacon
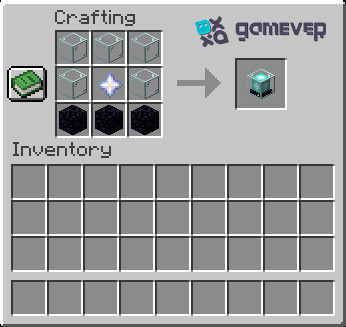
Before activating a beacon, you need to craft one. The crafting recipe for a beacon requires three obsidian blocks, five glass blocks, and one nether star. The nether star is obtained by defeating the Wither, one of the game's boss mobs, making it a rare and valuable item.
3. Building the Pyramid Base
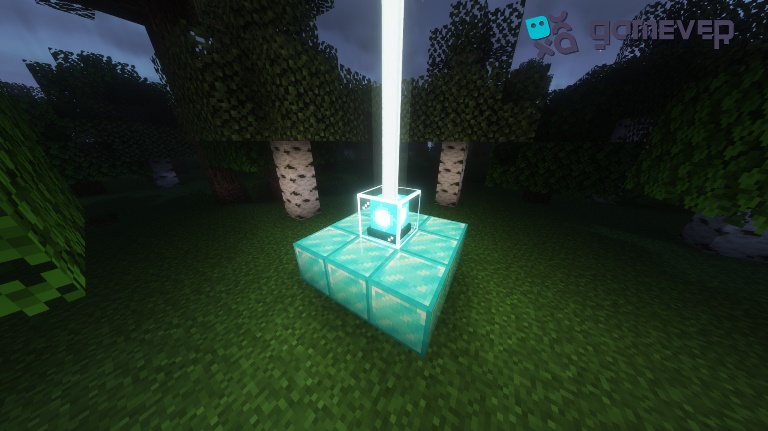
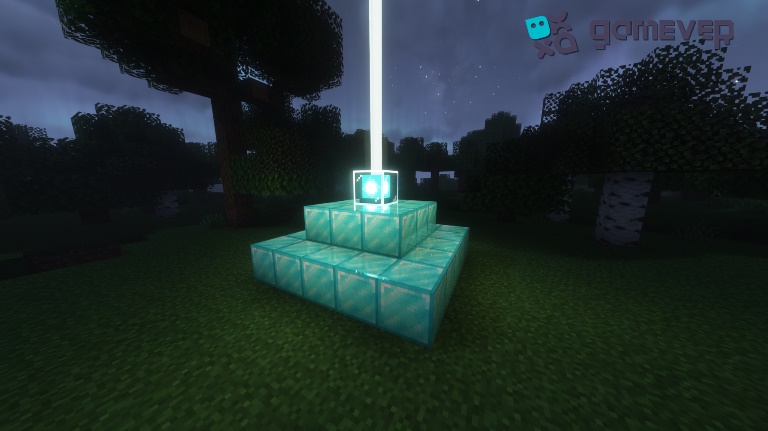
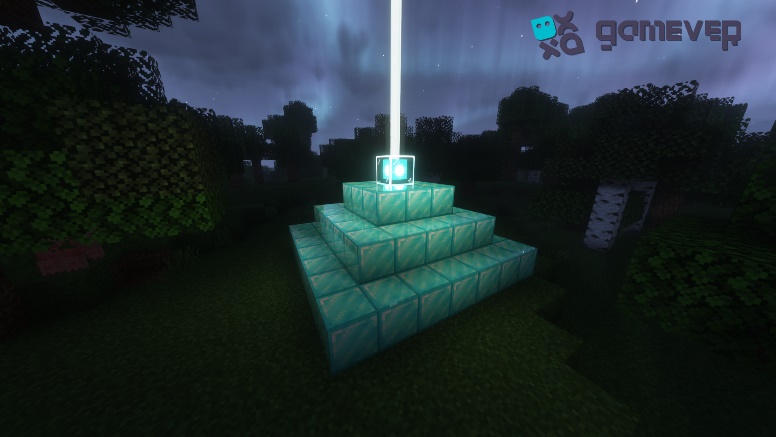
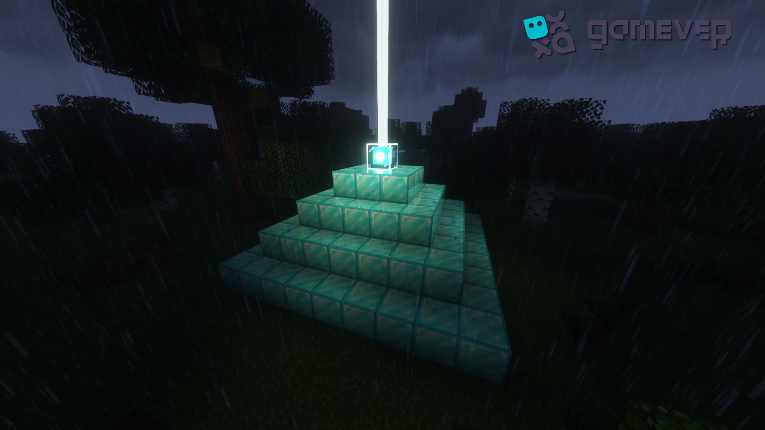
For a beacon to work, it requires a pyramid base made from iron, emerald, gold, or netherite blocks. The size and layers of the pyramid determine the beacon's range and available effects.
3x3 Pyramid: This is the smallest base, consisting of 9 blocks. It provides a range of 20 blocks.
5x5 Pyramid: Made up of 34 blocks, with a range of 30 blocks.
7x7 Pyramid: Consists of 83 blocks, offering a range of 40 blocks.
9x9 Pyramid: The largest base, made up of 164 blocks, provides a range of 50 blocks and all available effects.
4. Placing and activating the beacon
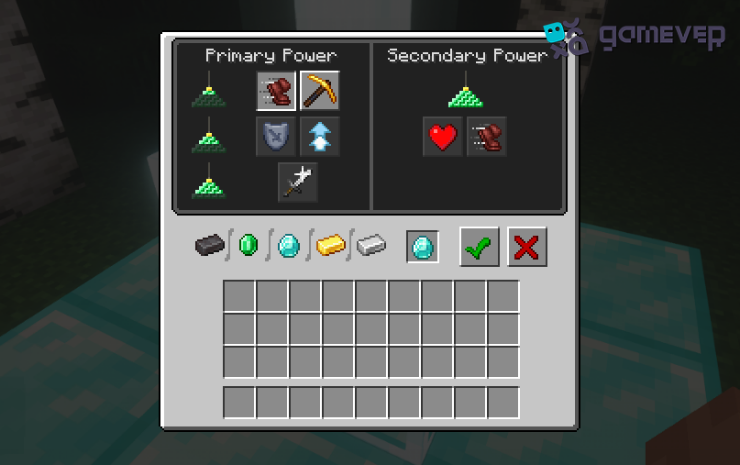
Once the pyramid base is set, place the beacon on top. To activate it, open the beacon interface by right-clicking on it. Choose the primary power you desire (speed, haste, resistance, jump boost, or strength). For a full-powered 9x9 pyramid, you can also select a secondary power (regeneration or increased primary power). Insert one iron ingot, emerald, gold ingot, diamond or netherite ingot into the slot and click the checkmark. The beacon will then emit a beam of light, signifying its activation.
5. Maximizing Beacon Benefits
To make the most of your beacon:
Strategic Placement: Position your beacon near your base or frequently visited areas to benefit from its effects regularly.
Multiple Beacons: You can create a beacon array by placing multiple beacons close to each other, each offering different effects.
6. Changing Beacon Colors
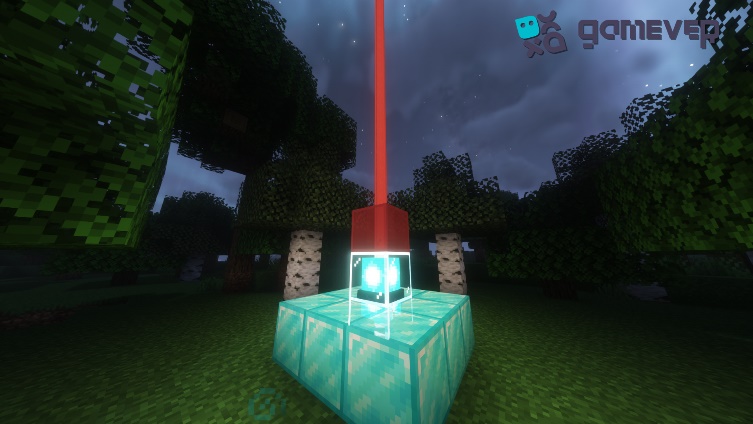
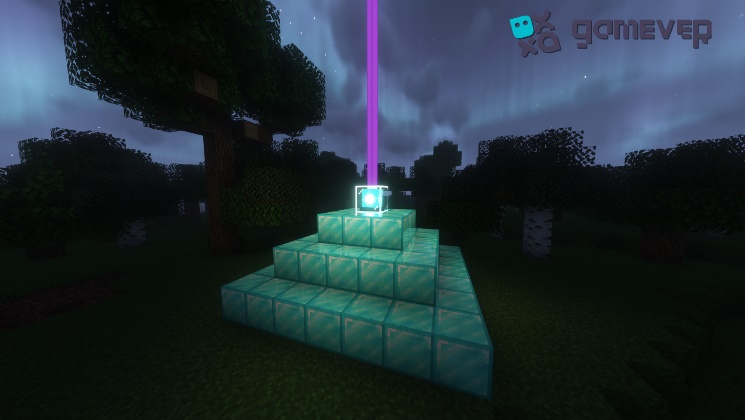
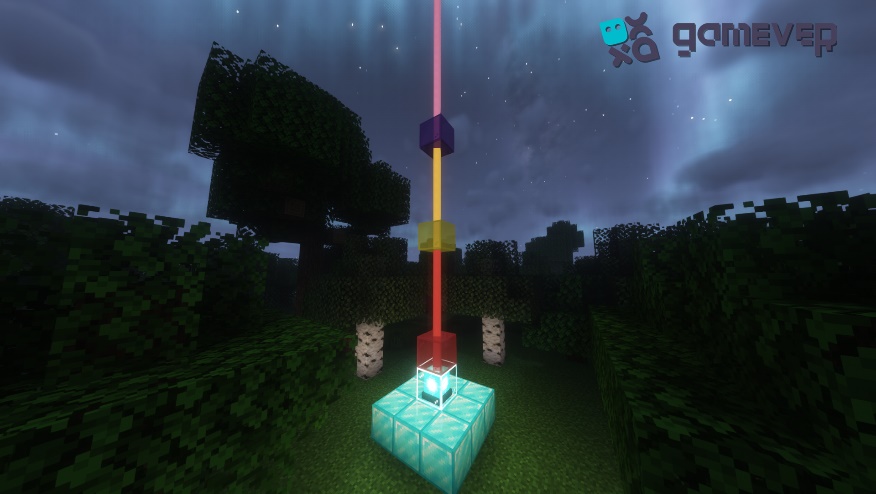
For aesthetic purposes or easy identification, you can change the beacon's beam color using stained glass or stained glass panes. Simply place the colored glass directly above the beacon.
7. Deactivating and Moving the Beacon
If you wish to deactivate the beacon or move it to a new location, simply break the beacon block. Remember, you'll need to rebuild the pyramid base at the new location.
8. Tips and Tricks
Ensure the beacon beam has a clear path to the sky. Any block obstructing it will deactivate the beacon.
Combining different colored glasses can create gradients or layered color effects in the beacon beam.
9. Conclusion
Activating a beacon in Minecraft is a rewarding experience, symbolizing your achievements and providing beneficial effects. Whether you're marking your territory, seeking buffs for a big project, or simply wanting to light up the night sky, beacons are the way to go.
Experience Beacons on Gamever Servers!
Now that you're a beacon expert, why not showcase your skills on a larger stage? With Gamever, you can rent a server and play with friends, making your beacon achievements even more memorable. Build, activate, and bask in the glow of your beacon on a Gamever server. Join the community and elevate your Minecraft journey!