
Black Knight's Fortress in Dragonwilds: Thirteen Shards and the Tools You Need for Them
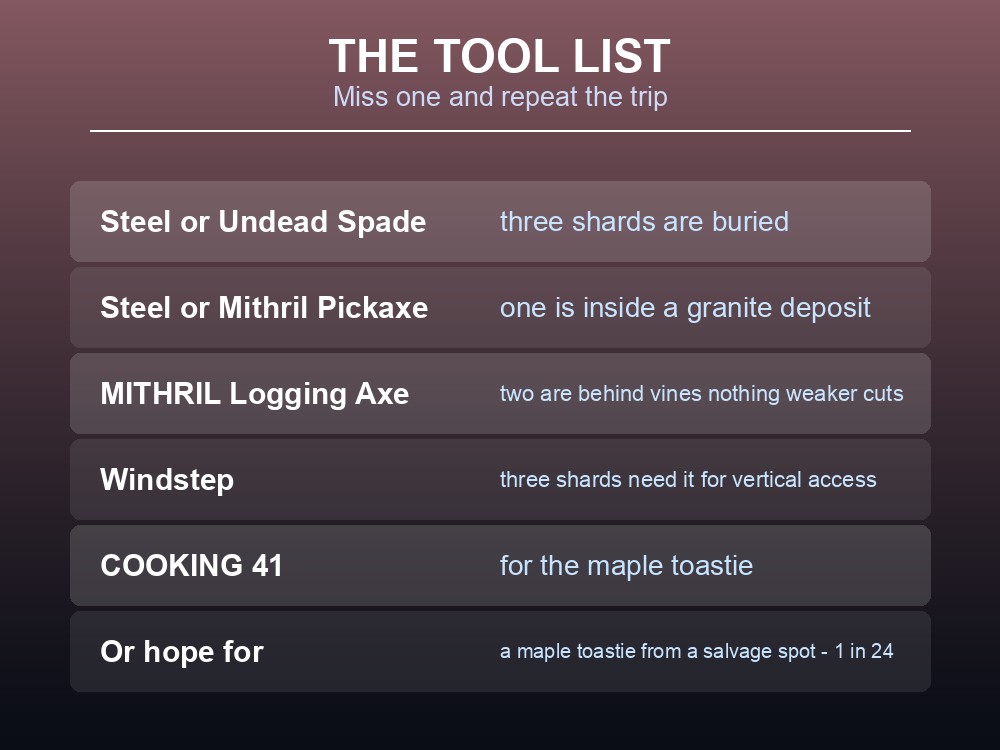
Black Knight's Fortress asks you to find thirteen shards scattered across Dowdun Reach, and one of them requires you to cook a maple toastie. Dragonwilds' seventh primary quest is the least combat-shaped of the campaign — it is a scavenger hunt through a fortress, gated by tools, spells and one genuinely obscure cooking recipe. Turn up without a spade, a pickaxe and a mithril logging axe and you will be making the trip twice. Here is the whole list.
On sourcing. The walkthrough below comes from the community RuneScape: Dragonwilds wiki, and can change with any patch.
Bring This
| Requirement | Detail |
|---|---|
| Withering Heights | Completed — this is the prerequisite quest |
| Steel or Undead Spade | Three shards are buried |
| Steel or Mithril Pickaxe | One shard is hidden inside a granite deposit |
| Mithril Logging Axe | Two shards are behind vines that nothing weaker will cut |
| Cooking 41 | To cook maple sap into maple syrup for the toastie |
| Windstep | Three shards need it for vertical access |
| Good armour, food and potions | Mages of Zamorak, hellhounds, lesser demons, a blue dragon, the Titan |
The Cooking 41 requirement is the one that stops people cold, because nothing else in the campaign asks for a skill level. There is an escape hatch: you can find a maple toastie from a food salvage spot instead, at roughly 1 in 24. But cooking one is the reliable route, and it needs a cooking range.
Windstep is doing a lot of work in this quest. Three separate shards are reached by casting it — onto a roof, across a broken wall, and up to the top level of some ruins. Have it available before you start.
Parts I and II: The Dreaming Stone
Speak to Death in the Forgotten Temple. He explains that a colleague is waiting in the Umbral Sands, and sends you to gather allies through Cathan.
Find Cathan east of Fellhollow, near the ominous gatehouse south of Silverthorn Keep. He has been investigating the gatehouse and worked out that it leads to a fortress blocking the way to the Umbral Sands.
You then arrive in The Approach. Head south through it into The Courtyard, where the Wise Old Man is waiting.
Make a base camp here. Then follow the path up into the fortress to The Nexus and speak to Doric, who explains that the group is stuck and that the door mechanism — the Dreaming Stone — is broken.
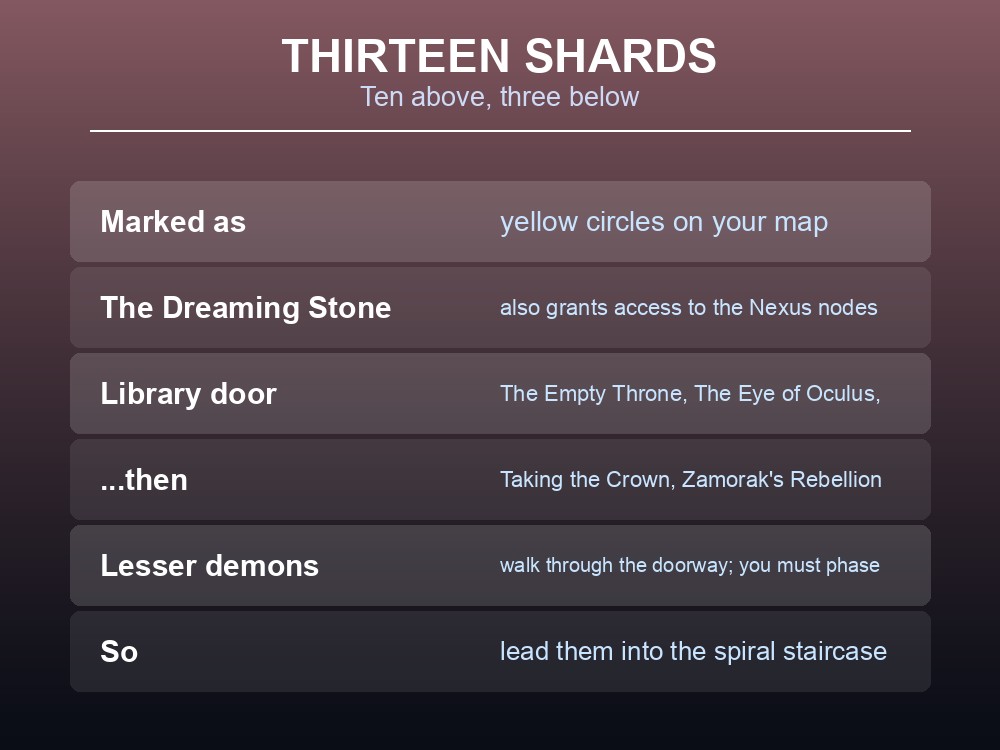
Inspecting the stone reveals the quest's shape: it is missing thirteen shards, marked on your map with yellow circles, scattered across Dowdun Reach. It also grants you authorisation to access the Nexus nodes around the region — which is your fast-travel network for the hunt.
Ten shards are above ground; three are underground. They can be collected in any order.
The Above-Ground Shards
| Area | What it takes |
|---|---|
| The Cathedral — south-west | Cut vines with a mithril logging axe, then interact. The courtyard is full of Zamorakian acolytes and mages |
| The Garrison — east | Defeat Sergeant Blister, underground, guarded by two hellhounds and skeletons |
| The Garrison — west | Past an elite Black Knight and two acolytes to a boarded wall — Windstep up and across |
| The Grand Hall — east | The maple toastie chain (below) |
| The Library — north-west | Open the door by interacting with four books in order, then defeat 2 shardbound lesser demons |
| The Library — south-west | Interact with Valerius, above his own floor and west past a blue dragon |
| The Menagerie — south | Find three levers to unlock the door |
| The Menagerie — south-east | Follow the lower cliffs to a jumping point, past hellhounds |
| The Pastures — north-east | Mine a granite deposit at the top of a goblin-infested fortress |
| The Pastures — east | Defeat the goblins around it first, then interact |
The Library door is a book puzzle, and the order matters:
- The Empty Throne
- The Eye of Oculus
- Taking the Crown
- Zamorak's Rebellion
A tactical note for that fight: lead the lesser demons into the spiral staircase. The wiki flags an oddity — you must interact with the doorway to phase through it, but the demons walk through as though it is not there, so the staircase is where you want them.
The Menagerie's three levers, in order of awkwardness:
- Inside the broken roof of the tiny house next to the windmill — cast Windstep to reach the roof, then dig with your spade.
- In a nearby cave, behind a thorny vine wall — mithril or better logging axe.
- On the top level of the stone ruins, beside the air anima vent — Windstep again.
The area is guarded by a lesser blue dragon. And there is a documented shortcut out: equip Leggings of Lightness and Windstep down to the cliffs, falling with the spell rather than jumping, to avoid the damage.
The Maple Toastie, the Underground, and the Titan
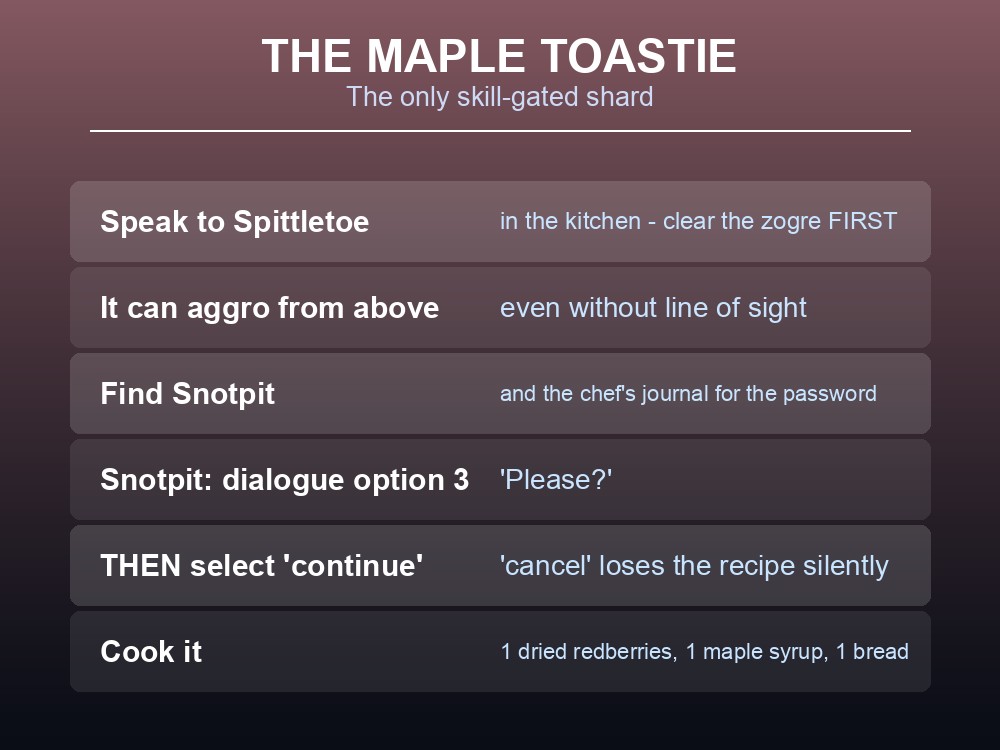
The Grand Hall shard runs through two goblins and a recipe:
- Speak to Spittletoe in the kitchen. He sends you to find Snotpit above.
- Speak to Snotpit — you may have to fight a zogre first.
- Find the chef's journal to learn the password.
- Speak to Snotpit again, choosing dialogue option 3 — "Please?"
- Select "continue" after his reply. Choosing "cancel" means you do not learn the recipe — a hard-to-notice failure.
- Cook a maple toastie at a cooking range: 1 dried redberries, 1 maple syrup, 1 bread.
- Return to Spittletoe with the toastie in your inventory and continue the dialogue until he hands over the shard.
A warning on the kitchen: "it is possible for the zogre to aggro the player from above, even without being in line of sight." Clearing the zogre first is the safer order.
The three underground shards can be done in any order. The Crypt one is the notable one: defeat the zogre there first to save trouble later, read the note beside the goblin corpse, then dig at the graves until you find it. Its location is randomised per world, so no guide can point at it — including this one.
With all thirteen shards, repair the Dreaming Stone and face the Black Knight Titan.
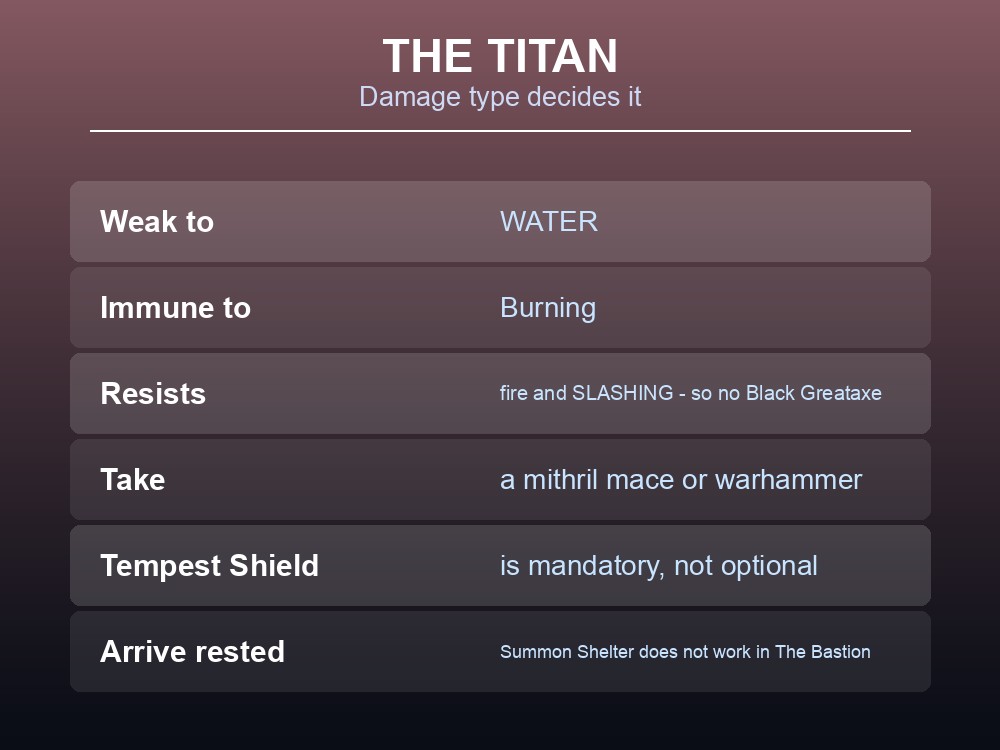
Bring the right damage type. The Titan is weak to water, immune to Burning, and resistant to fire and slashing — so take a mace or warhammer rather than a greataxe, and water runes or Enchanted Iron Bolts. Tempest Shield is mandatory: overhead swings, Leap, Earthquake and Stone Edge all ignore a normal shield. And bring the Dragoncurse Shield you earned in Withering Heights — its parry sends a ghostly claw forward, turning constant blocking into damage.
Two logistics notes for the fight itself. You cannot cast Summon Shelter in The Bastion, so arrive rested. And after the kill, stay in the arena for exactly 55 seconds — a Titan Seal appears in the centre, letting you re-summon without re-running the approach.
Defeating the Titan opens the door to the Umbral Sands, and leads directly into Icthlarin's Little Helper.
Practical tips
- Take a spade, a steel or mithril pickaxe, and a mithril logging axe — all three are required.
- Cooking 41 for the maple toastie, or hope for a 1-in-24 food salvage.
- Have Windstep ready — three shards need it.
- Thirteen shards, marked as yellow circles; ten above ground, three below.
- Library book order: The Empty Throne, The Eye of Oculus, Taking the Crown, Zamorak's Rebellion.
- Lead the lesser demons into the spiral staircase — they walk through the doorway, you must phase.
- With Snotpit, pick option 3 then "continue" — "cancel" loses the recipe.
- The Crypt shard's grave is randomised per world.
- Arrive rested — Summon Shelter does not work in The Bastion.
Running your own RuneScape: Dragonwilds server
A thirteen-shard hunt across a whole region is several evenings of work, split between whoever is online — which needs a world that holds progress between them. A gamever Dragonwilds server keeps Ashenfall available around the clock for up to six players, updates automatically so client and server versions never drift, and takes one-click backups before disruptive changes.
Conclusion
Black Knight's Fortress is Dragonwilds' seventh primary quest, requiring Withering Heights, and it is structured as a thirteen-shard scavenger hunt across Dowdun Reach rather than a combat gauntlet. The tool list is unforgiving — a spade, a steel or mithril pickaxe, a mithril logging axe and the Windstep spell are each required for shards you cannot otherwise reach — and one shard is gated behind Cooking 41 and a maple toastie, obtained through a two-goblin dialogue chain where choosing "cancel" instead of "continue" silently loses you the recipe. Others need the Library's four-book door order, three hidden levers in the Menagerie, a granite deposit in the Pastures, and a grave whose location is randomised in every world. The Black Knight Titan at the end is weak to water, immune to Burning and resistant to fire and slashing, so bring a mace or warhammer, water runes, Tempest Shield — which is not optional — and the Dragoncurse Shield from the previous quest. Arrive rested, because Summon Shelter does not work in The Bastion, and wait 55 seconds in the arena afterwards for the Titan Seal if you want a rematch.
Want thirteen shards split across six players? Rent a Dragonwilds server at gamever.io — instant setup, one-click backups and updates, and 24/7 uptime. Start with a free trial and use promo code WELCOME.