
The 7 Days to Die Web Dashboard and Live Map
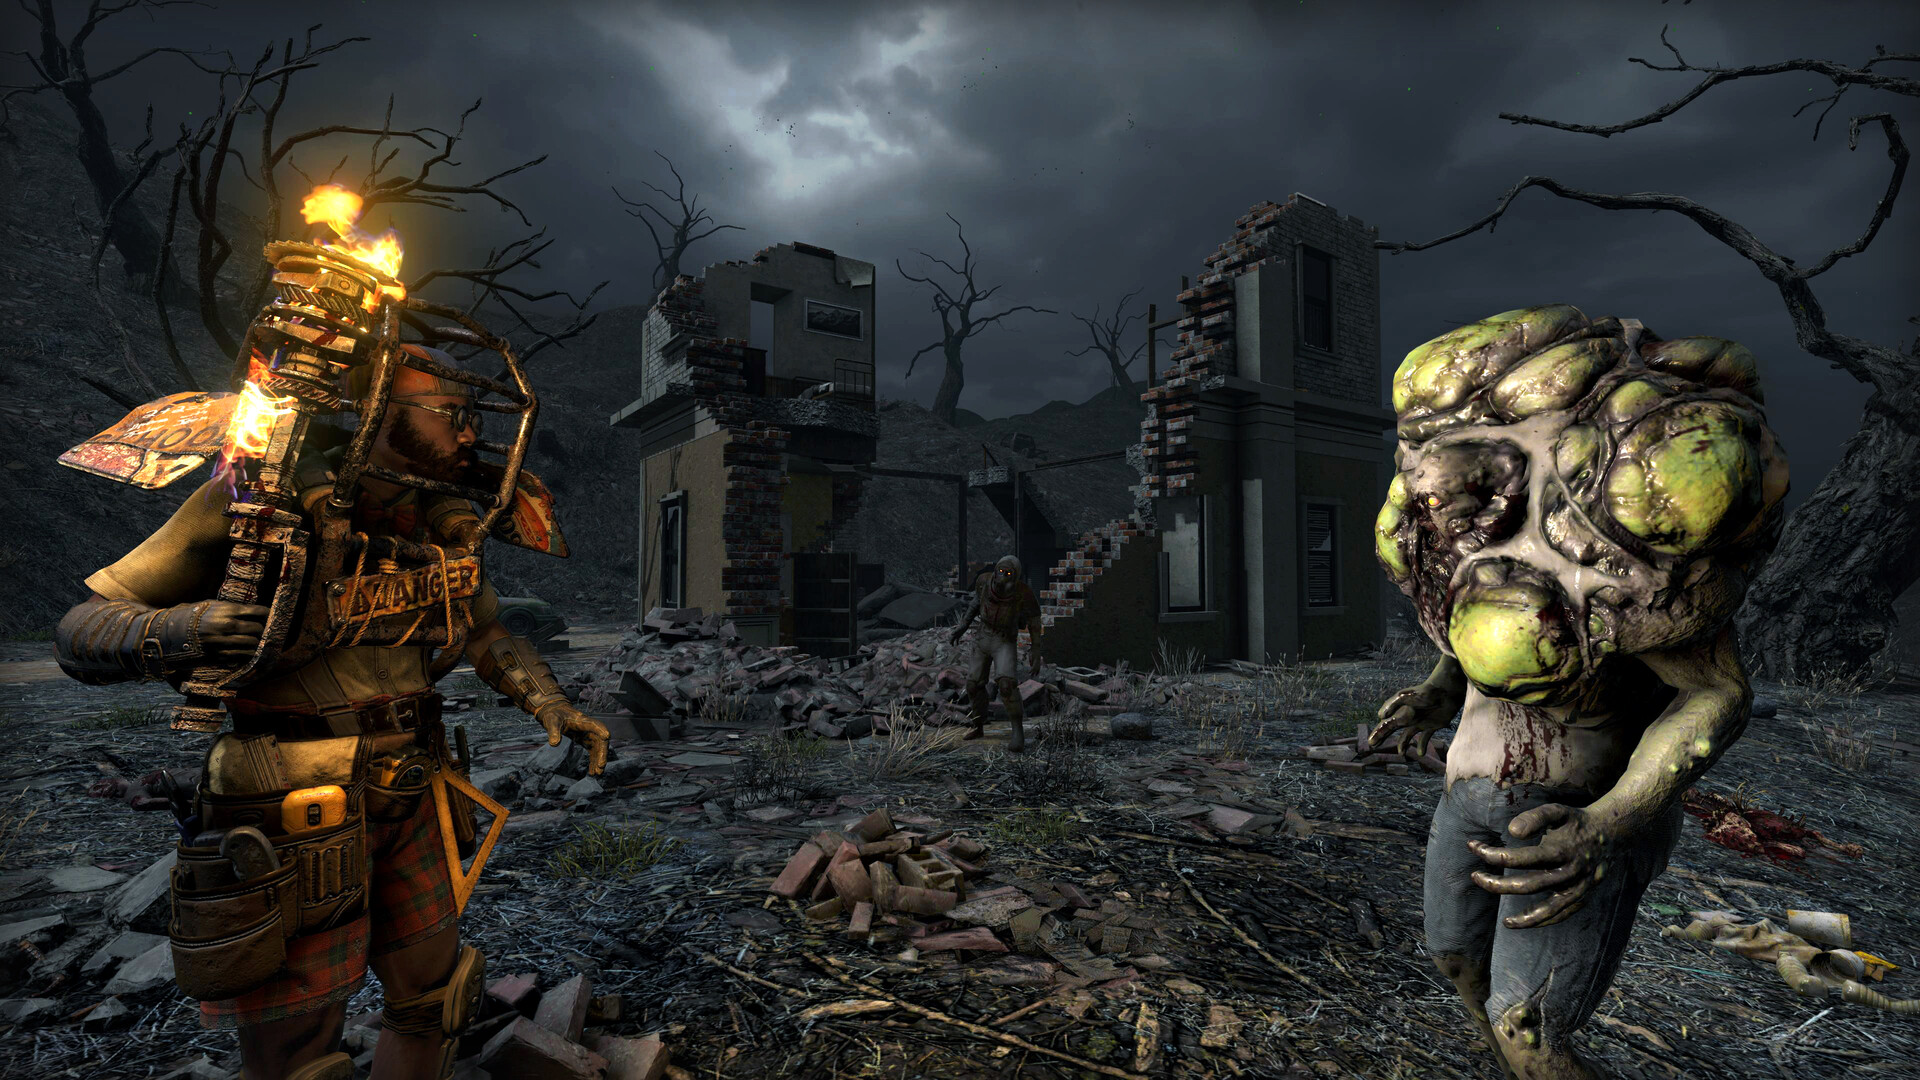
If you have ever wanted to watch your 7 Days to Die world fill in on a Google-Maps-style view in your browser, that is what the web dashboard and its live map do. They show the explored terrain and where players currently are, without anyone having to be in-game. This guide explains what the feature is, how it relates to the old Alloc's Server Fixes mod, which serverconfig.xml settings control it, and how to open it on a server hosted with gamever.
Alloc's Server Fixes vs. the built-in dashboard
The browser live map was originally pioneered by Alloc's Server Fixes, a long-running community mod that added a web map and a web API that external tools (player-tracking sites, management dashboards) could read.
Modern 7 Days to Die ships with a built-in Web Dashboard as part of the base dedicated server, and the explored-world map is served through it. In practice this means that for a standard live map you generally do not need to install Alloc's separately any more — you just enable the dashboard and map rendering that are already in the server config. Alloc's remains relevant mainly for advanced web-API features that some third-party tools still expect.
One important caveat: the exact build in which the map became part of the stock dashboard is reported inconsistently across community sources, so we are not quoting a version number here. If you are unsure what your build supports, check your server's own
serverconfig.xmlfor the settings below, or open a Support ticket and we will confirm it for your server.
Note also that if you do add the Alloc's mod itself, it contains .dll files, so Easy Anti-Cheat must be off to run it (and EAC-off servers drop out of crossplay) — see install mods.
The serverconfig.xml settings
The dashboard and map are controlled by a few entries in serverconfig.xml. On a gamever server you edit that file through the File Manager or over FTP (the Settings tabs don't expose these particular fields) — see server settings for where serverconfig.xml lives.
| Setting | What it does |
|---|---|
| WebDashboardEnabled | Turns the web dashboard on (true) or off (false). It is off by default, so you have to enable it. |
| WebDashboardPort | The port the dashboard listens on (the stock default is 8080). |
| EnableMapRendering | When true, the server renders the terrain players explore into map tiles. This is what the dashboard's map view displays — leave it off and the map stays blank. |
| WebDashboardUrl | Only needed when the dashboard sits behind a reverse proxy. For a direct connection it can stay empty. |
Set WebDashboardEnabled and EnableMapRendering to true, then Save the file and Restart the server from the Overview tab so it re-reads the config.
Making sure the port is reachable
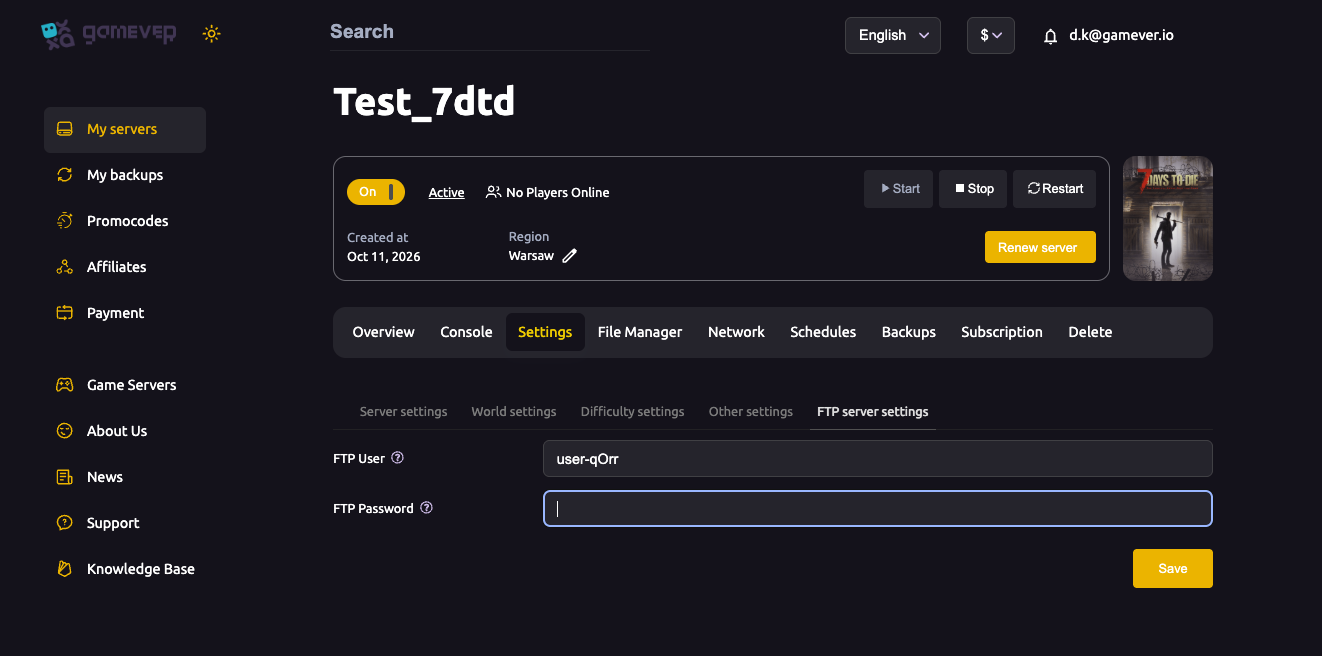
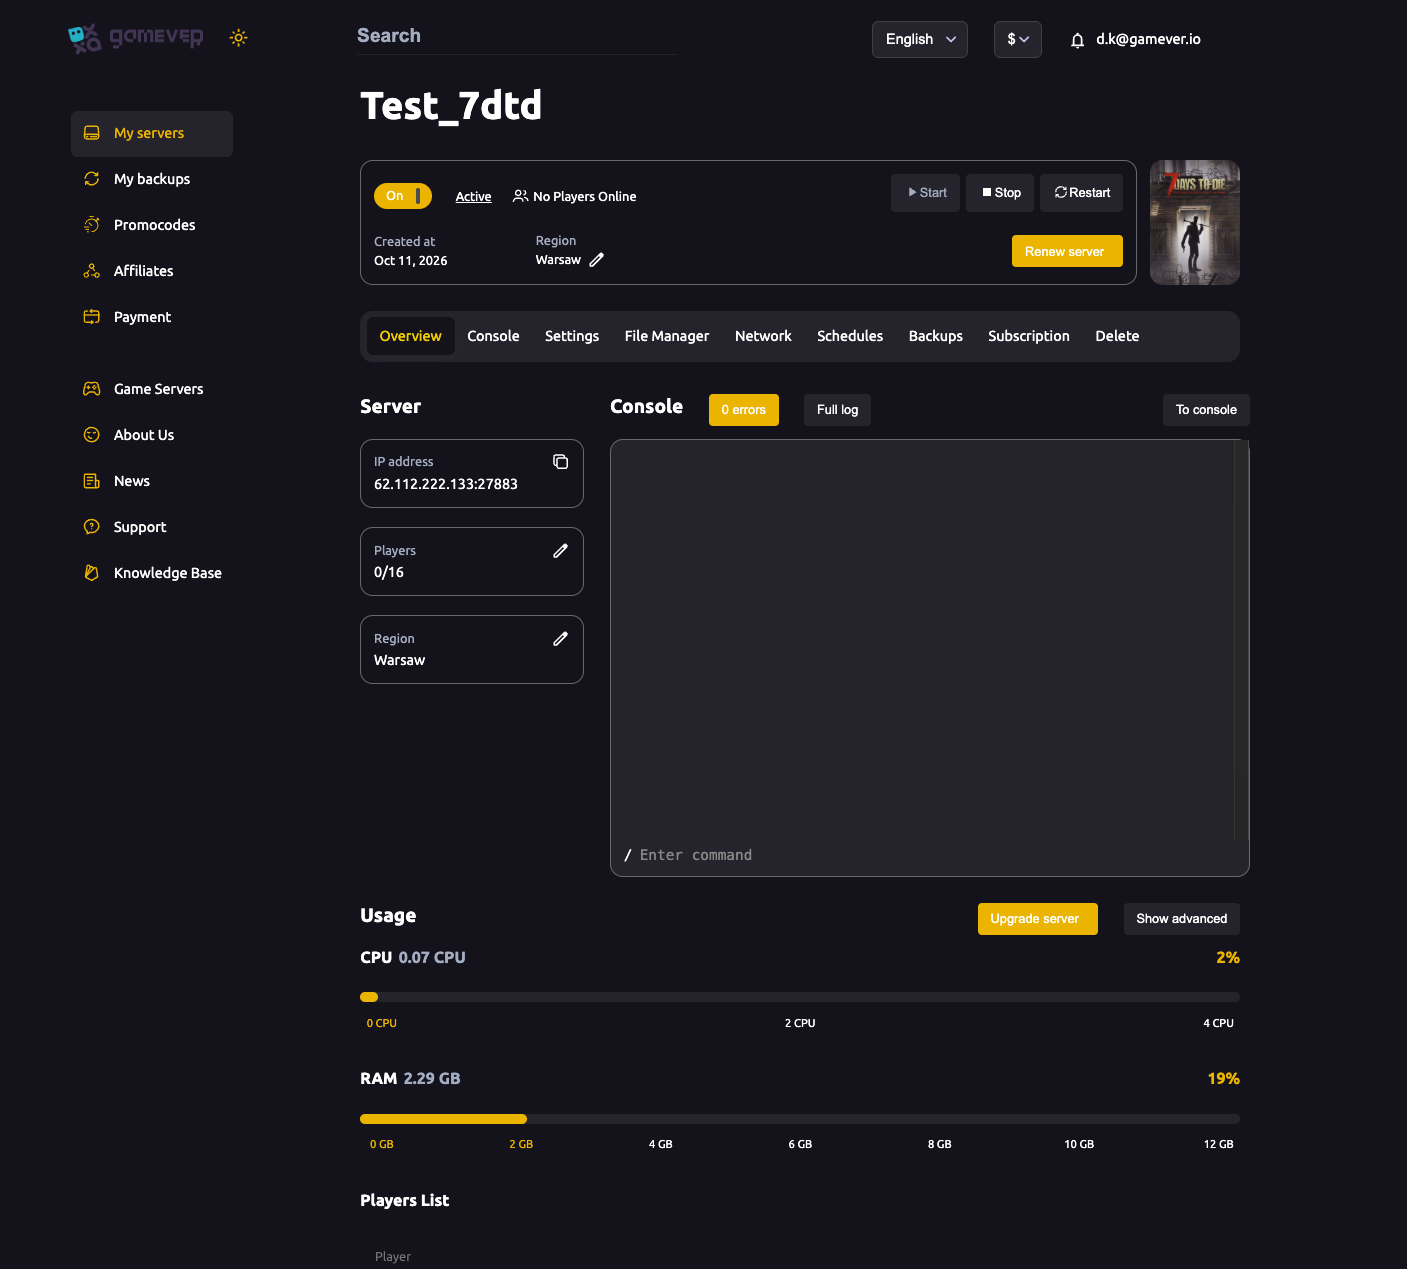
On a gamever server, your public address and the assigned ports are shown on the Network tab — check there for your server's IP, and make sure the dashboard port you set is one your server actually exposes. If you set a port and the dashboard won't load in a browser, don't guess at port-forwarding: the safe move is to open a Support ticket so we can confirm which port is open for the dashboard on your plan.
Viewing the live map
Once the server is running with the dashboard and map rendering enabled:
- Open a web browser and go to your server IP followed by the dashboard port (for example
your-server-ip:8080). - Open the map view in the dashboard.
- The map shows only the areas players have explored — it fills in as your group travels. To render the whole world at once you can run the
visitmapadmin command in the console.
Signing in to the dashboard as an admin unlocks extra management features; a plain viewer sees the map and region info.
Who can see it: web permissions
Access to the map is controlled by web permissions in serveradmin.xml (also editable via File Manager/FTP). Each web module, including the map, carries a permission level: level 2000 means anyone can view the map in a browser without signing in with Steam, while a lower level restricts it to logged-in admins. Pick the level that matches whether you want a public map everyone can watch or a private one only your admins see.
Additional Tips
- Enable both settings —
WebDashboardEnabledandEnableMapRendering. The dashboard with rendering off still loads, but the map stays empty. - The map only shows explored ground. Early on it looks sparse; it grows as players roam. Use
visitmapif you want the full world rendered immediately. - Decide public vs. private deliberately with the
serveradmin.xmlpermission level before you share the link. - A public live map reveals base locations to anyone with the URL — fine for a community server, risky for a competitive PvP one.
- Back up before editing config files by hand — see backup & restore.
- Not sure your build has the built-in map, or which port is open? Open a Support ticket rather than installing the standalone mod blindly.
Conclusion
The web dashboard and its live map turn your explored 7 Days to Die world into a browser view you can keep open on a second monitor or share with your community. The feature that Alloc's Server Fixes made famous is now built into modern dedicated servers: switch on WebDashboardEnabled and EnableMapRendering in serverconfig.xml, set the viewing permission in serveradmin.xml, restart, and open the dashboard port in your browser.
Rent your 7 Days to Die server at gamever.io — edit serverconfig.xml in the browser File Manager or over FTP, restart in a click, and reach out any time via Support. Free trial, promo code WELCOME.