
Managing Worlds on a Minecraft Bedrock Dedicated Server
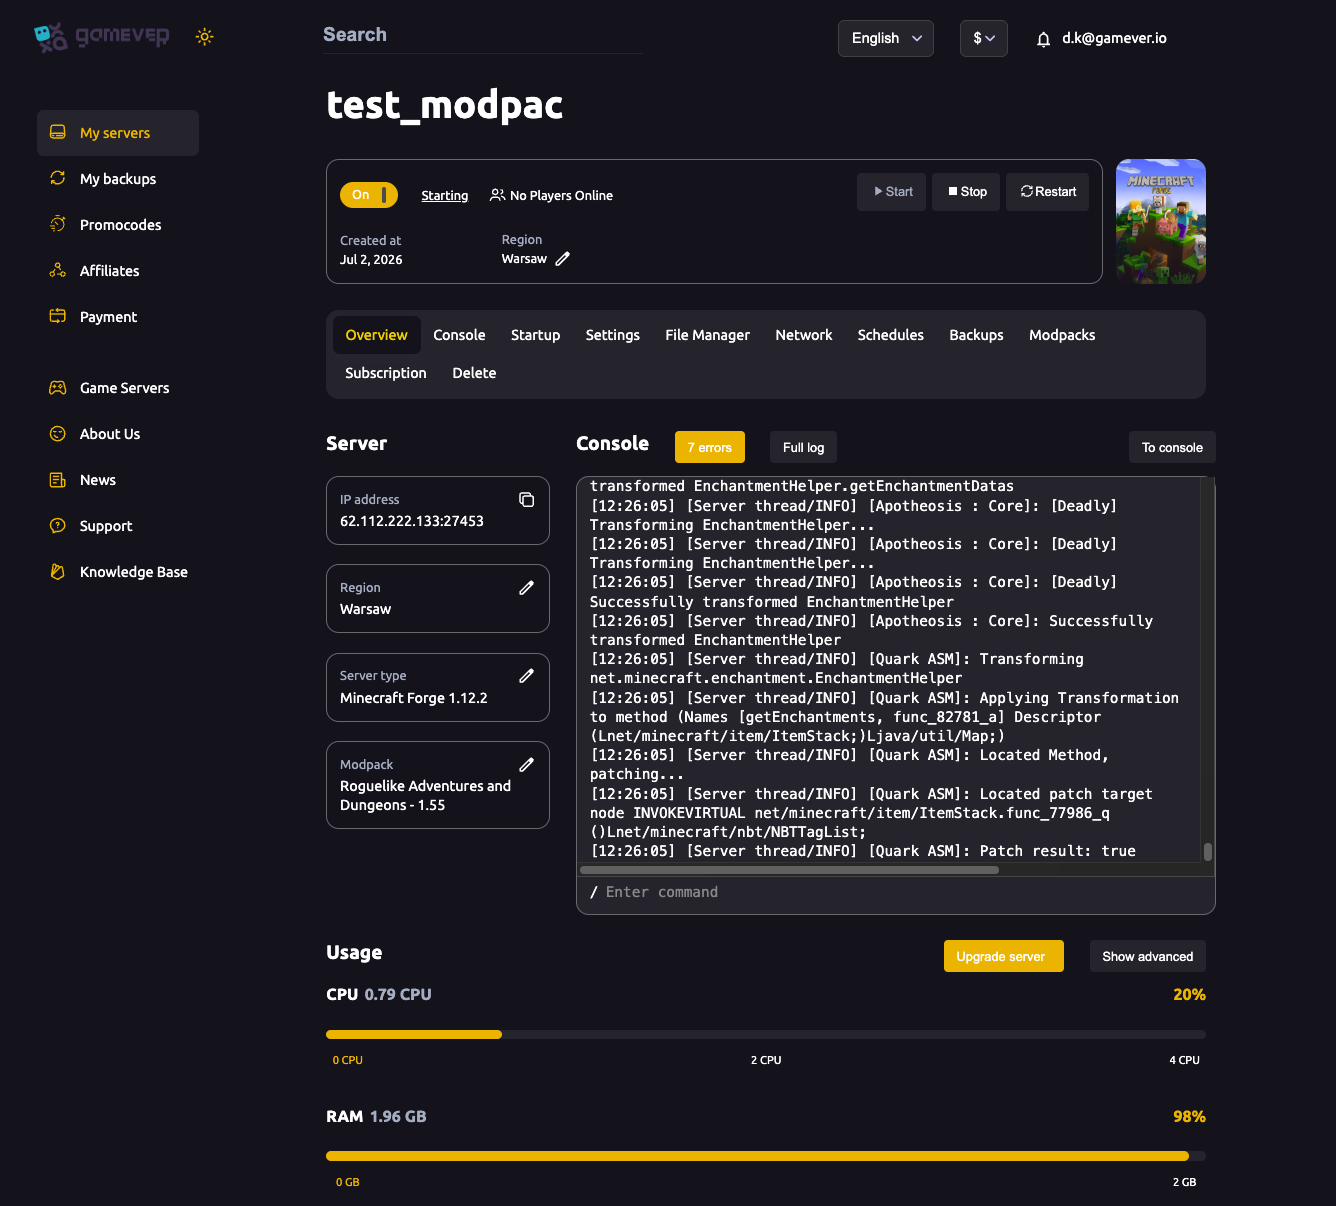
A Minecraft Bedrock Dedicated Server stores its worlds differently from a Java server, and knowing the layout makes uploading a world or taking a clean backup simple instead of risky. This guide covers where Bedrock worlds live on your gamever server, how the server decides which world to load, how to upload an existing Bedrock world through the panel, and — the part people get wrong most — how to back a world up safely so the save database never gets copied mid-write. It's Bedrock-only; for a Java server the folder layout is different (see the Java world upload guide).
How Bedrock stores worlds
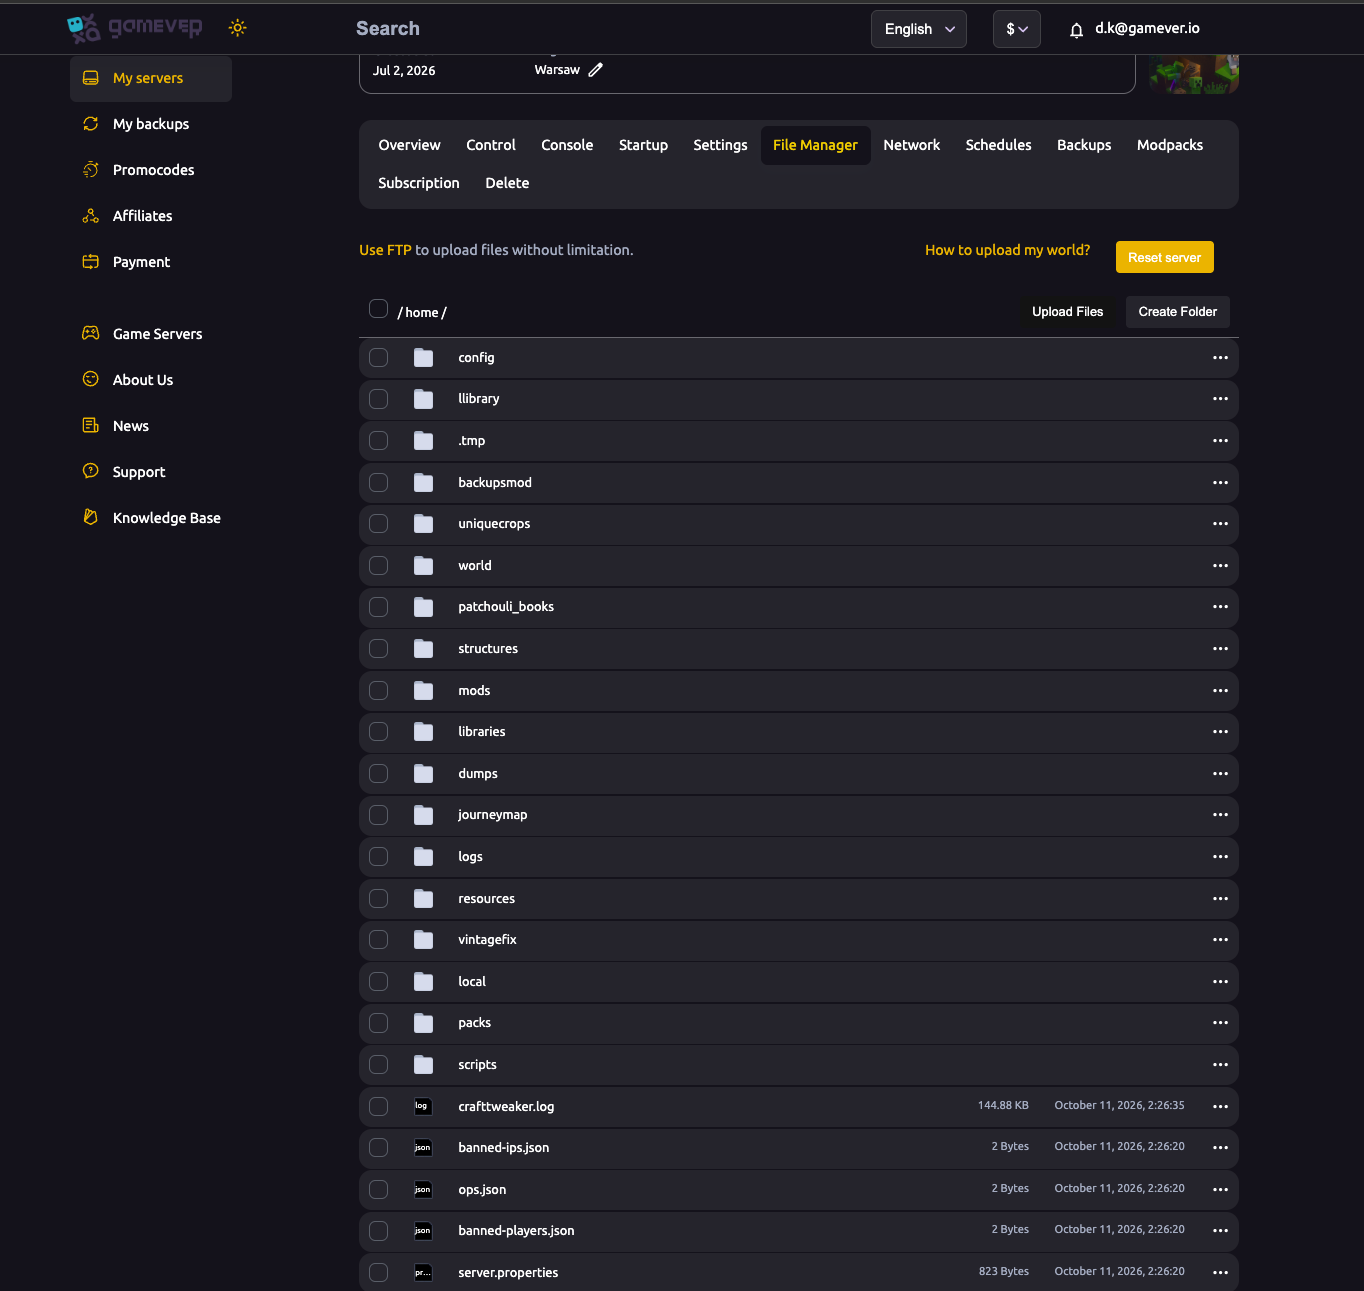
On a Bedrock Dedicated Server every world is its own folder inside a top-level worlds/ folder (note the plural — Java uses a single world/ folder instead). The default world folder is named Bedrock level. Open the File Manager tab in your gamever panel and you'll find worlds/ alongside server.properties.
Inside a world folder, three things matter:
| Item | What it is |
|---|---|
db/ | The LevelDB database — terrain, entities and world data for the Overworld, Nether and End all live here. This is the heart of the save. |
level.dat | The world settings file (little-endian NBT). |
levelname.txt | A plain text file holding the world's display name. |
You may also see level.dat_old (a previous copy) and world_icon.jpeg (the thumbnail). The db/ folder is the one that cannot be lost or copied half-written — more on that under backups.
Choosing which world loads: level-name
The server loads exactly one world, chosen by the level-name line in server.properties. Its value is the folder name inside worlds/:
level-name=Bedrock level
To run a different world, set level-name to match that world's folder name inside worlds/ exactly, capitalisation and spaces included. If no folder matches the name, the server quietly generates a brand-new world under that name instead of loading the one you expected — so a mismatch is the usual reason an uploaded world "didn't show up." Edit server.properties in the File Manager, change the one line, and save.
Uploading an existing Bedrock world
To bring a world from your device onto the server, you upload the whole world folder — the one containing db/, level.dat and levelname.txt:
- Stop the server from the Overview tab. A running server keeps writing to the active world, so uploading over a live world risks a corrupted save or an overwrite.
- Open the File Manager and go into
worlds/. - Upload your world folder into
worlds/as an unpacked folder. The server reads a plain folder — it does not read.mcworldor.zipfiles, so if your export is one of those, extract it first and upload the resulting folder. - Set
level-nameinserver.propertiesto match the uploaded folder's name exactly (see above). - Start the server from Overview and watch the Console to confirm it loaded your world rather than generating a new one.
Big worlds? A large world is thousands of small LevelDB files — far more reliable over FTP than through the browser uploader. Your FTP address, user and password are on the Network tab and under Settings → FTP; point an FTP client such as FileZilla at them and drop the folder into worlds/. See getting started for where the panel's addresses live.
Backing up a world safely
The one rule for Bedrock backups: never copy the db/ LevelDB while the server is actively writing to it. A mid-write copy can be corrupt. There are two safe ways to avoid that.
Option 1 — Stop, then copy (simplest)
Stop the server from Overview, then copy or download the world folder from worlds/ over FTP or the File Manager. With the server stopped, nothing is being written, so the copy is always consistent. This is the recommended route for a one-off backup. See backup and restore for the panel's Backups tab and FTP download flow.
Option 2 — The live-backup commands (no downtime)
Bedrock has a built-in three-command sequence for backing up without stopping the server, run from the panel's Console tab:
| Command | What it does |
|---|---|
save hold | Asks the server to prepare for a backup. Returns immediately. |
save query | Poll this repeatedly; once it reports success it returns the list of files to copy and the exact length of each. |
save resume | Tells the server it may resume its normal save behaviour once you've finished copying. |
The server keeps running throughout, so files can still change underneath you — the sequence is only valid if you copy only the files save query lists and truncate each copied file to the length it reported. That truncation detail is why this path is meant for automated backup tooling rather than a quick manual grab; for a hands-on backup, Option 1 is safer and easier.
Additional Tips
- Match
level-nameto the folder name exactly — a mismatch makes the server generate a fresh world instead of loading yours. - Upload folders, not archives — extract
.mcworld/.zipexports first; the server only reads a plain world folder. - Stop the server before swapping or overwriting a world, every time.
- Protect
db/above all — it's the LevelDB save; a half-copieddb/is a corrupt backup. - Use FTP for whole worlds — thousands of tiny files transfer far more reliably than through the browser.
- Watch the Console on first start to confirm your world loaded rather than a new one.
Conclusion
Bedrock world management comes down to a few facts: worlds sit in worlds/<folder>/ with a LevelDB db/, level.dat and levelname.txt; the level-name line in server.properties picks the one that loads and must match the folder name exactly; and you upload a world as an unpacked folder through the File Manager or FTP. For backups, either stop the server and copy, or use save hold / save query / save resume so the LevelDB is never read mid-write.
Rent your Minecraft Bedrock server at gamever.io — full File Manager and FTP access, a built-in Console and one-click backups make managing your worlds easy. Free trial, promo code WELCOME.