
How to Use Repair Tool in Sons of the Forest
Surviving the treacherous world of Sons of the Forest requires more than just fending off enemies; it also demands the ability to maintain and repair your base and tools.

Crafting the Repair Tool
When it comes to keeping your base intact and your traps functional, the repair tool is your best friend. Begin by gathering the necessary materials: a stick, a rock, and a rope. These items are abundant across the island, with sticks and rocks strewn across the forest floor and rope often found in campsites and crash sites.
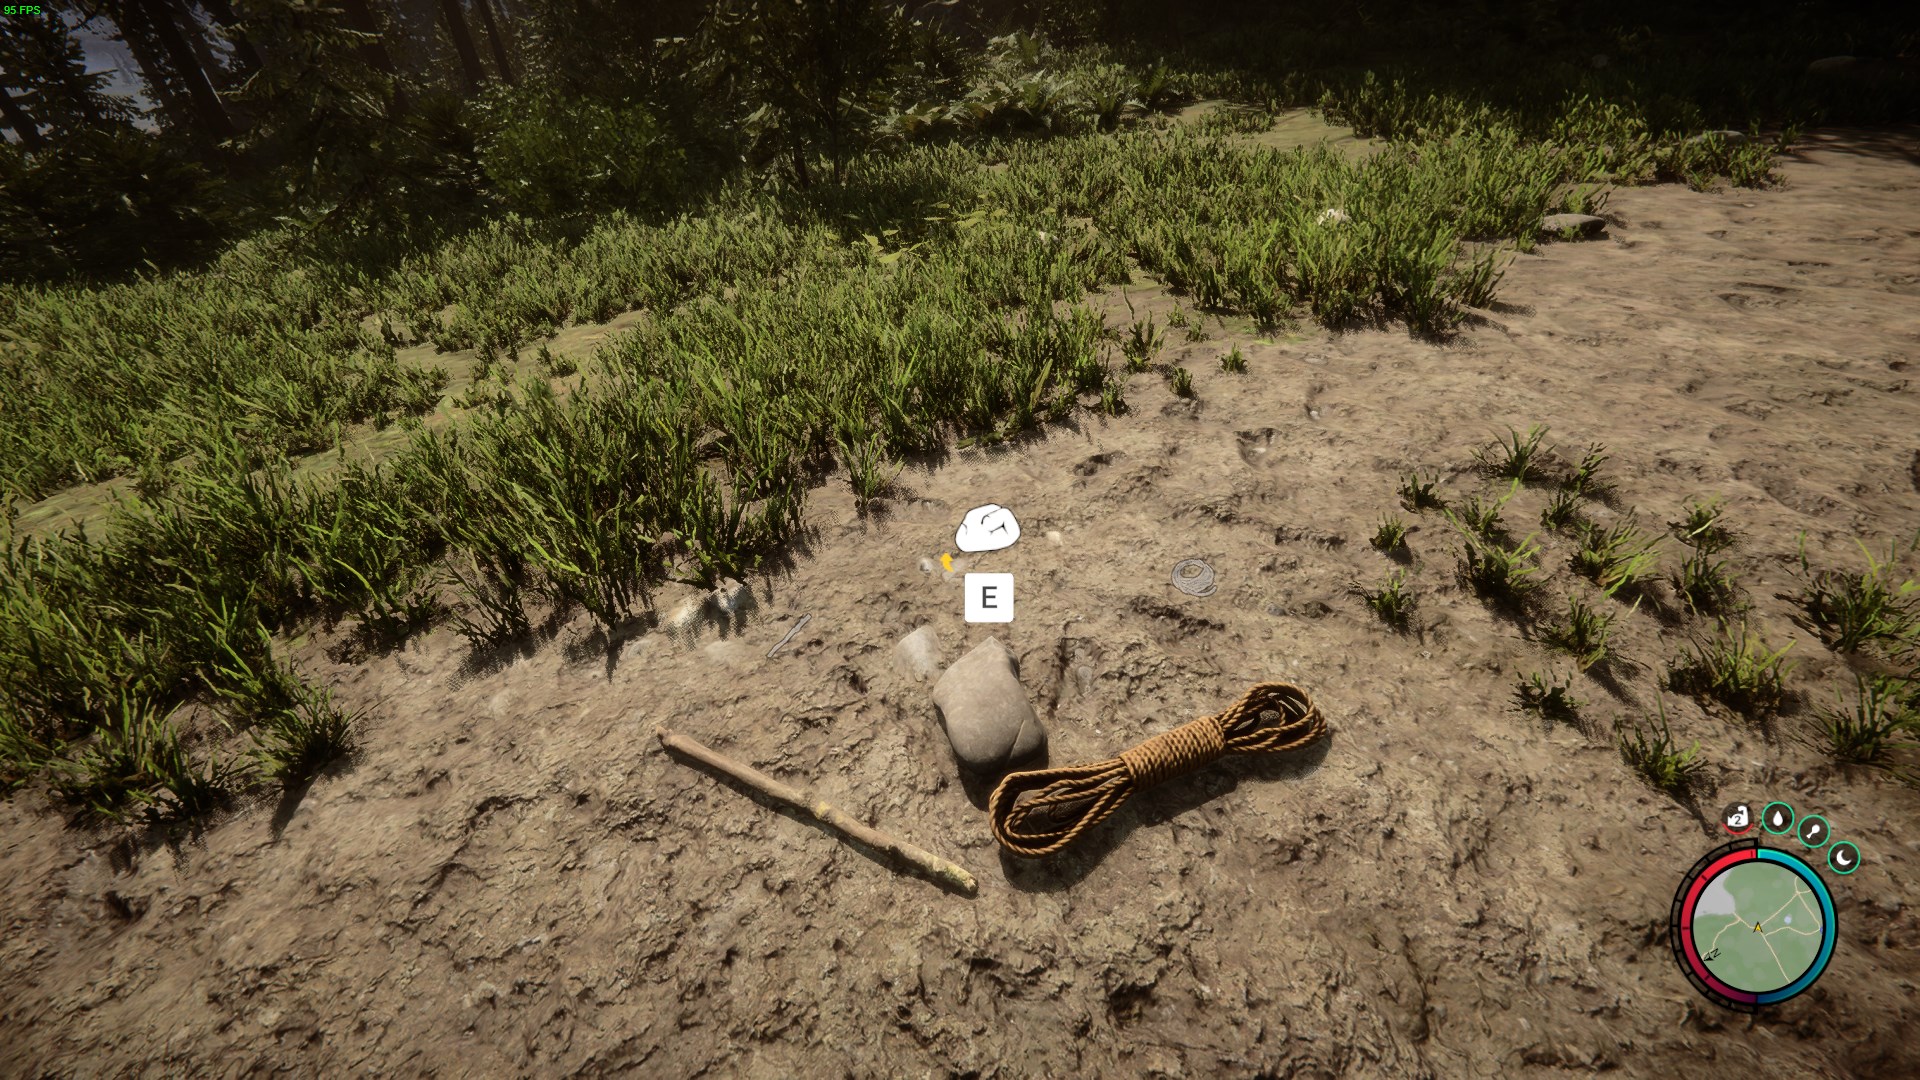
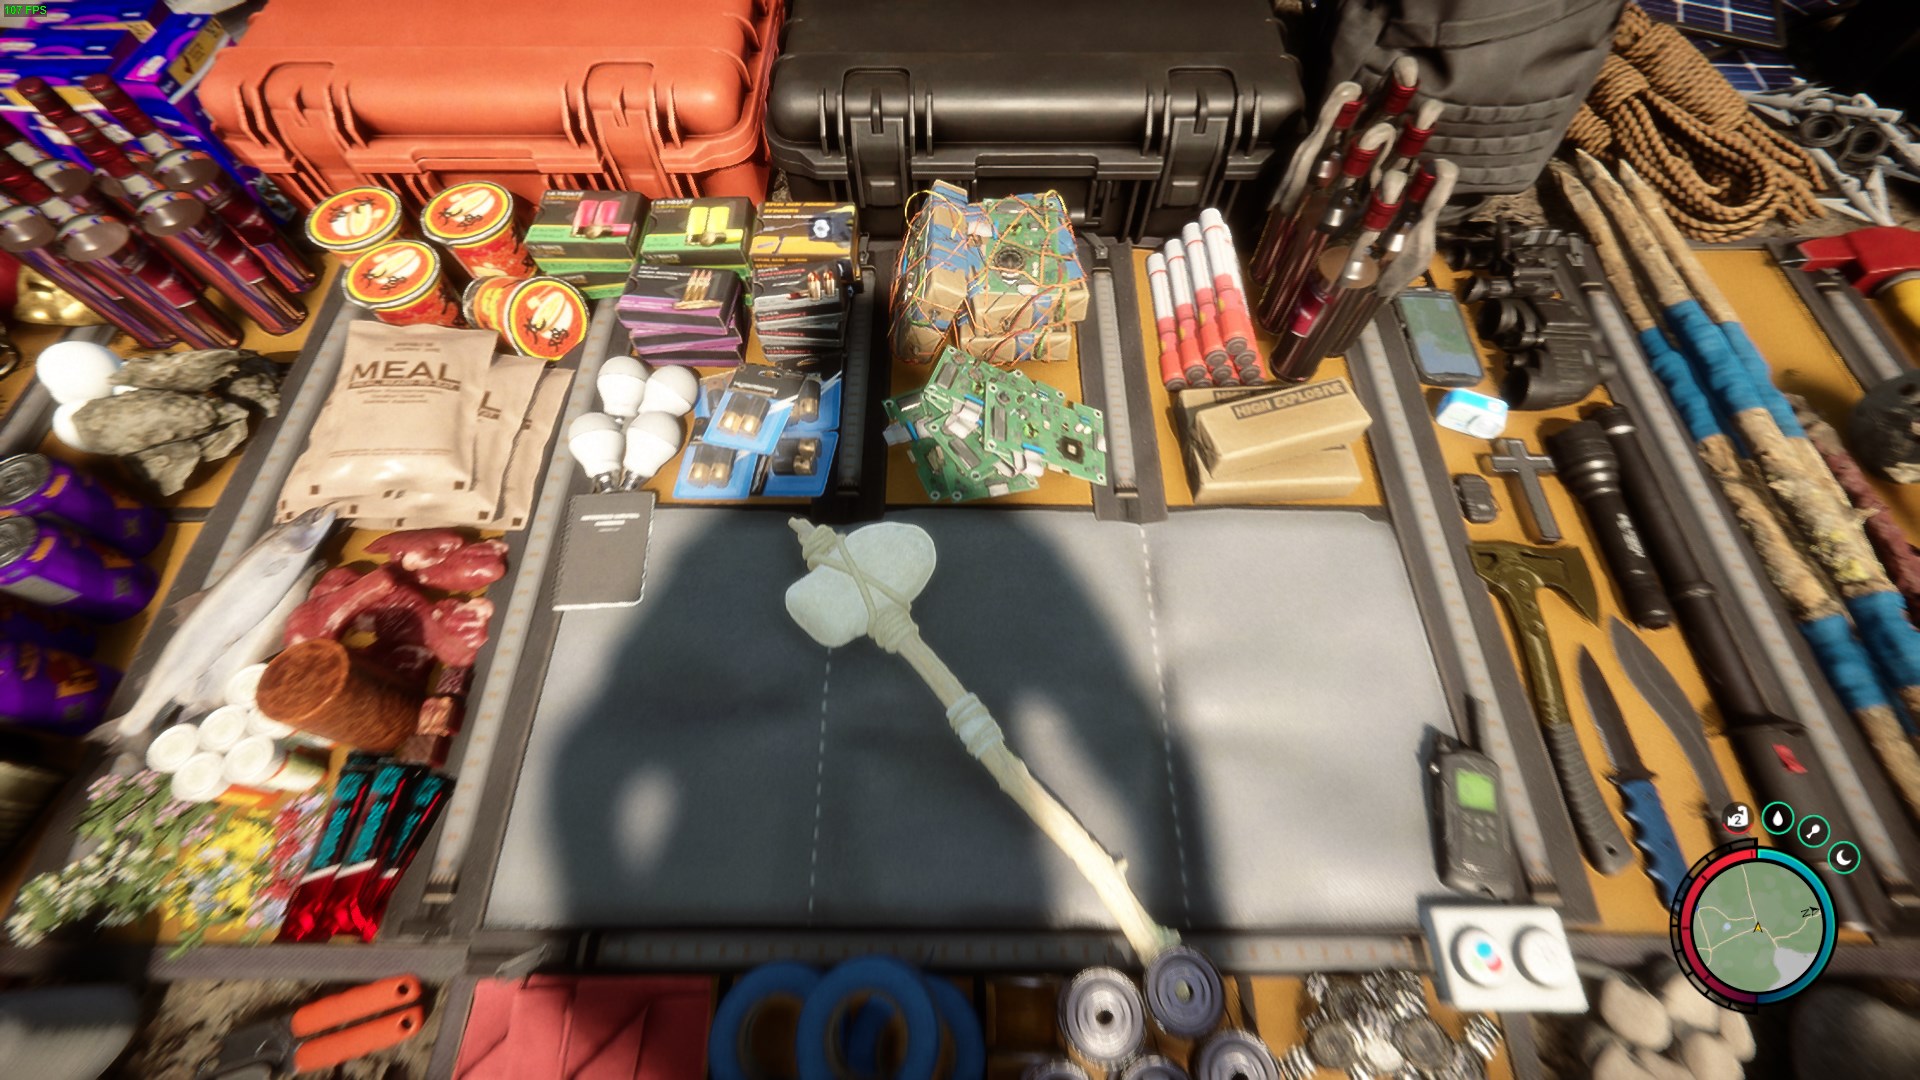
Once you've collected the required materials, open your inventory with the "I" key. Then, using the right mouse button, add each item to the crafting mat at the center of your screen. Once all items are placed, click on the gear icon to initiate the crafting process. Your repair tool is now ready for use.
Using the Repair Tool
With your repair tool crafted and at the ready, it's time to put it to use.
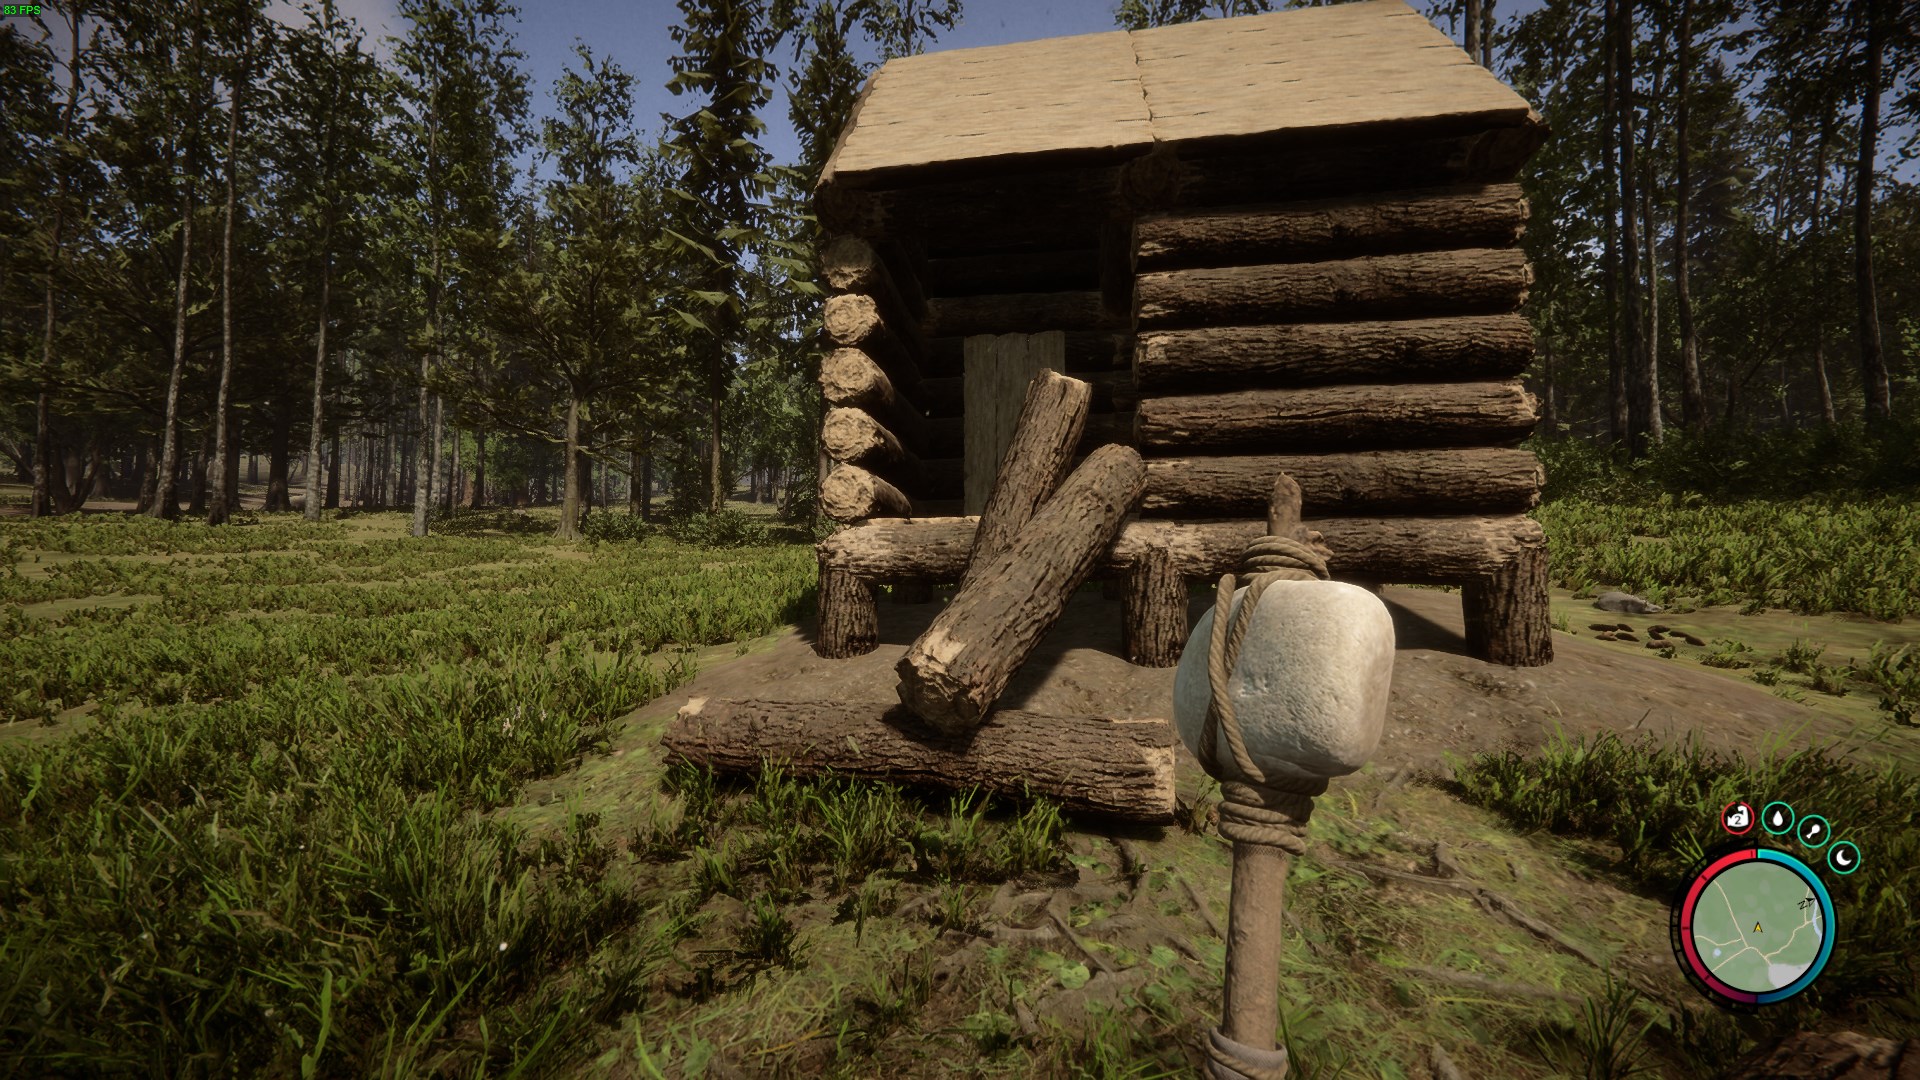
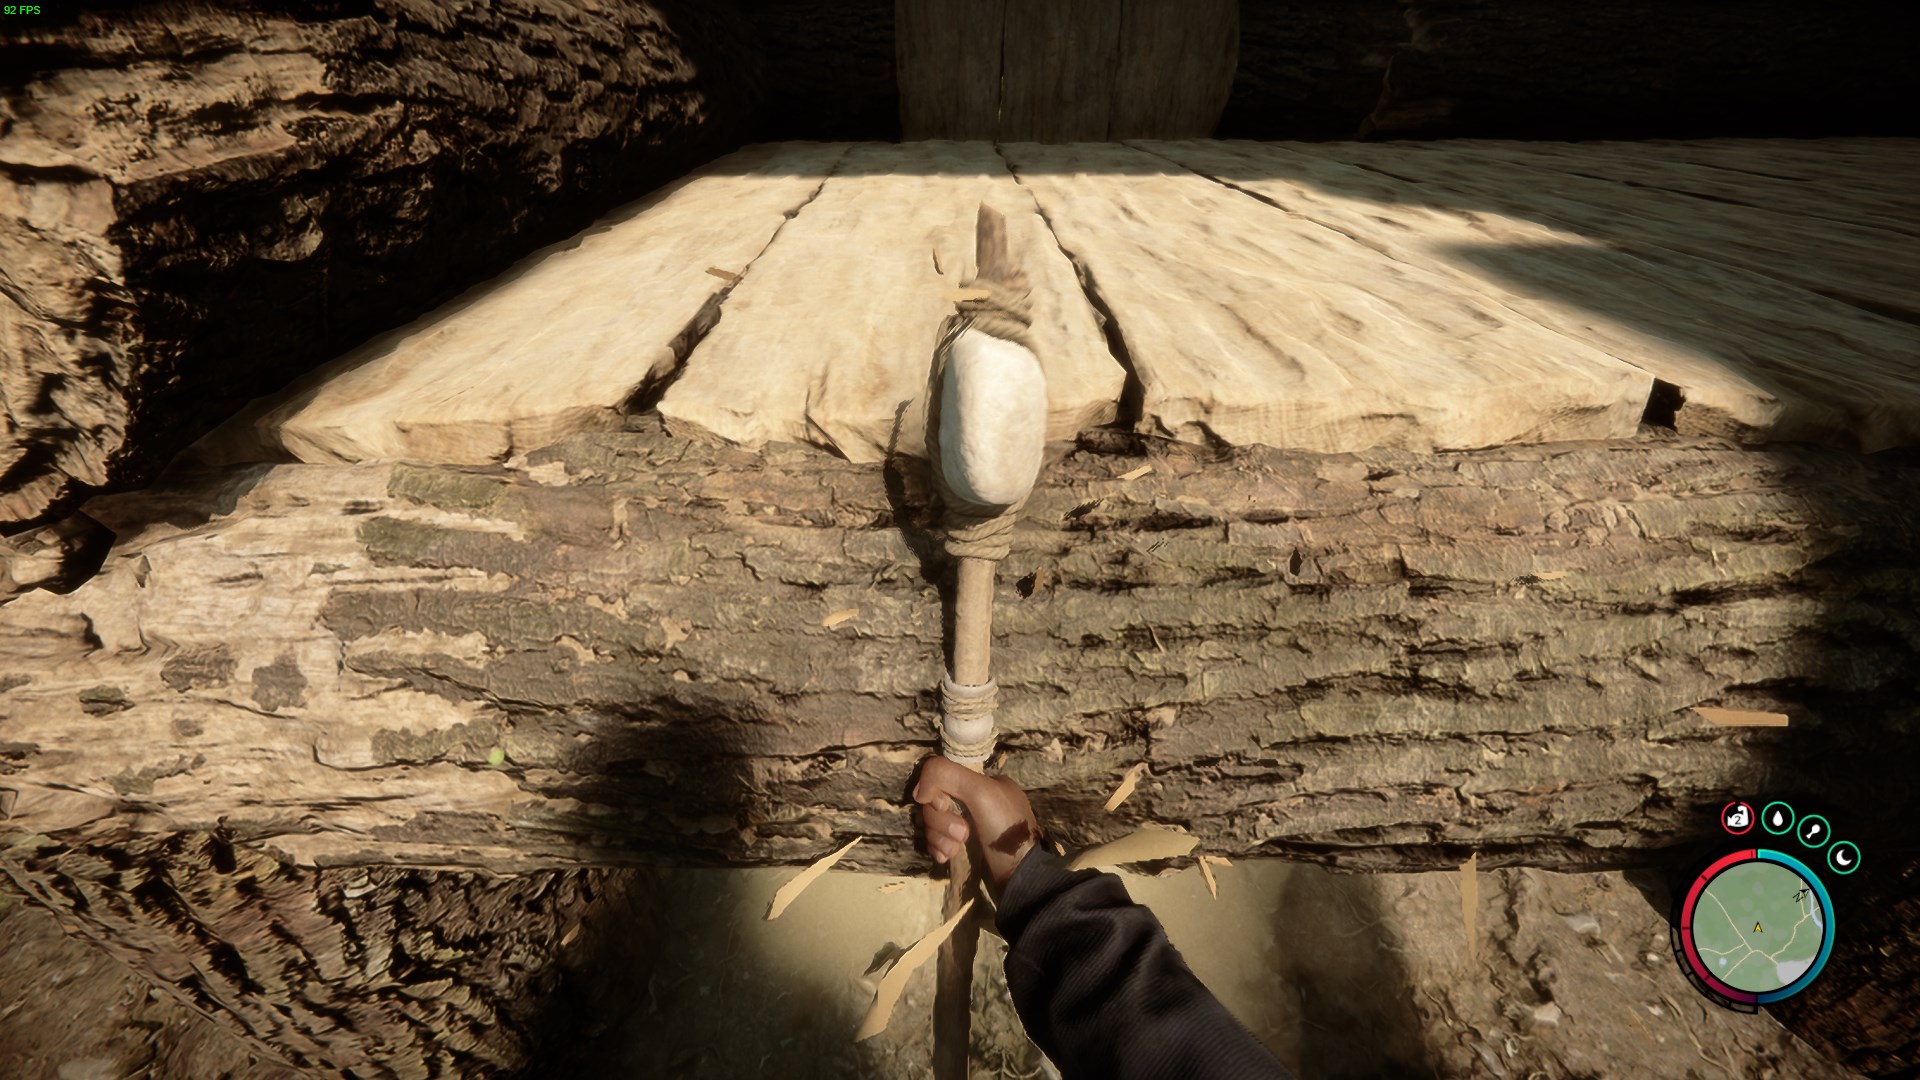
When you notice damage to your base or traps, equip the repair tool from your inventory. Approach the damaged area and look for signs of wear and tear, such as dislodged logs or missing sections. If a piece is missing, you'll need to replace it, but if it's a simple repair job, such as a dislodged log, simply swing your repair tool at the damaged area. Your character will perform a repair animation, seamlessly fixing the damage and restoring your base to its former glory.
In Sons of the Forest, the ability to repair is just as vital as the skills needed to survive enemy encounters. By crafting and utilizing the repair tool effectively, you can ensure that your base remains secure and your traps remain operational, giving you a fighting chance against the dangers that lurk on the mysterious island. So, gather your materials, craft your repair tool, and embark on your journey to maintain and fortify your survival in Sons of the Forest.