
How to use armor inserts and slots in Rust The Crafting Update
These new additions allow players to modify their armor with special inserts that enhance protection against different types of damage. Let’s break down how these inserts work, how to get them, and how to use them to become the toughest player on the battlefield.
Armor slots
Not every piece of armor comes with insert slots. The only way to get armor with slots is by crafting it yourself. Armor found in the wild, looted from players, or spawned by admins won’t have slots. Additionally, not all crafted armor will have the maximum number of slots. The number of slots is determined by crafting quality, and you can improve your chances by using the new Crafting Quality Tea, which increases the odds of crafting higher-tier gear.
Not every armor piece can hold inserts; some types are completely excluded from the system. Here’s a breakdown of what can and can’t have slots:
- Armor that can have slots:
- Hazmat Suit (1-3 slots)
- Bucket Helmet (1-3 slots)
- Riot Helmet (1-3 slots)
- Bone Armor (Up to 3 slots)
- Bone Helmet (1 slot)
- Coffee Can Helmet (1 slot)
- Road Sign Chestplate & Kilt (Up to 3 slots)
- Metal Face Mask (1 slot)
- Metal Chestplate (Up to 3 slots)
- Armor that cannot have slots:
- Heavy Armor (No slots allowed)
- Wood Helmet (No slots)
Types of armor inserts
Once you have armor with slots, it’s time to add inserts. Each type of insert provides a different bonus:
- Wooden Insert: +2 projectile protection, +2 melee protection. Crafted at Workbench Level 1 for 150 Wood.
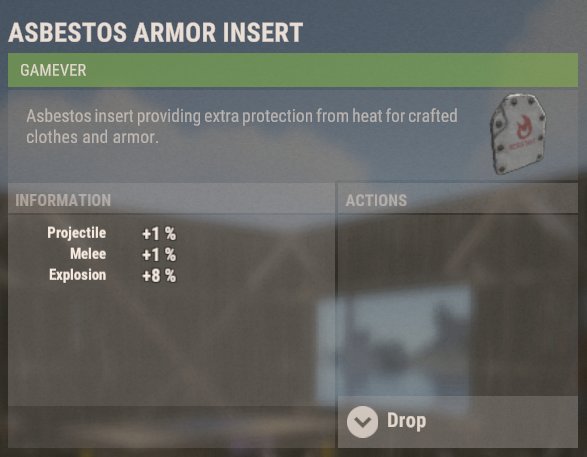
- Asbestos Insert: +1 projectile protection, +1 melee protection, +8 explosion protection. Crafted at Workbench Level 2 for 50 Metal Fragments.
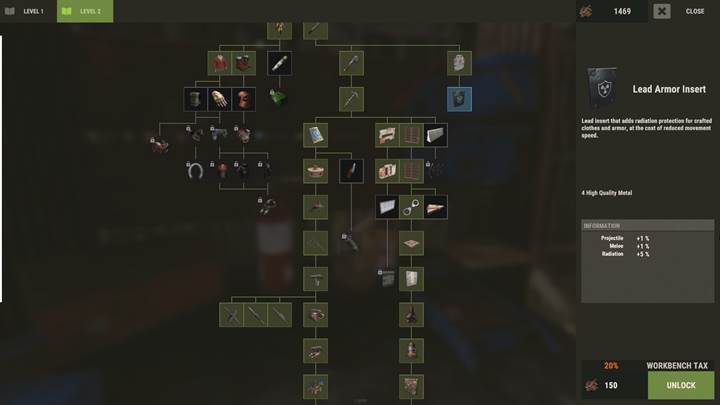
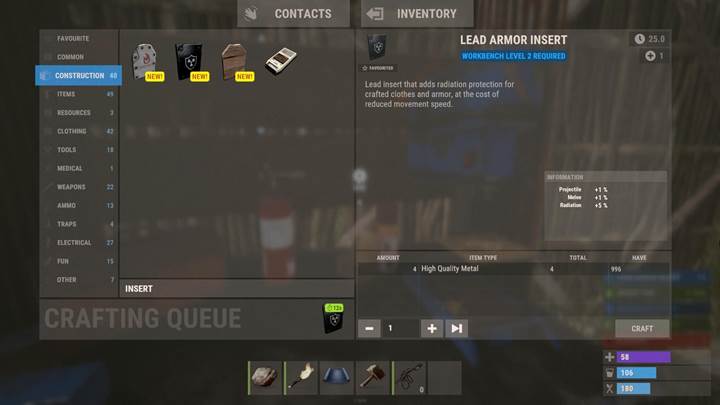
- Lead Insert: +1 projectile protection, +1 melee protection, +5 radiation protection. Crafted at Workbench Level 2 for 4 High-Quality Metal.
- Metal Insert: +4 projectile protection, +2 melee protection. It cannot be crafted - only found in loot crates and high-tier locations.
Crafting and applying inserts
You’ll need a Workbench and the corresponding materials to craft the basic inserts. Once crafted, drag the insert into an open slot on your armor. You can mix and match inserts to create a custom loadout. For example, stack Lead Inserts into your armor for maximum radiation resistance if you're exploring high-radiation areas.
Limitations and balancing
While armor inserts provide powerful buffs, they aren’t without their downsides. Some key limitations include:
- Random slot allocation: Even with Crafting Quality Tea, there’s no guarantee you’ll get max slots on an item.
- No visibility on enemy inserts: You won’t know what inserts an enemy uses until you engage them in combat.
- Metal Inserts are loot-only: You’ll have to search high-tier crates or steal them from other players.
Armor inserts add a whole new level of strategy to Rust’s survival gameplay. Start crafting, experiment with different loadouts, and use your new armor enhancements to dominate the battlefield.