
How to Upload a Singleplayer World to Your Minecraft Server
That world you've been building in singleplayer doesn't have to stay on your PC. You can move the whole save — terrain, builds, chests, the Nether and the End — onto your gamever Minecraft Java server so your friends can join it around the clock. It's a file copy, not a conversion: you take the world folder off your computer and drop it into the server's world/ folder through the panel. This guide walks through it safely, and is honest about the one thing that doesn't come along for the ride.
Before you start: back up and match the version
Two quick checks save a lot of grief:
- Back up the server's current world first. You're about to overwrite it. Take a snapshot from the Backups tab, or download the existing
world/folder over FTP, so nothing is lost if you change your mind. - Match the server to the world. A save made in 1.21 vanilla needs a 1.21 vanilla (or compatible) server; a modded save needs the same mods/modpack loaded. Set this on Settings → Change server type before you upload — see change server type. Loading a world under the wrong version or mod set can corrupt it.
Step 1 — Find the save on your PC
Singleplayer worlds live in the saves folder inside your .minecraft game directory, each in its own folder named after the world:
| OS | Path to saves |
|---|---|
| Windows | %APPDATA%\.minecraft\saves |
| macOS | ~/Library/Application Support/minecraft/saves |
| Linux | ~/.minecraft/saves |
Open the folder named after your world. Inside you'll see level.dat (the main world file), the region/dimension data, data/, datapacks/ and the rest. That whole set of files is your world — you'll be uploading its contents.
Step 2 — Stop the server
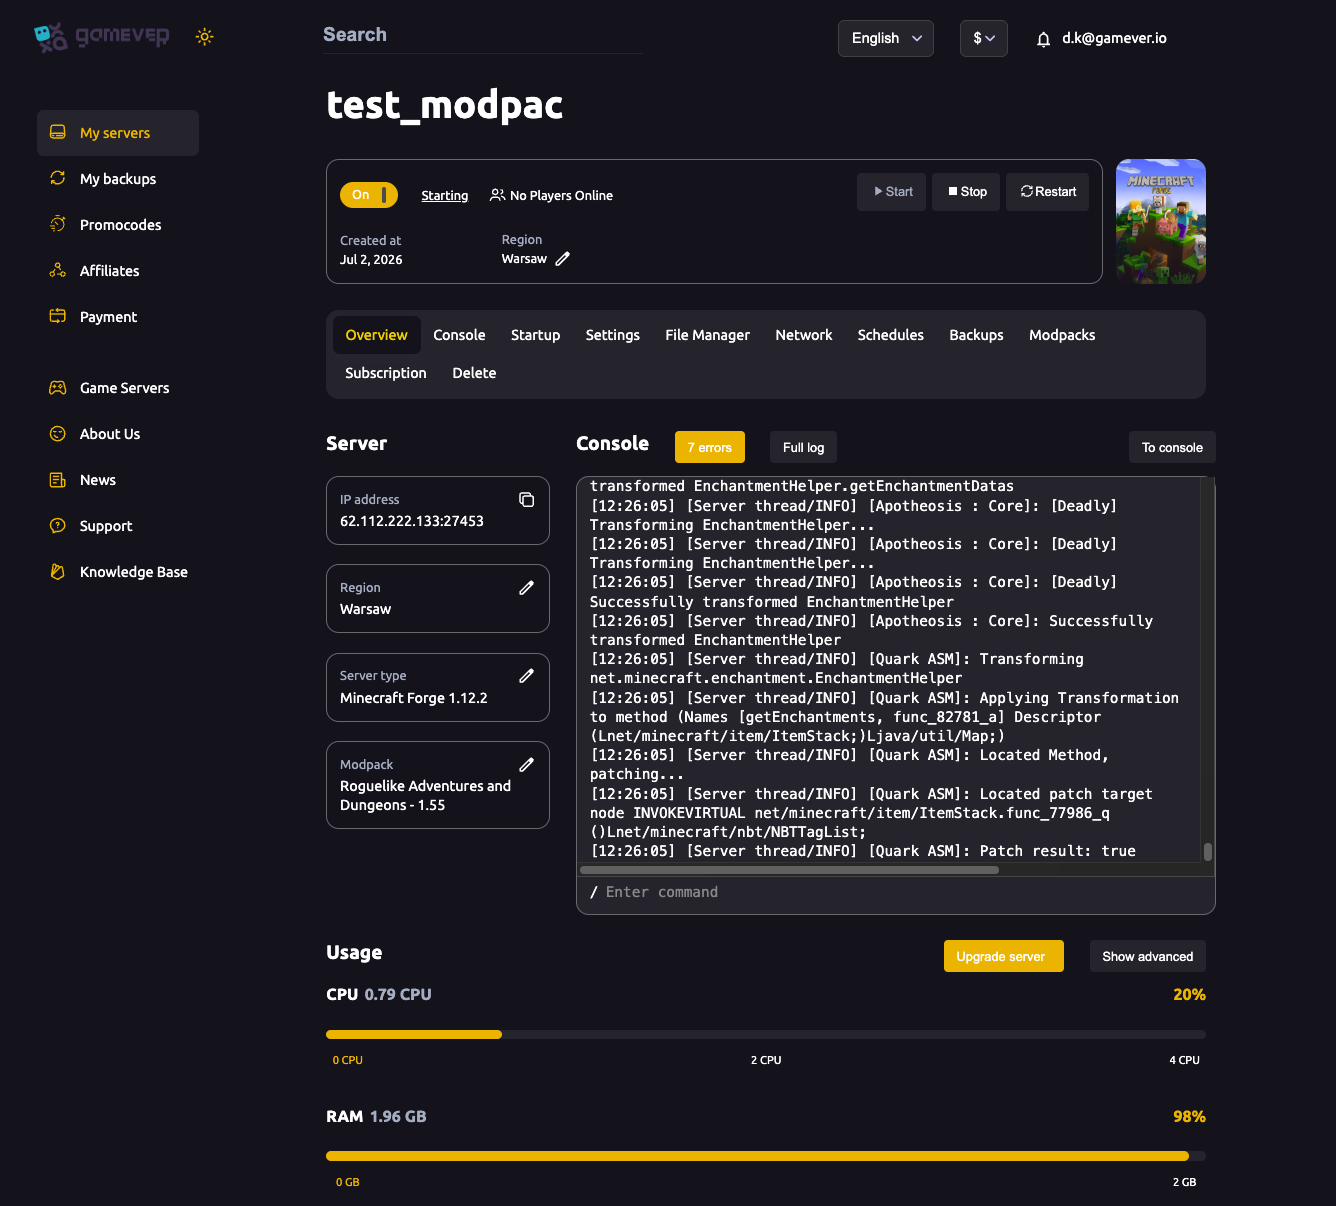
Open the Overview tab and Stop the server before you touch any files. Uploading a world to a running server risks a half-written, corrupted save, and the server rewrites world files as it runs, so your upload could be overwritten. Wait until it shows fully stopped.
Step 3 — Upload into the world/ folder
By default the server loads a world folder named world (that's the level-name value in server.properties — more on that below). The simplest route is to replace what's in it:
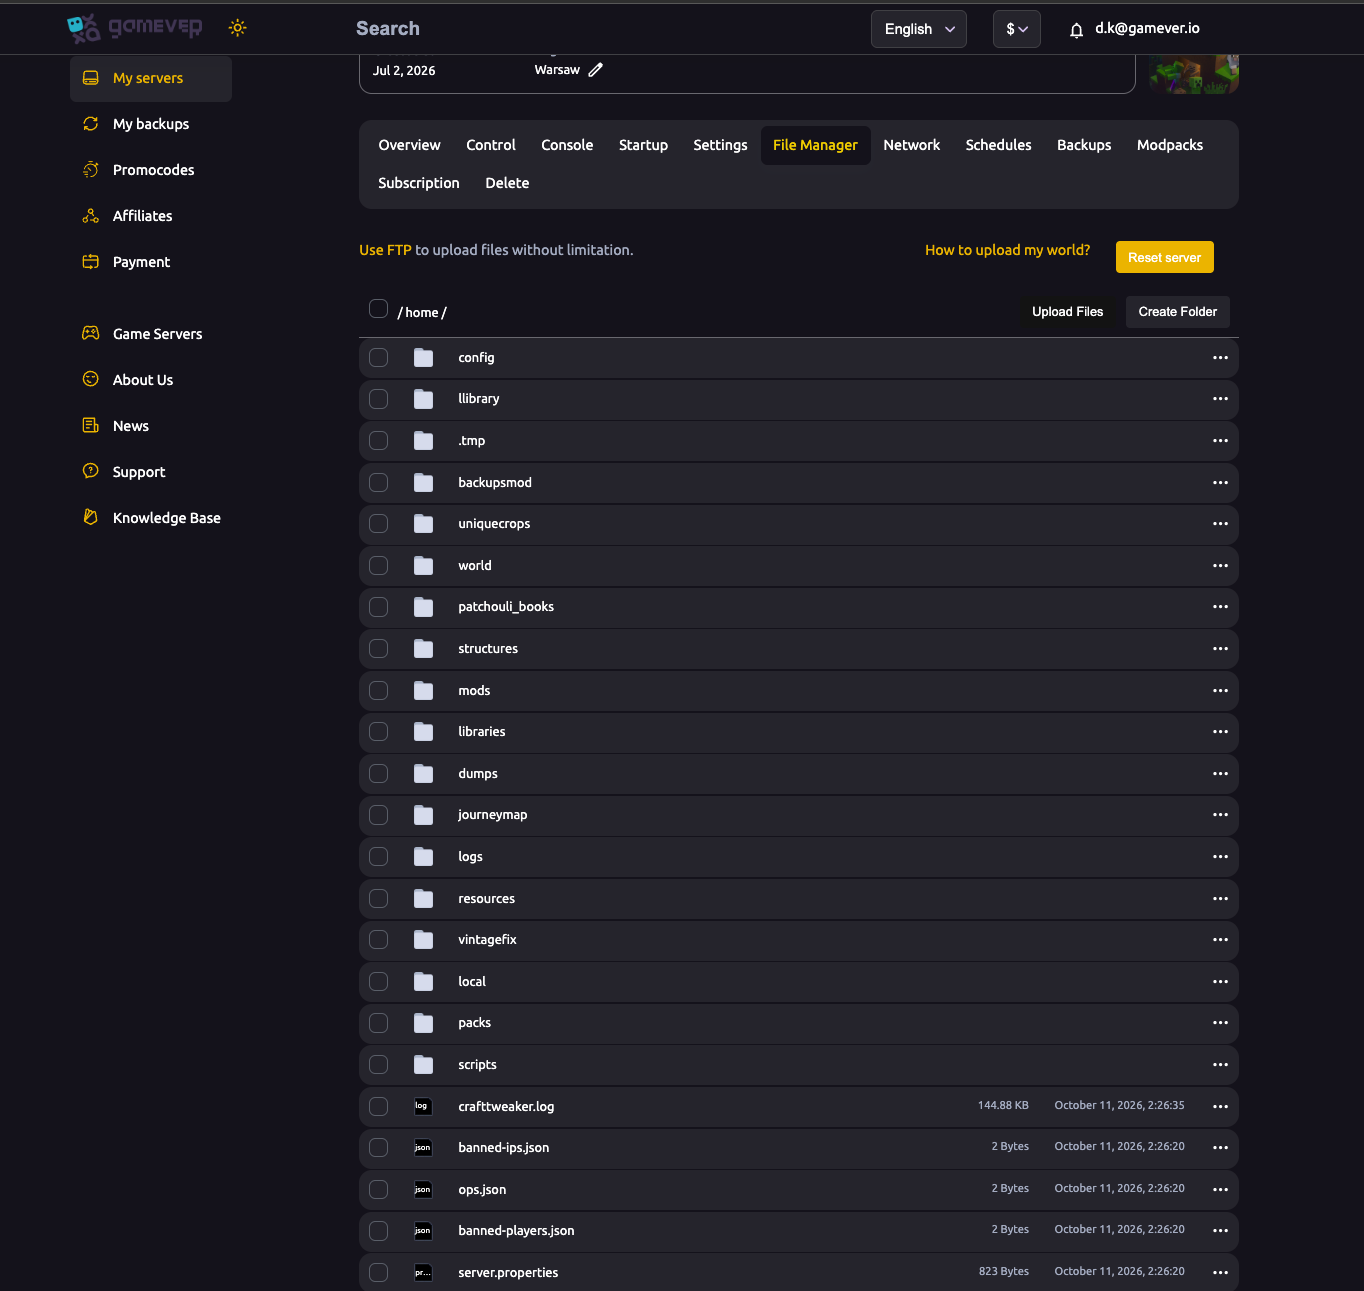
- Open the File Manager tab. In the
/home/view you'll seeserver.properties,ops.json, and folders includingworld/. - Open
world/and delete its current contents (you backed these up in Step 0). - Upload the contents of your PC save folder —
level.dat, the region/dimension data,data/and so on — directly intoworld/. Upload the files inside the save folder, not the outer folder itself, so they land at the top level ofworld/.
Big worlds? Use FTP instead. A large or modded save can be thousands of files — far more reliable to transfer over FTP than through the browser. Your FTP address, port and login are on the Network tab and Settings → FTP; point any FTP client (such as FileZilla) at them and drop the files into world/. See getting started for where the panel's addresses live.
Step 4 (optional) — Keep the save's own name with level-name
If you'd rather not clear the existing world/ folder, you can upload your save as its own folder and tell the server to load it:
- Upload the whole save folder (e.g.
MyBase) into/home/alongsideworld/. - Open
server.propertiesin the File Manager and set thelevel-nameline to match the folder name exactly:
level-name=MyBase
level-name is both the world's name and its folder path. If a valid world exists at that path the server loads it; otherwise it generates a fresh one there — so the folder name and the level-name value must match exactly, including capitalisation.
- Save the file.
Step 5 — Start and check
Start the server from Overview and watch the Console. When it reaches Active, join with your usual IP and you should spawn in your uploaded world. If you instead land in a brand-new world, the server didn't find your save — double-check that the files are at the top level of the folder (level.dat directly inside it) and that level-name matches.
What carries over — and what doesn't
Carries over (it's all in the save files): every block and build, chest and furnace contents, the terrain you've explored, the Nether and the End, item frames, map data and your village/structure progress. The world arrives exactly as you left it.
Server-controlled, not from the save: game mode and difficulty are set by the server, not read from your singleplayer file. Set them on Settings → Server Settings after the upload — see server settings.
May not follow you automatically: your personal inventory and position. A server tracks each player's inventory separately from the singleplayer host data, so the first time you join you may spawn fresh at world spawn rather than where your singleplayer character stood. Anything you stored in chests is safe — that's part of the world, not your player file — so stash your gear before migrating if you want to be sure it survives.
Additional Tips
- Always back up the existing world first — the upload overwrites it, and a backup is your only undo.
- Stop the server before uploading — never swap world files while it's running.
- Match the server type and version to the save, especially for modded worlds — see change server type.
- Use FTP for large or modded saves — it's far more reliable than browser upload for thousands of files.
- Chests beat pockets. Since personal inventory may not transfer, store valuables in chests in the world before you move it.
- Watch the Console on first start to confirm the server loaded your world and not a new one.
Conclusion
Moving a singleplayer world onto your server is a straightforward file copy: back up, match the server version, stop the server, and drop your save's contents into the world/ folder via the File Manager or FTP — or upload it under its own name and point level-name at it. Your builds, chests and explored terrain all come along; game mode and difficulty you set in the panel, and your personal inventory is the one thing worth stashing in a chest first.
Rent your Minecraft Java server at gamever.io — full File Manager and FTP access, one-click backups and instant setup make bringing your own world over easy. Free trial, promo code WELCOME.