
How to set Ceiling Light in Rust Road Renegades Update
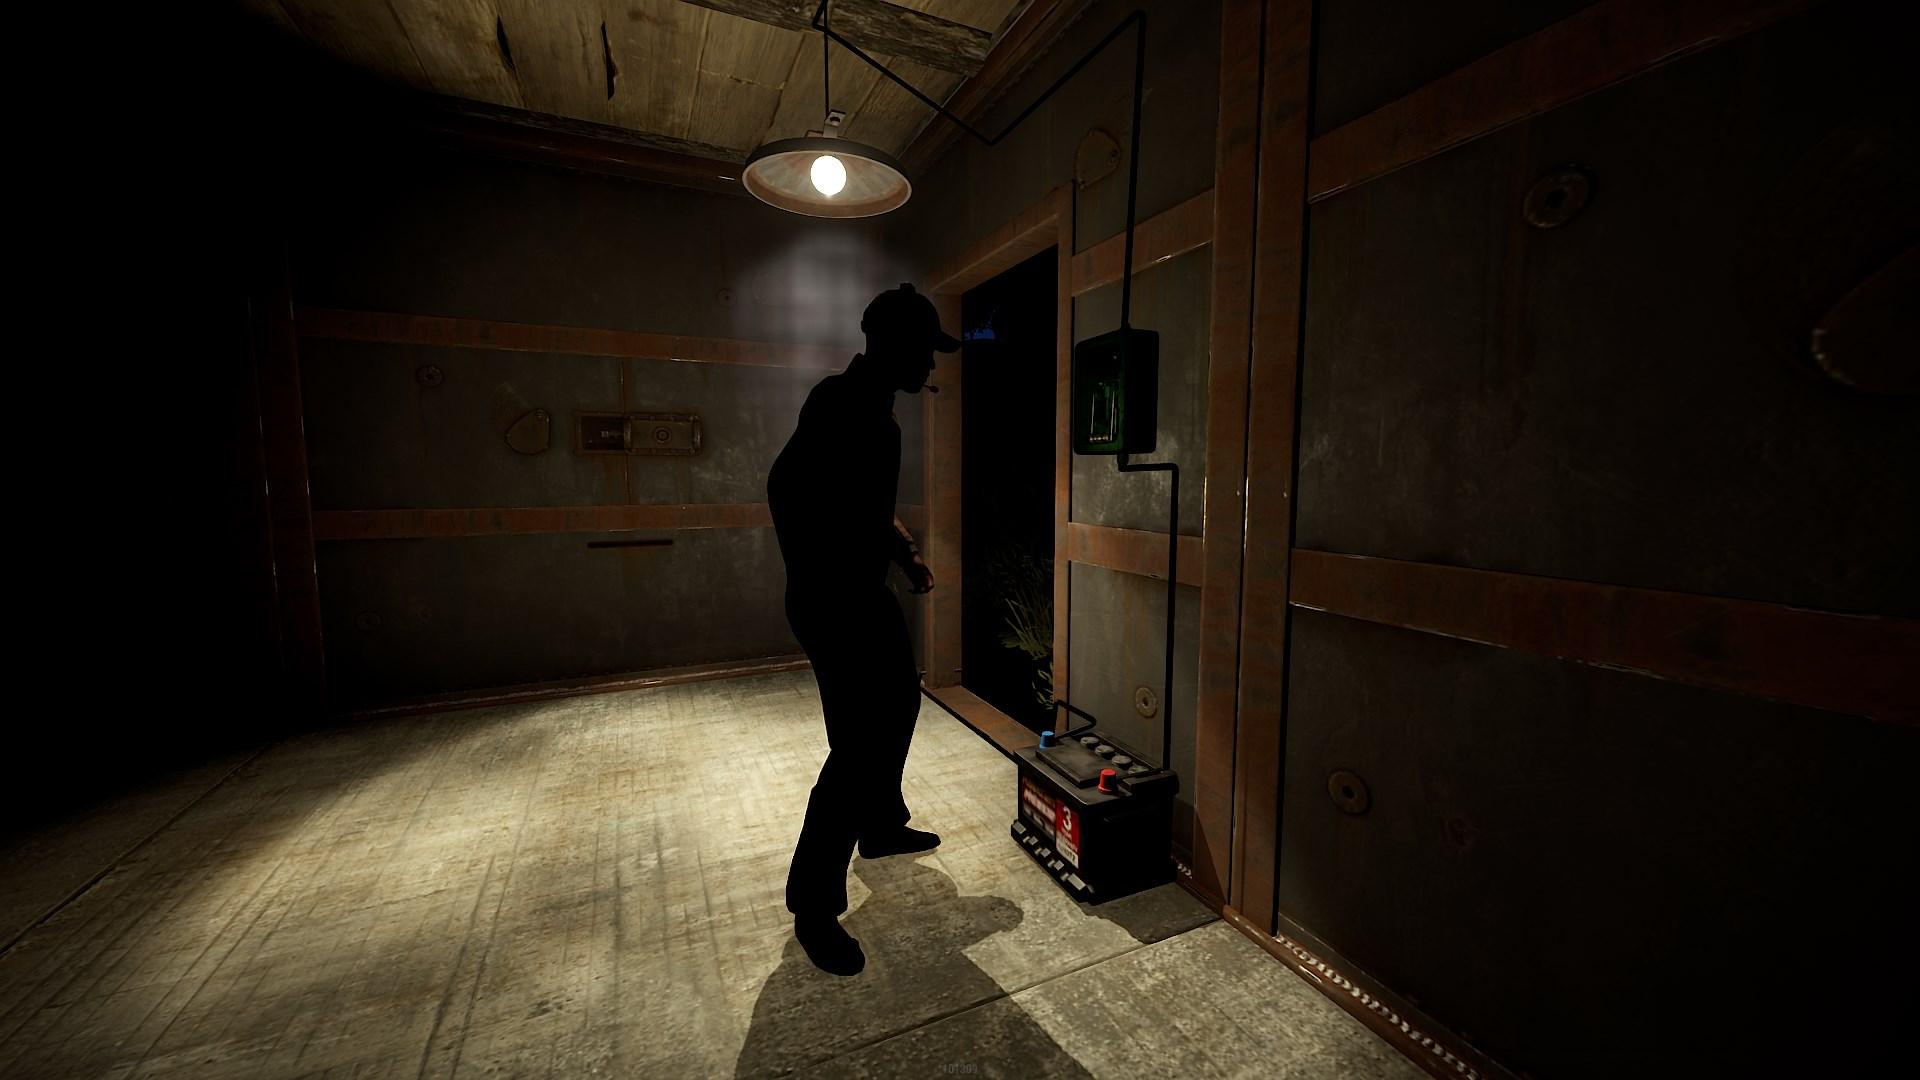
Hey there, Rust enthusiasts! Today, we're diving into the electrifying world of ceiling lights in Rust's latest update, Road Renegades. Whether you're lighting up your base or planning some sneaky trap designs, let's get those lights shining bright!
Getting Started with Ceiling Lights
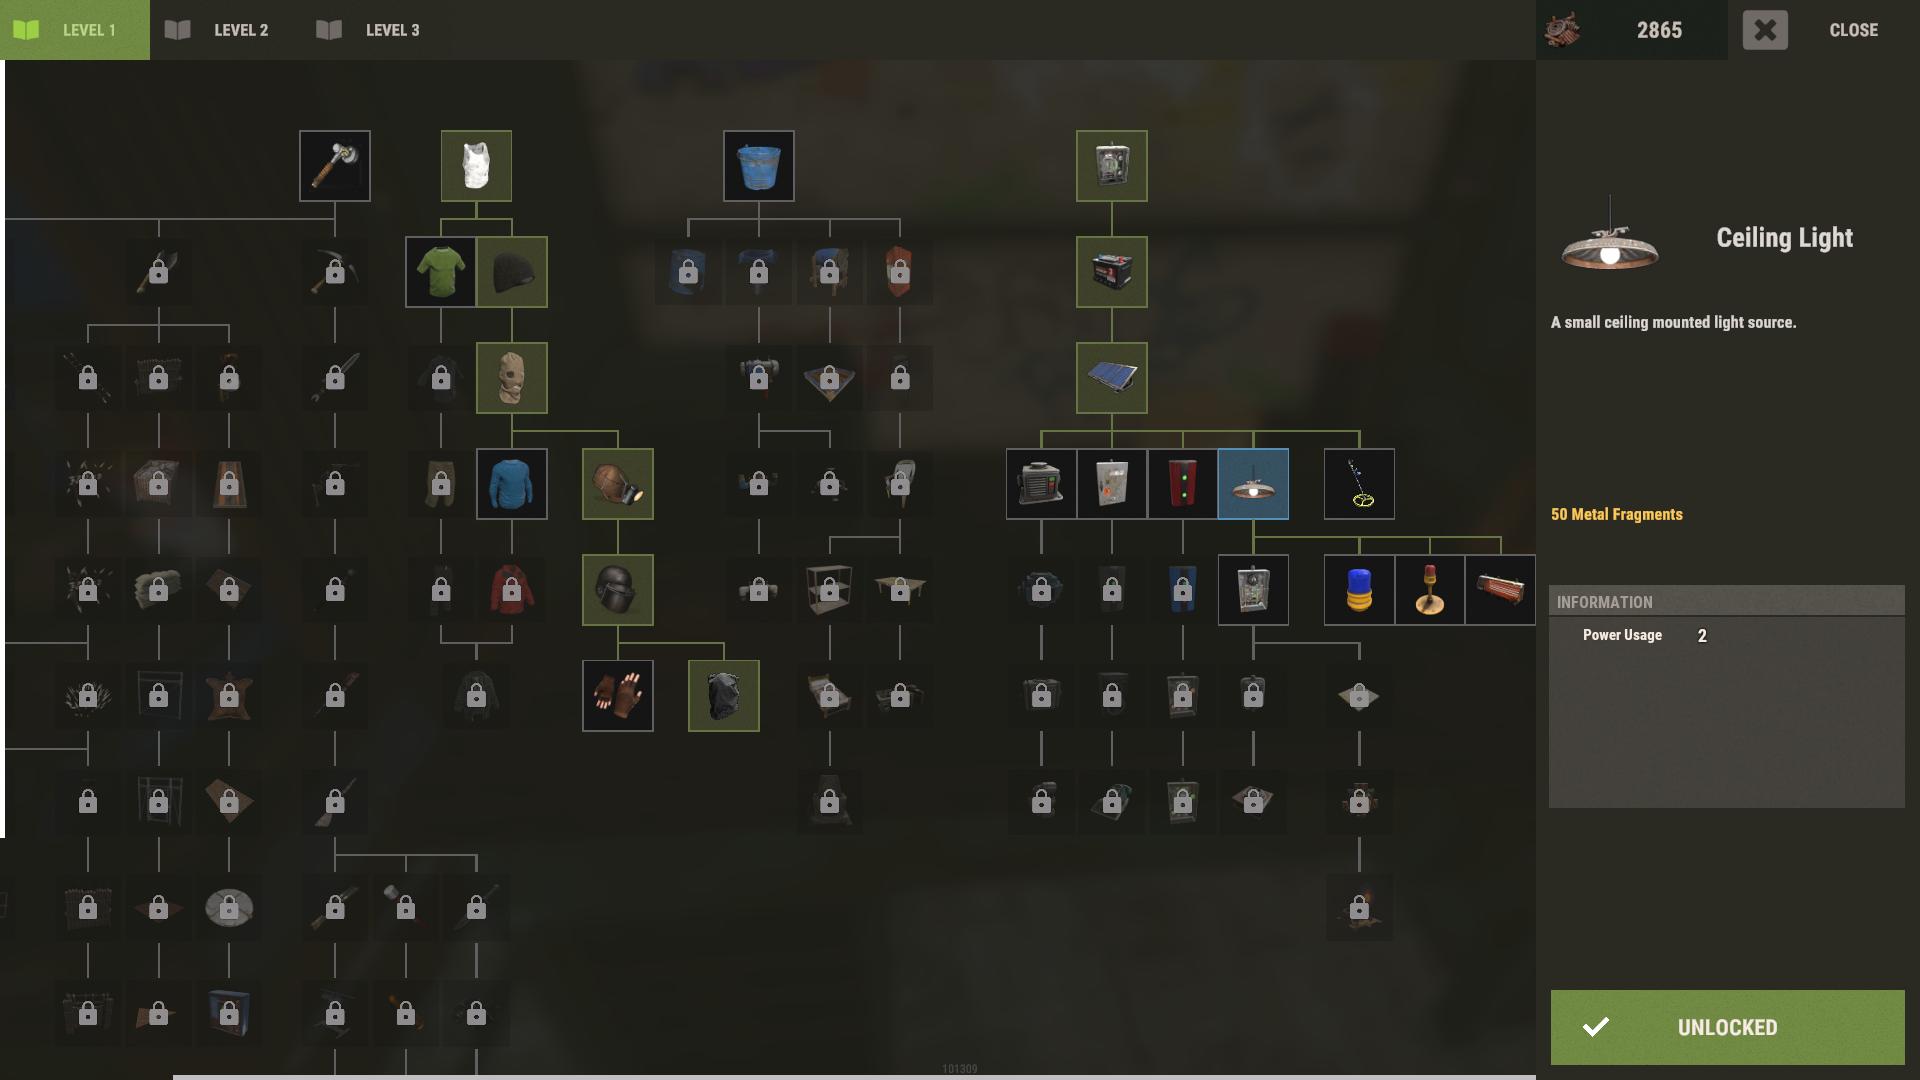
To start, gather your materials: a ceiling light (crafted with 50 Metal Fragments), a power source like a battery or solar panel, and electrical components such as switches and wires.
Placing Your Ceiling Light
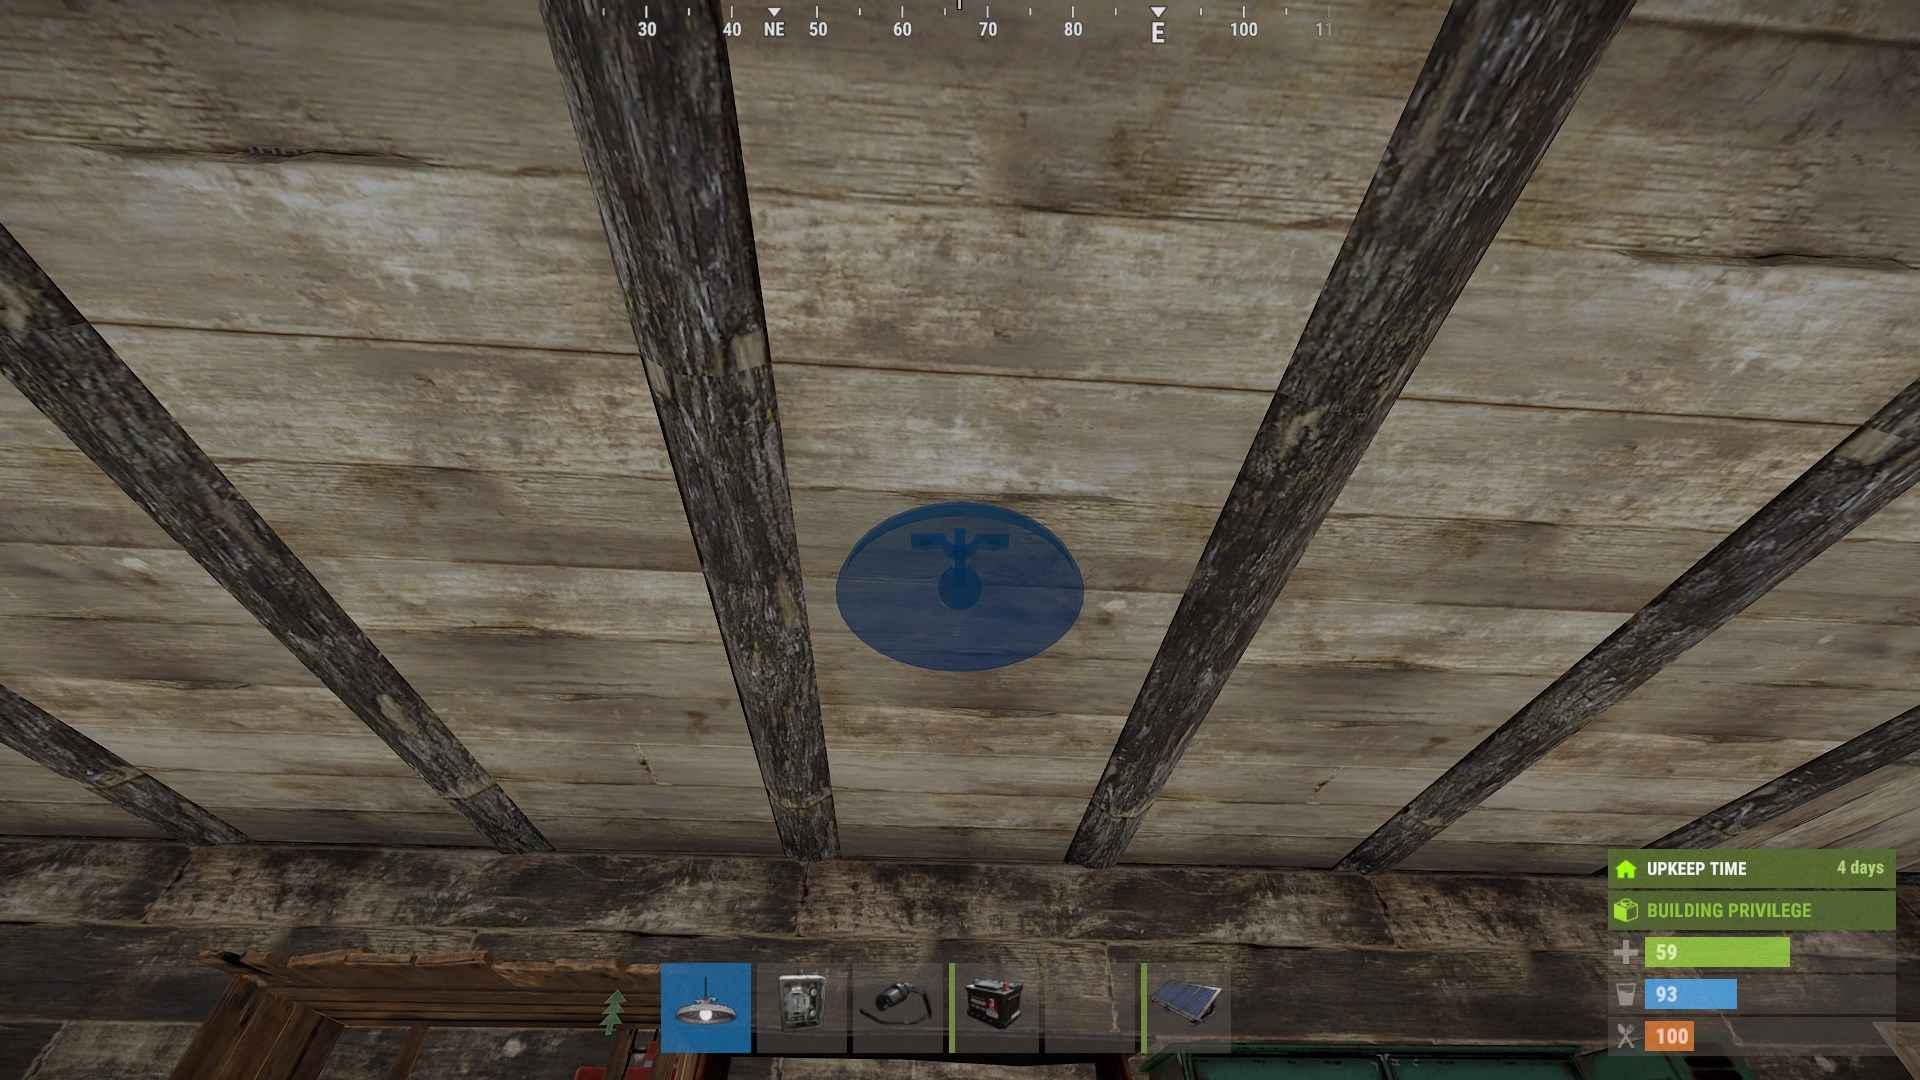
Choose where you want to install your ceiling light. Aim for a spot that maximizes visibility within your base or strategic advantage in your design.
Connecting the Power
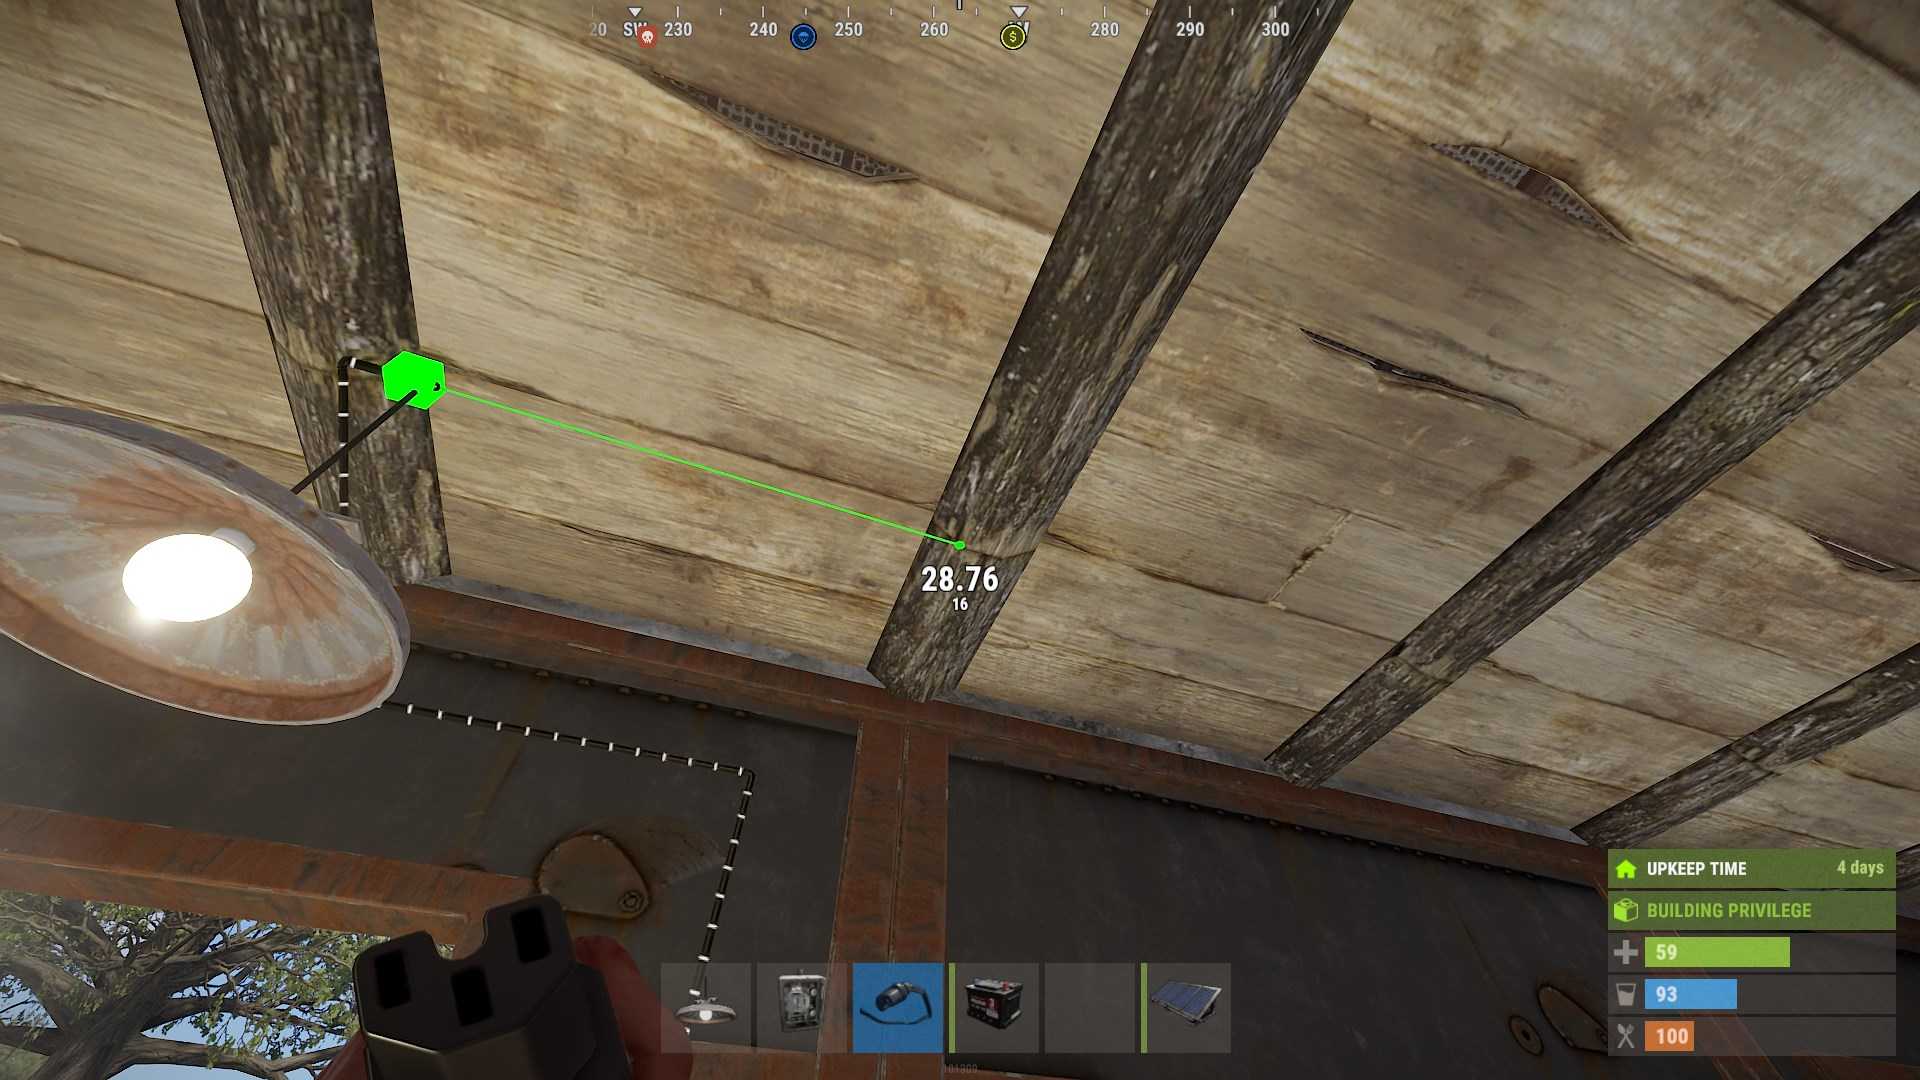
First, place a switch near your light. Use your wire tool to connect the switch to the power input of the ceiling light. Left-click to set the wire, ensuring a direct connection.
Powering Up with Batteries
Place a battery nearby for initial power. Connect the battery to your switch using the power out option on the wire tool. This setup ensures your ceiling light is ready to shine as soon as it's connected.
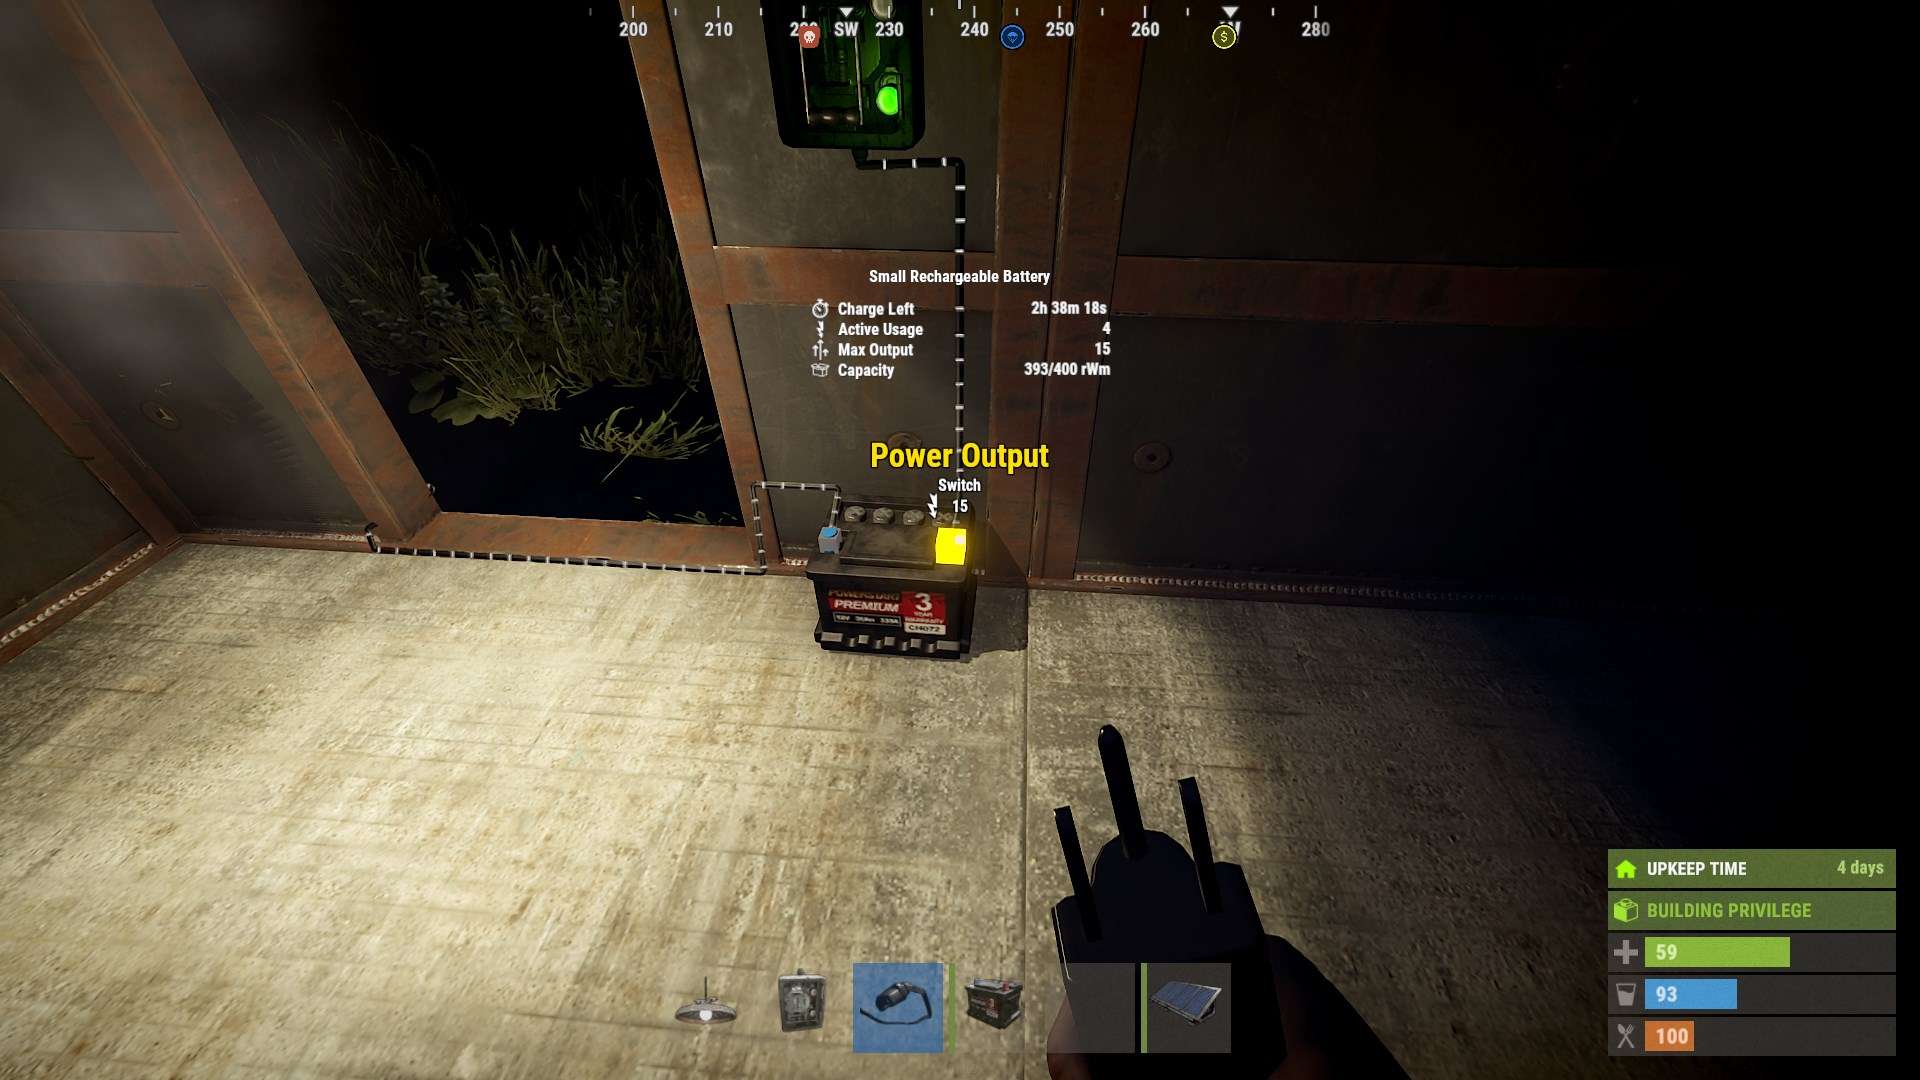
Using Solar Panels for Continuous Power
For sustained power, deploy a solar panel on your roof. Connect it to the battery using the wire tool, ensuring efficient charging during daylight hours.
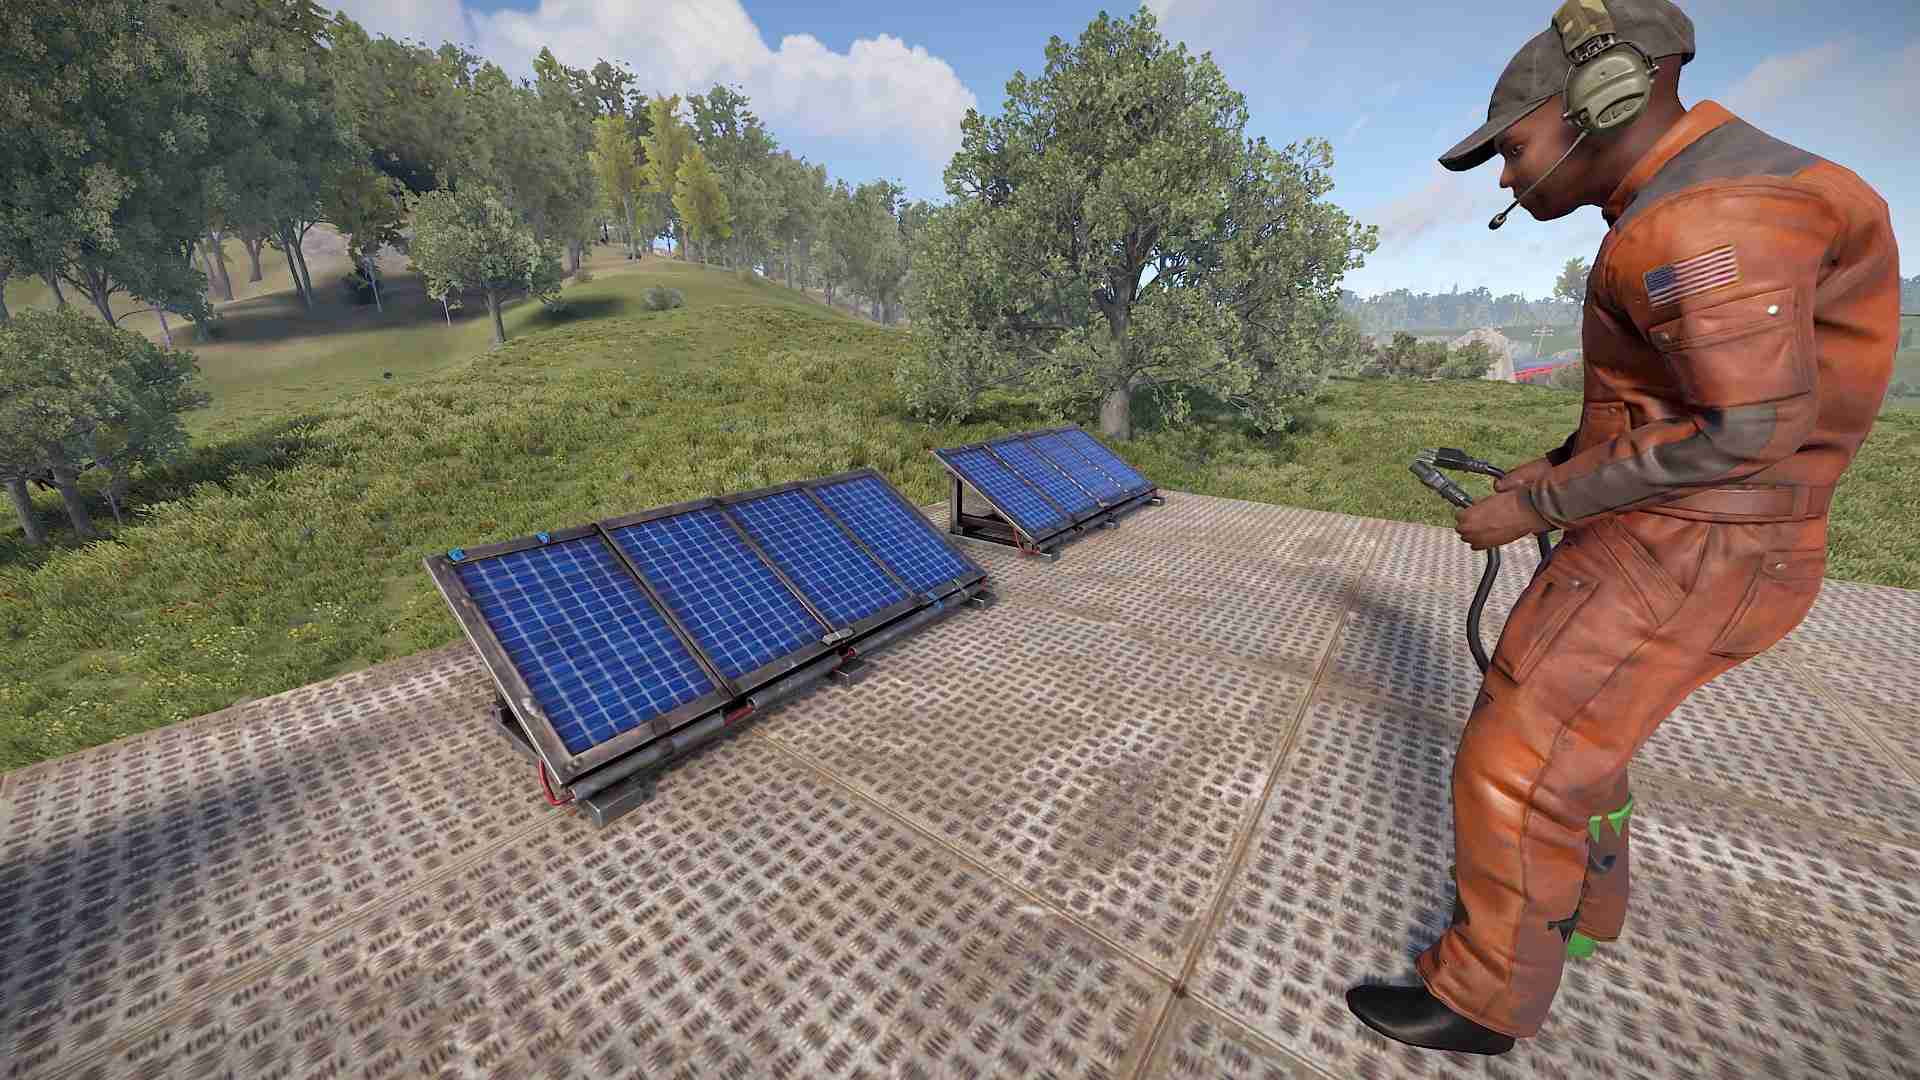
Ceiling lights consume two units of electricity each. Keep an eye on your power grid's total capacity to avoid overloading when adding multiple lights or other electrical devices.
Chaining Ceiling Lights
You can chain multiple ceiling lights together using the pass-through socket. Connect the power out of one light to the power in of the next, extending your illumination across your base.
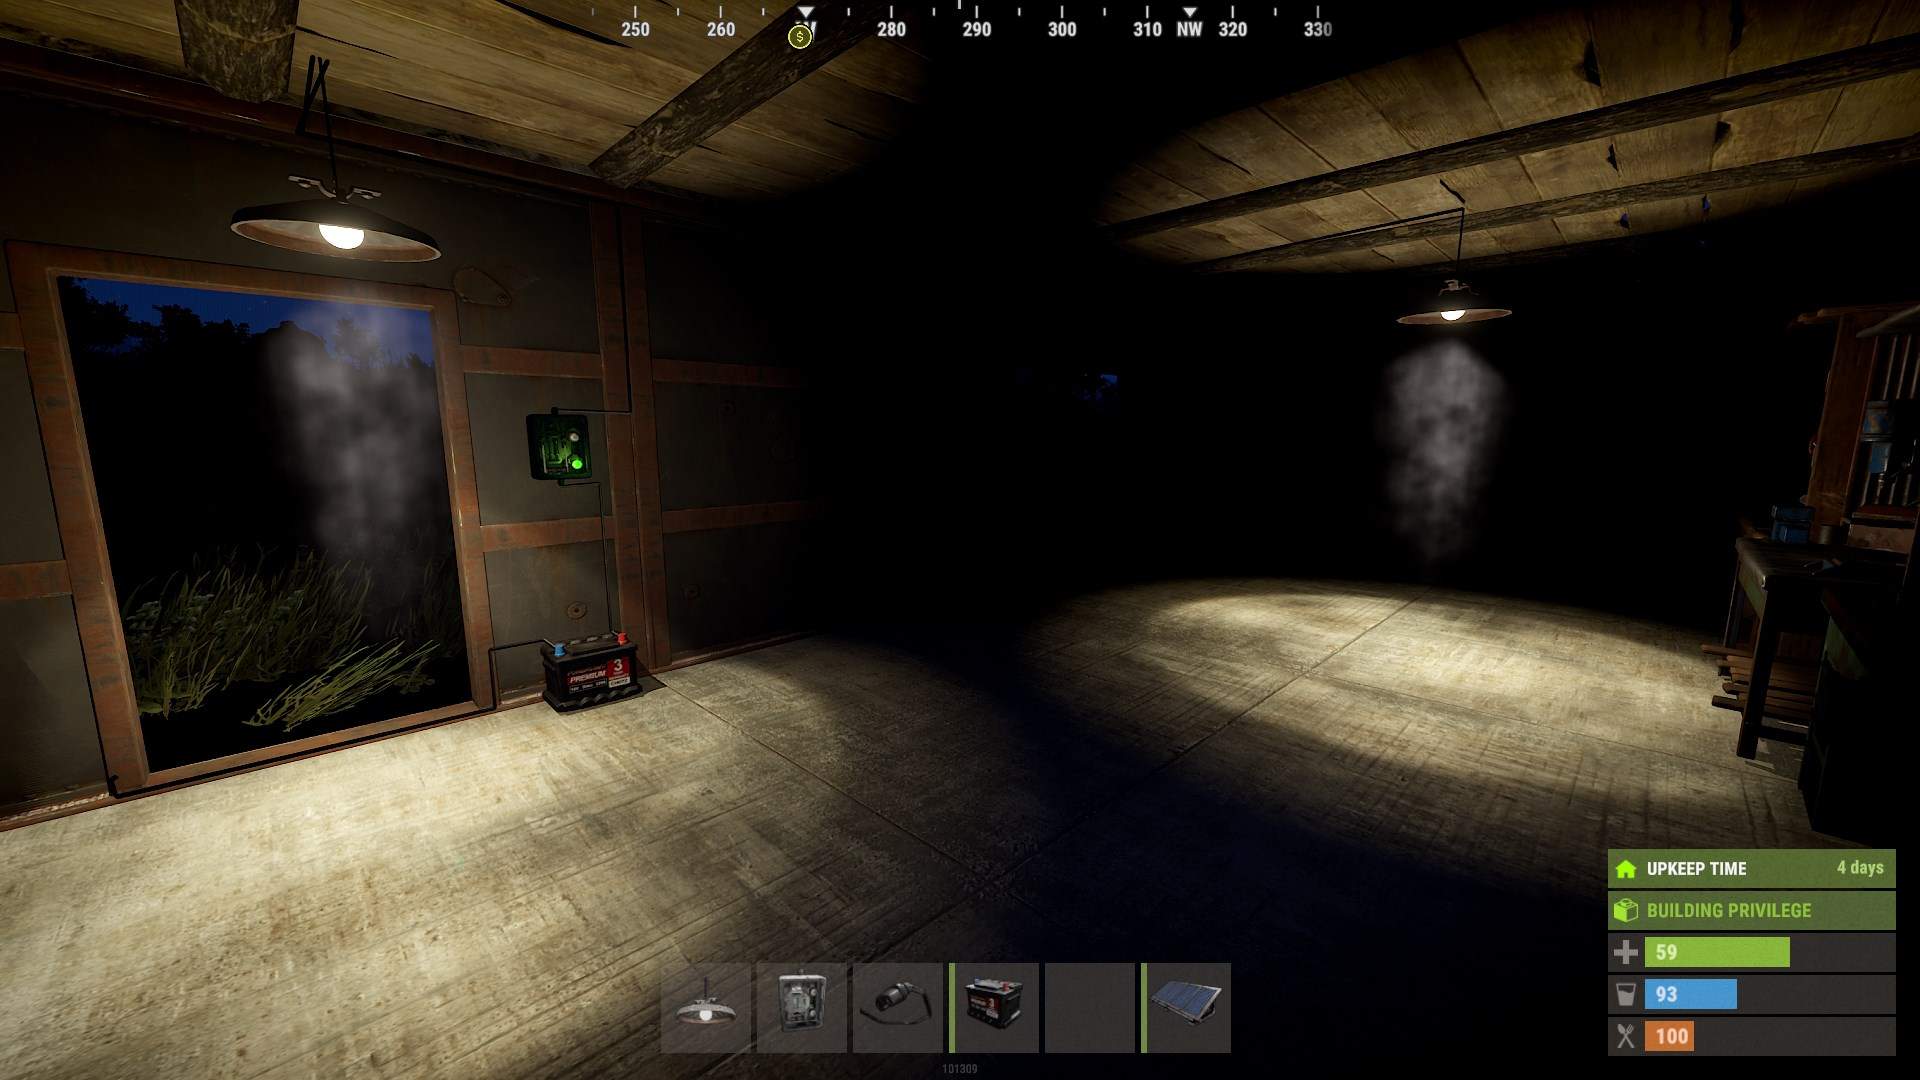
Sit back and enjoy the ambience of your well-lit Rust base! With your ceiling lights powered up, you're ready to tackle nighttime activities and enhance your Rust experience.
Setting up ceiling lights in Rust's Road Renegades update is straightforward yet crucial for enhancing both practicality and aesthetics in your base. By following these steps, you'll ensure your base is well-lit and prepared for any situation.