
How to Save, Load and Paste Builds with WorldEdit Schematics
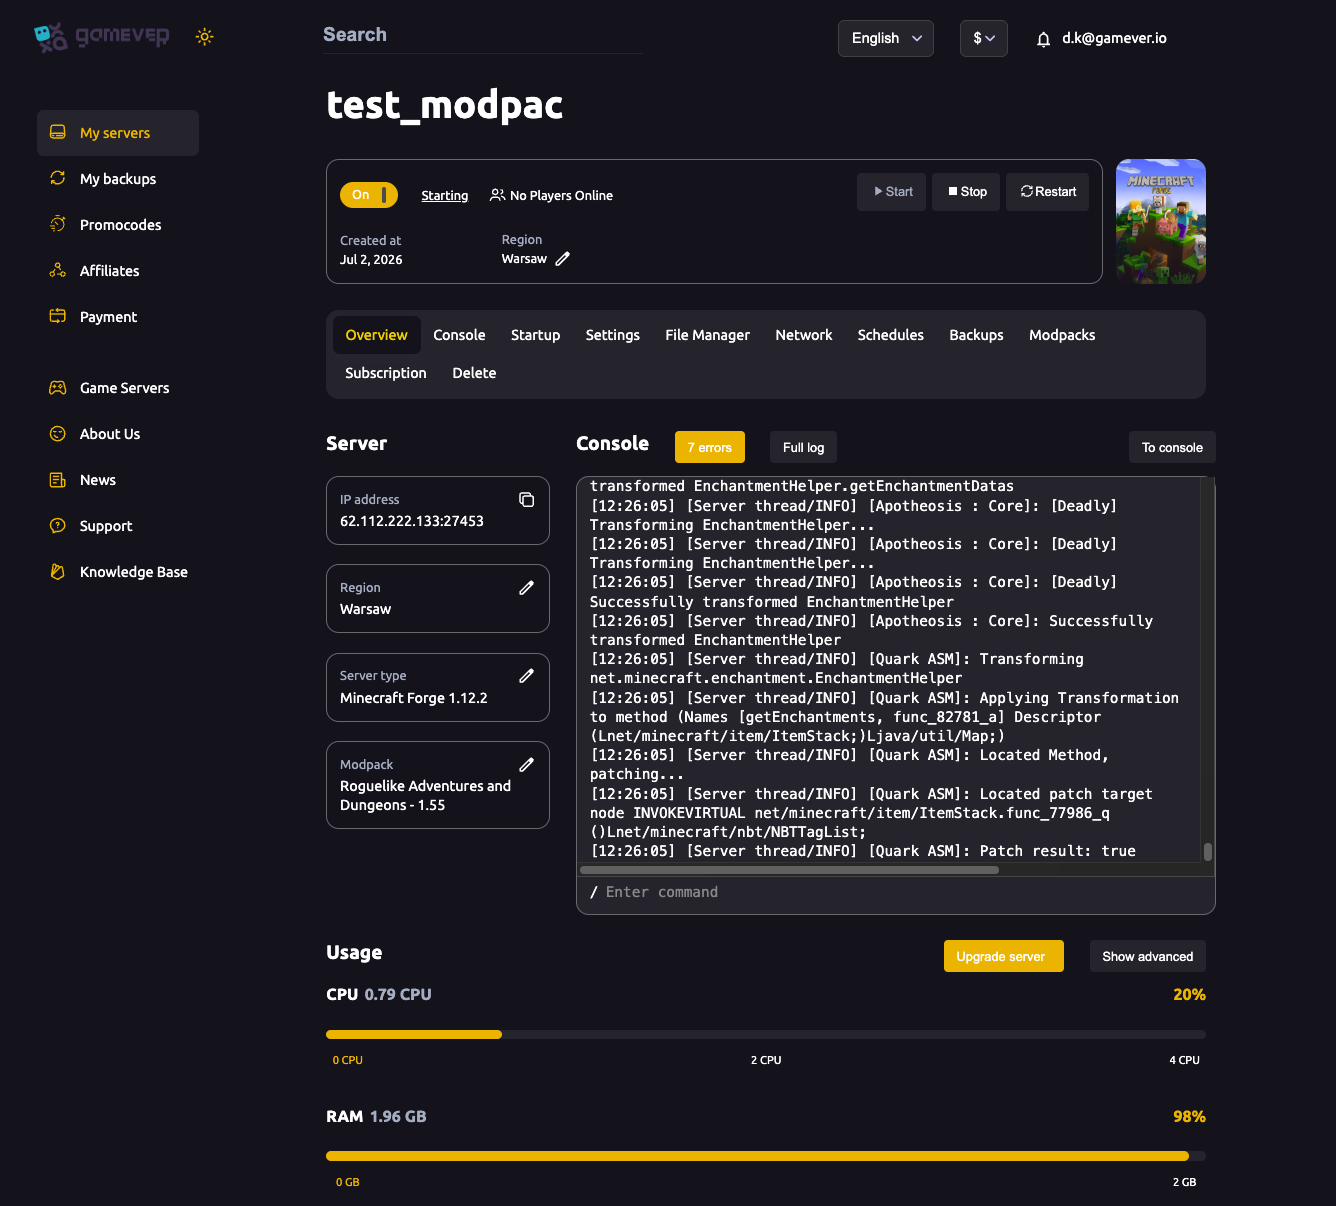
WorldEdit is the go-to building plugin for Minecraft Java servers, and its best trick is schematics: save any structure to a file, then paste a perfect copy anywhere — on the same world, a fresh map, or a completely different server. This guide covers the //copy → //schem save → //schem load → //paste workflow, where the files live on a gamever server, how to upload .schem files through the File Manager, and the permissions you need. We'll assume WorldEdit is already installed — if it isn't, add it first (see below).
Before you start: WorldEdit must be installed
WorldEdit runs on Paper/Spigot servers as a plugin (and on Forge/Fabric as a mod). If you haven't added it yet, grab it from Modrinth or CurseForge and drop the .jar into your plugins/ folder — our install mods & plugins guide walks through that, and you'll want your server type set to Paper for the plugin version. This article picks up once WorldEdit is loaded and you can run // commands in-game.
Give yourself permission first
By default, no one can use WorldEdit until permissions are granted. The simplest route on a Paper server: make yourself an operator, because ops have all WorldEdit permissions by default.
- Open the Console in the panel (Overview or the Console tab).
- Run
op <yourname>— see our operators & whitelist guide.
If you run a permissions plugin such as LuckPerms instead of relying on op, grant the admin wildcard worldedit.* to your builder group. Either way, confirm you can run a command like //wand before going further.
Step 1 — Select and copy the build
In-game, grab the selection tool with //wand (a wooden axe by default): left-click one corner of your build to set position 1, right-click the opposite corner for position 2. With the region selected, run:
| Command | What it does |
|---|---|
//copy | Copies the selection to your clipboard, remembering your position relative to it. |
//cut | Same as copy, but removes the blocks (leaves air). |
Stand in a consistent spot when you copy (for example, a corner of the build) — WorldEdit records where you were standing relative to the structure, and that offset decides where it lands when you paste. Add -e to include entities or -b to include biomes.
Step 2 — Save the clipboard to a schematic
With the build on your clipboard, save it to a file:
//schem save <filename>
For example, //schem save castle. WorldEdit writes the file in the modern .schem format (older versions used .schematic). Run //schem list to see everything saved.
Where schematic files live
Saved schematics go into a dedicated schematics folder on the server:
| Server type | Folder |
|---|---|
| Paper / Spigot / Bukkit (plugin) | plugins/WorldEdit/schematics/ |
| Forge / Fabric / NeoForge (mod) | config/worldedit/schematics/ |
One quirk worth knowing: the folder isn't created until you save your first schematic in-game. If you open the File Manager and don't see plugins/WorldEdit/schematics/, run one //schem save first and it'll appear. WorldEdit deliberately restricts saving and loading to this folder (subfolders are allowed) as a safety measure.
Step 3 — Upload a .schem file via the File Manager
The real power of schematics is sharing builds. To bring in a .schem someone else made — or move one of your own between servers — upload it straight into the schematics folder:
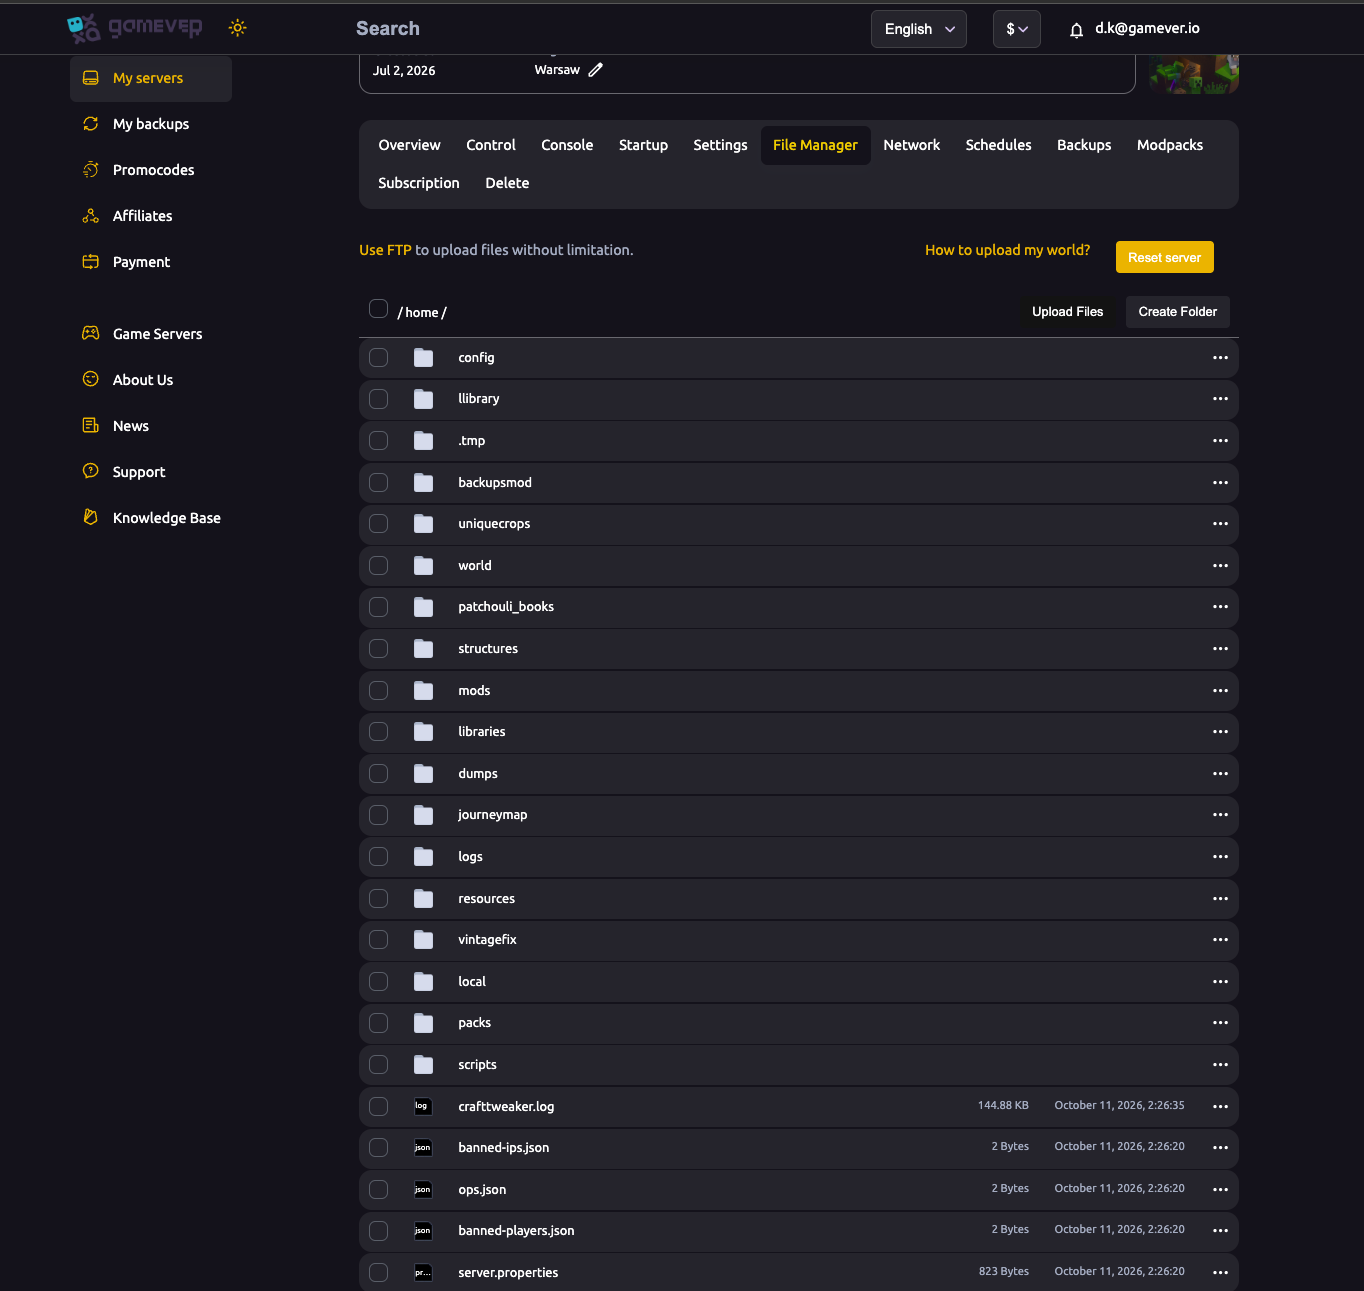
- Open the File Manager and browse to
plugins/WorldEdit/schematics/(create one save first if the folder doesn't exist yet). - Upload the
.schemfile there — or, for several at once, connect over FTP (credentials on Settings → FTP server settings, address on the Network tab) and drop them straight in. - Make sure it's the server's schematics folder, not a client-side one — the file has to be where WorldEdit reads it.
No restart is needed; WorldEdit reads the folder when you load.
Step 4 — Load and paste
Back in-game, load the schematic onto your clipboard and place it:
| Command | What it does |
|---|---|
//schem load <filename> | Loads a saved schematic into your clipboard. |
//paste | Pastes relative to your position. |
//paste -o | Pastes at the original copy location. |
//paste -a | Skips air blocks (pastes over existing terrain cleanly). |
So the full round trip is: //schem load castle, stand where you want the build to appear, then //paste. If it lands in the wrong place, //undo reverses it and you try again.
Additional Tips
- Op yourself (or grant
worldedit.*) first — WorldEdit does nothing without permission, and this is the top reason//commands appear to "not work". - Back up before pasting large schematics over existing terrain — see backup & restore. A misplaced paste is easy to make and
//undoonly goes back so far. - Note your standing position when you copy — the paste location is relative to it. Use
//paste -oto pin a build to its original coordinates. - The schematics folder only appears after your first save — run one
//schem saveif you don't see it in the File Manager. - Use FTP for bulk uploads of many
.schemfiles; the File Manager is fine for one or two. .schemis the current format — very old downloads may be.schematic; recent WorldEdit still loads them.
Conclusion
Schematics make WorldEdit a build-transfer tool, not just an editor: //copy and //schem save capture a structure to a .schem file in plugins/WorldEdit/schematics/, and //schem load plus //paste drop it back anywhere. To bring in builds from elsewhere, upload the .schem into that folder from the panel's File Manager (or over FTP) and load it in-game. Op yourself first so the commands actually run, and back up before pasting big builds.
Rent your Minecraft Java server at gamever.io — a live browser console to op yourself, full File Manager and FTP access for your schematics folder, and one-click switching to Paper for WorldEdit. Free trial, promo code WELCOME.