
How to Sacrifice in Duckside
Hey there, fellow Duckside adventurers! If you've been itching to make a sacrifice to the dark D, you’ve come to the right place. This guide is packed with all the juicy details you need to pull off this epic feat and snag some sweet loot.
Step 1: Gather Your Materials
Before you can make a sacrifice, you need to collect the right items. You’ll be looking for Hunter licenses and Pled feathers. The magic numbers are 100 Hunter licenses or 50 Pled feathers. But here’s the twist: it’s all about flexibility. You can mix and match!
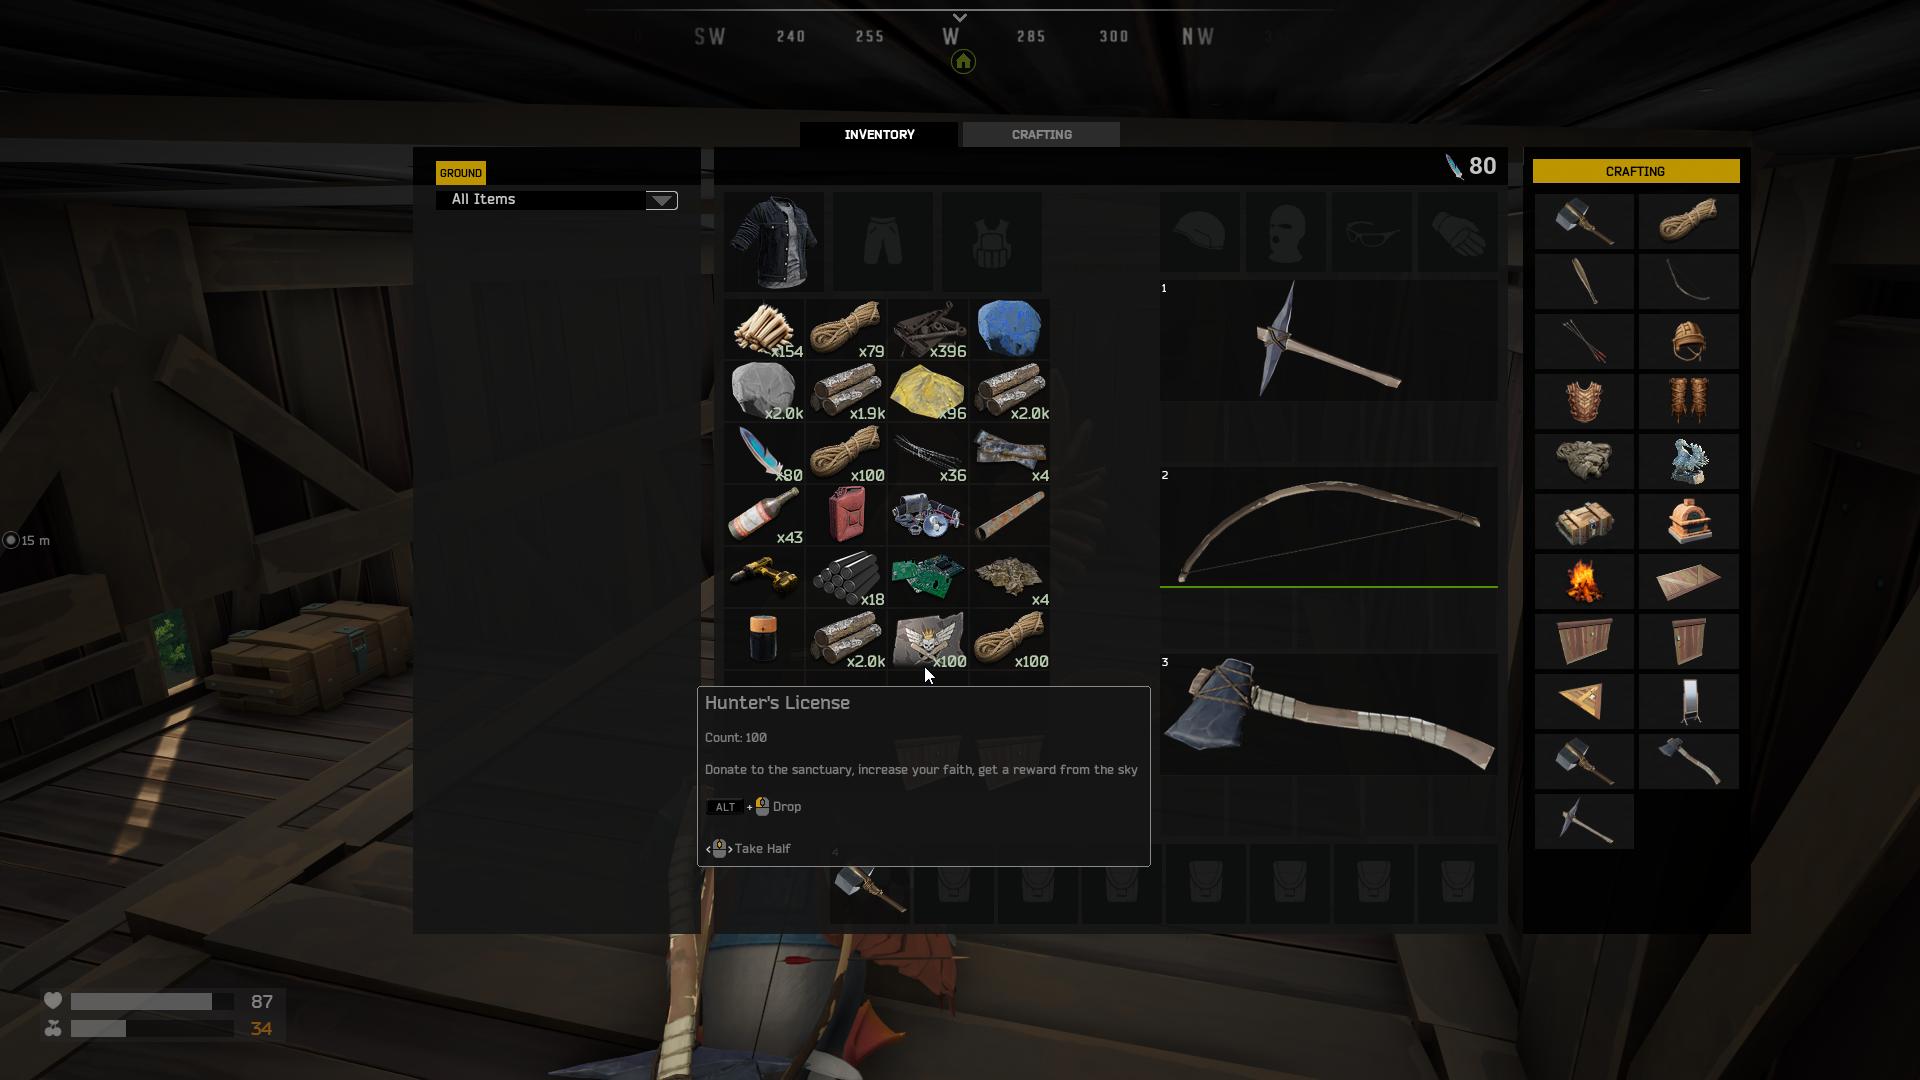
If you prefer the feather route, just keep in mind that the ideal sacrifice involves gathering 100 Hunter licenses or 50 feathers. Now, that sounds like a lot, but don’t sweat it; every little bit helps!
Step 2: Find the Sacrifice Location
Once you’ve got your stash ready, it’s time to head to one of the three trines scattered across the map. These are the sacred spots where you’ll make your offering. Look for the shimmering symbols that indicate a sacrifice area—this is where the magic happens!
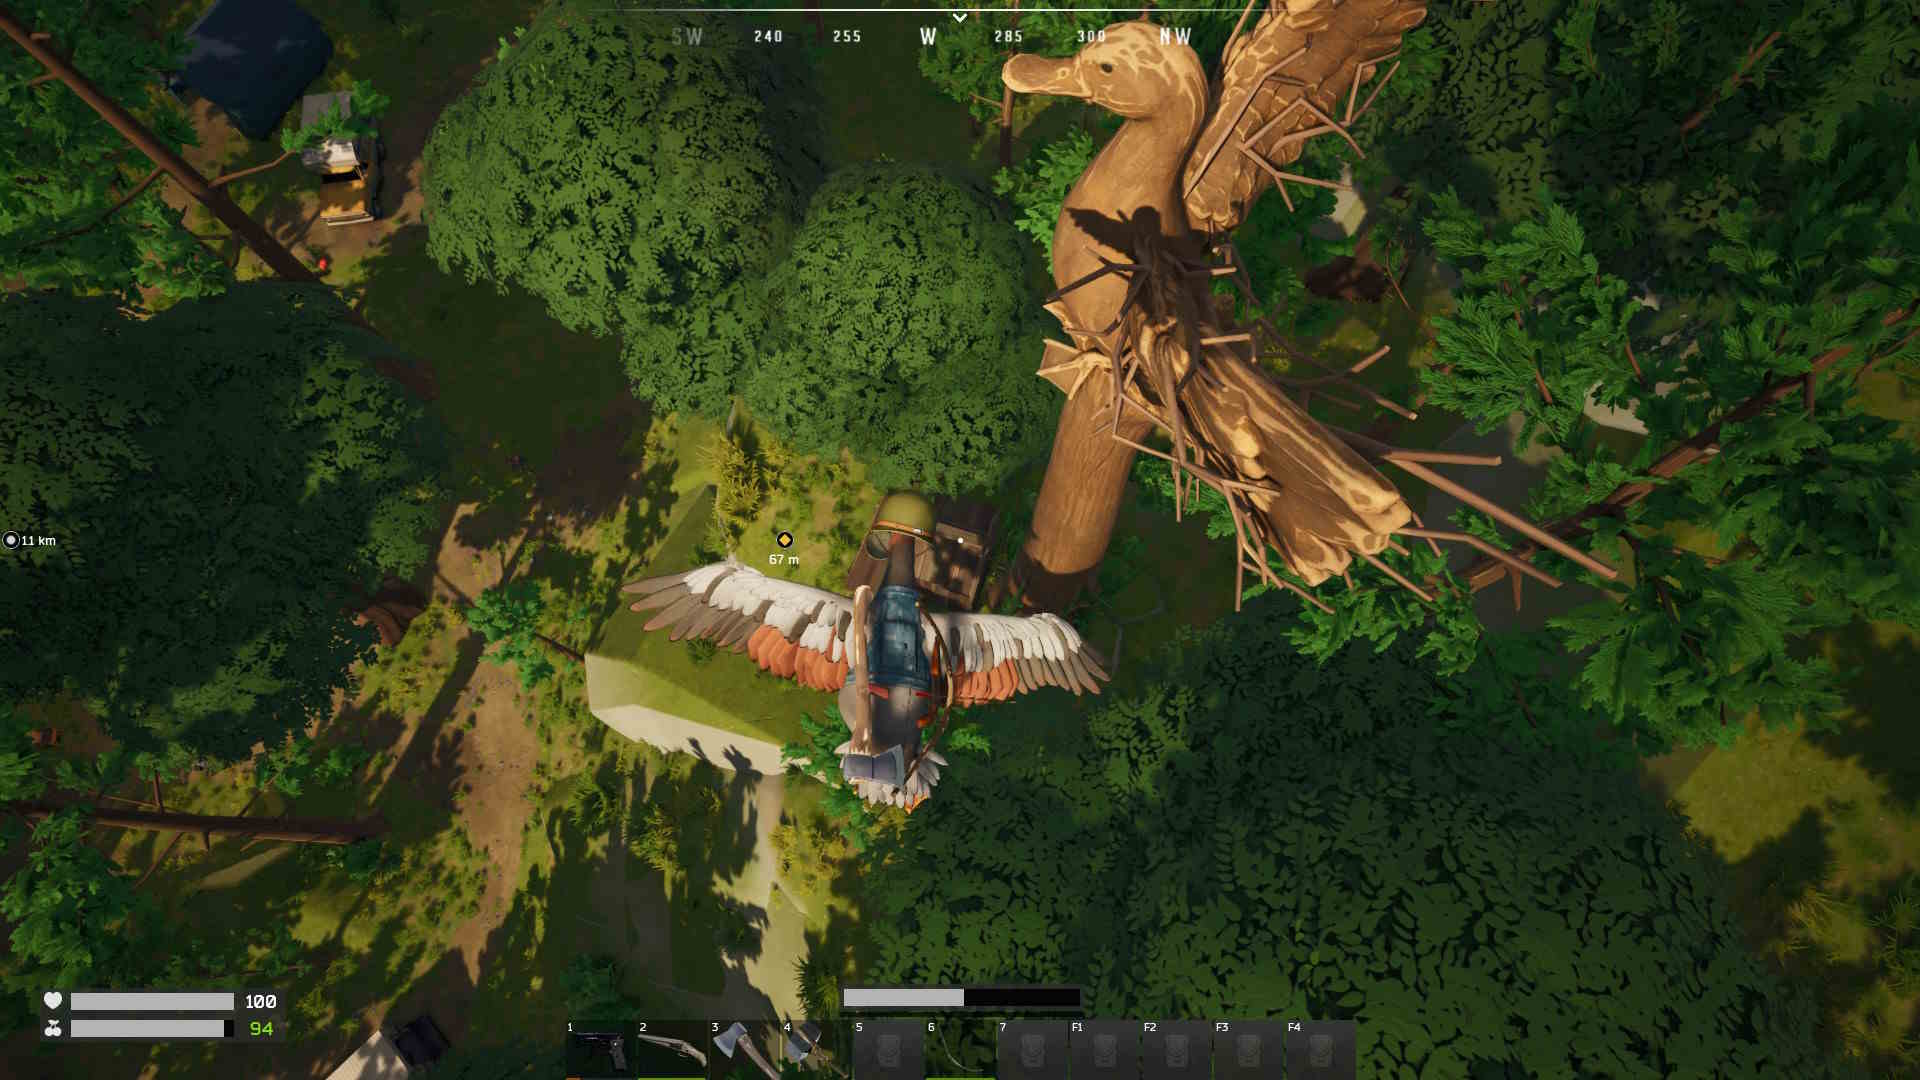
Step 3: Make the Sacrifice
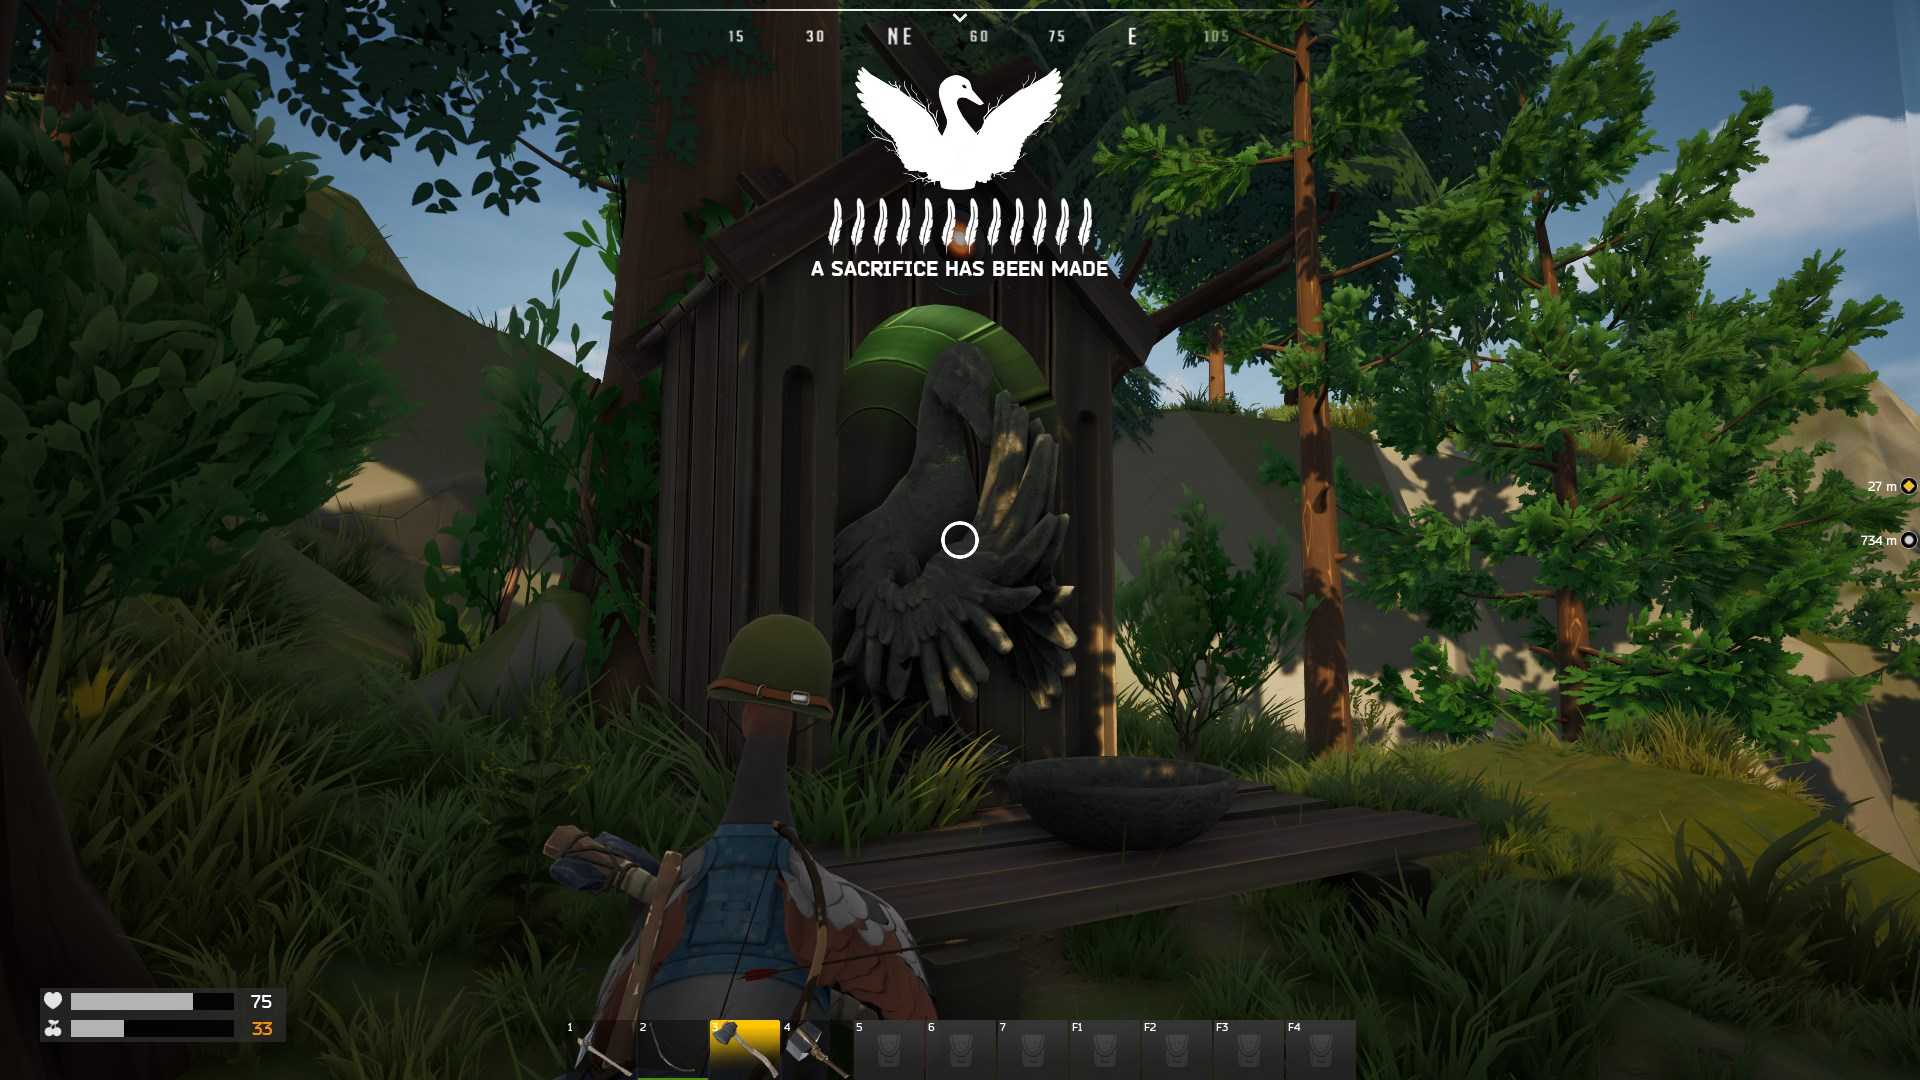
Now comes the thrilling part! Approach the trine and interact with it to begin your sacrifice. Drop your Hunter licenses or Pled feathers into the bowl. Watch as your offerings disappear into the dark void, and feel that rush of anticipation.
Keep an eye on the sacrifice warning that pops up. It’ll show you how many feathers have been contributed. For example, if it says 12 feathers, that’s your cue!
Step 4: Do the Math
Here’s where you need to channel your inner math whiz. For every completed feather displayed on the warning, you can figure out how many Hunter licenses you’ll need. Each feather equates to approximately 8 Hunter licenses or 4 Pled feathers.
So, if you see that warning showing 12 feathers, you’ll want to do a little simple math:
- 100 total licenses - 12 = 88 (licenses still needed).
- Since each feather is about 8 licenses, that’s about 11 feathers needed or 44 Hunter licenses.
To be precise, bring along 4 more licenses or 2 more feathers to hit that sweet 100. Why? Because having just a little extra is always a good idea!
Step 5: Loot the Cargo Drops
After making your sacrifice, get ready for the cargo drops to spawn around the map! Three cargo drops will appear, and here’s the exciting part: it’s a loot frenzy! If you’ve done it right and avoided being taken out by enemies, you’ll have a chance to loot at least two of them.
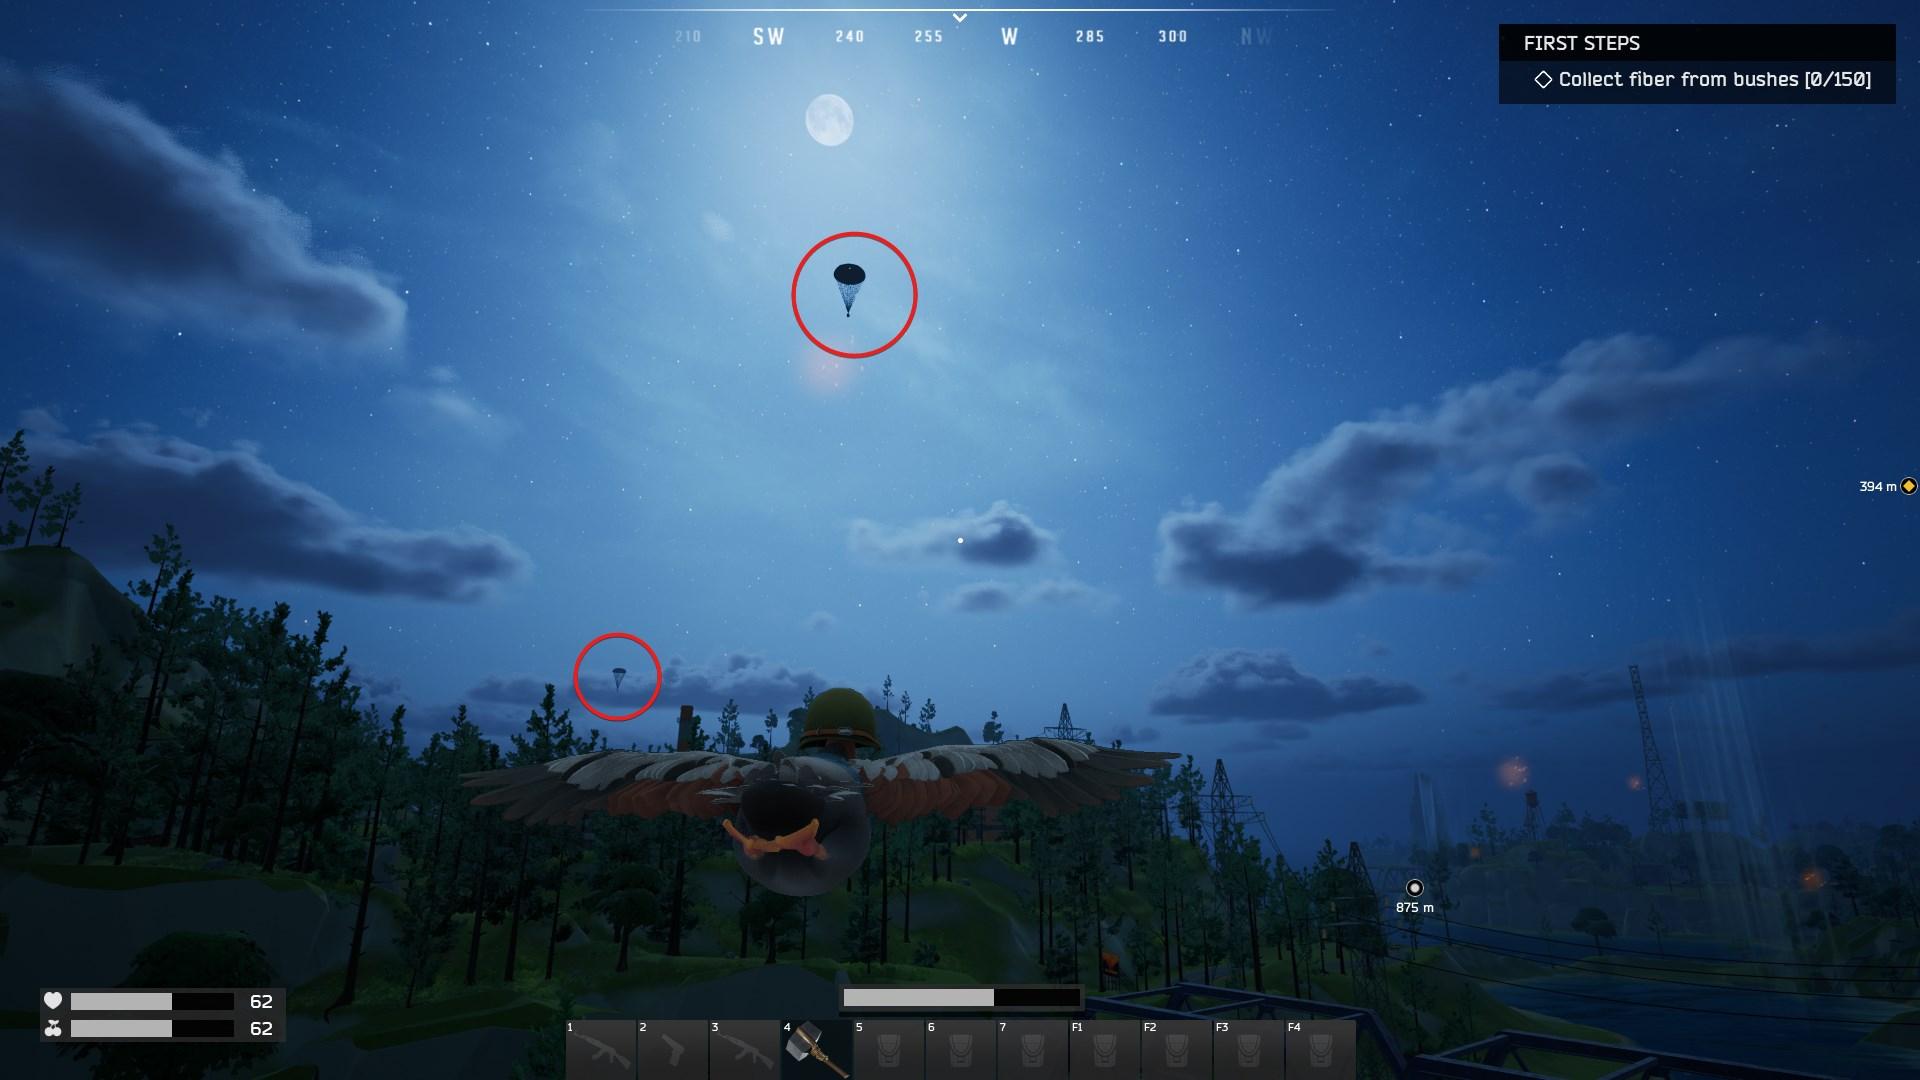
Keep your eyes peeled! Some drops may hit the ground before others, so you’ll want to strategize and decide which ones you’re going after.
Step 6: Stay Alert
Sacrificing can get you noticed, so be on high alert! Other players might be looking to snag those drops or even come after you for your hard-earned loot. Keep your weapons ready and watch your back as you make your moves!
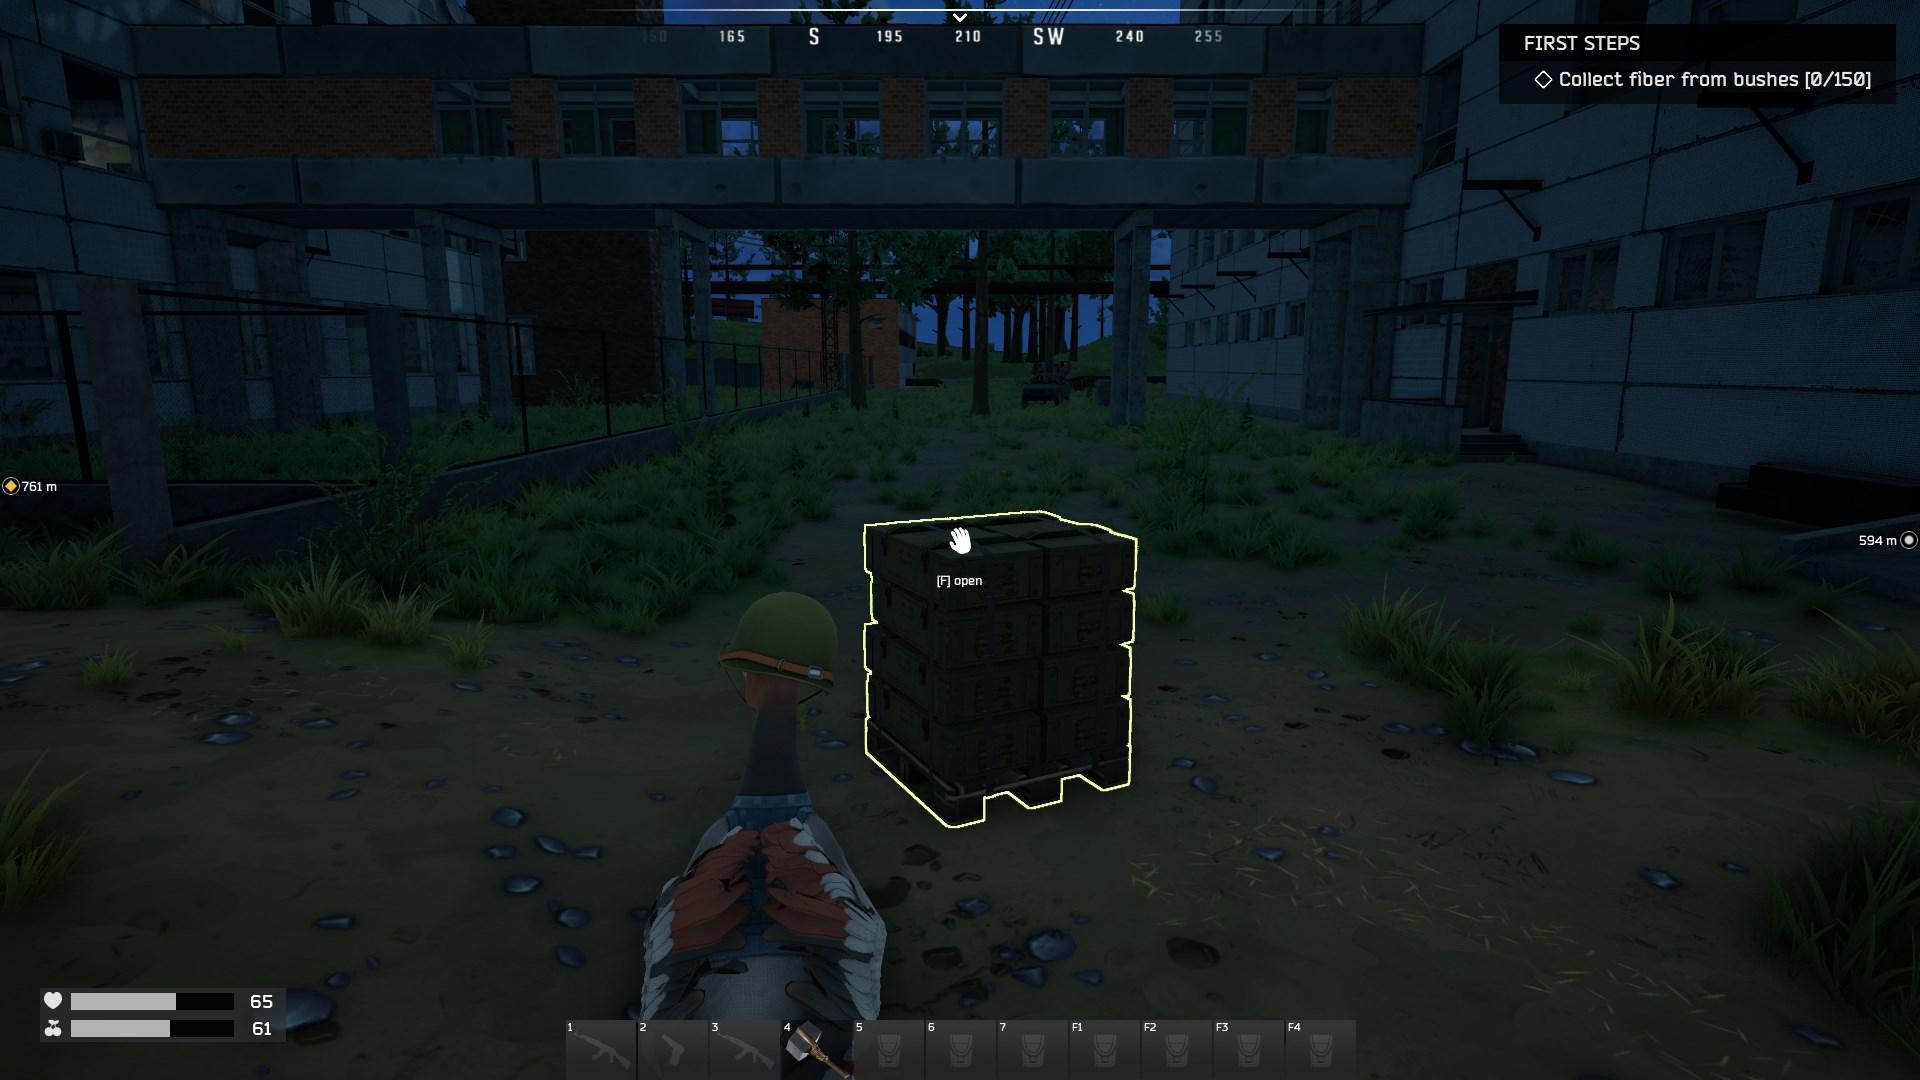
And there you have it! You’re now armed with the knowledge to make a sacrifice in Duckside like a pro. Gather those materials, hit the trines, do the math, and get ready to loot! It’s all part of the exhilarating adventure that makes Duckside so thrilling. Now get out there, make those sacrifices, and see what treasures await you!