How to Repair Items in 7 Days to Die 1.0
Got your favorite tools or weapons getting worn out in the zombie apocalypse? Don’t worry; repairing them in 7 Days to Die 1.0 is a breeze once you get the hang of it. Let’s jump right into how you can keep your gear in tip-top shape and make sure you don’t end up in a heap of trouble because of a busted tool.
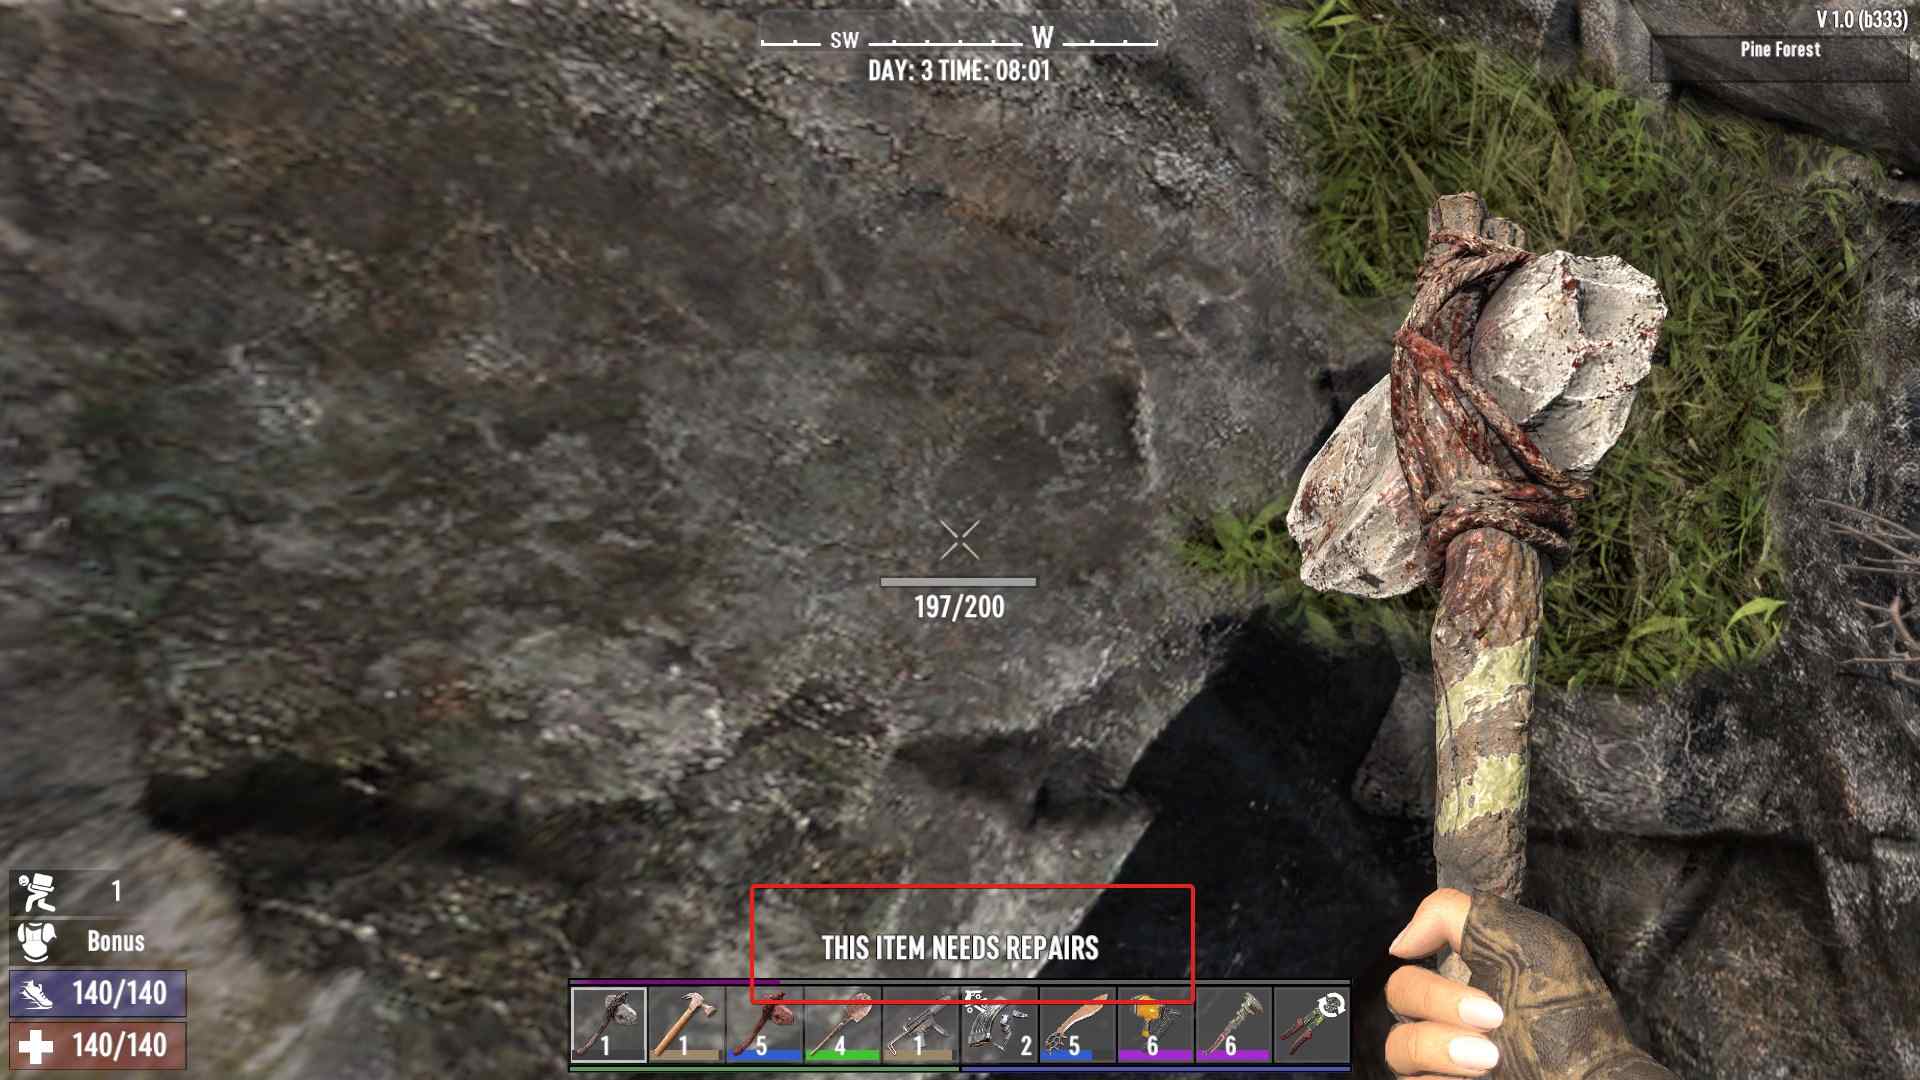
Item Durability
In 7 Days to Die, every item—whether it’s a trusty Stone Axe, a deadly firearm, or your rugged armor—has durability. This means it can wear out with use. No durability left - your item is over. But hold on! Damaged doesn’t mean useless. With the right materials and a bit of know-how, you can restore your gear to full strength. It’s like having a magical repair kit that brings your stuff back to life!
How to Find Out What You Need
First things first: you need to know what materials you need to repair your item. Check the item’s info box in your inventory—hover over the item, and voilà, the game tells you exactly what you need. It’s like having a repair manual right in your game! For instance, if you’re repairing a Stone Axe, you’ll need Small Stones. For a broken gun, it might require Forged Iron or a Repair Kit.
Repairing Items Step-by-Step
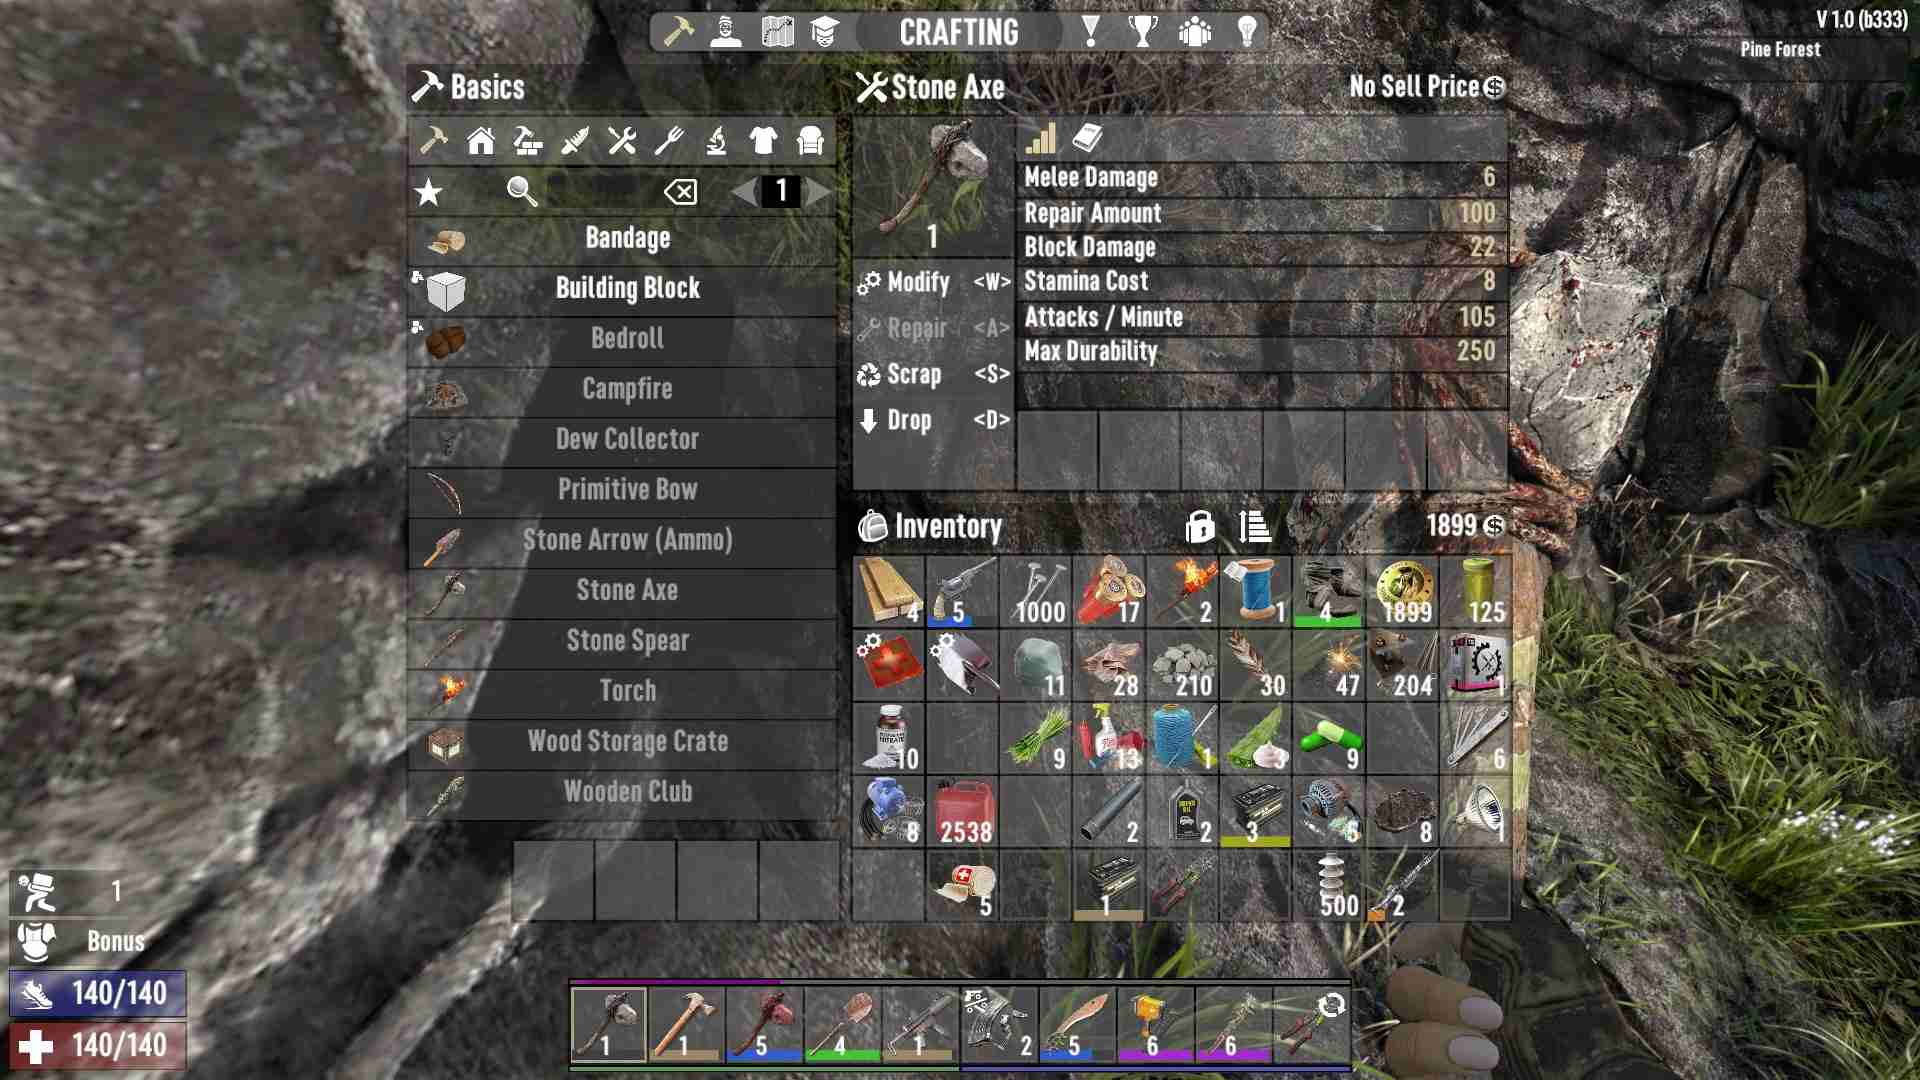
1. Open Your Inventory: Hit the Tab key to open up your inventory. This is where the magic begins.
2. Select the Damaged Item: Click on the item that’s seen better days. The game will give you a rundown of what’s required to fix it up.
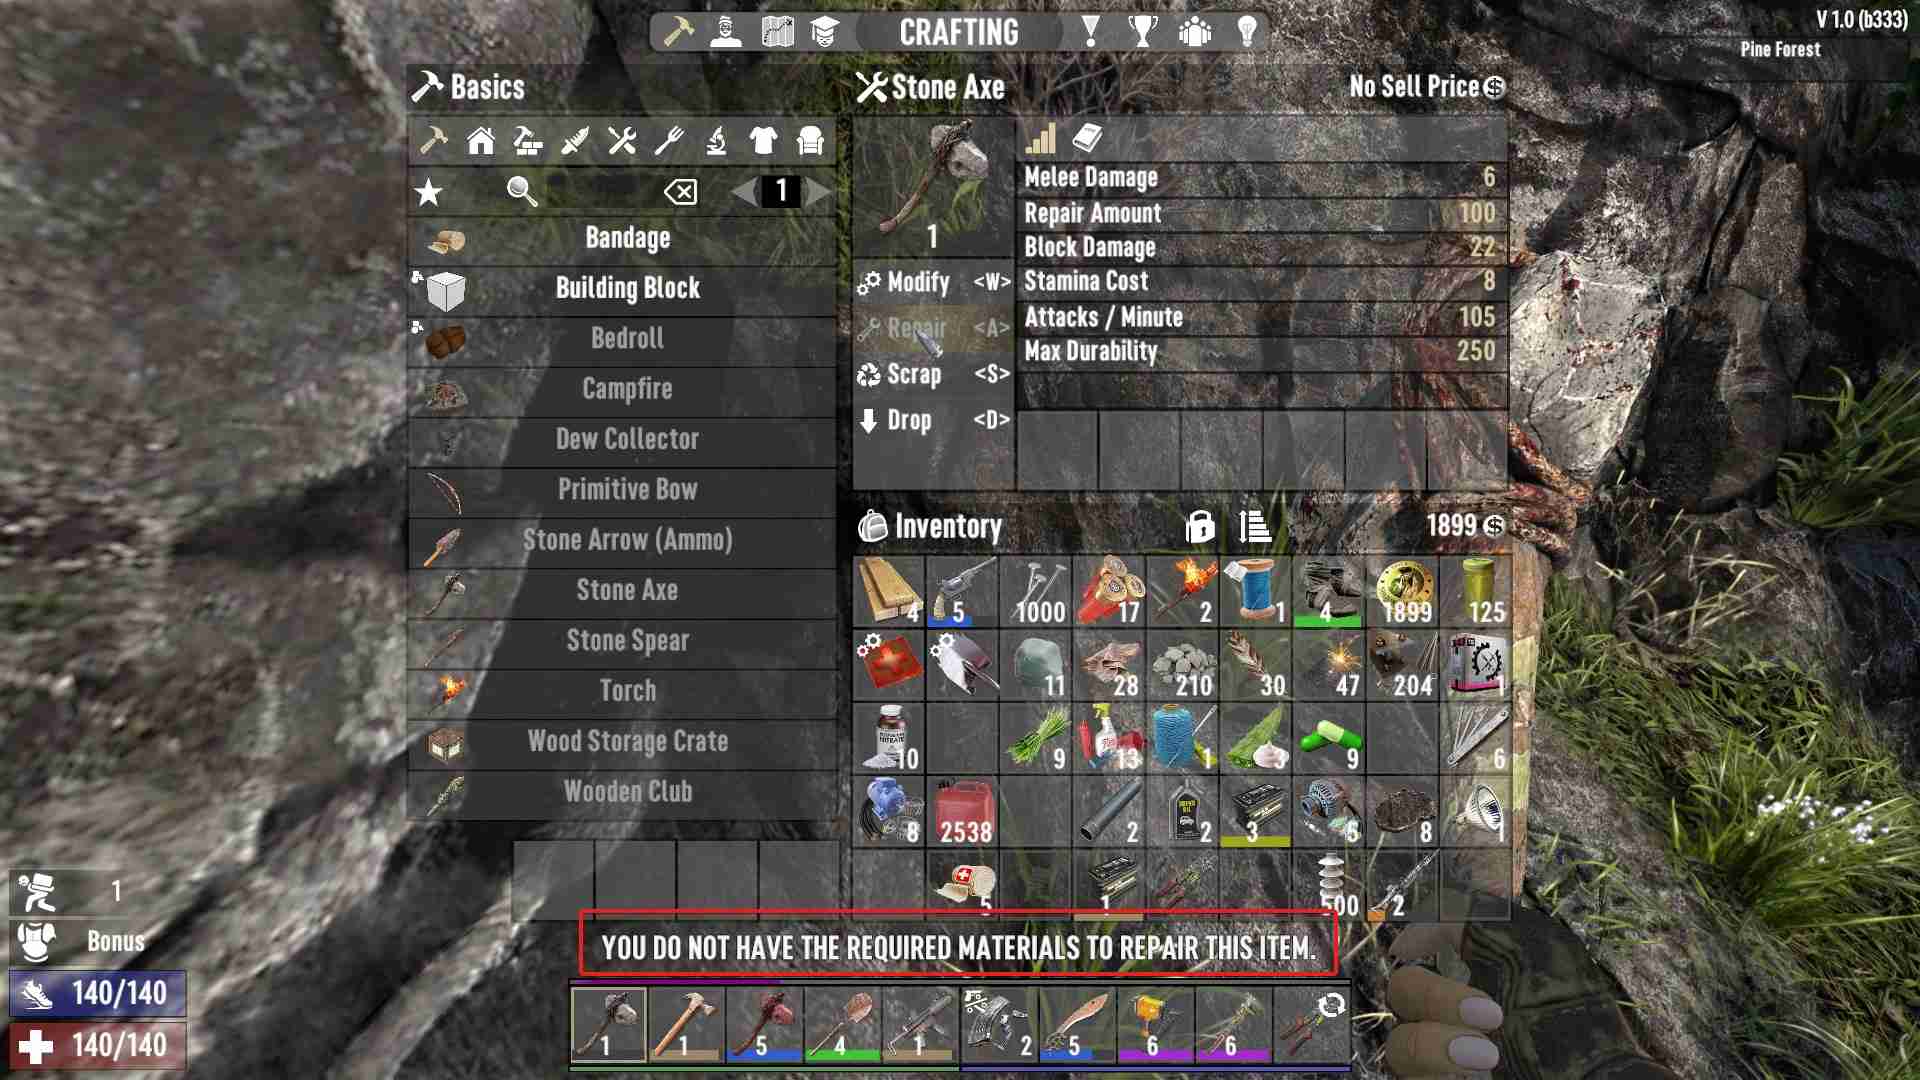
3. Gather Materials: Make sure you have the necessary materials in your backpack. The game won’t let you repair an item if you’re missing parts. So, the label over the inventory slots will message you about that.
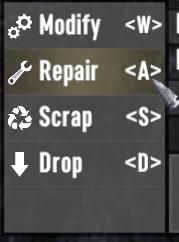
4. Repair the Item: With your item selected, click the ‘Repair’ button or press the shortcut key (usually ‘A’). The item will be placed into the crafting queue, and—bam!—it’s as good as new once the process is complete.
5. Wait for the Repair to Finish: Some repairs are quick, while others might take a bit longer. Patience, survivor!
Special Repair Considerations
- Blueprints and Schematics: For some advanced items like guns or high-level tools, you need to have unlocked the blueprint or schematic first. If you haven’t found or read it, you’re stuck until you do.
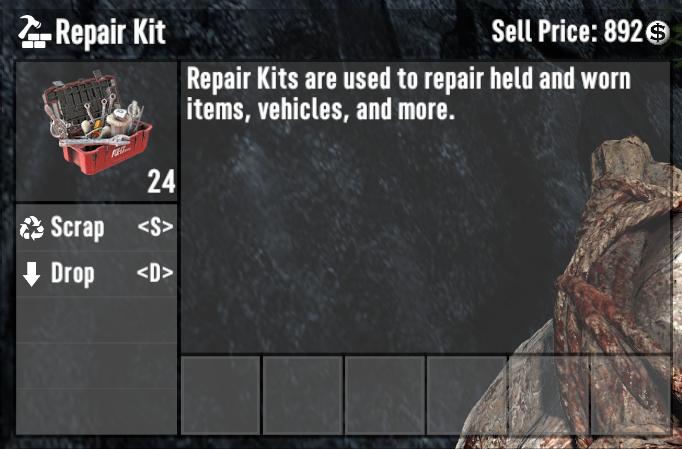
- Repair Kits: Some items require specific repair kits, like weapons. Keep a stockpile of these kits if you want to stay battle-ready.
- Building Blocks: For repairing things like doors, walls, and other structures, you’ll need to use different tools and materials. Hold a tool like the Stone Axe or Hammer, point at the damaged block, and right-click to start the repair.
What Can’t Be Repaired?
Not everything can be fixed. Items like Painkillers, Feathers, or Duct Tape don’t have durability and thus can’t be repaired. Once they’re used up, they’re gone for good.
Keeping your items in top shape in 7 Days to Die 1.0 is crucial for survival. By understanding what materials you need and how to use them, you can keep your gear in perfect working order, ensuring you're always ready for whatever the zombie apocalypse throws at you. No more broken tools and wasted resources—just strong, reliable equipment for your survival journey!