
How to Modify Head Armor in 7 Days to Die Update 1.0
Hey there, survivors! The day we've all been waiting for is finally here – 7 Days to Die has launched its 1.0 Experimental version! This update is packed with some seriously cool new features, and one of the highlights is the revamped armor and clothing system. So, let's dive into how you can modify your head armor in this update.
Head Armor Modifications
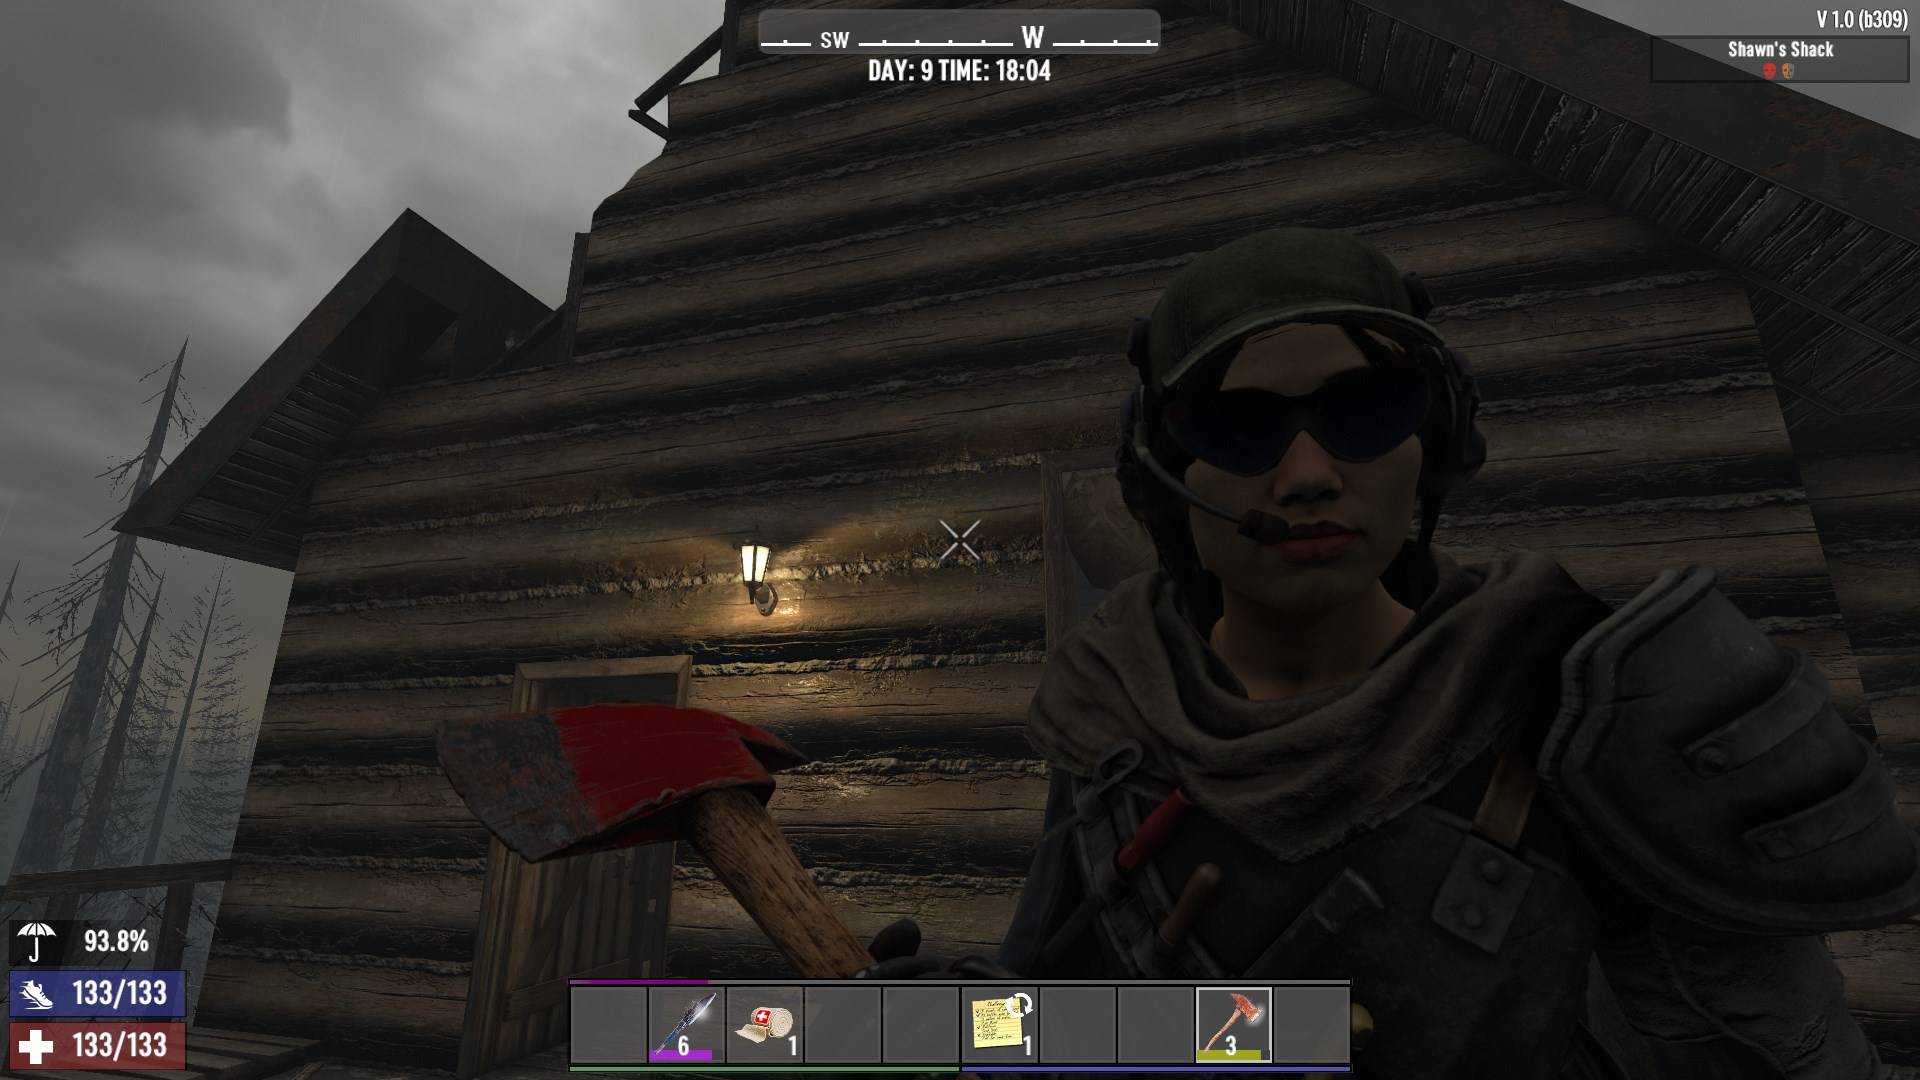
Alright, first things first. To start modifying your head armor, you need to have some. In 7 Days to Die 1.0, head armor isn't just about slapping on a helmet and calling it a day. Nope, it's a whole new ball game with customization and upgrades.
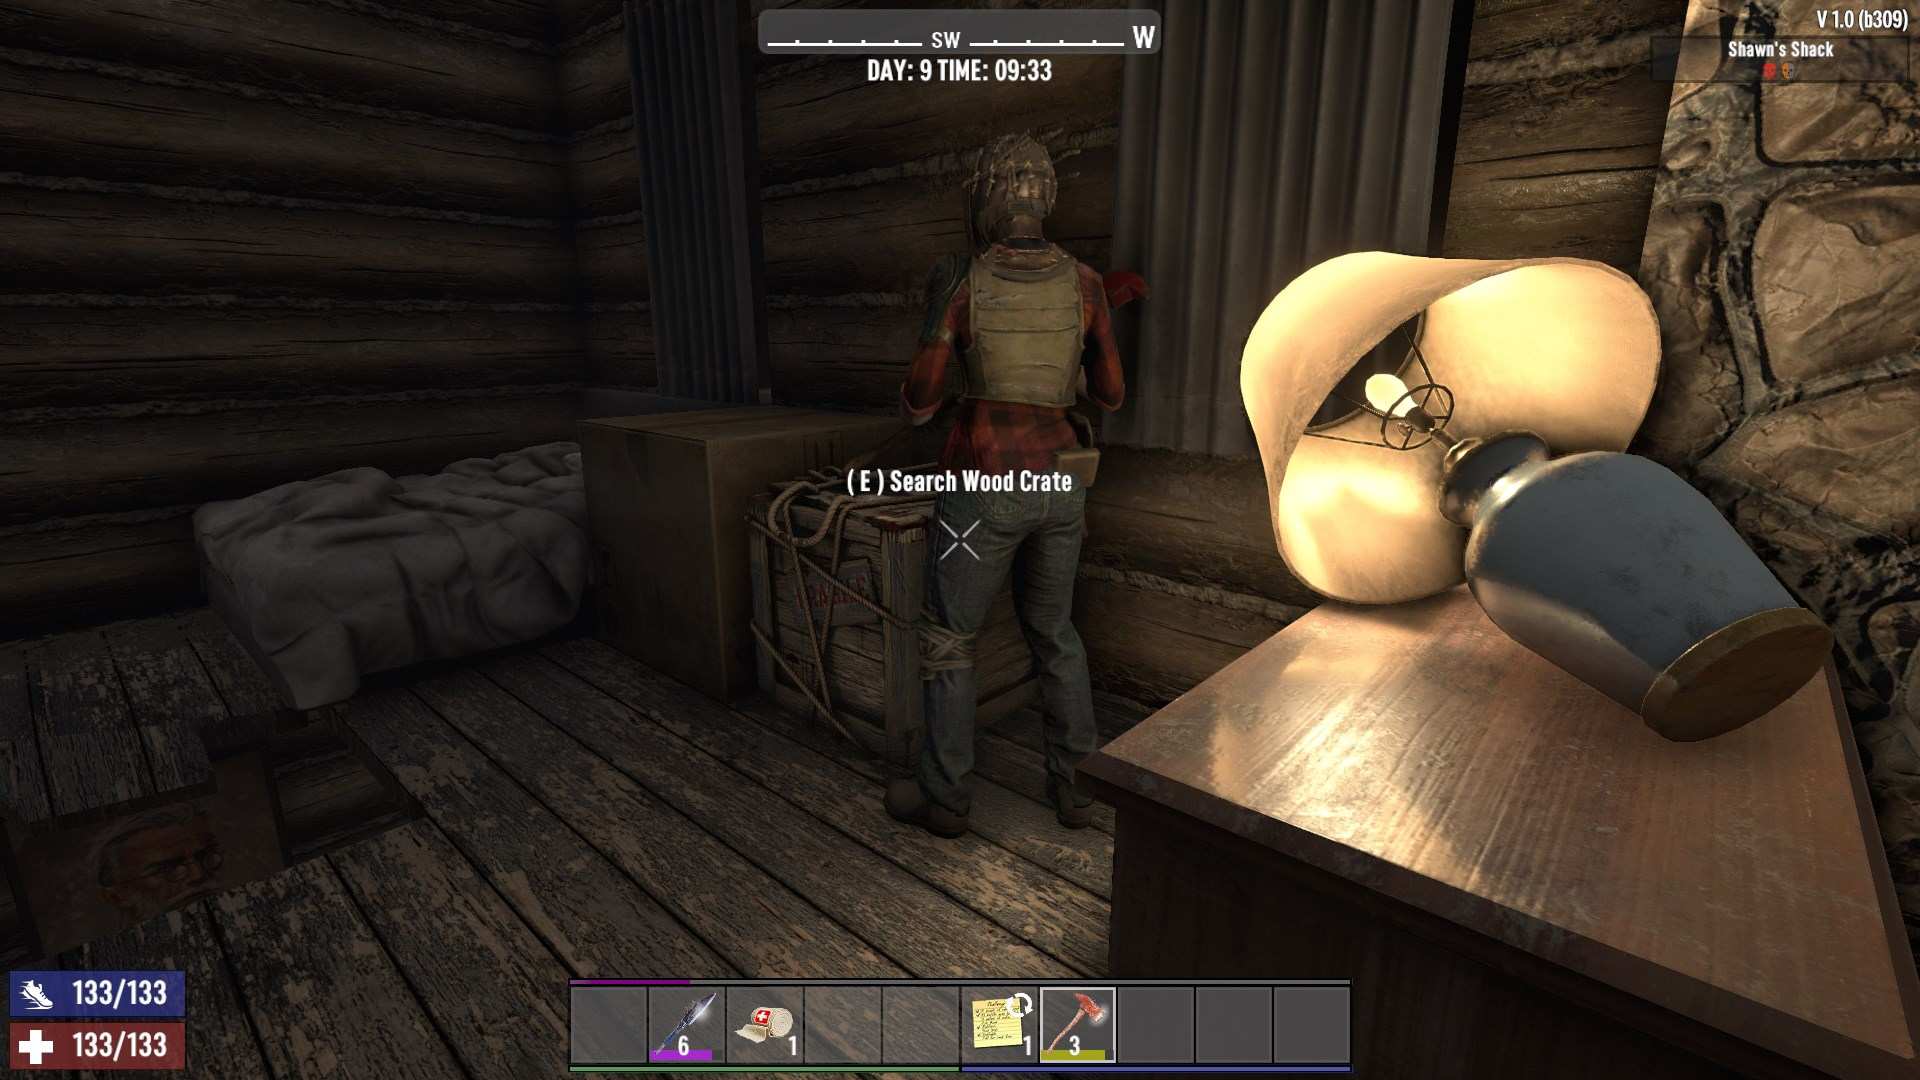
Head armor can be found or crafted. You’ll stumble upon different pieces while looting buildings, defeating zombies, or exploring the vast world.
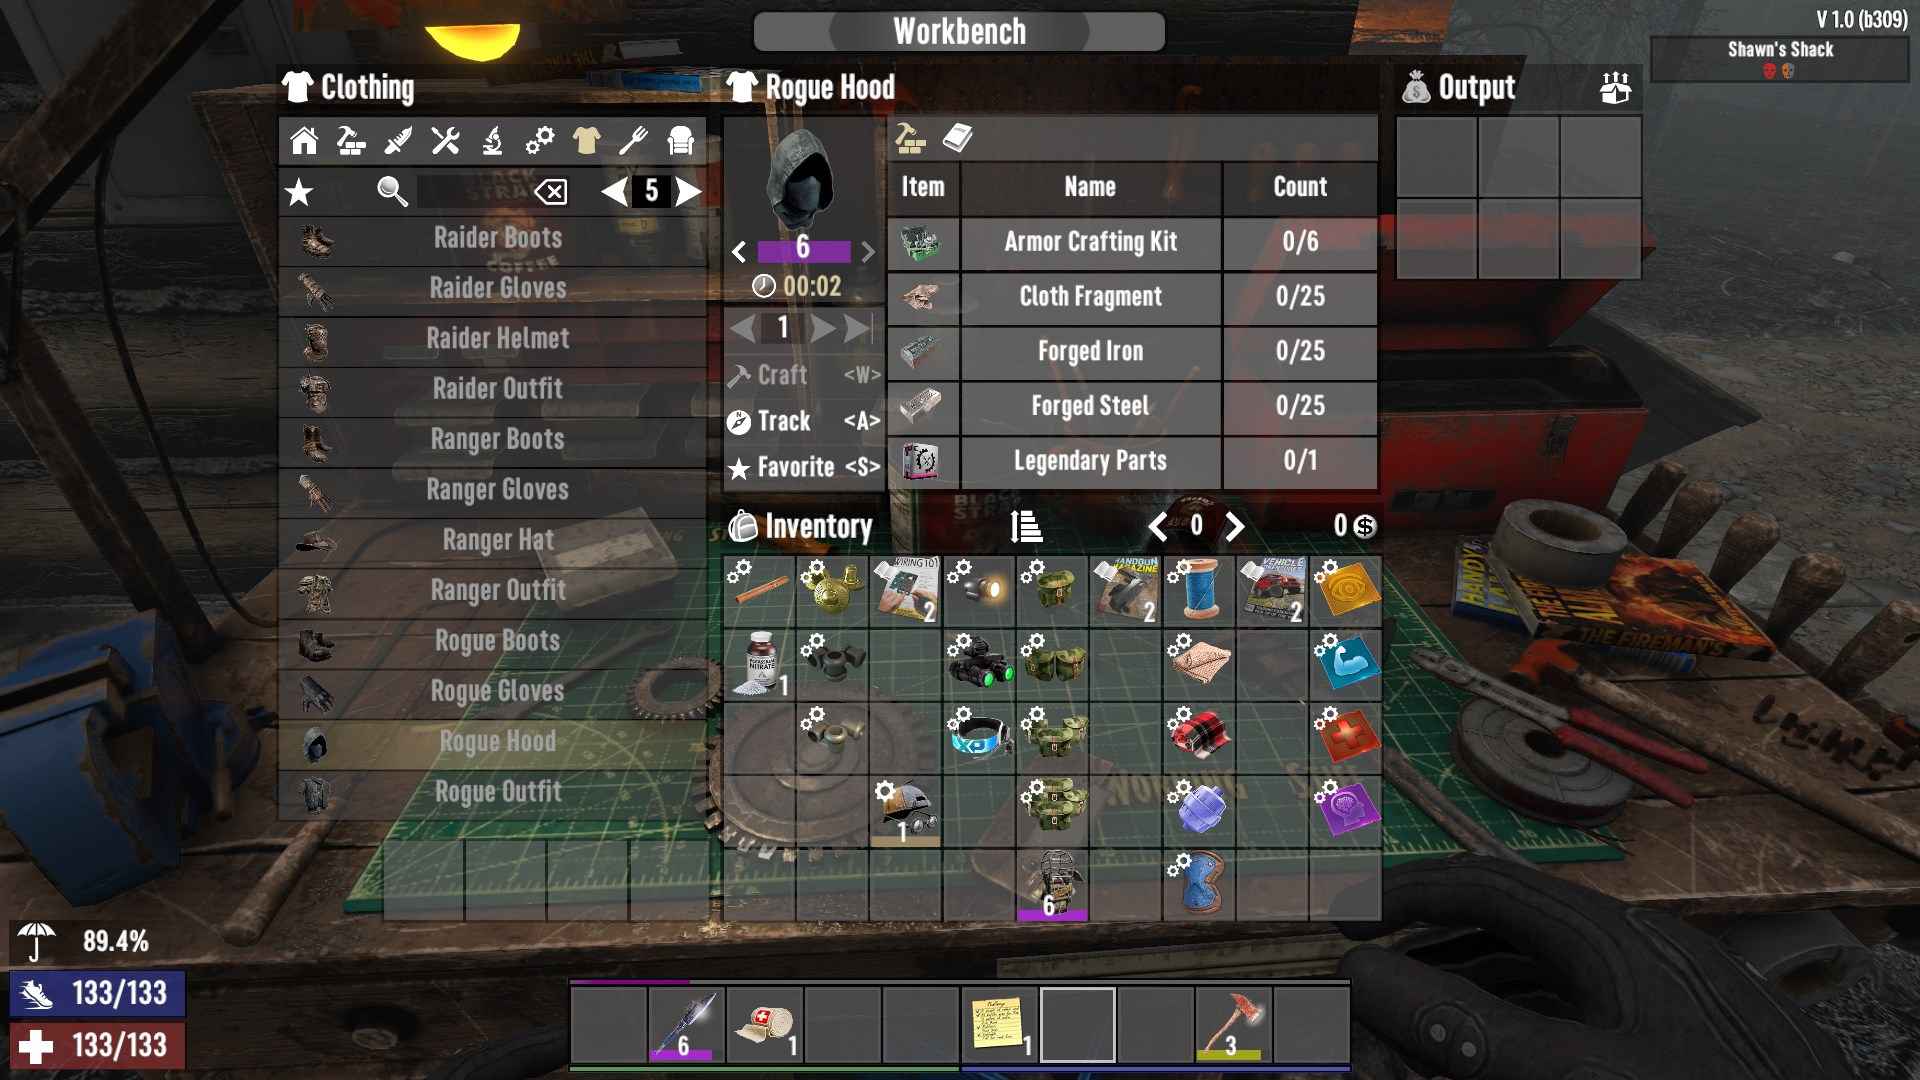
If crafting is more your style, you’ll need to gather the right materials. Typically, you’ll need metals, leather, and sometimes even mechanical parts, depending on the type of headgear you're making.
Accessing the Modification Menu
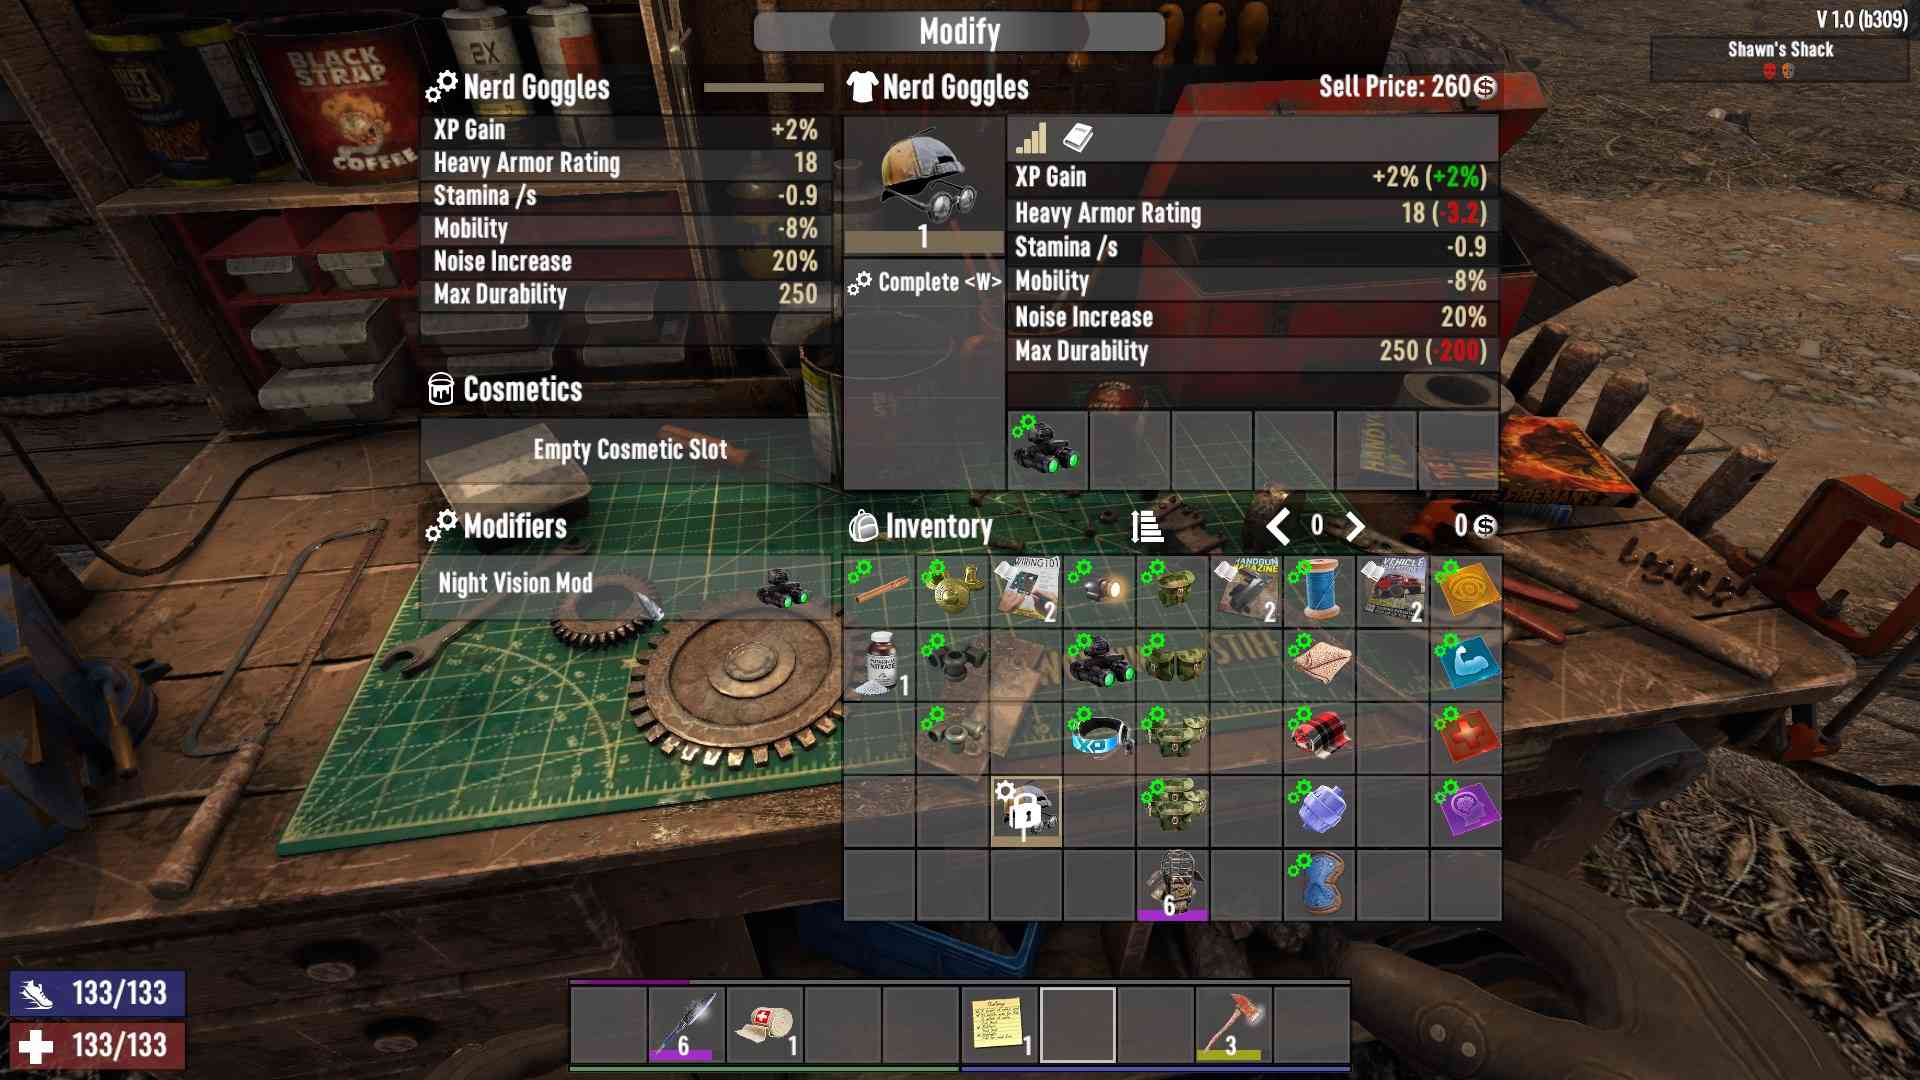
Once you've got your head armor, it’s time to modify it. Open your inventory and right-click on the head armor piece you want to modify and press ‘A’. This will bring up the modification menu. Here, you can see mod slots available for your head armor. The number of slots varies based on the quality of the armor – the higher the quality, the more slots you get.
Choosing Your Mods
The fun part is picking the mods! Mods can boost your armor’s durability, provide additional protection, or add cool functionalities like night vision or light sources. Here are some popular head armor mods you might want to consider:
- Helmet Light Mod: Perfect for illuminating those dark, creepy places.
- Cooling Mesh: Keeps your head cool in the scorching desert biomes.
- Noise Cancellation: Reduces the noise you make, which is great for sneaky gameplay.
- Defense Mod: Reduces damage.
- Additional Pocket: Increases carrying capacity.
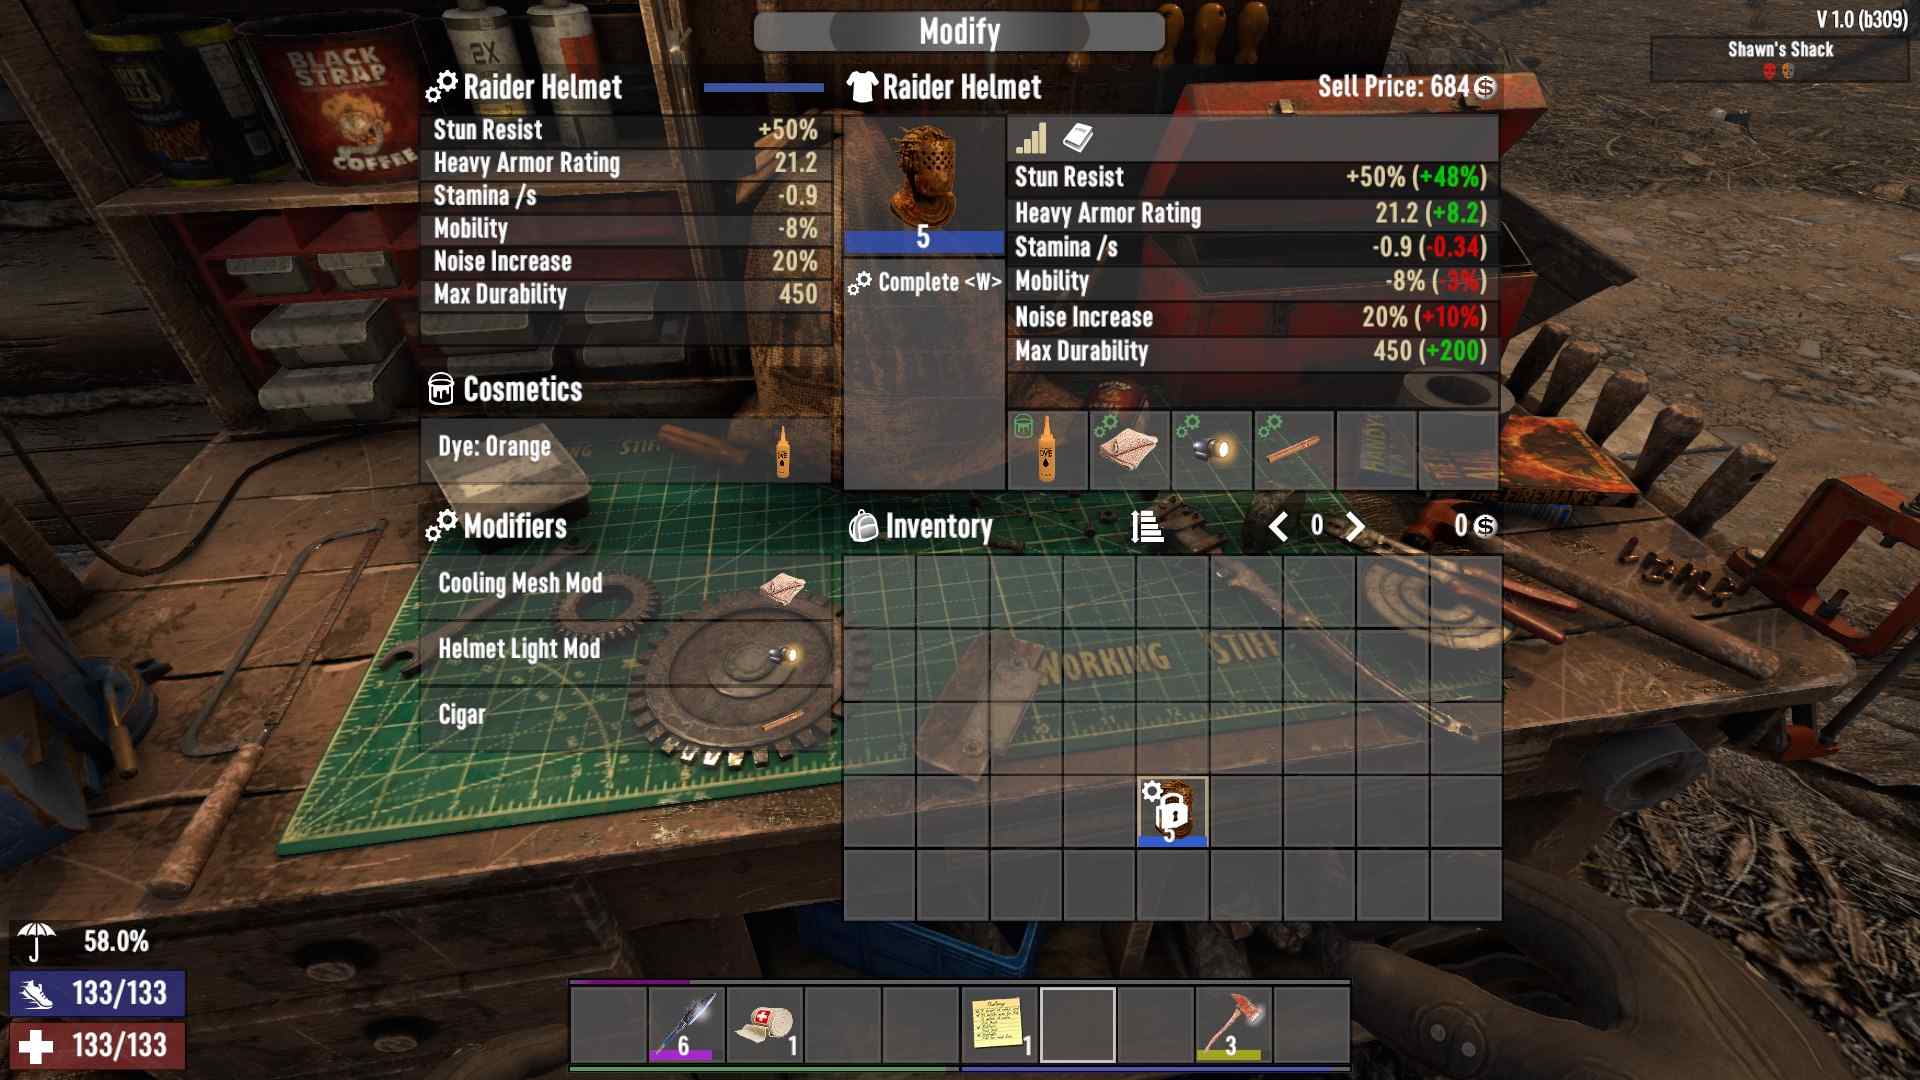
Depending on the head armor type, there are different numbers of slots for modifiers. Simple items like caps and nerd goggles usually have just one slot, while high-level armor pieces can have three or even four slots. This means you have to choose your mods wisely, depending on your goals at the current time. Whether you're sneaking around or engaging in full-on combat, picking the right mods can make all the difference.
Installing the Mods
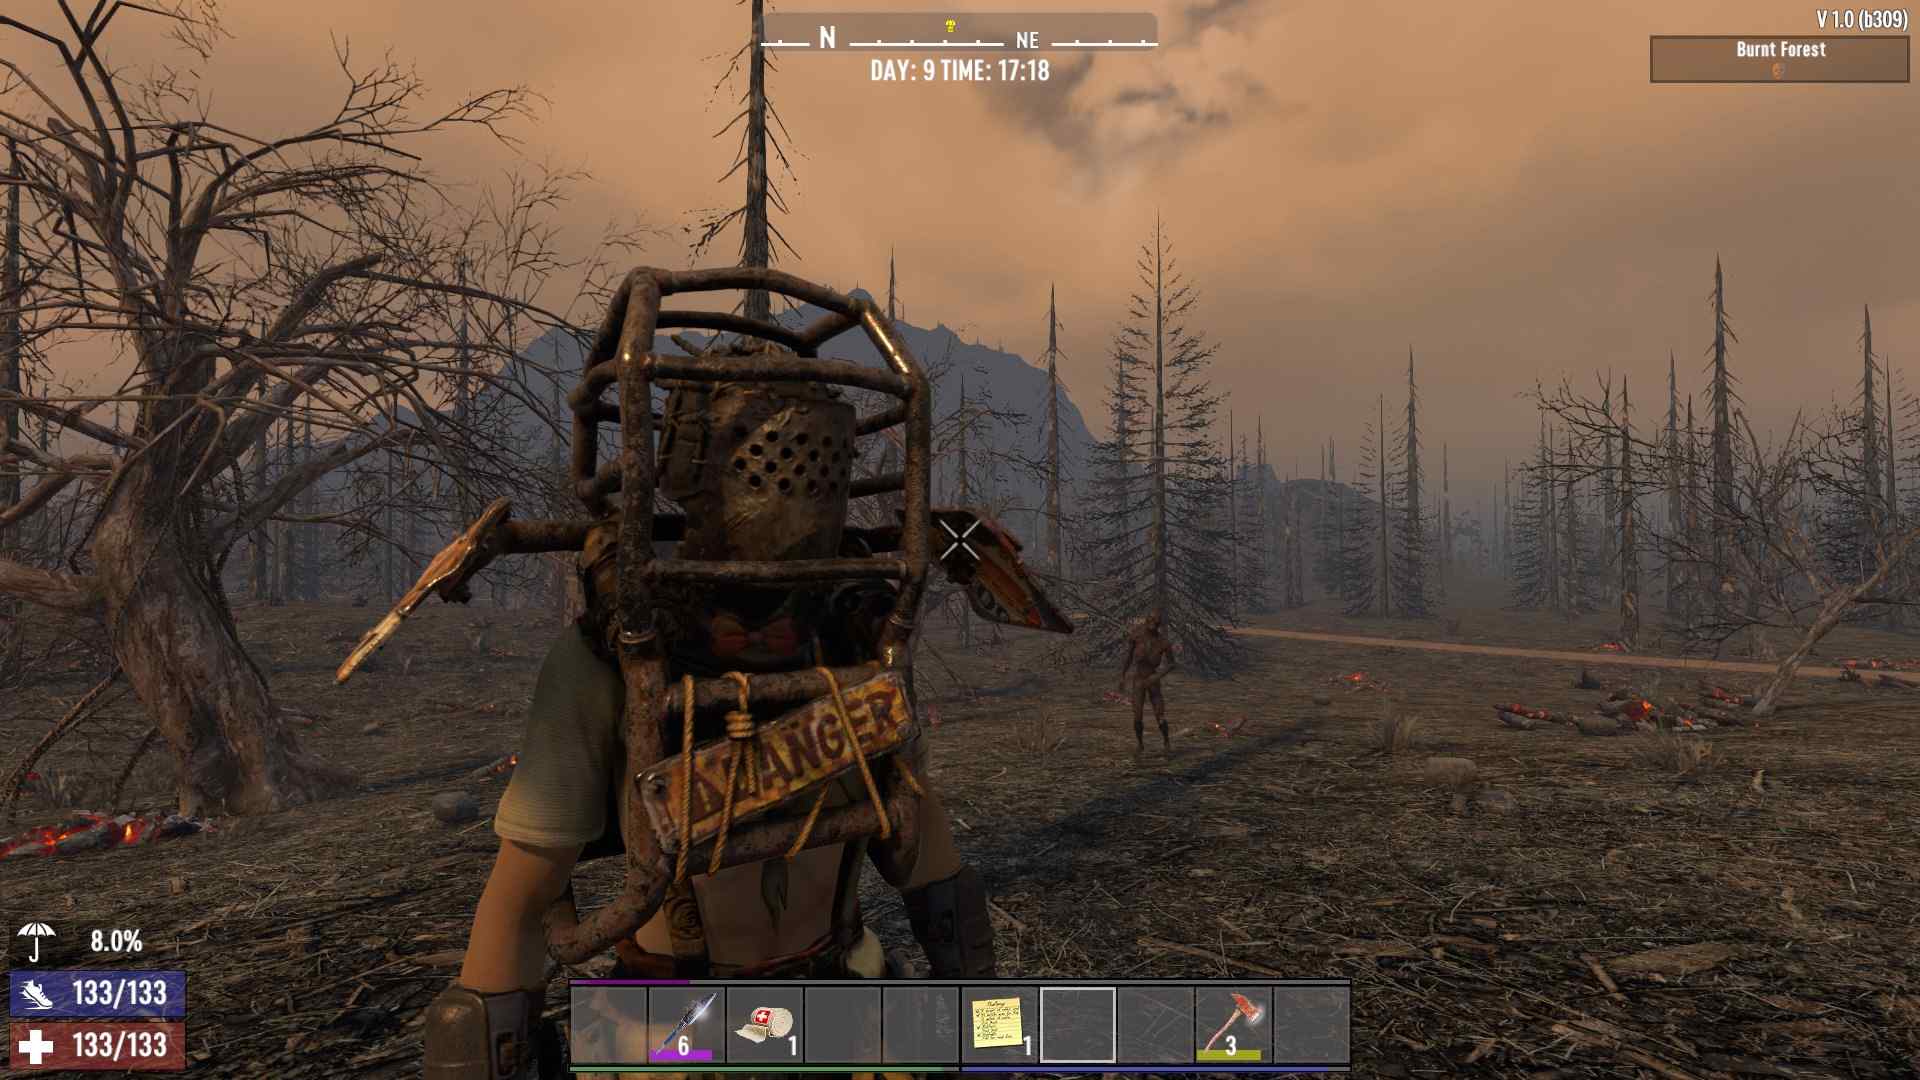
To install a mod, simply drag it from your inventory to an open mod slot on your head armor. Once placed, the mod will immediately apply its benefits. You can remove or swap mods at any time, so don't worry if you want to change your setup later – it's a breeze to disassemble and set new modifiers.
So, there you have it! Modifying your head armor in 7 Days to Die Update 1.0 is all about making the right choices to suit your playstyle and the challenges you face. Whether you’re sneaking through the shadows, battling hordes head-on, or exploring new biomes, having the right mods and upgrades can make all the difference. Get out there, experiment with different combinations, and turn your head armor into a zombie-proof masterpiece!