
How to Migrate an Existing Minecraft Server to gamever
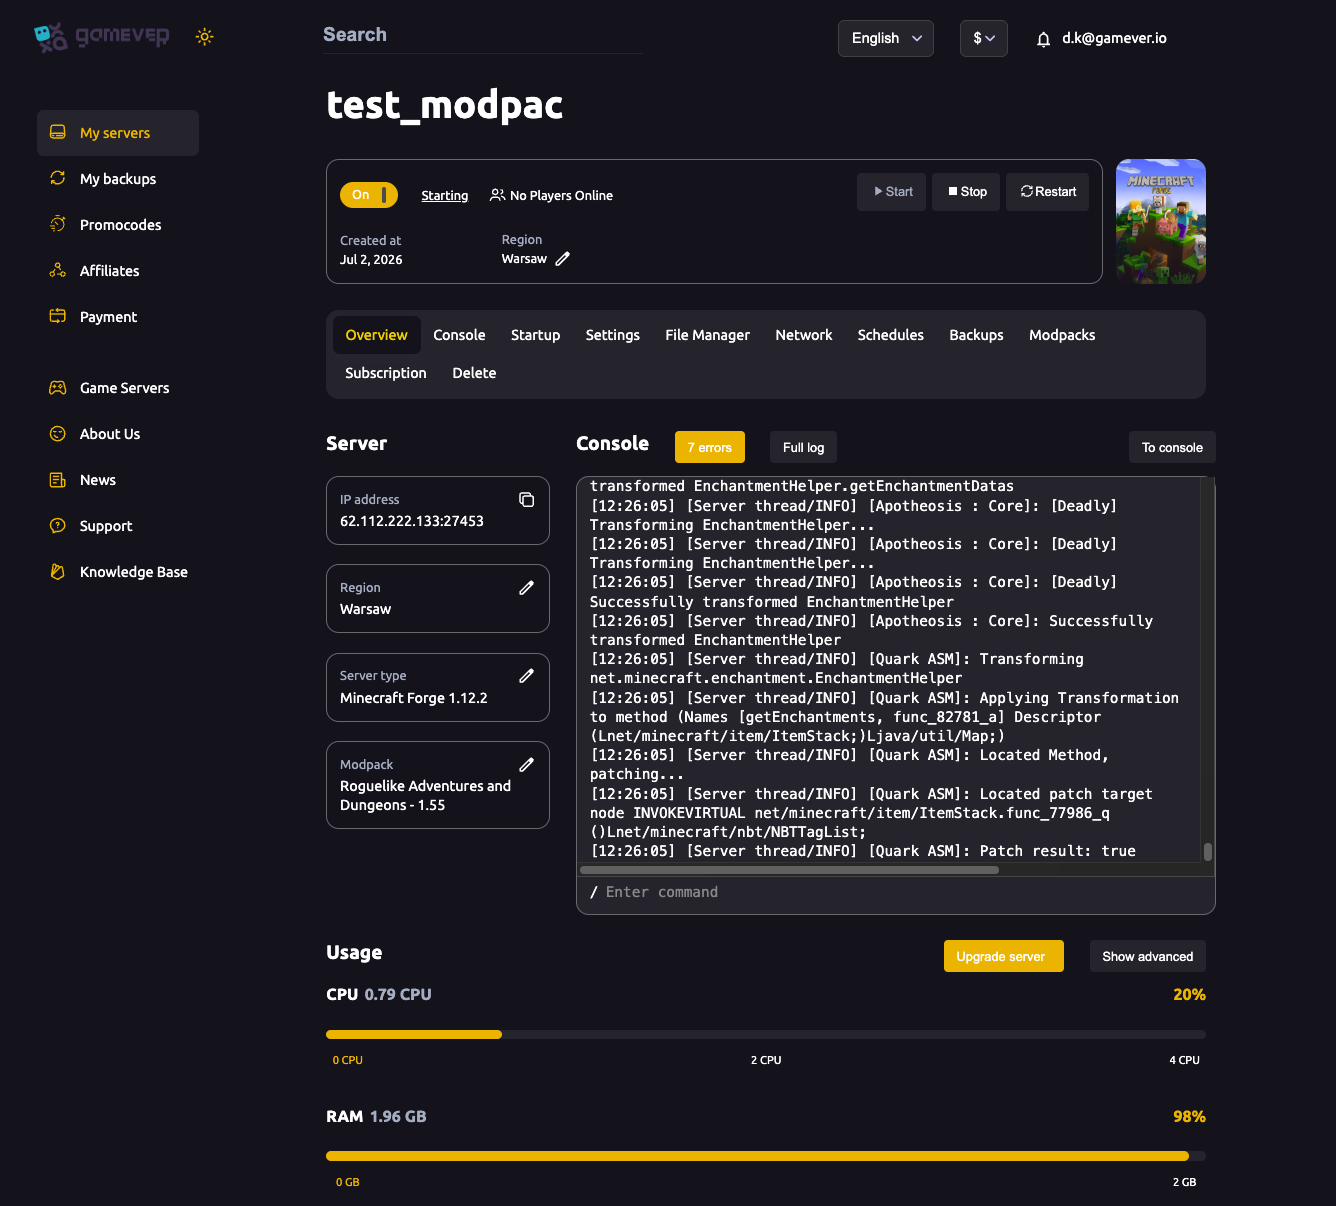
Already running a Minecraft server somewhere else — a home PC, an old host, a friend's box — and want to bring it to gamever without losing your world or your setup? You can. A Minecraft server is just a folder of files, so migrating is really two jobs: match the server type and version first, then copy the right files across with the File Manager or FTP. This guide shows exactly what to move and in what order, so your world, players and plugins land intact.
Step 1 — Match the server type and version first
This is the step people skip, and it's the one that breaks migrations. Your files were written by a specific server type (Vanilla, Paper, Forge, Fabric) and a specific Minecraft version. The new server has to match both before you copy anything in, or the world and configs won't load.
- Note the type and version of your old server (it's usually in the old server's log or its
versionline). - On your gamever server, open Settings and set the Change server type dropdown to the same type, then click Confirm. See change server type for what each type means.
- On the Startup tab, set the matching Minecraft (and, for Forge/Fabric, loader) version, and let the server reinstall.
Only once the fresh gamever server boots cleanly on the matching type and version should you move your old data in.
Step 2 — Know what to copy
A Minecraft server keeps its save data and its settings in a handful of files and folders at the server root (/home/). These are the ones worth bringing over:
| What | File / folder | Why |
|---|---|---|
| Your world | world/ (plus any extra world folders your type creates) | The save itself — terrain, builds, player data. |
| Server settings | server.properties | Gamemode, difficulty, view distance, PvP, MOTD and more. |
| Operators | ops.json | Who has admin/op rights. |
| Whitelist | whitelist.json | Allowed players, if whitelisting is on. |
| Bans | banned-players.json, banned-ips.json | Your ban lists. |
| Plugins (Paper) | plugins/ — the .jar files and each plugin's config folder inside it | Keeps plugin settings, not just the plugins. |
| Mods (Forge/Fabric) | mods/ and the config/ folder | Mod configs live in config/, separate from the jars. |
| Server tuning (Paper/Spigot) | bukkit.yml, spigot.yml, and config/paper-global.yml + config/paper-world-defaults.yml | Performance and gameplay tweaks, if you changed them. |
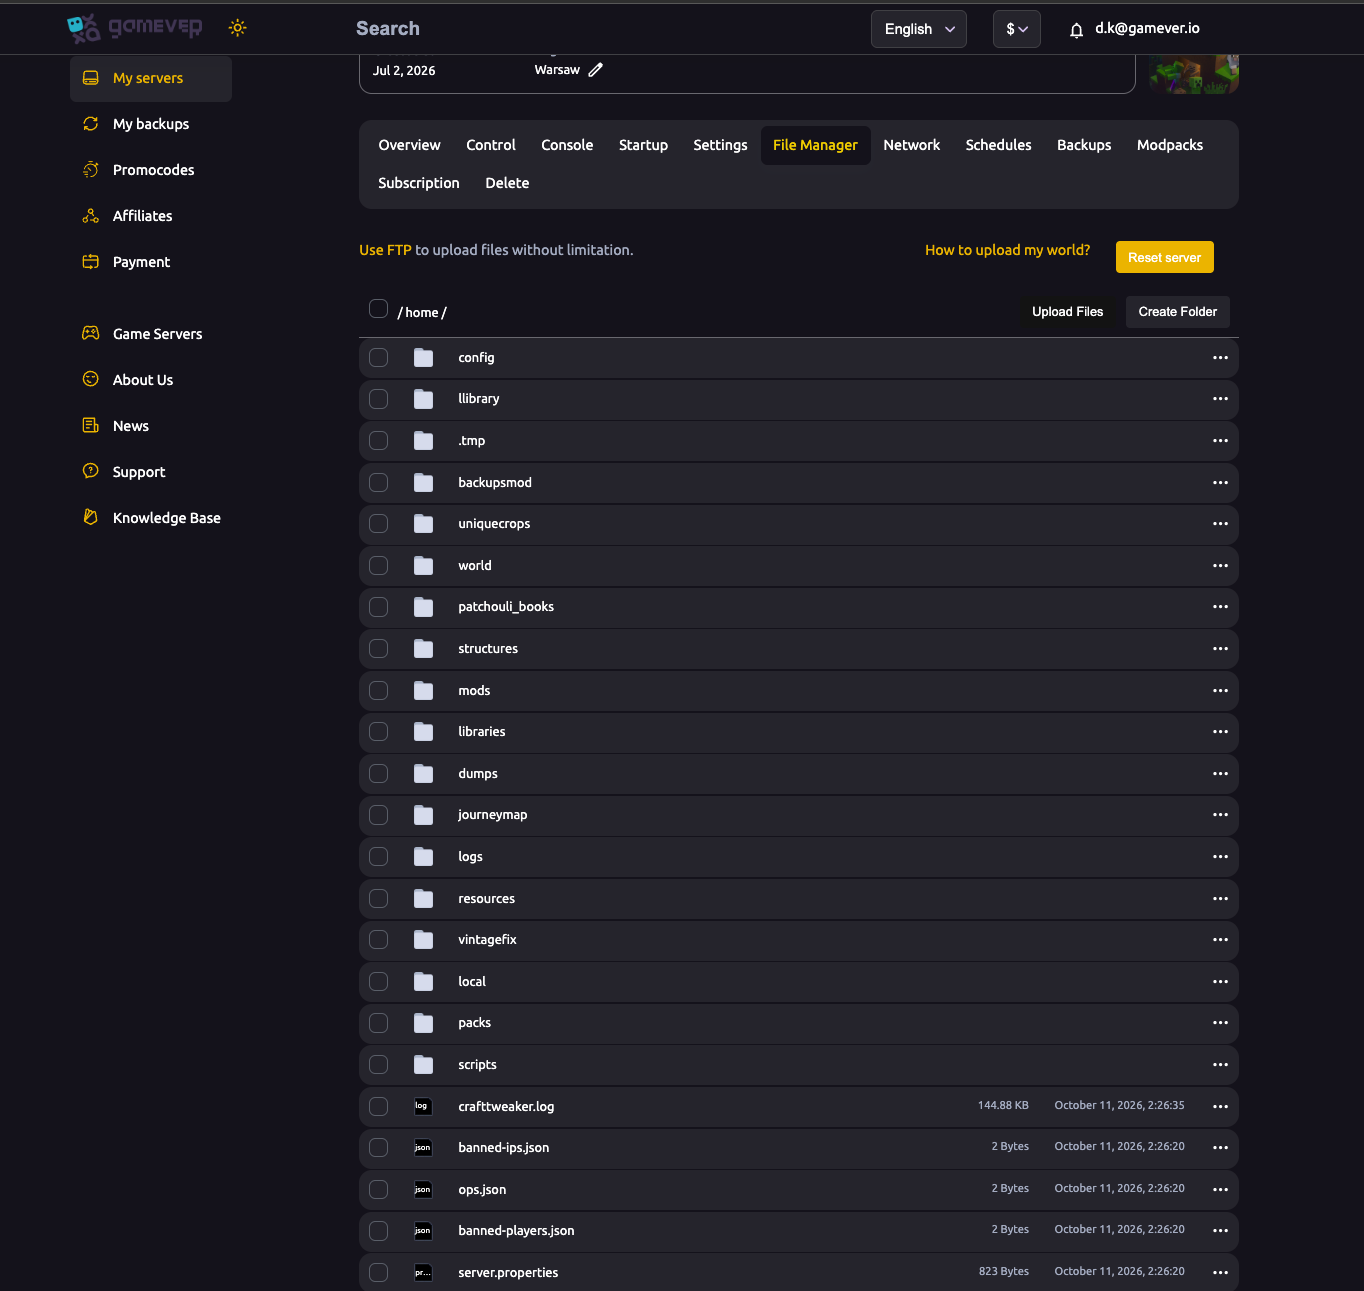
Copy the plugin/mod config folders, not just the jars. The jars are easy to re-download; your tuned configs are the hours of work. A plugin's settings sit in a sub-folder under plugins/; mod settings sit in the server's config/ folder.
Step 3 — Upload with FTP (or the File Manager)
For whole folders like world/ and plugins/, FTP is far better than the browser uploader.
- Stop the gamever server first — never copy world files onto a running server.
- Get your FTP User and FTP Password from Settings → FTP server settings, and the FTP address from the Network tab.
- Connect with any FTP client and drop your old files into
/home/—world/into the root, plugin jars and their config folders intoplugins/, mod jars intomods/and mod configs intoconfig/. - Upload
server.properties,ops.json,whitelist.jsonand the ban lists to the root, overwriting the fresh ones. - Start the server and watch the Console for load errors.
The File Manager can do the same in the browser and is fine for one or two files, but FTP handles a full world/ folder far more reliably. If a plugin or mod fails to load, it's almost always a version mismatch — recheck Step 1.
Step 4 — Fix the MOTD and leave the ports to gamever
One thing you should not carry straight over is the networking. gamever assigns your ports for you — your server address and port are shown on the Network tab, and the panel also uses its own query, RCON and FTP ports. So after uploading your old server.properties, don't force the old server-port or query.port values back in — leave gamever's networking as the panel set it, and hand players the address from the Network tab.
Your MOTD (the message shown in the server list) does carry over — it's the motd line in server.properties, so your old welcome text comes with the file. Edit it any time from Settings → Server settings or in the file directly.
Additional Tips
- Match type and version before you copy — the single biggest cause of a failed migration.
- Bring the config folders, not just the jars —
plugins/<plugin>/and the modconfig/folder hold your real settings. - Stop the server before uploading world files, so nothing is being written as you replace it.
- Take a backup first. Snapshot the fresh gamever server (and keep a copy of your old files) so a bad upload is a quick rollback — see backup & restore.
- Let gamever handle ports — give players the address from the Network tab, not your old IP:port.
- Re-check ops and whitelist after the first boot; if
ops.jsondidn't apply, re-op yourself from the Console.
Conclusion
Migrating to gamever is straightforward once you take it in order: match the server type and version first, then copy your world/ folder, server.properties, the op/whitelist/ban JSON files, and your plugins/ or mods/ folders with their configs — all over FTP into /home/. Leave the networking to the panel, point players at the Network tab address, and your server comes back exactly as it was, now with one-click backups, modpacks and server-type switching behind it.
Rent your Minecraft Java server at gamever.io — full File Manager and FTP access to bring your existing world straight over, plus one-click backups and easy Vanilla/Paper/Forge/Fabric switching. Free trial, promo code WELCOME. </content> </invoke>