
How to Manage the Whitelist and Bans on Your Minecraft Java Server
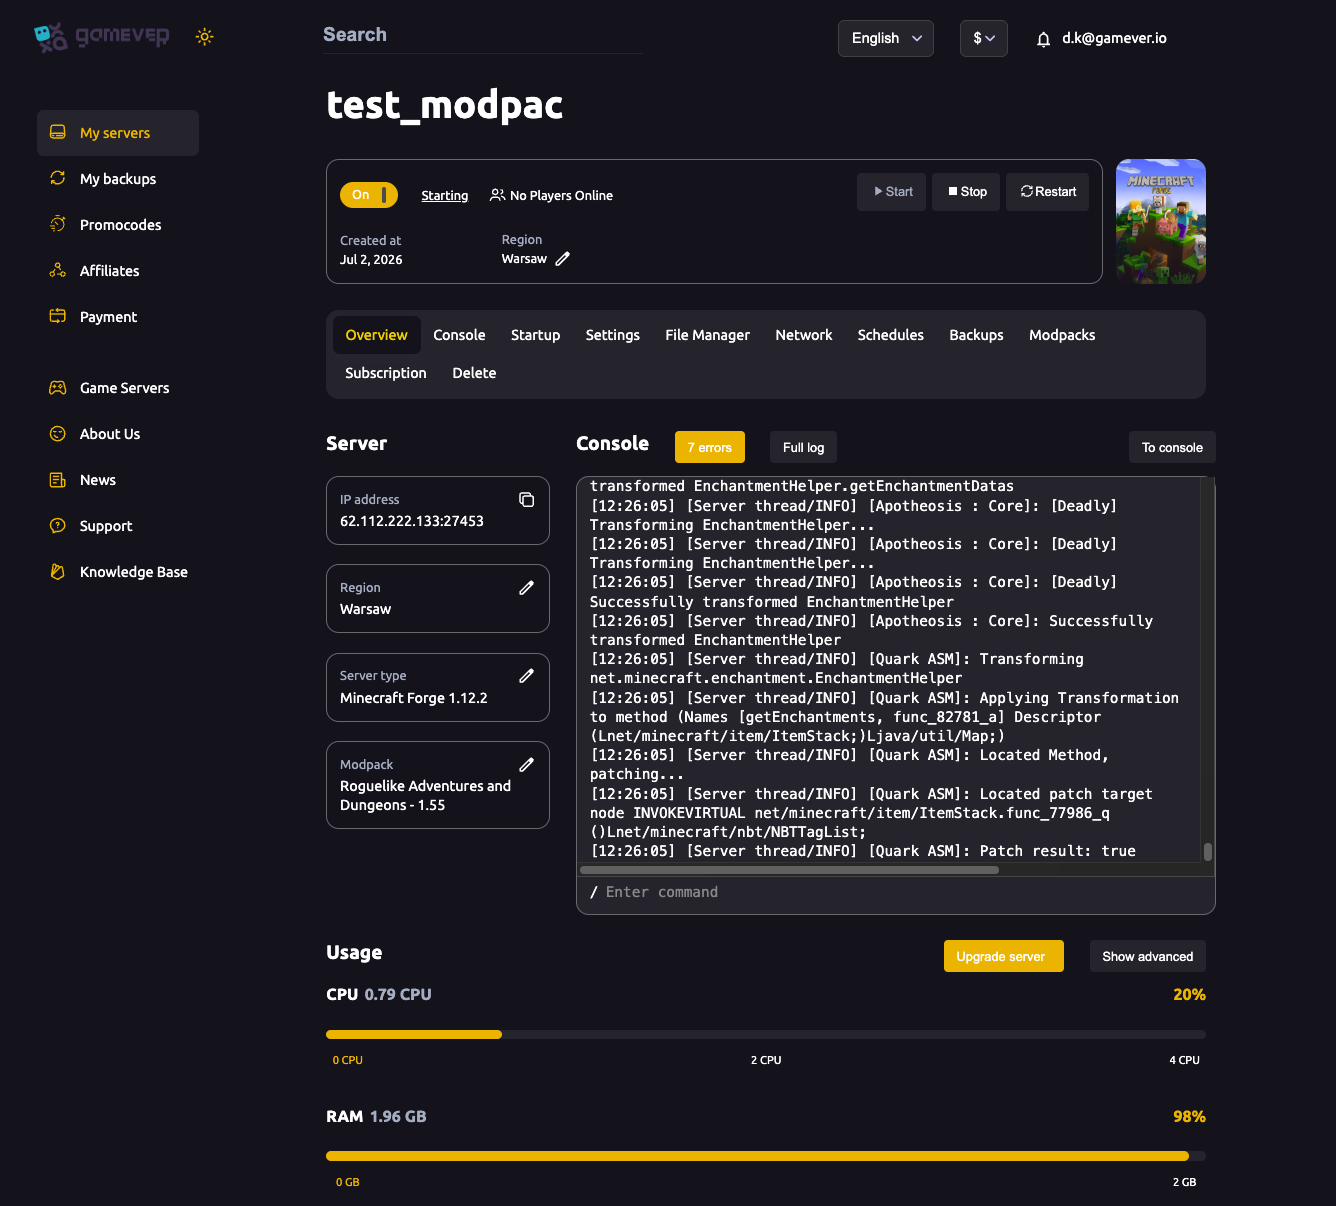
Deciding who can join your Java Edition server, and who can't, comes down to two tools: a whitelist (an allow-list of approved players) and the ban lists (players and IP addresses you've shut out). On a gamever-hosted server you drive both from the built-in Console, and the files that store them sit in your server root where you can read and edit them in the File Manager. This guide covers the Java commands and files. Bedrock uses a different system — an allowlist — which we cover separately. For a quick overview that also includes operators, see operators, whitelist and bans.
Where access control lives
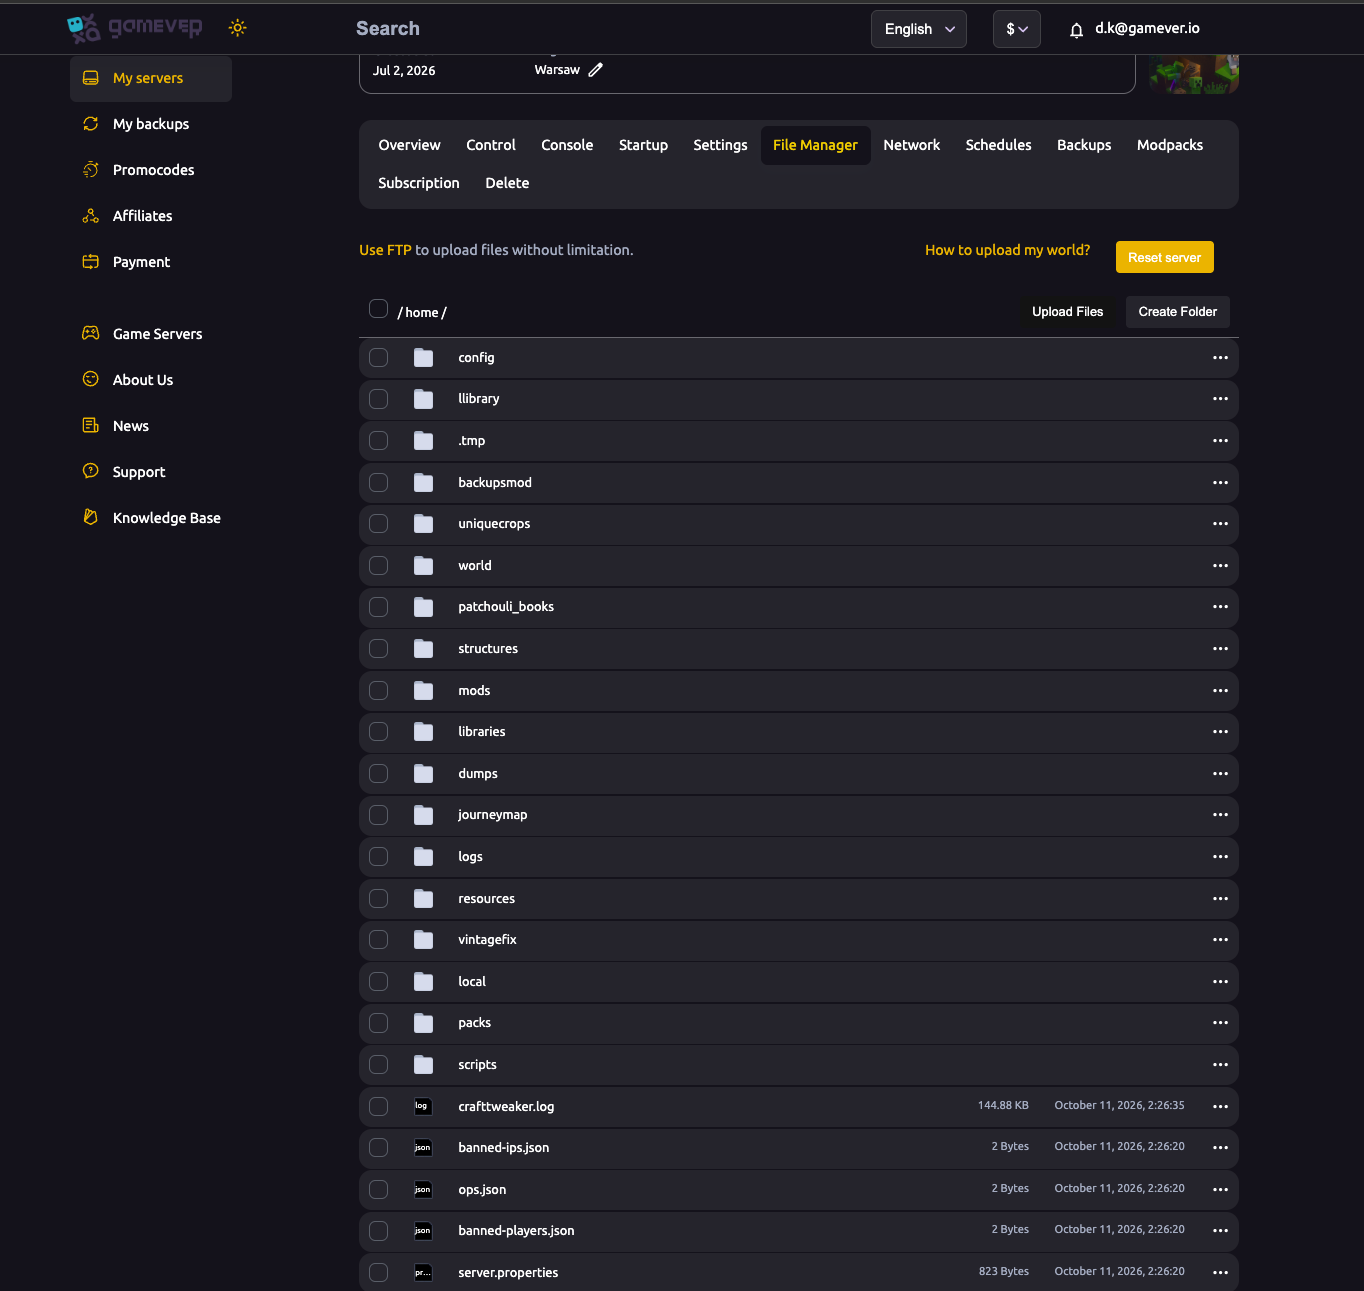
Three JSON files in your server's /home/ root hold the lists, and the game keeps them in sync as you run commands:
| File | What it stores |
|---|---|
whitelist.json | Players allowed to join when the whitelist is on. |
banned-players.json | Players who are banned, with any reason given. |
banned-ips.json | Banned IP addresses. |
You never have to touch these by hand for normal work — the commands below write them for you — but they're there in the File Manager if you want to review or clear an entry directly. Run commands from the panel's Console tab (or the Overview console); the server console takes them without a leading slash, while a player typing in-game uses the / prefix.
Turn on the whitelist
A whitelist makes your server private: once it's on, only approved players get in. Everyone else is refused at the door — useful the moment you open the server to friends only, or run with non-standard clients where anyone could otherwise connect under any name.
| Command (in Console) | What it does |
|---|---|
whitelist on | Enables the whitelist. |
whitelist off | Disables it. |
whitelist add <name> | Approves a player. |
whitelist remove <name> | Removes a player from the list. |
whitelist list | Shows everyone currently approved. |
whitelist reload | Re-reads whitelist.json after you've edited it by hand. |
whitelist on / off flips the white-list property in server.properties, so you can also set it there (edit the file in the File Manager and restart). A related property, enforce-whitelist, changes what happens to players already online when the list reloads: with it set to true, anyone not on the whitelist is kicked after the server reloads the whitelist file; left at its default of false, players already connected stay on even if they aren't listed. Operators are always allowed in, whitelist or not.
Ban and unban players
Bans are the other half of the door. Java has separate commands for banning a player profile and banning an IP address:
| Command (in Console) | What it does |
|---|---|
ban <name> [reason] | Bans a player; writes them to banned-players.json. |
ban-ip <address> [reason] | Bans an IP address → banned-ips.json. (Single word only — IPv6 can't be banned this way.) |
banlist players | Lists banned players. |
banlist ips | Lists banned IP addresses. |
pardon <name> | Unbans a player. |
pardon-ip <address> | Unbans an IP address. |
kick <name> | Disconnects a player without banning them. |
kick is the gentle option — it removes someone for the moment but doesn't add them to any list, so they can rejoin. ban-ip is the one to reach for against a repeat offender who keeps coming back under new usernames, since it blocks the connection itself rather than the account.
Editing the files directly
Because the lists are plain JSON, you can open them in the File Manager when a command isn't convenient — to clear a stale IP ban, say, or bulk-import approved players. After editing whitelist.json, run whitelist reload (or restart) so the running server picks up the change. For the ban files, a restart is the safe way to be sure the server re-reads them.
Java vs Bedrock
This is the Java Edition workflow. Bedrock servers don't use whitelist.json or the /whitelist command — they use an allowlist.json file and the /allowlist command (allowlist add / allowlist remove). If you're running a Bedrock server, follow the allowlist instructions instead; the commands here won't apply.
Additional Tips
- Approve players before you turn the whitelist on, so you don't lock yourself or your regulars out the moment it goes live.
- Operators bypass the whitelist — grant op only to people you trust, and manage admins via the operators guide.
- Use
enforce-whitelist=trueif you want removing someone from the whitelist to boot them immediately on reload, not just stop future logins. - Prefer
ban-ipfor persistent griefers who return under new names; a plainbanonly blocks that one account. - Edited a JSON file by hand? Run
whitelist reloadfor the whitelist, or restart from the panel, so the server loads your changes. - Toggle the whitelist property in
server.propertiesthrough the server settings or the File Manager — see getting started for where the Console and File Manager live.
Conclusion
Whitelisting and banning on a Java server is two short command sets backed by three JSON files: whitelist.json for who's allowed in, banned-players.json and banned-ips.json for who's kept out. Turn the whitelist on with whitelist on, approve players with whitelist add, remove troublemakers with ban and ban-ip, and reverse any of it with pardon — all from the panel's Console, with the files right there in the File Manager when you want them.
Rent your Minecraft Java server at gamever.io and get a live browser console, a Control tab for everyday moderation, and full file access to every admin file. Free trial, promo code WELCOME.