
How to Manage Storage in Valheim Bog Witch
Managing storage in Valheim: Bog Witch can feel like a daunting task when your resources and treasures start piling up. But with a little creativity and some handy tricks, you can turn your cluttered base into an organized haven.
Understand Storage Options
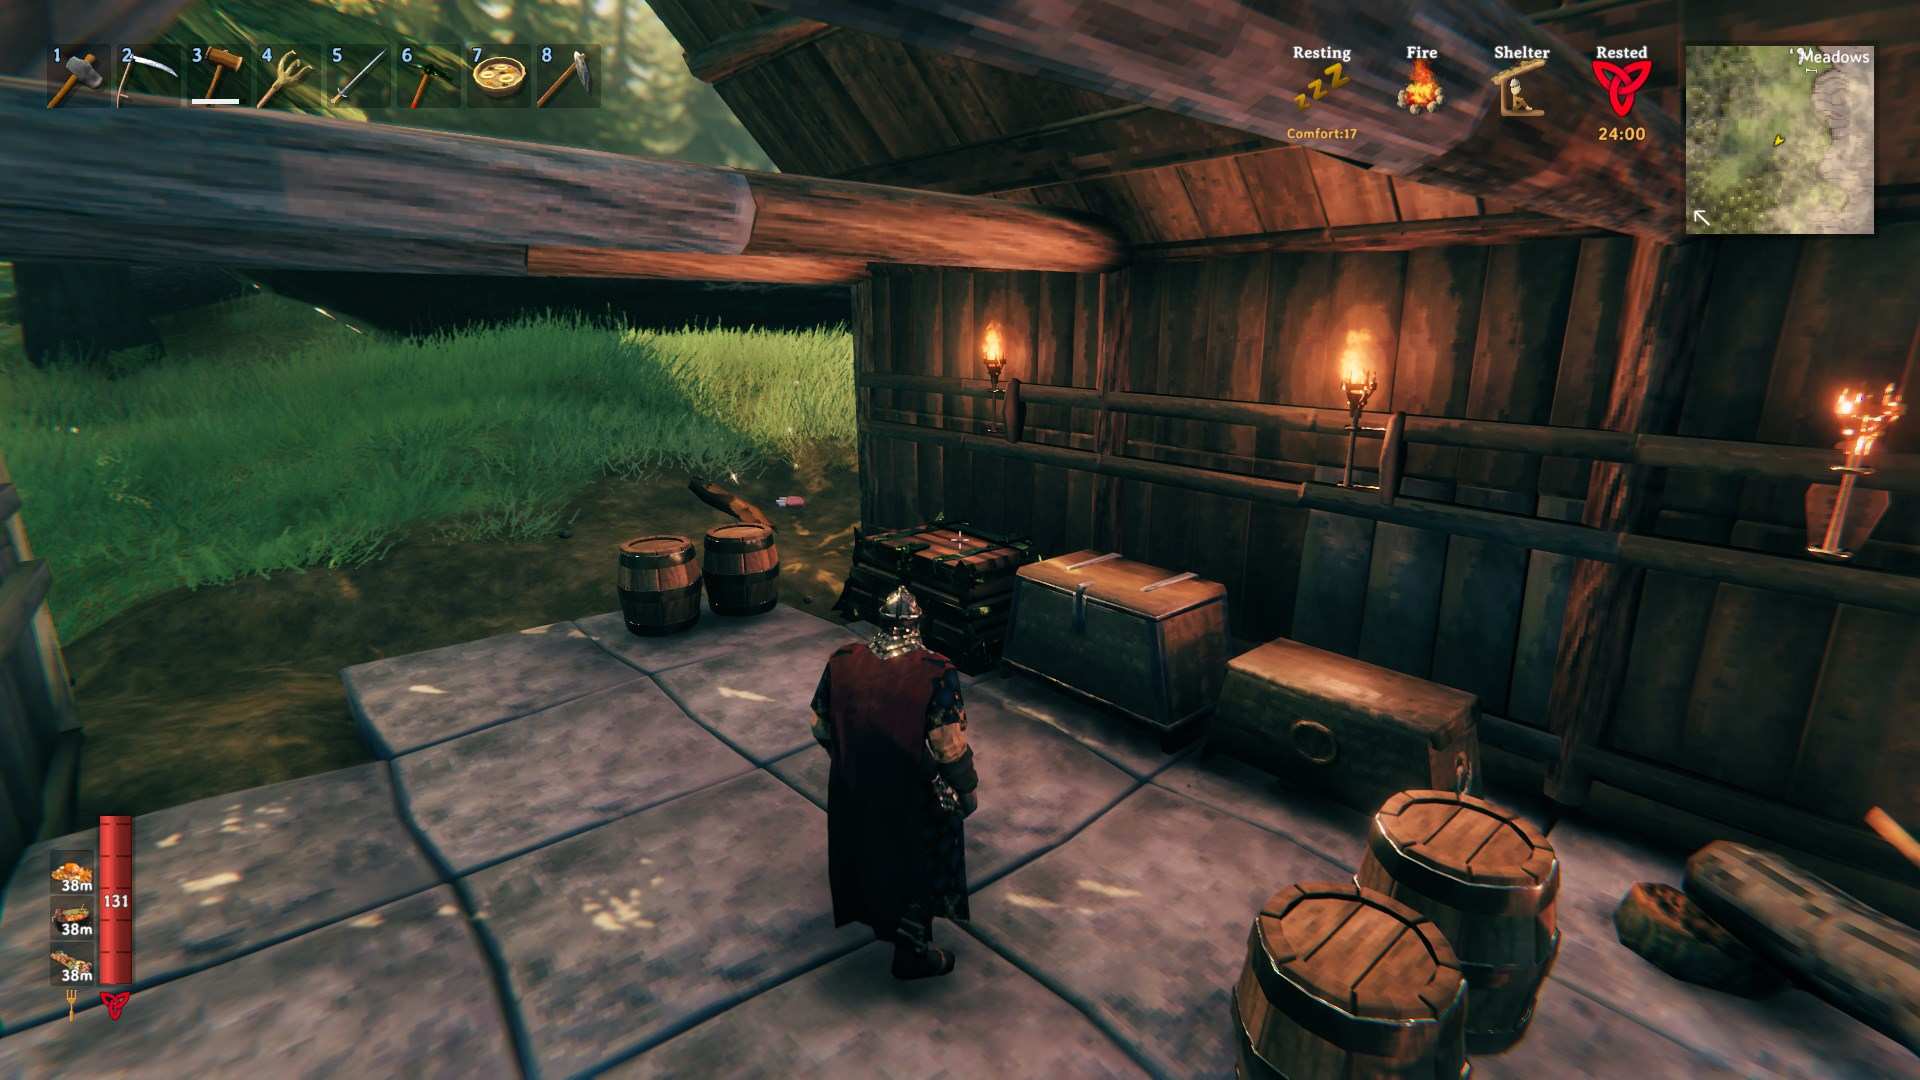
Valheim offers a variety of storage solutions. Start with the basics like wooden chests and reinforced chests for early gameplay. As you progress, upgrade to barrels, black metal chests, or personal chests for larger storage and specialized needs. Don’t forget your tombstone, which can double as temporary storage when you die, or carts for portable storage while exploring.
Make Use of Prep Boxes
Create dedicated chests for specific purposes, such as portal materials (fine wood, surtling cores, gray dwarf eyes), shipbuilding supplies (resin, nails, and wood), or combat gear (arrows, potions, and spare weapons). By grouping items by purpose, you’ll save time during crafting or combat preparations.

Utilize Vertical and Hidden Spaces
Maximize your storage by thinking vertically. Place chests under stone floors with their lids sticking out, or attach them to walls and ceilings. Use beams and support structures to keep them in place.
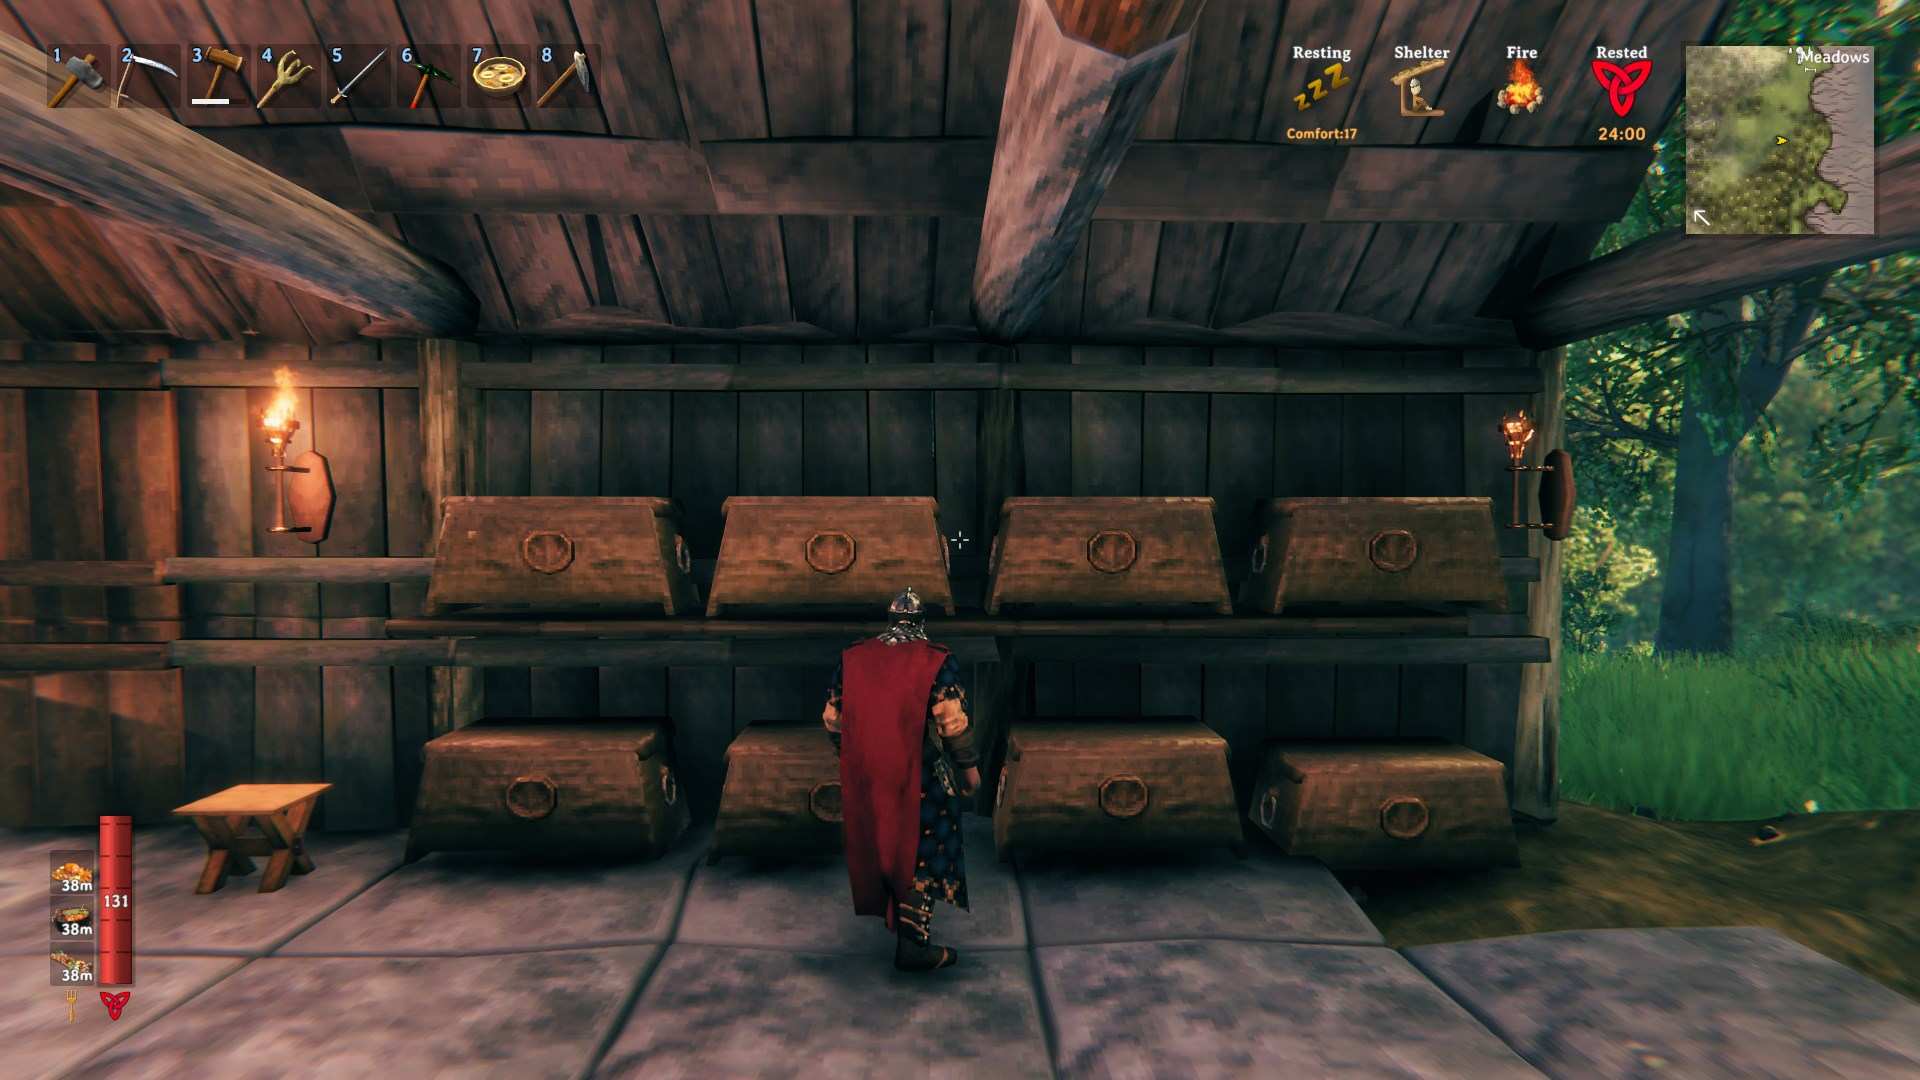
Alternatively, terraform your floor to create a recessed storage area. If you’re feeling creative, combine shelving units with decorative elements for both functionality and style.
Organize by Activities and Locations
Strategically place storage based on your activities. For example, store seeds near your farm, keep food and cooking ingredients by the campfire, and place crafting materials near your workshop. By keeping items where you use them most, you’ll save time and keep your base tidy.
Use Decorative Storage
Who says storage can’t be stylish? Use items like the surfing tray to display frequently used foods and potions, making them easily accessible while freeing up chest space. Decorative storage adds a personal touch and makes your base feel more like home.
Keep Drop-Off Zones
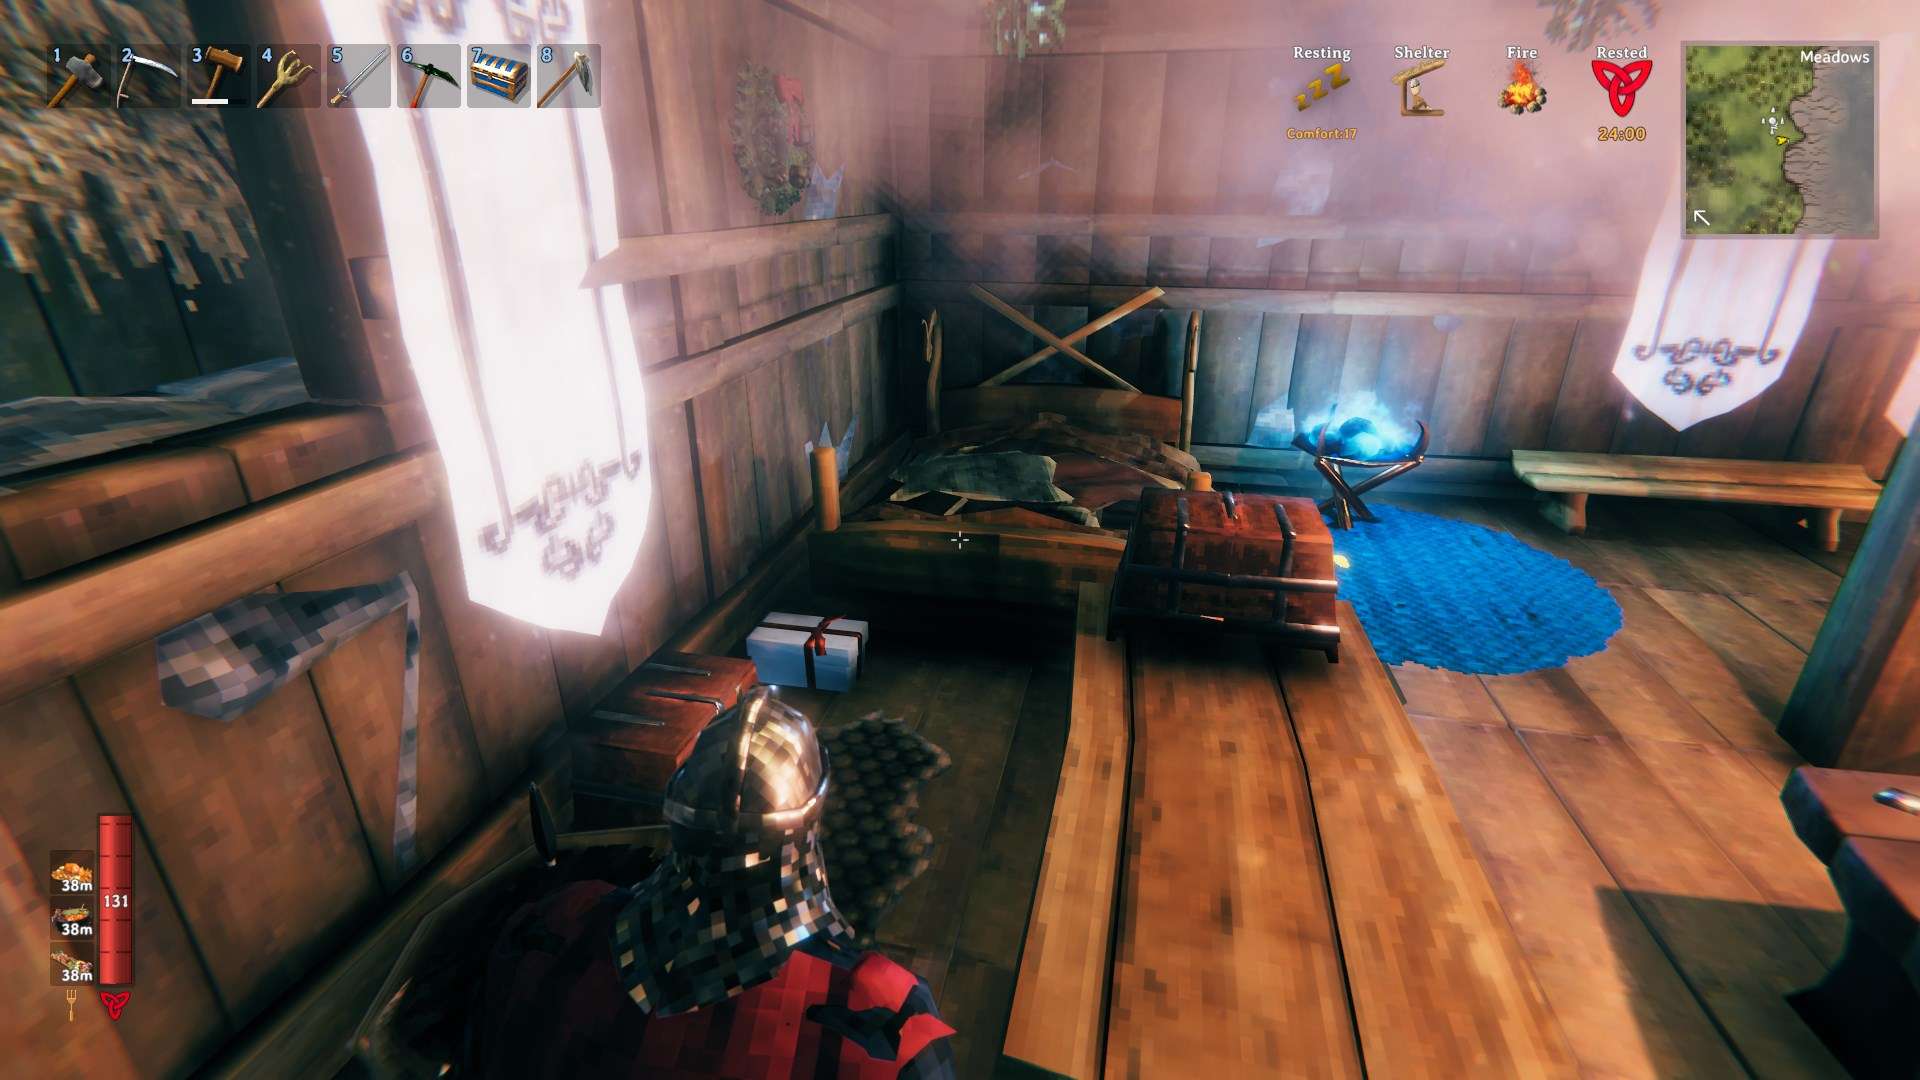
For quick and easy storage, set up drop-off zones around your base. Place carts or chests by doors, portal hubs, or other high-traffic areas to quickly dump items after adventuring. Later, you can sort them into more permanent storage when you have time.
Leverage Resource Stacks
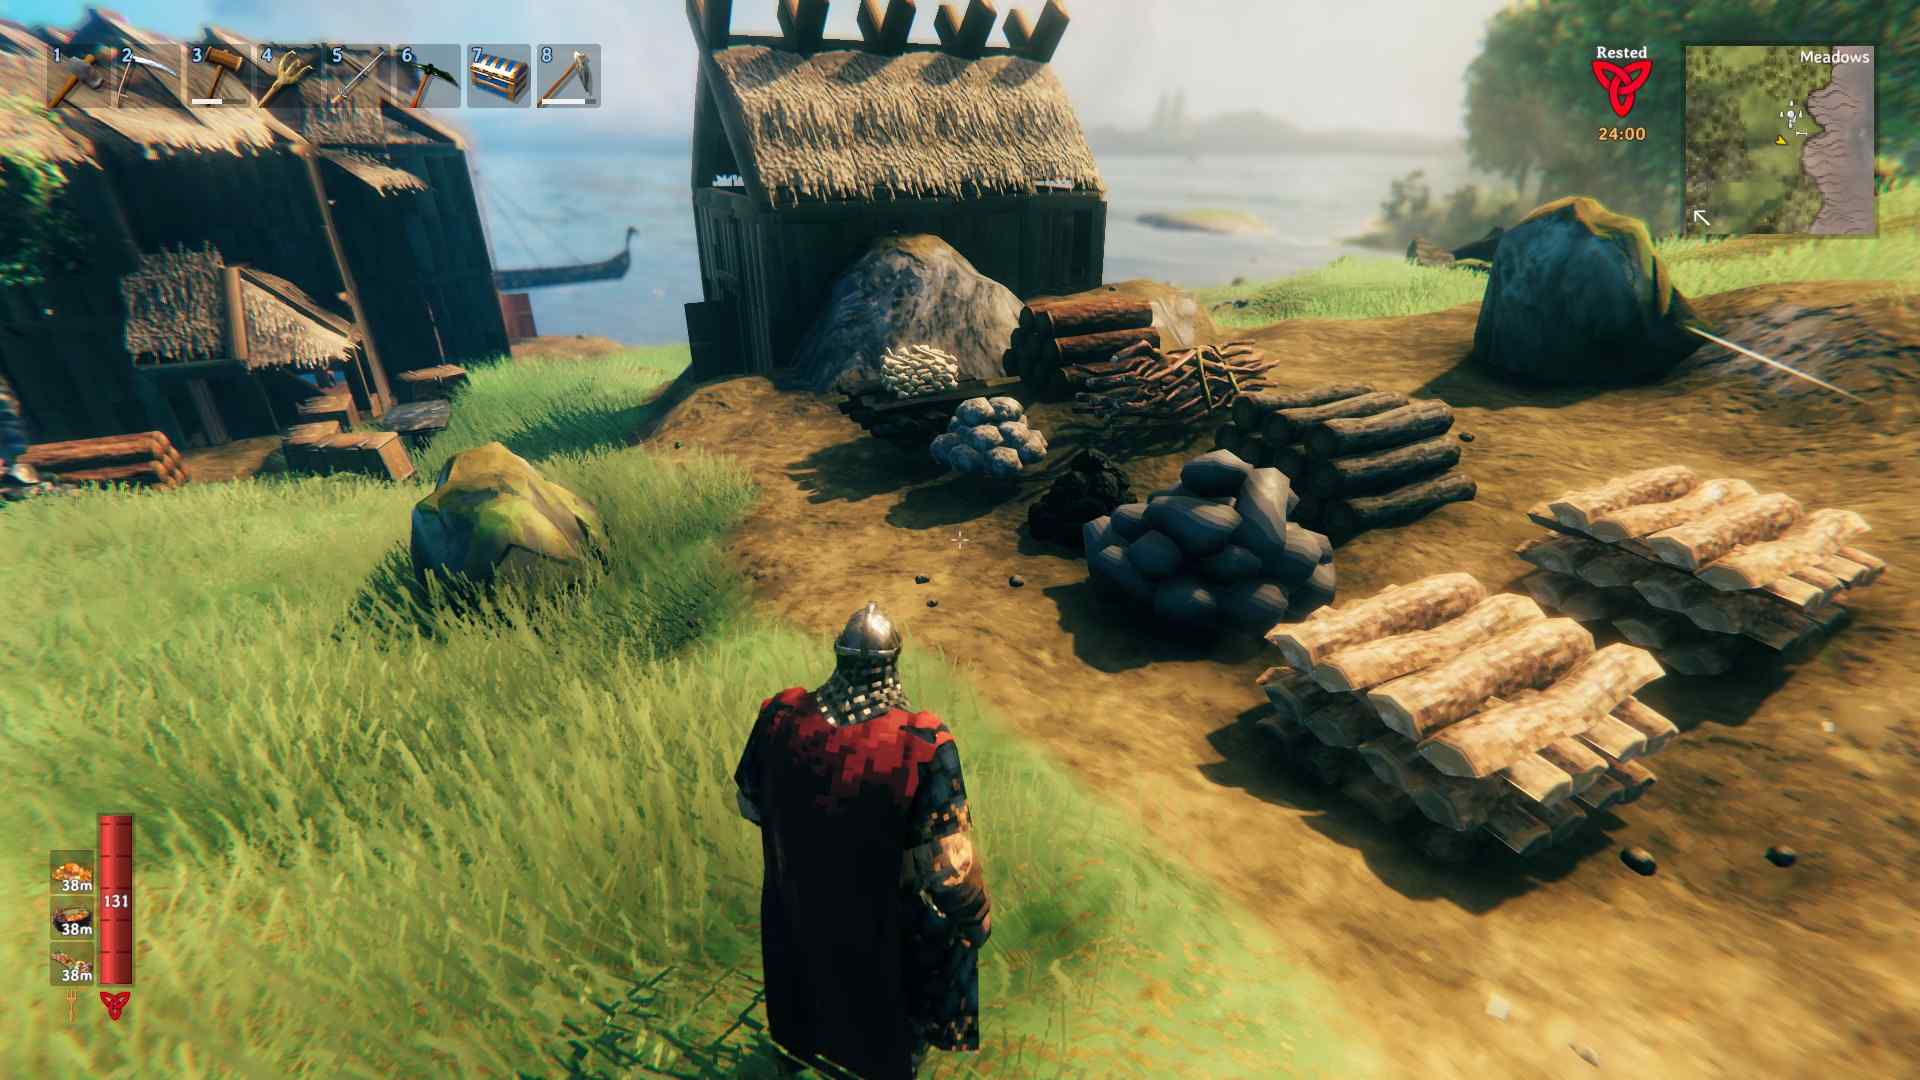
Free up chest space by stacking materials like wood, stone, and coal directly on the ground. Not only does this save storage slots, but it also adds a rustic touch to your base’s design. Plus, resource stacks are easy to access for crafting.
Label and Customize
Make finding items a breeze by labeling your chests with signs. You can use colors, symbols, or even emojis to represent different categories. This is especially useful in kitchens, workshops, or large storage areas with many chests.
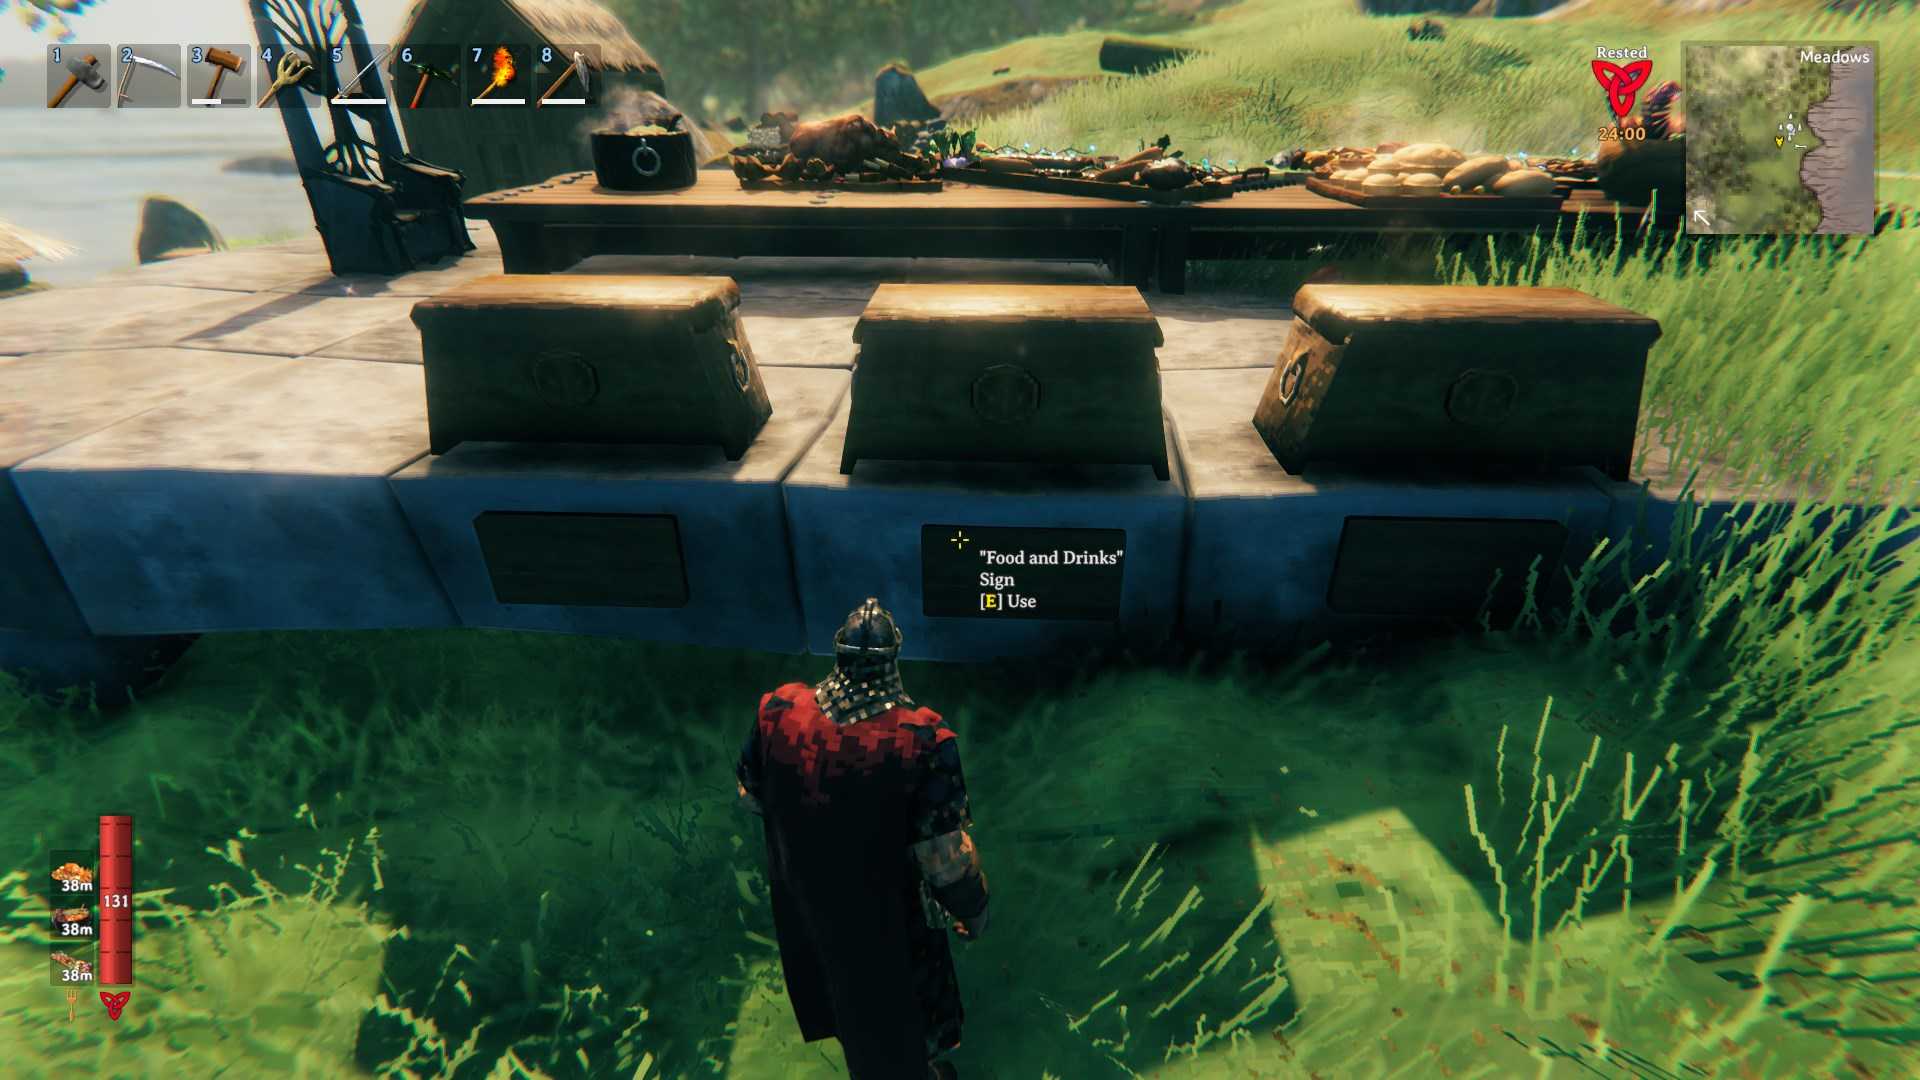
Create custom shelving units for a more organized and efficient setup. Use wooden poles, beams, and ladders to build multi-level storage systems. Add personal chests or barrels for a unique look that also maximizes space.
Managing storage in Valheim doesn’t have to be a chore. By combining practical solutions like prep boxes, drop-off zones, and resource stacks with creative touches like shelving and decorative storage, you can create a system that works for you and enhances your gameplay. So get building, get organizing, and make your Bog Witch base the envy of the swamp!