
How to make armor stand in Minecraft?
Introduction
An integral part of the ever-fascinating game of Minecraft, the armor stand adds a unique aesthetic value to your in-game dwelling while also serving a practical purpose. This comprehensive guide will walk you through all the nuances of making an armor stand in Minecraft, enabling you to exhibit your armor pieces stylishly and conveniently.
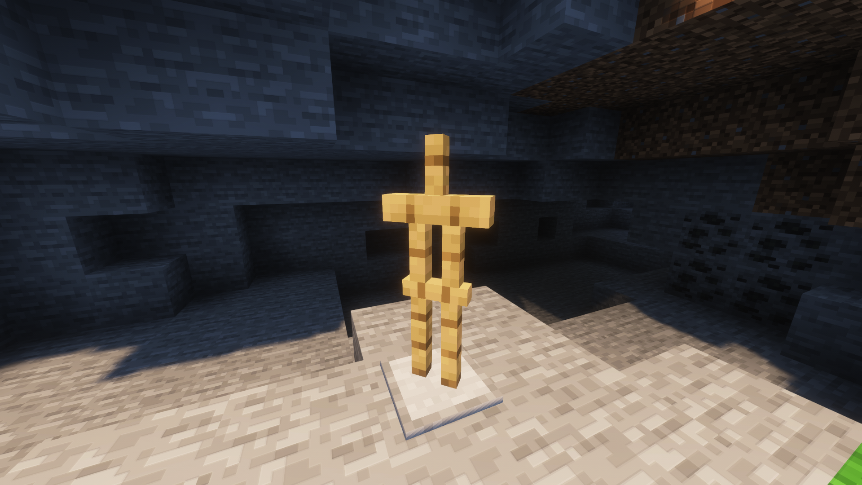
What is an armor stand?
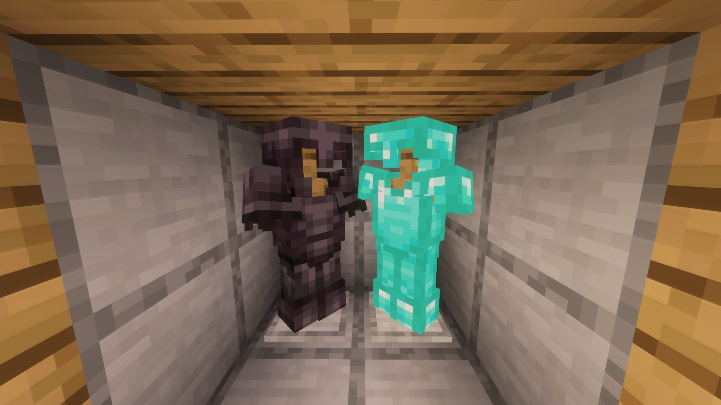
An armor stand is a decorative item used to display wearable gear in Minecraft, including armor, pumpkin heads, and mob heads. It serves as a storage space, helping you keep your inventory clutter-free. Armor stands can be used in a multitude of creative ways to enhance the aesthetics of your in-game buildings.
What materials are needed to craft an armor stand?
Before we delve into the process, it's vital to gather all the necessary materials. To craft an armor stand, you will need:
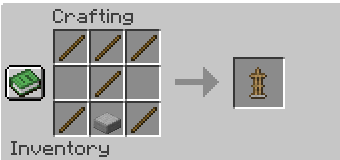
- 6 Sticks: Sticks are fundamental materials you can craft from wooden planks.
- 1 Smooth Stone Slab: This particular item can be made using three smooth stones on a crafting table.
Both of these materials are relatively easy to procure, ensuring that even beginners can craft an armor stand.
How to craft it?
Here’s a detailed, step-by-step guide to crafting an armor stand:
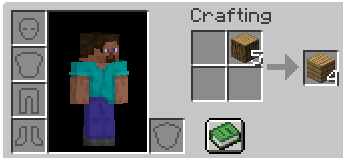
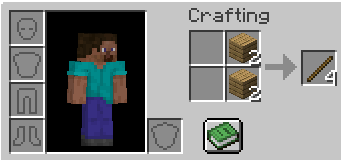
- Create sticks: Begin by crafting wooden planks from any raw wood. Place the wooden planks in a 2x2 crafting grid to create sticks. You'll need four wooden planks to make the six sticks required.
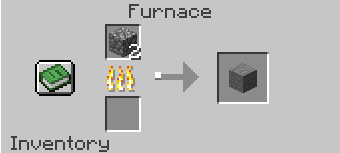
- Create a Smooth Stone Slab: Smelt raw cobblestone in a furnace to create a smooth stone. Repeat this process three times. Next, place these three smooth stones in a row on your 3x3 crafting table, which will create a smooth stone slab.
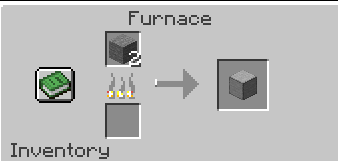
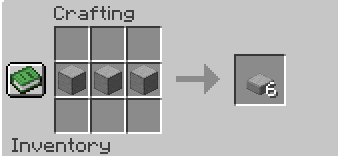
- Craft the Armor Stand: Now, bring the sticks and the smooth stone slab to the crafting table. Arrange three sticks across the top row to form a 'T' shape, then place two sticks vertically in the middle of the grid, and put the smooth stone slab at the bottom center. Once done correctly, the armor stand will appear in the result box of the crafting table.
How to use the armor stand?
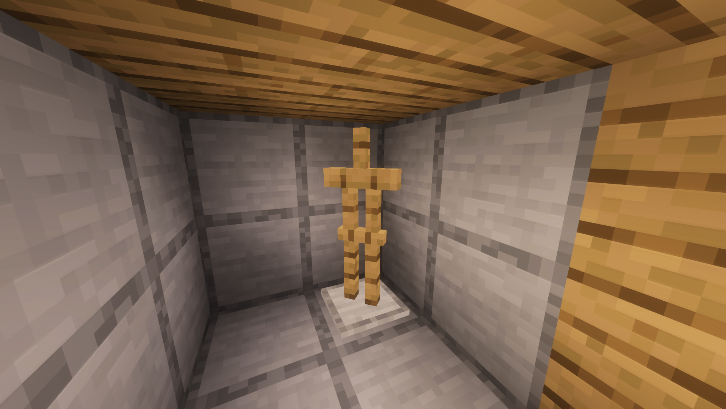
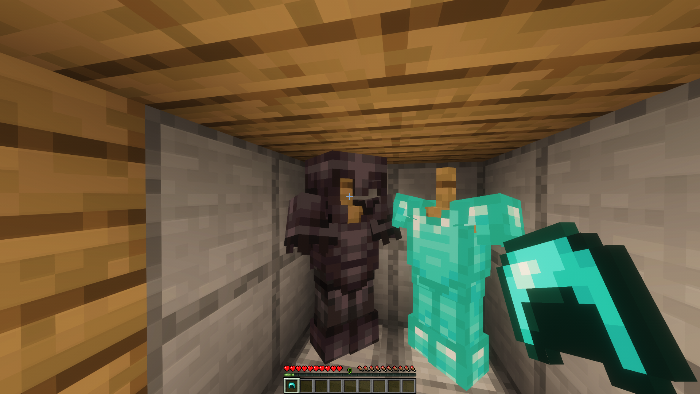
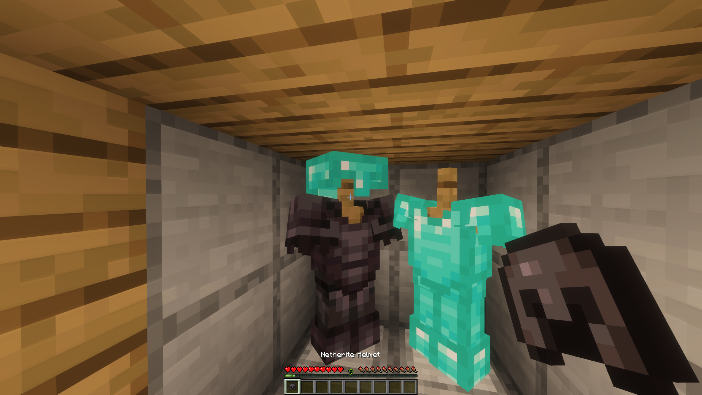
Using an armor stand in Minecraft is straightforward. Simply place it on the ground and right-click on it to add armor items from your inventory. You can dress it with all types of armor—helmet, chestplate, leggings, and boots. Right-clicking on the stand will replace your current gear with the gear on the stand, making it a quick outfit change station!
Conclusion
Crafting an armor stand in Minecraft is a great way to showcase your collection of armor, adding a personal touch to your home base. It’s a simple process that can significantly improve your gaming experience by providing a unique storage and display solution for your hard-earned gear. With this guide, we hope you'll be able to craft your own armor stand and explore the limitless possibilities of armor decoration in your Minecraft world.

Remember, Minecraft is a game of creativity and exploration. Learning to craft items like the armor stand is just the beginning. There's a vast world of crafting awaiting your discovery!