How to Make a Workbench in 7 Days to Die 1.0
Workbench
The Workbench in "7 Days to Die" serves as an essential crafting station, allowing you to produce items that are beyond the scope of your basic inventory crafting. Once crafted and placed, it operates independently, so you can continue exploring or scavenging while it gets the job done.
Gathering Materials
Before you can craft your Workbench, you need to gather some crucial materials. Here’s what you’ll need:
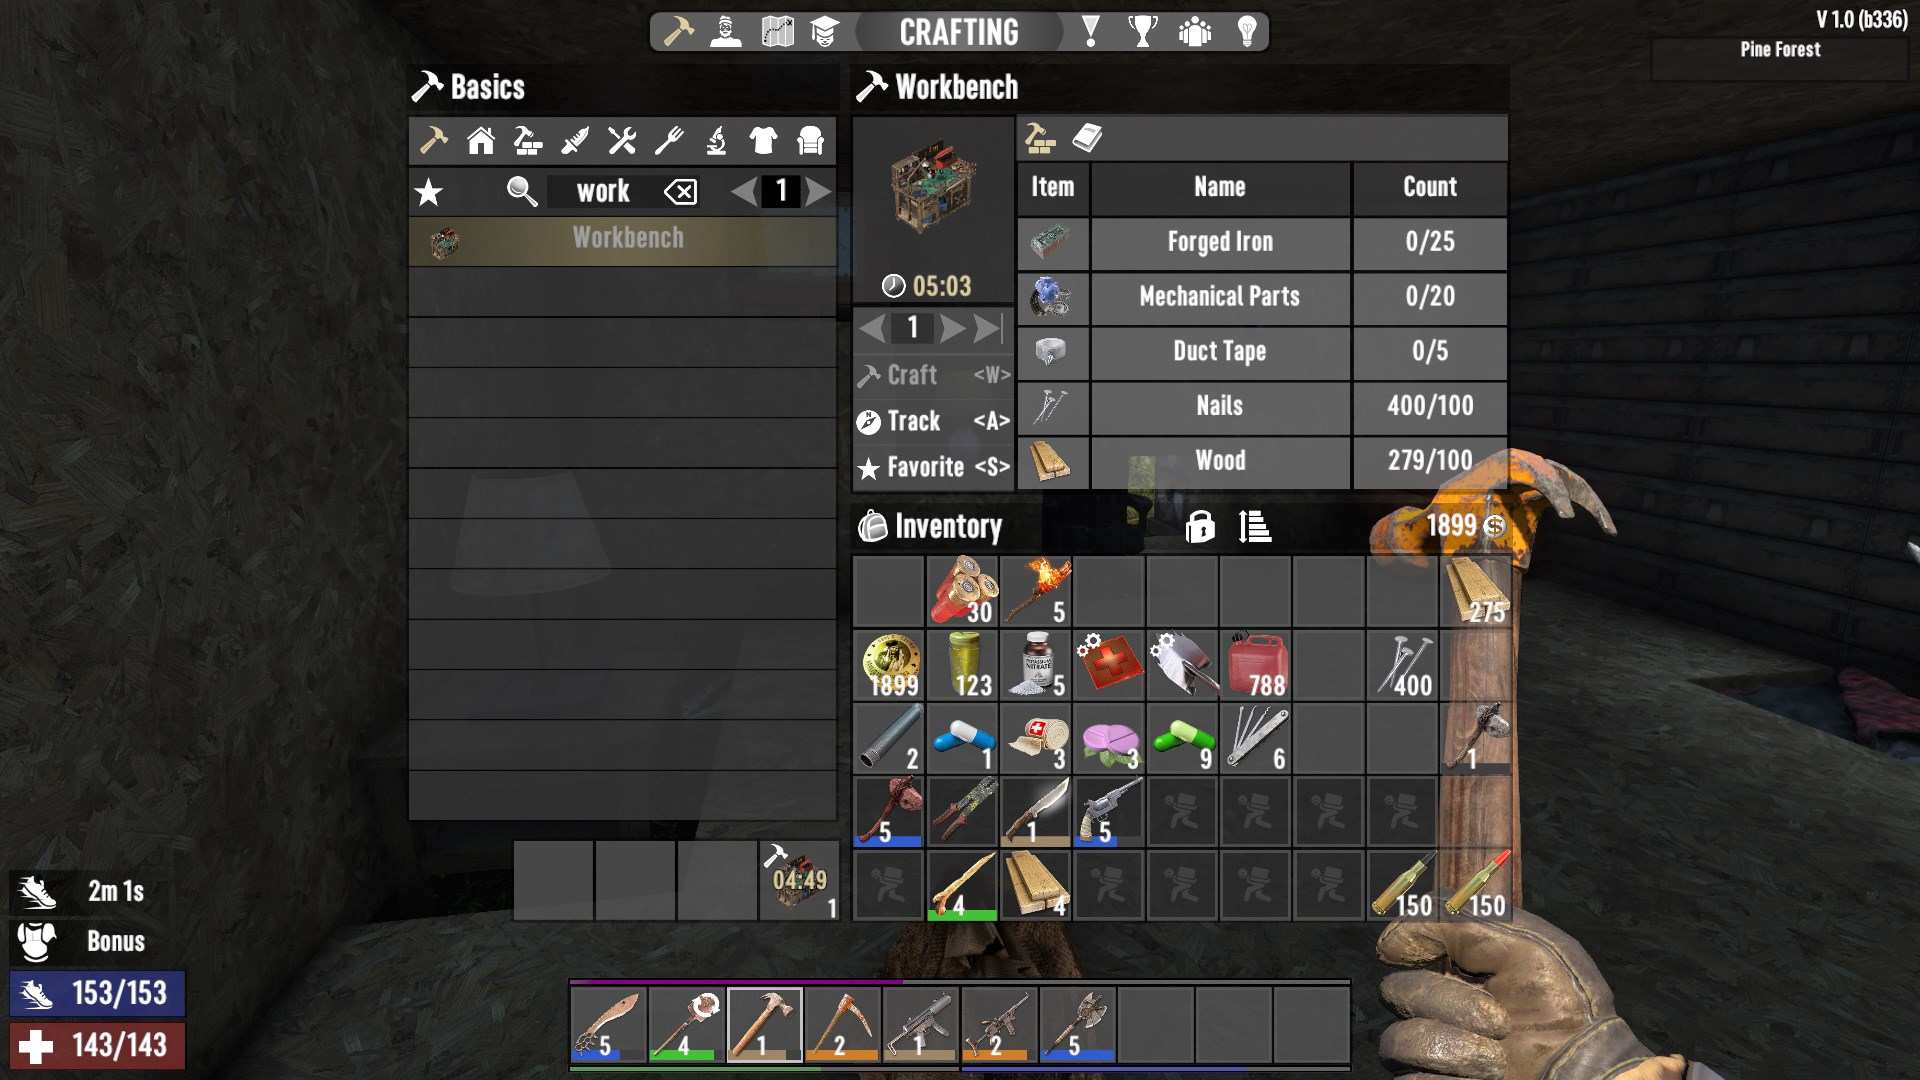
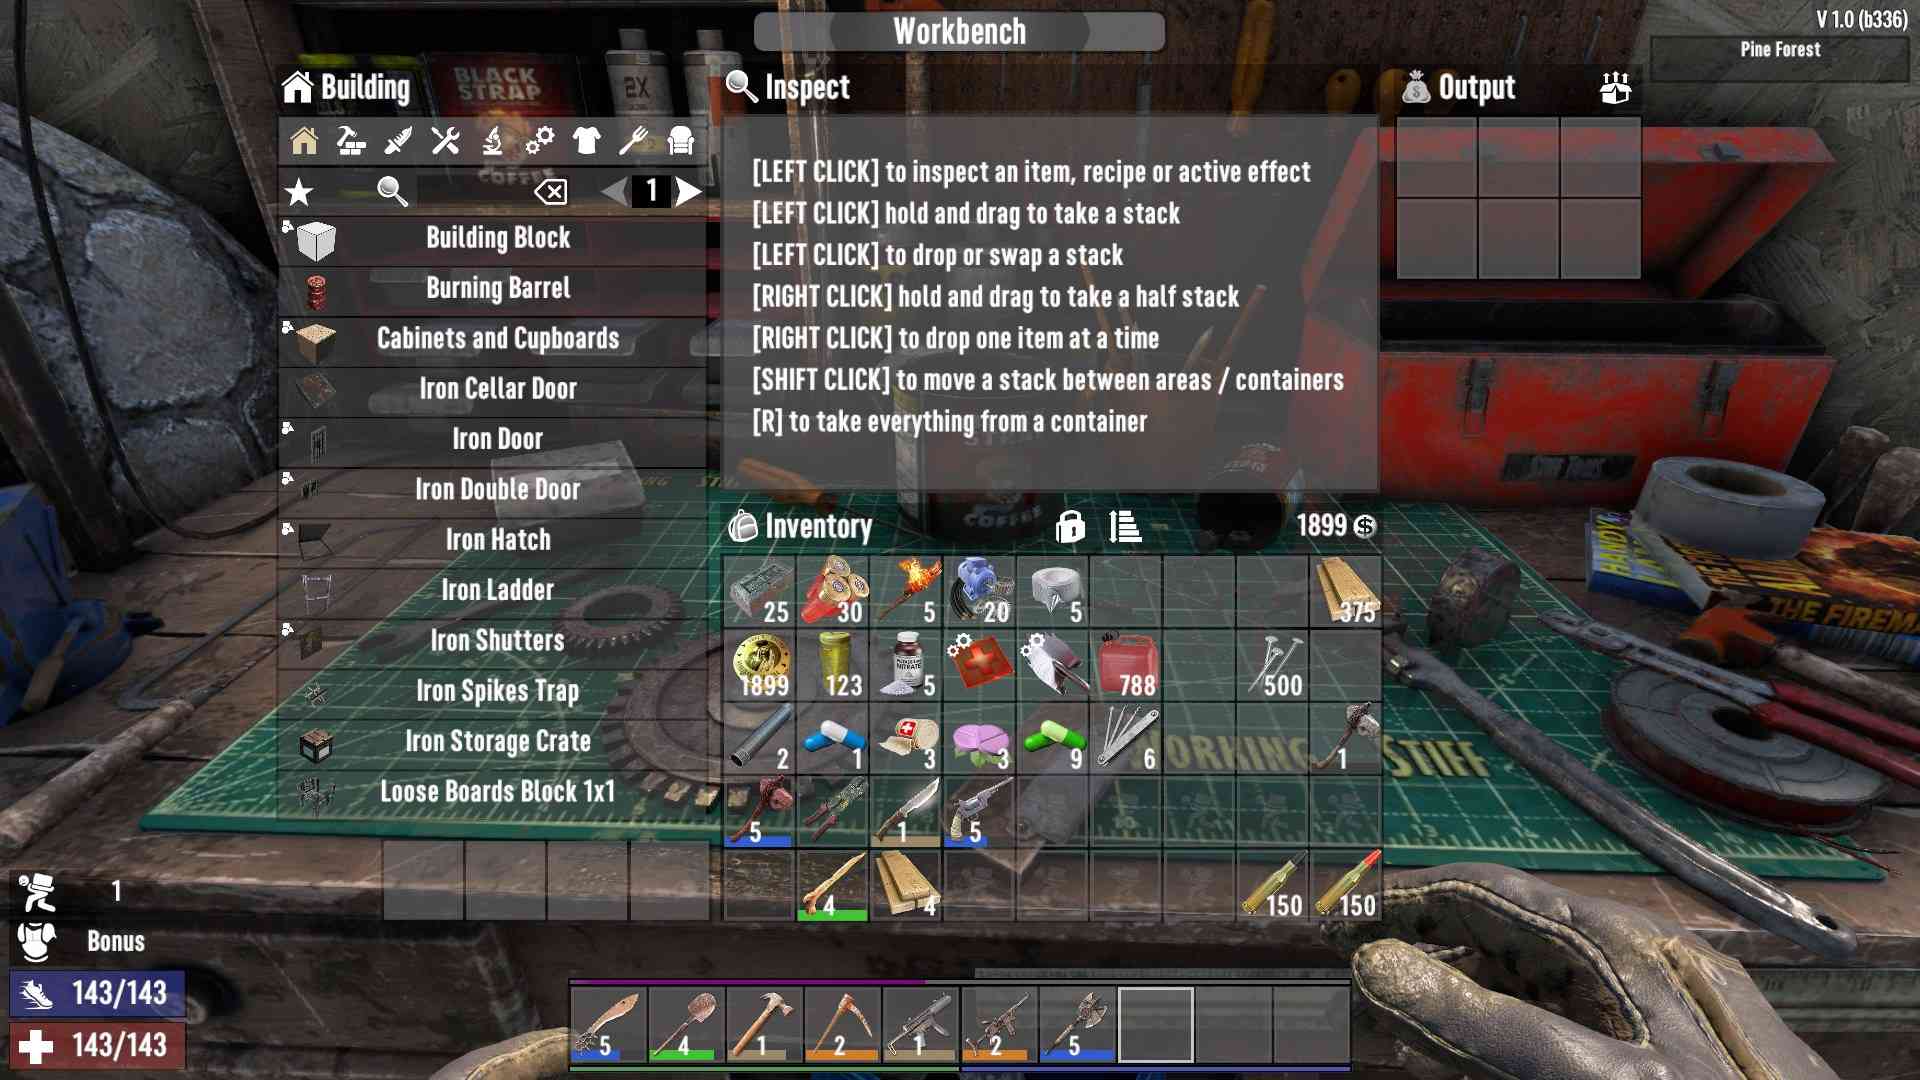
- Forged Iron (25 units): You’ll need to smelt iron in a forge to create forged iron. If you don’t have a forge yet, you’ll need one. For now, let’s assume you already have access to one.
- Mechanical Parts (20 units): Mechanical parts are commonly found by wrenching cars, appliances, and other mechanical objects.
- Duct Tape (5 units): Duct tape can be found in various places or crafted using glue. Explore your surroundings or check with traders for duct tape.
- Nails (100 units): Nails can be crafted in the forge. They’re cheap but require a bit of time to make, so plan ahead.
- Wood (100 units): Wood is easy to gather from trees and can be collected quickly.
Unlocking the Workbench Recipe
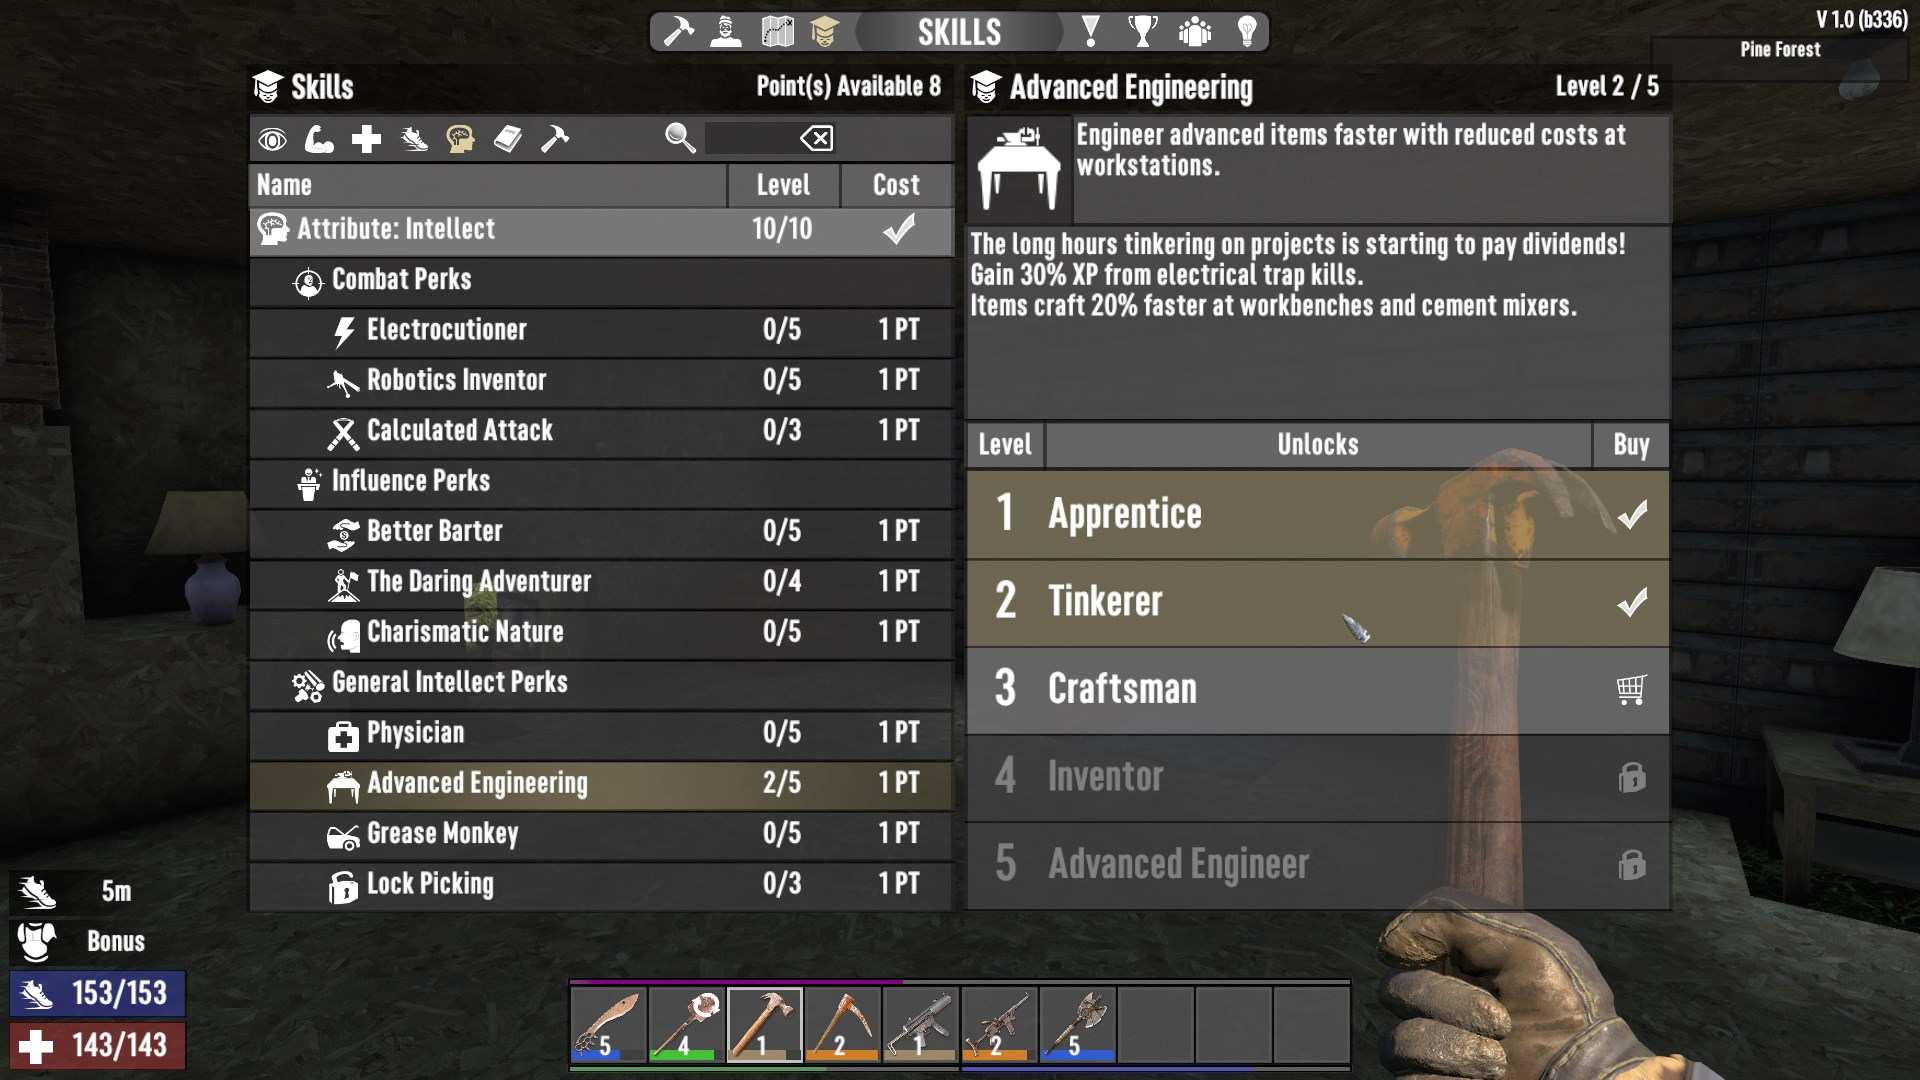
Before crafting, ensure you’ve unlocked the Workbench recipe. You’ll need to reach level 10 in the Advanced Engineering skill. This requires investing points into the Intellect skill tree, specifically the “Tinkerer” perk. Press ‘N’ to open Skills Panel and buy this ability int General Intellect Perks. If you’ve met this requirement, you’re good to go!
Crafting the Workbench
Once you have all the necessary materials and skills, it’s time to craft your Workbench:
1. Open Your Crafting Menu: Navigate to the crafting menu in your inventory.
2. Select the Workbench Recipe: Look for the Workbench recipe. Make sure you have all the materials listed.
3. Start Crafting: Initiate the crafting process. It will take around 6 minutes and 19 seconds for the Workbench to be ready.
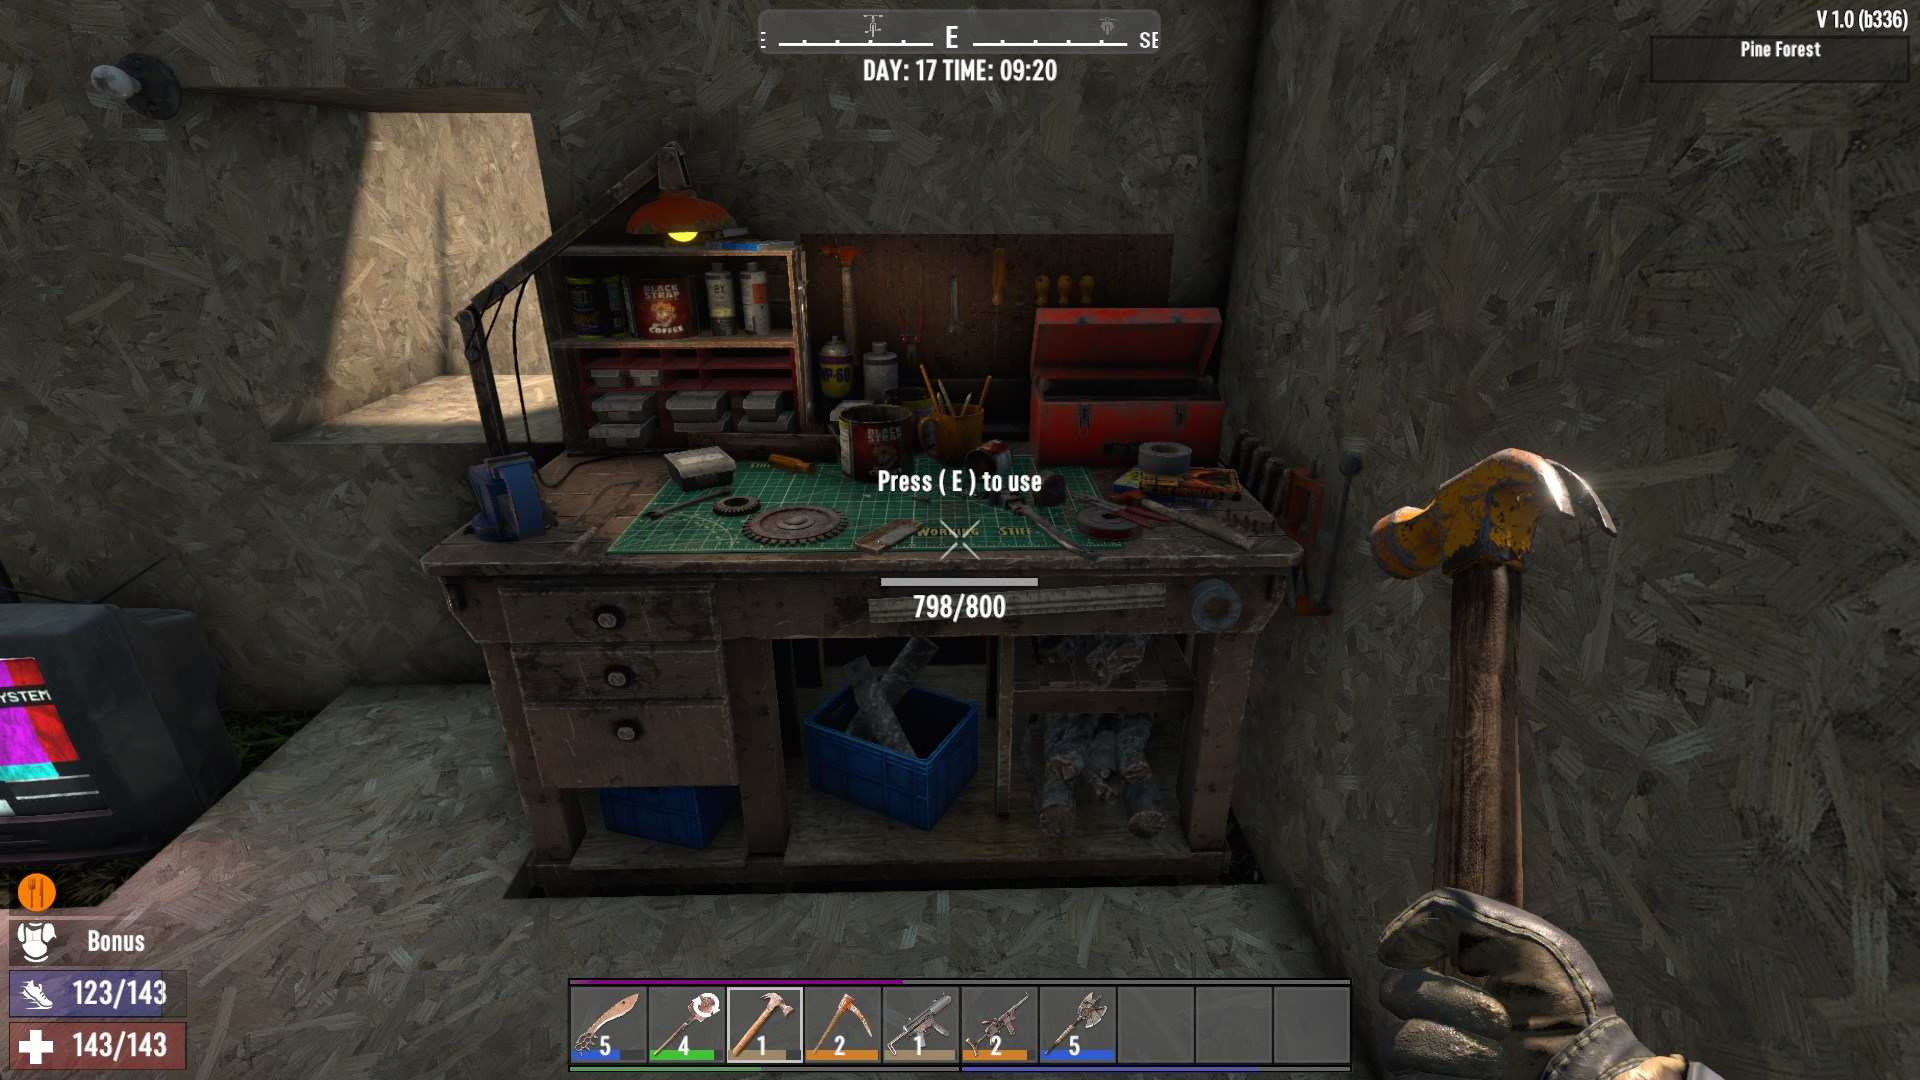
Placing and Using Your Workbench
After crafting, you’ll need to place your Workbench. Here’s how:
1. Move the Workbench to Your Tool Belt: Drag it from your inventory to your tool belt.
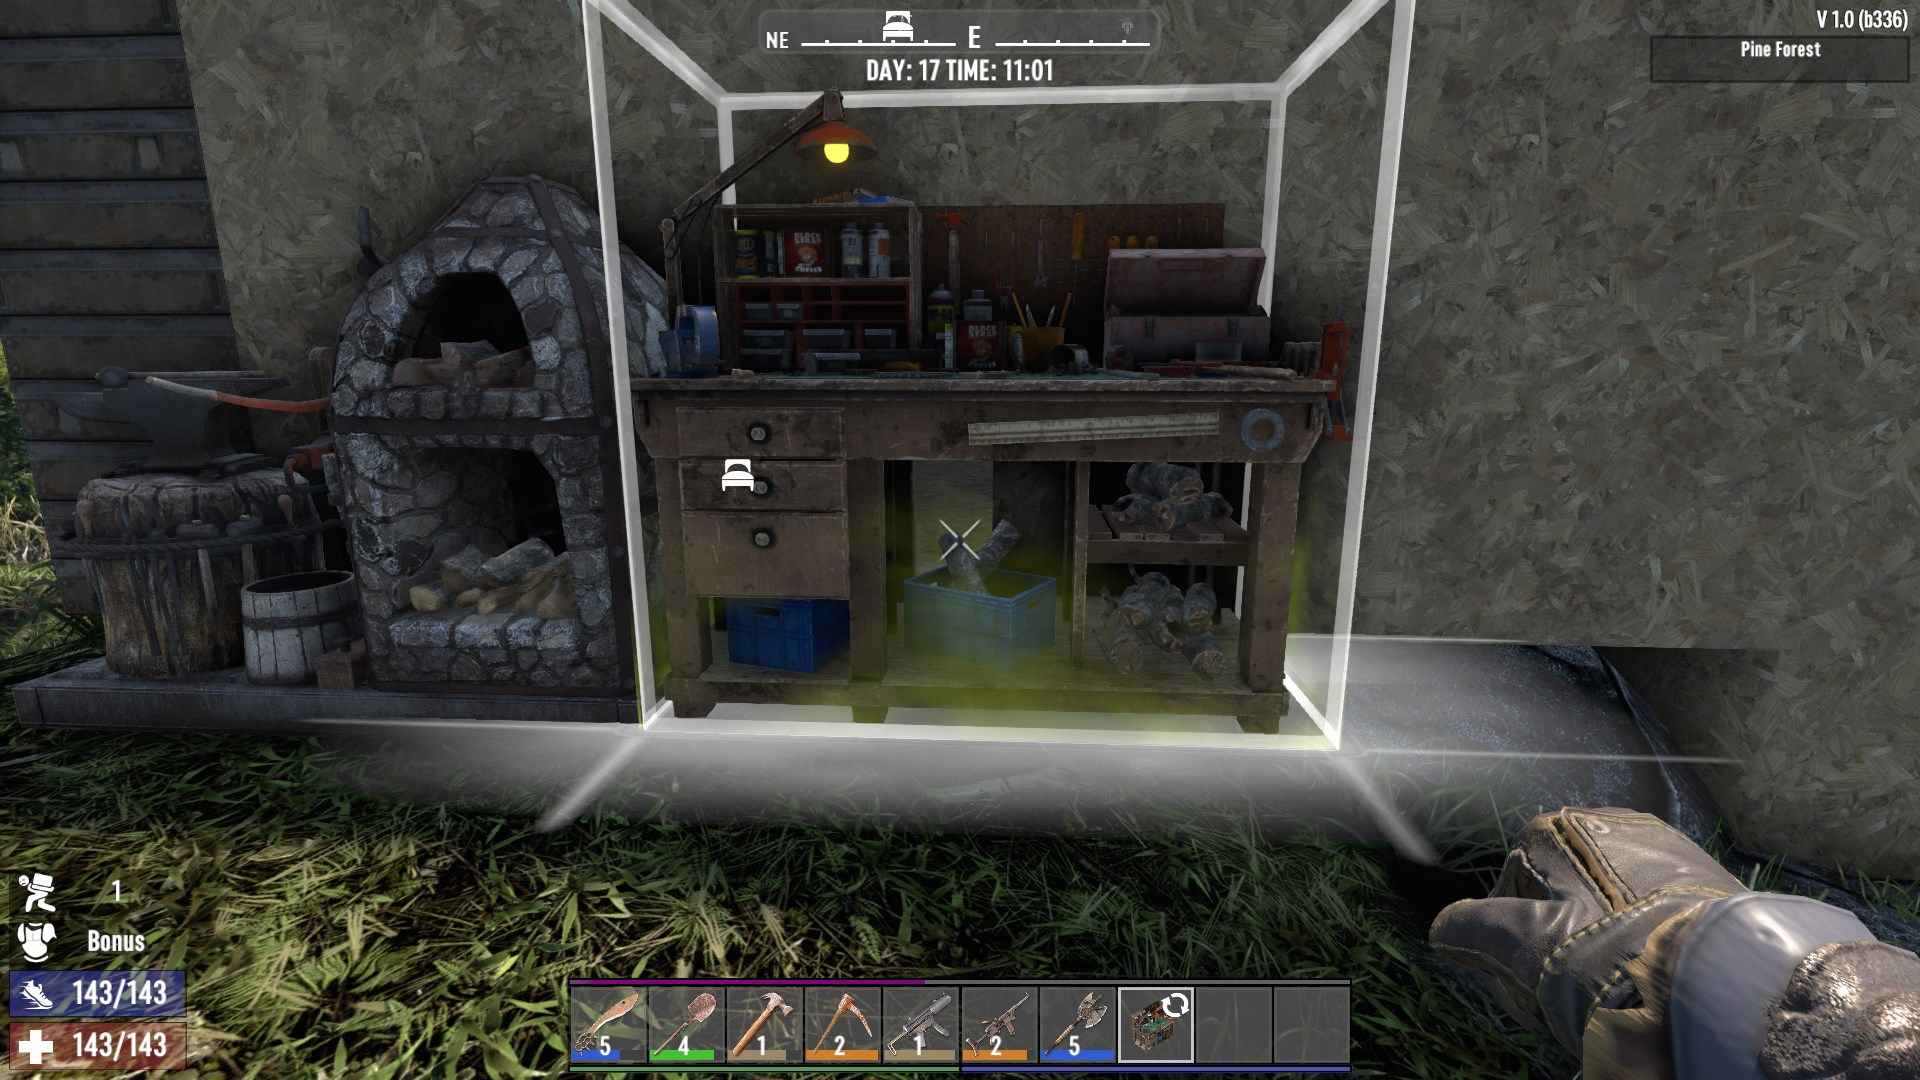
2. Select and Place: Use the left mouse button to rotate the Workbench and the right mouse button to place it in your desired location. Ensure it’s within the bounds of your Land Claim Block.
3. Start Crafting: Open the Workbench interface and add ingredients for the items you want to craft. You can leave the Workbench crafting items while you continue with other tasks.
In multiplayer, your Workbench is not secure from other players. Others can cancel your recipes or take your crafted items. To protect your Workbench, consider placing it in a secure room with a locked door and a Robotic Turret for added security.
Crafting a Workbench in "7 Days to Die" is a crucial step toward advancing your survival game. With the ability to produce complex items and manage crafting more efficiently, this tool will greatly enhance your gameplay. Make sure to gather the materials, unlock the necessary skills, and place your Workbench in a safe location. Dive into crafting and take your survival to the next level!