How to Make a Rust Server
Surviving the harsh world of Rust is a thrilling experience, but what if you could shape that world to your liking? Hosting your own Rust server provides the freedom to create your own rules, invite friends, and enjoy the game without the fear of betrayal. In this guide, we'll walk you through the process of setting up your own Rust server, making your Rust journey truly unique.
Rust Server: Hosting on Home PC or Rent a Server?
When it comes to hosting your Rust server, you have two options: running it on your home PC or renting a dedicated server. While hosting at home gives you more control, it's essential to consider system requirements. A freshly generated 3 square km map can use up to 2 gigabytes of RAM, and with extensive testing, it may require over 6 gigs. To ensure a smooth experience, allocate at least 7 gigs of RAM per server.
Installing and Updating SteamCMD
To install and manage the Rust server, you'll need SteamCMD, a command-line console that handles Steam-related files. Follow these steps to get started:
1. Create a folder for the server, e.g., c:\rustserver and download RustServer.zip from https://rust.facepunch.com/support/.
2. Create a folder for SteamCMD, like c:\steamcmd.
3. Download SteamCMD for Windows from https://developer.valvesoftware.com/wiki/SteamCMD.
4. Extract the contents of the downloaded zip file to the steamcmd folder.
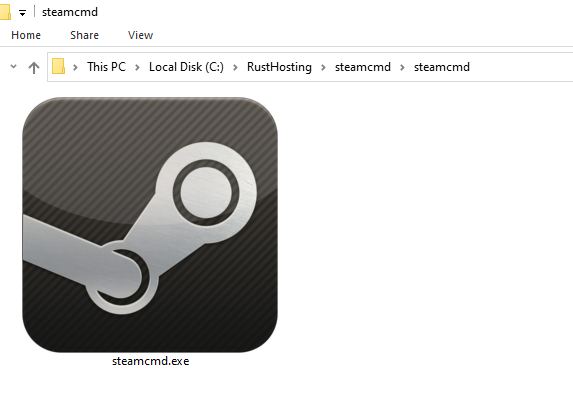
5. Execute steamcmd.exe (confirm any prompts).
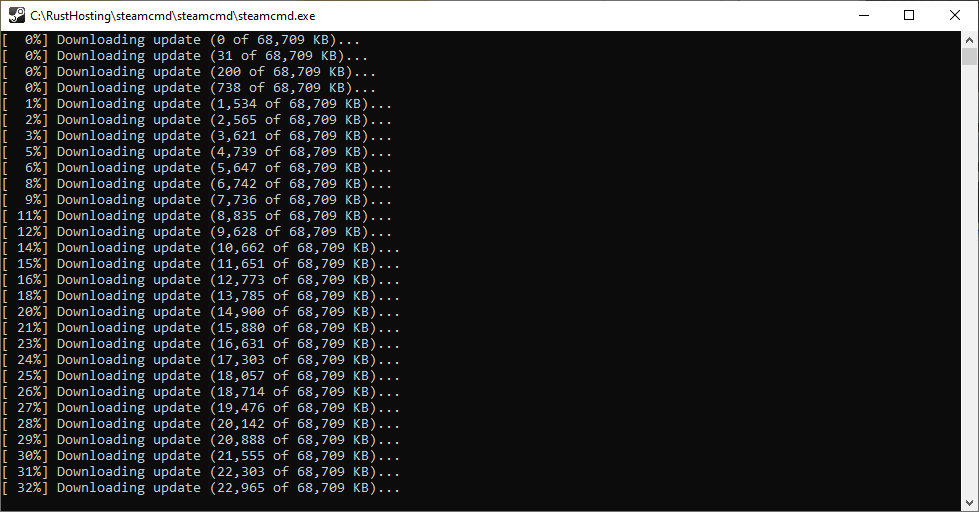
6. Write the next commands:
login anonymous
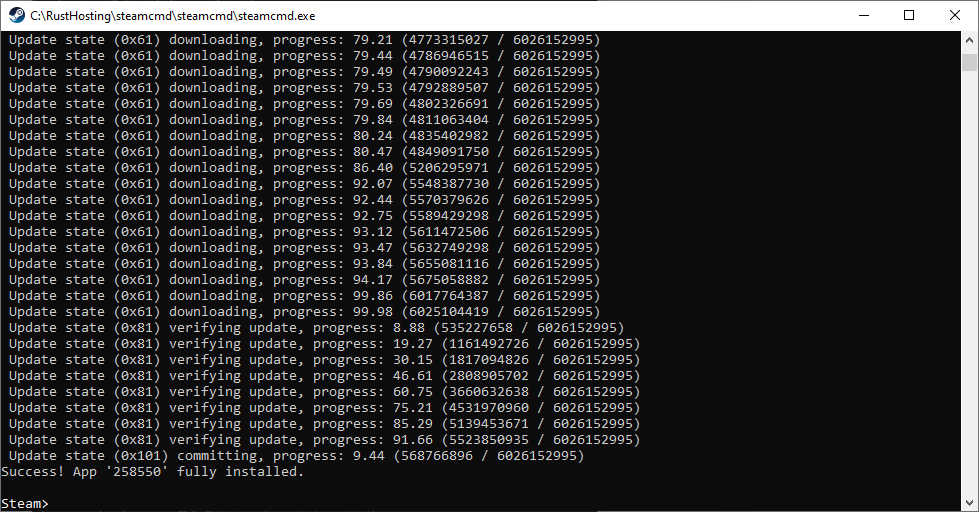
app_update 258550
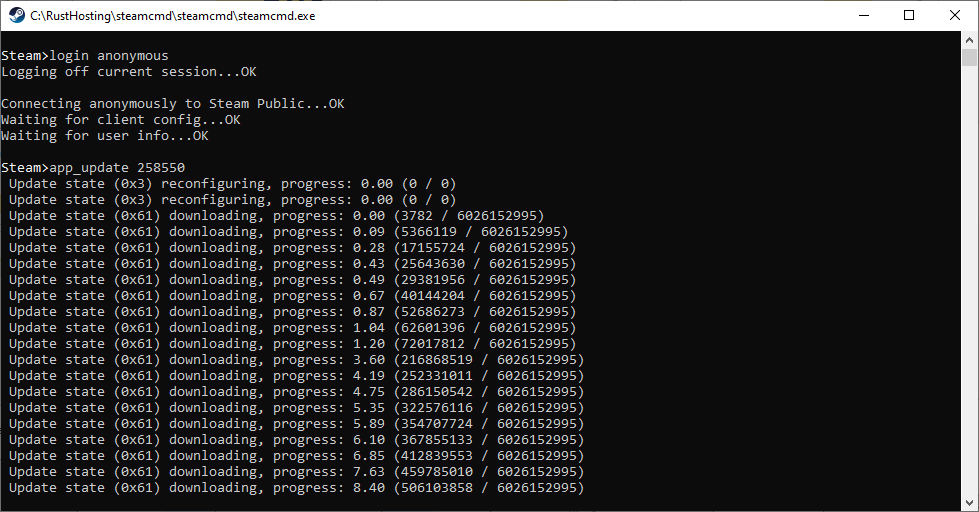
In the end, you will see that the updating was successful
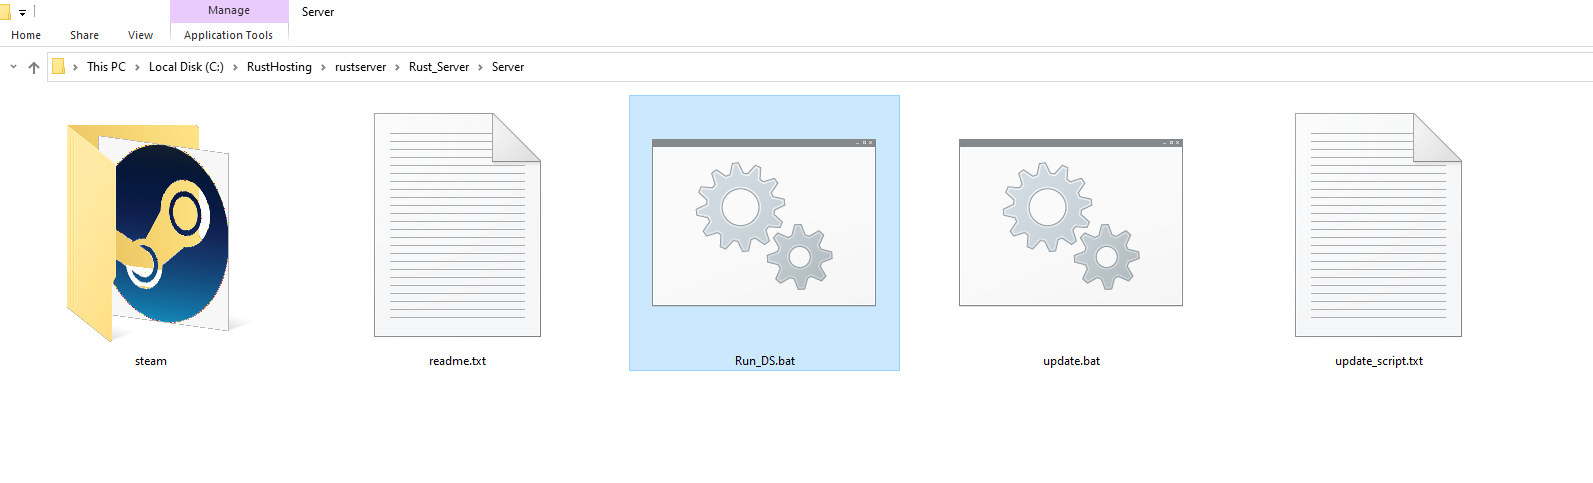
7. Cut and Paste Run_DS.bat from the steamCMD folder into the downloaded folder steamapps\common\rust_dedicated
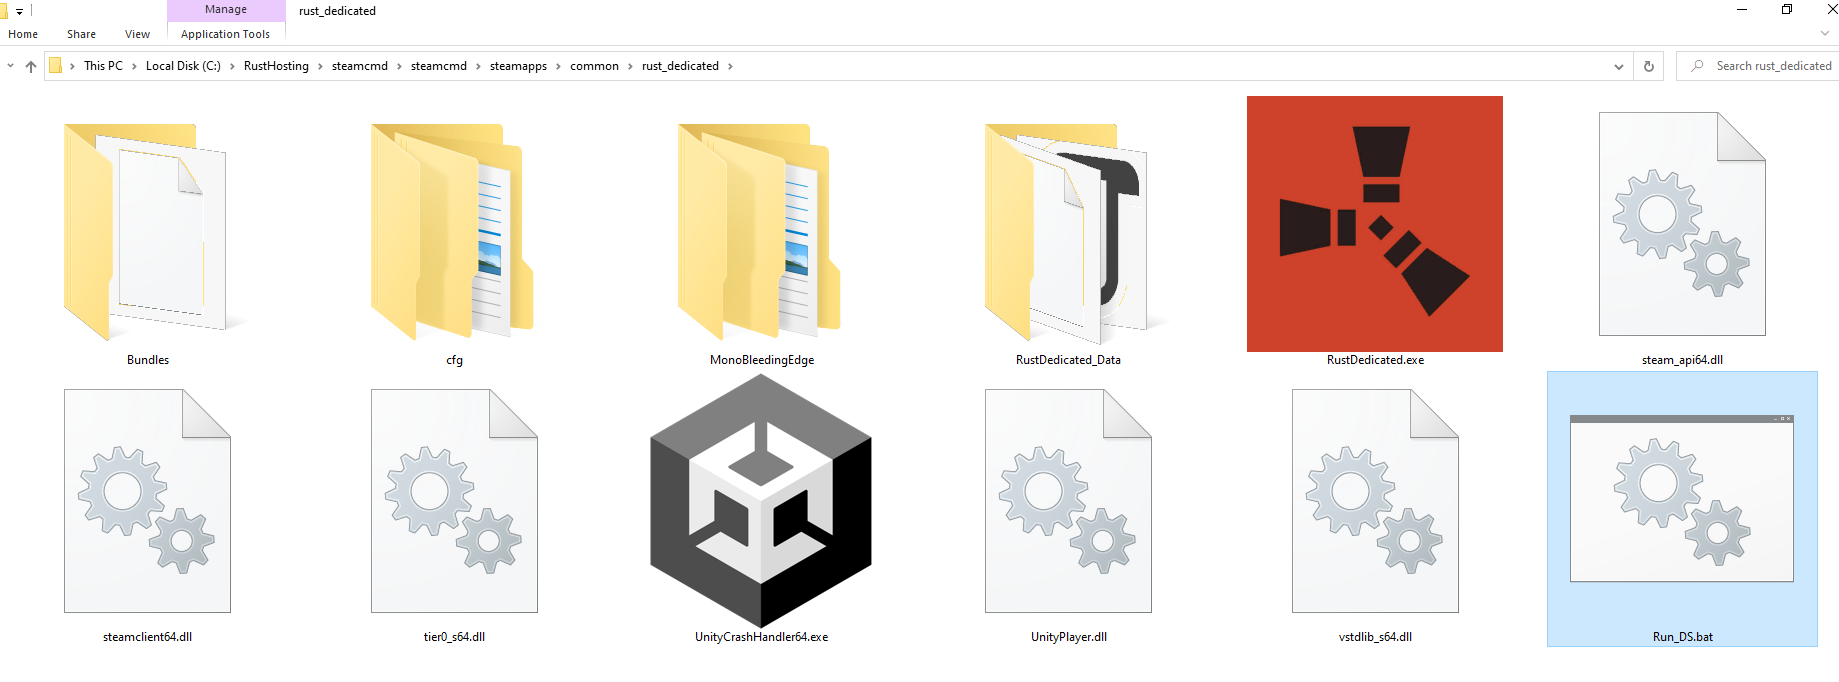
8. Change the context in the file Rust_DS.bat on the next code and save:
RustDedicated.exe -batchmode +server.ip 0.0.0.0 +server.port 28015 +server.level "Barren" +server.seed 44 +server.tickrate 10 +server.hostname "Rust server" +server.description "Welcome!" +server.identity "Server1" +server.maxplayers 100 +server.worldsize 3000 +server.saveinterval 600 +rcon.ip 0.0.0.0 +rcon.port 28016 +rcon.password "123456" +rcon.web 1 -logfile "rust.log"
9. Launch this file to create your server.
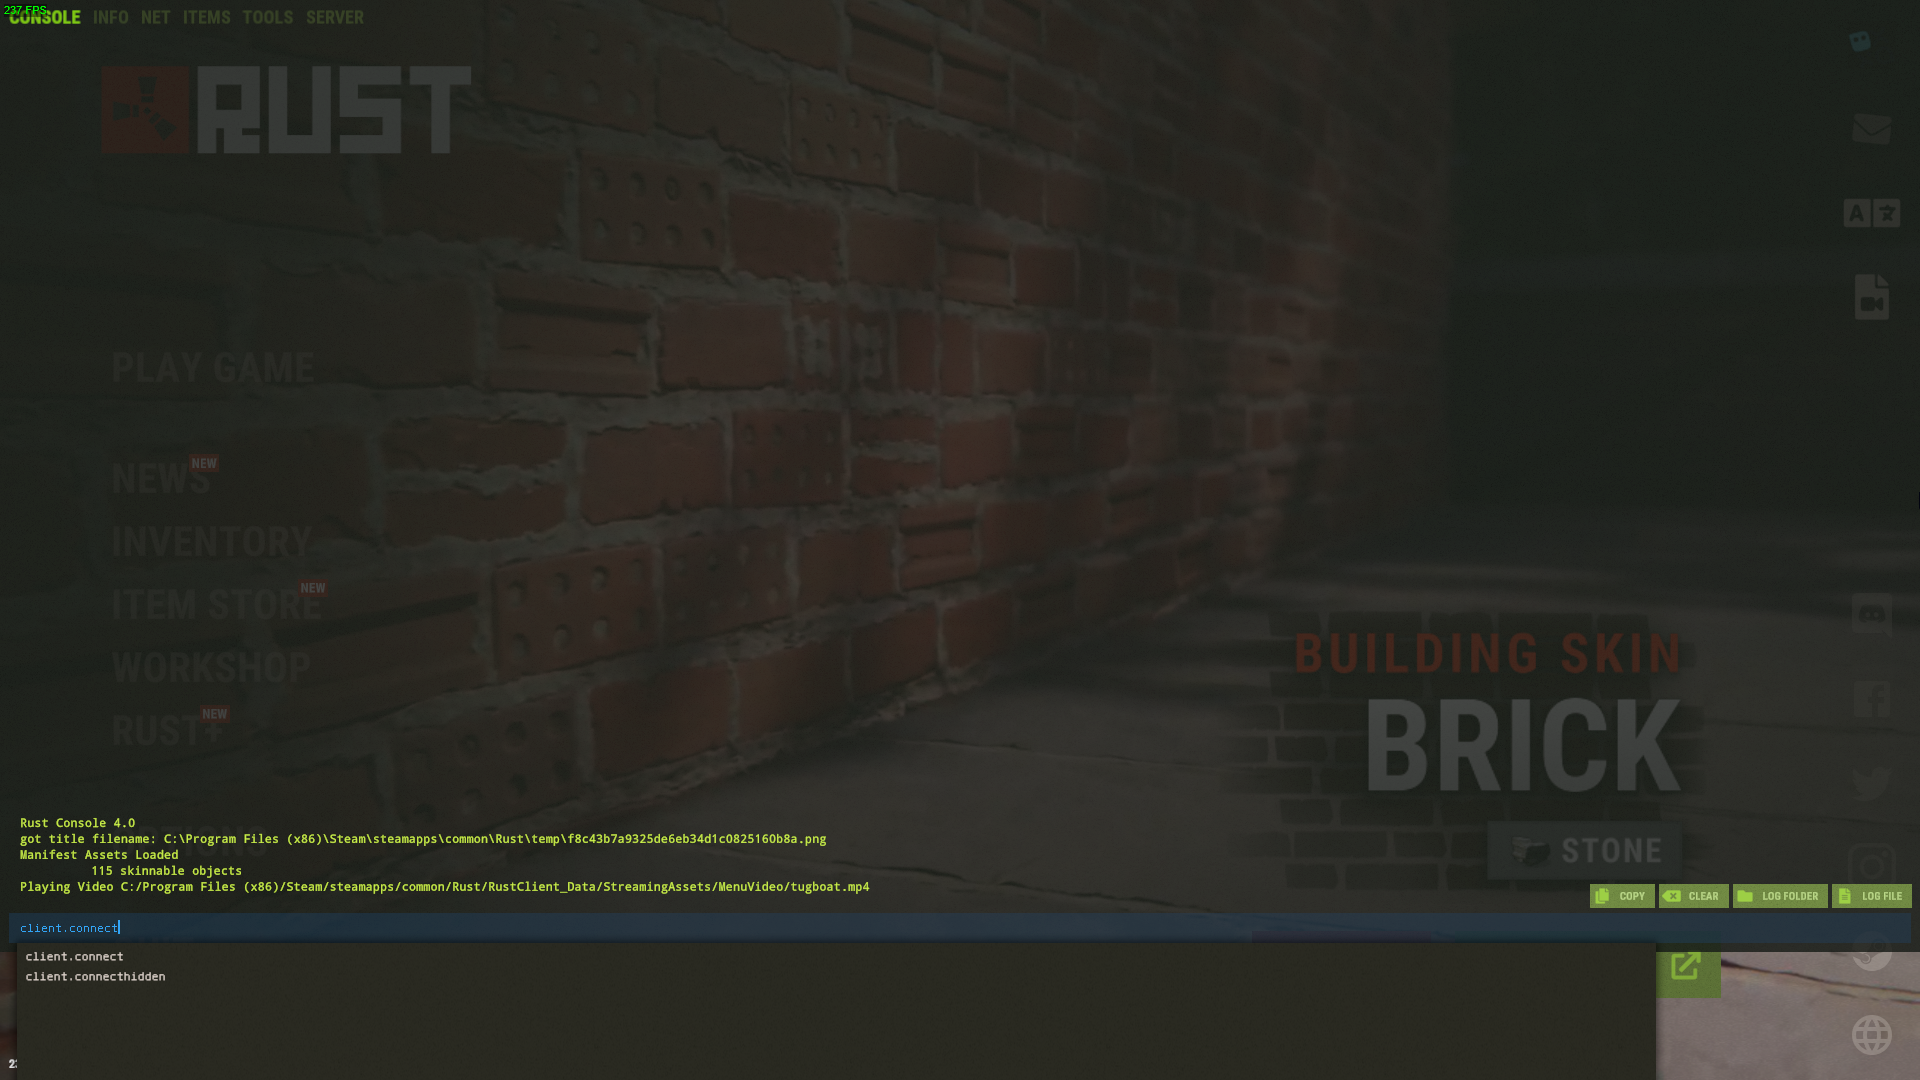
10. Enter the Rust and join your server via console command: client.connect
Conclusion
With your Rust server up and running, you can shape the world of Rust to fit your vision. Invite friends, set your own rules, and experience Rust like never before. Whether you host on your home PC or rent a dedicated server, the freedom to create a unique Rust experience is at your fingertips. Say goodbye to the fear of waking up to a raided base, and start building your Rust server today.