How to make a raid farm in Minecraft?
In Minecraft, making a raid farm is a difficult but very rewarding job that can provide a steady flow of valuable resources like emeralds, totems of the undead, and other magical items. So, let's dive right into building a raid farm that actually does the job. I'll walk you through every step in an easy-to-grasp way, so you can nail it on your first try. Next up, let's look at how diving into Gamever sites can really amp up your Minecraft adventures, especially when you and your friends are tackling tough projects together, like mastering raid farming.
Understanding Raid Farms
Raid farms leverage Minecraft's raid mechanic, where waves of pillagers attack a village in response to a player with the Bad Omen effect entering the vicinity. By controlling the raid's environment and conditions, you can effectively defeat the raiders and collect their drops.
Building Your Raid Farm: A Step-by-Step Guide
1. Constructing the Pit
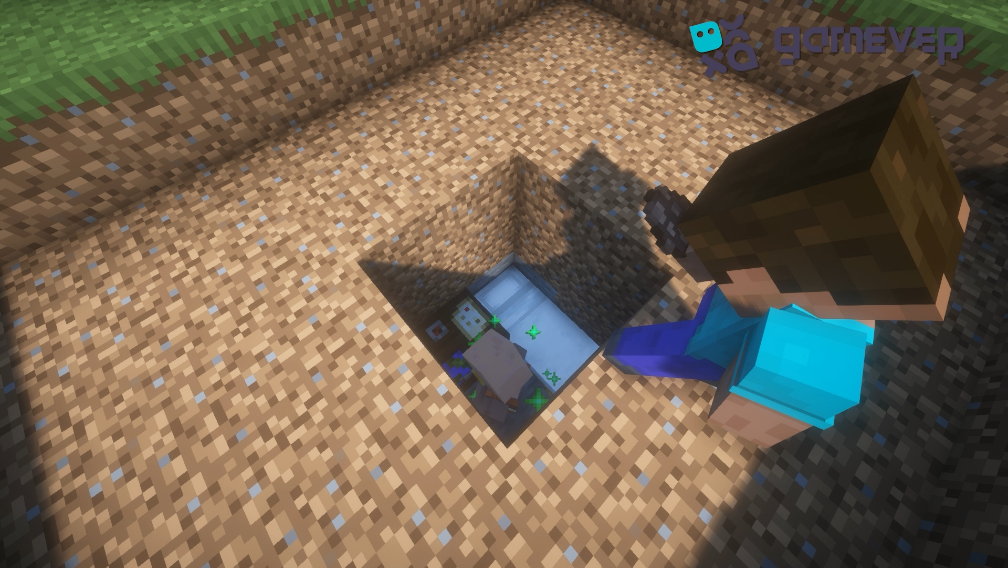
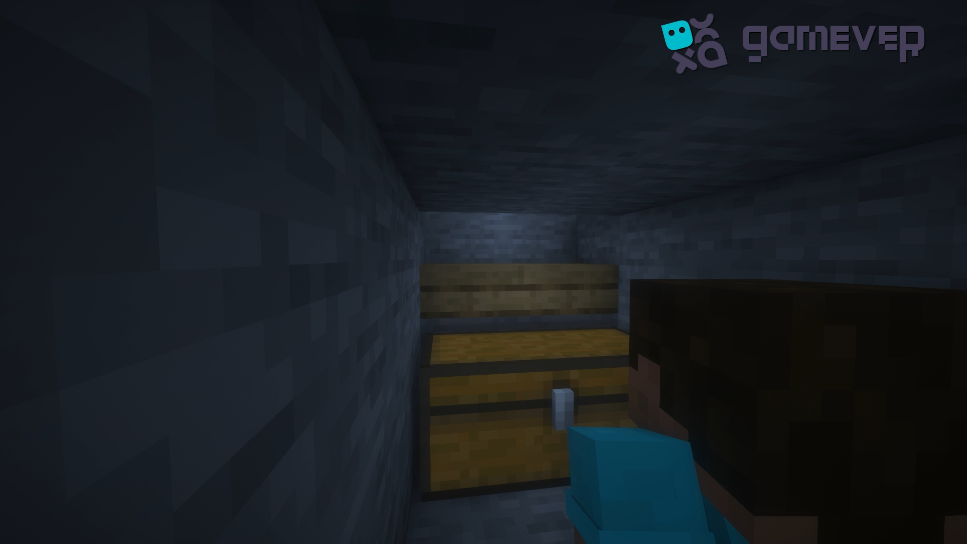
- Pit Dimensions: Start by digging an 8x6 block pit. This pit will serve as the foundational structure for your raid farm, containing the mechanics to trap and deal with raid mobs.

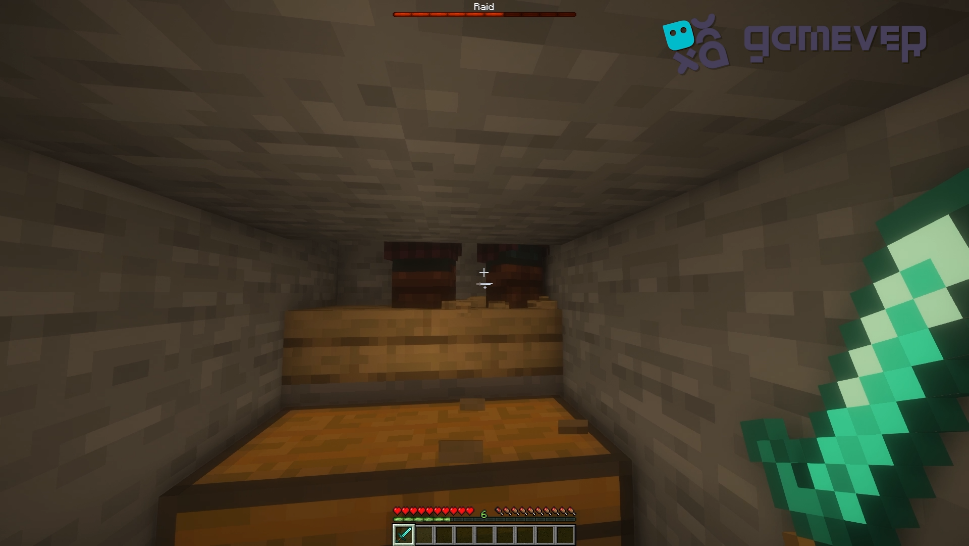
- Central Chamber: In the middle of the pit, dig a 3-block-high chamber. This area will house a villager, which is essential for triggering the raids.

2. Setting up the Villager Chamber
- Placing Essentials: Inside the chamber, place a bed and any profession block to establish a "village." To trigger raids, add a villager to this configuration.
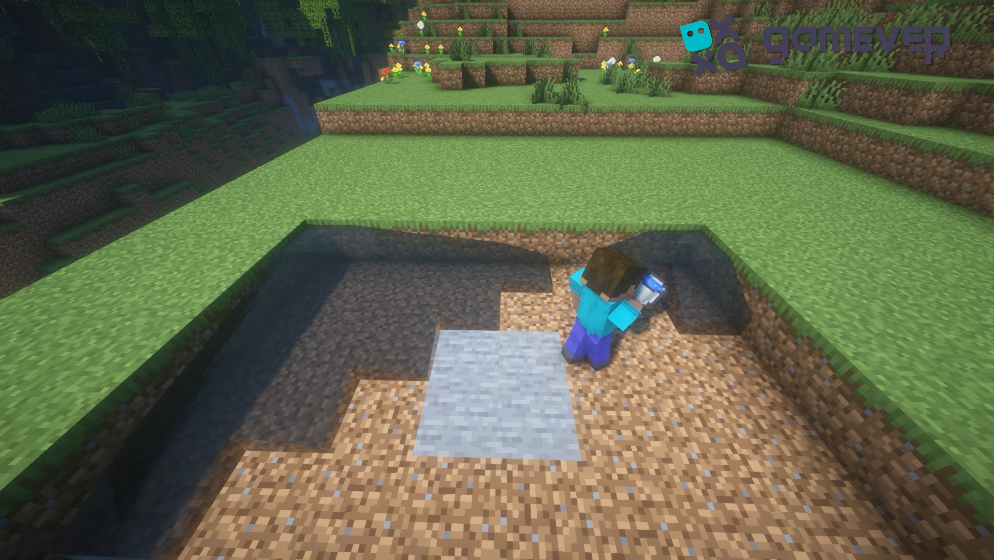
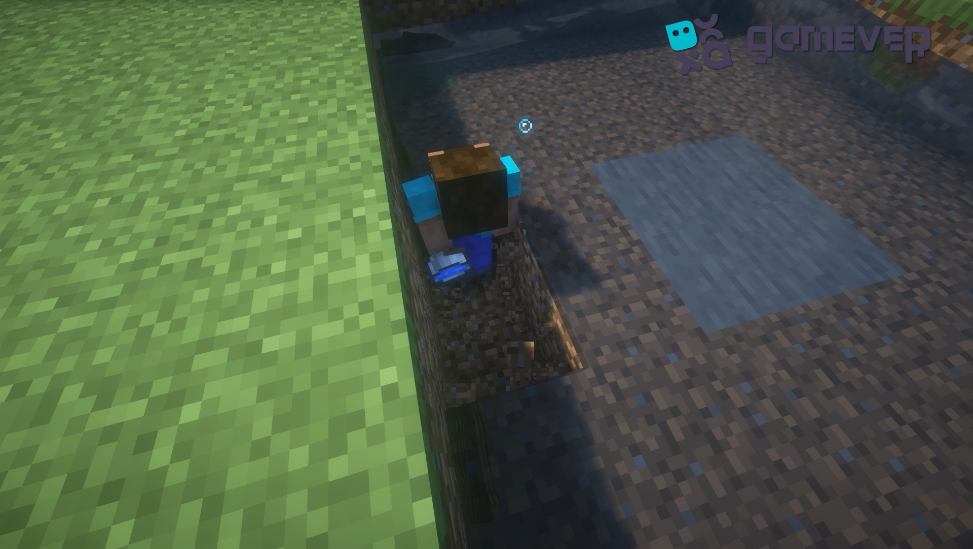
- Water Flow: Pour water into the corners of the pit to guide raid mobs to the center of the opposite side, where they will eventually fall into the gathering area.
3. Creating the Collection Area
- In front of the village chamber, dig a 25-block-deep pit. This depth ensures that raid mobs take maximum drop damage, making it easier to collect items and experience.
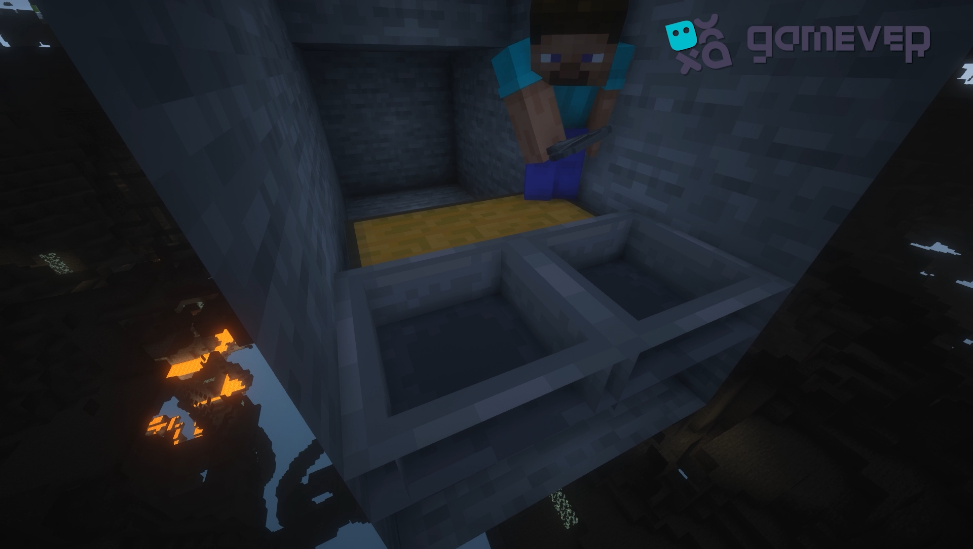
- Chest and Hopper System: At the bottom of the pit, place chests to collect drops. Attach hoppers to these chests, then cover them with slabs to prevent damage from mobs when collecting items.
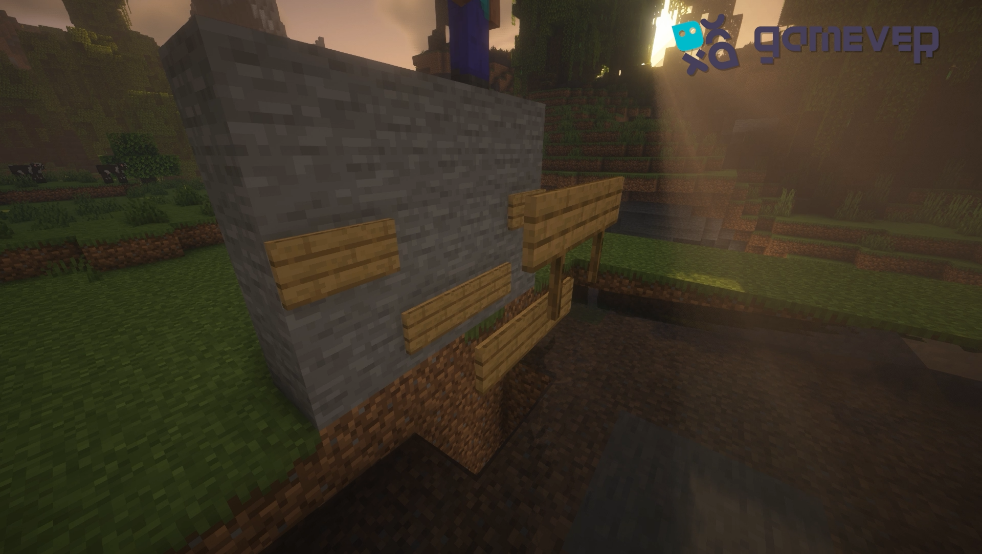
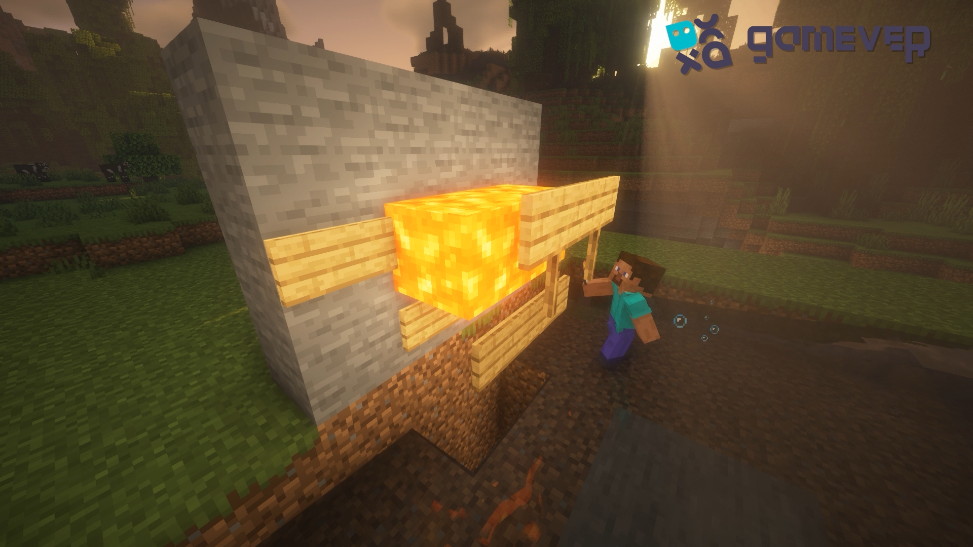
4. Lava Blade Installation
- Constructing a Wall: Opposite the villager chamber, erect a wall. This will help channel the raid mobs correctly.
- Implementing Lava Control: Place the signs holding the lava on the wall. Carefully place lava over these signs to create a "lava blade" that will kill ravagers.
5. Triggering the Raid
- Locating a Raid Captain: Find a Pillager Outpost and kill a Raid Captain to obtain the Bad Omen effect.
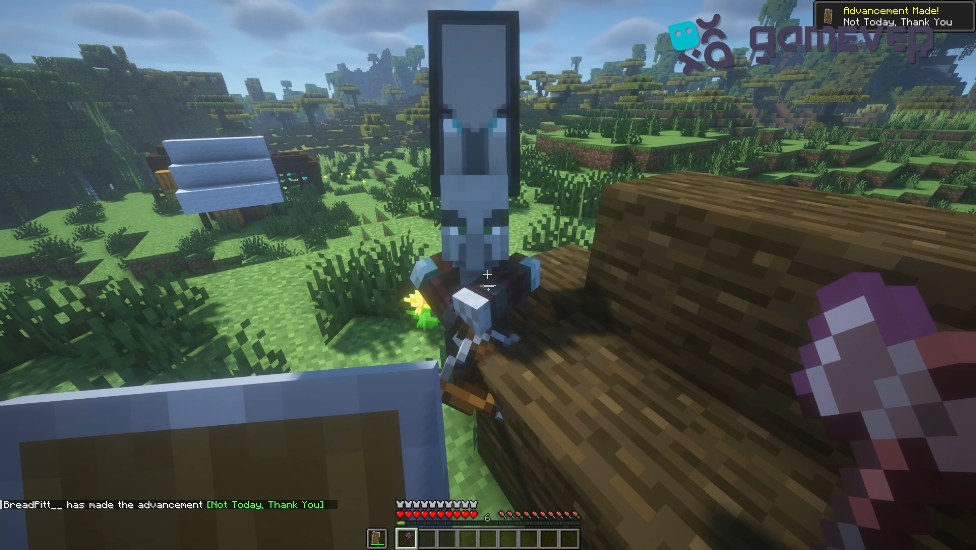
- Initiating the Raid: Return to your farm with the Bad Omen effect. Your presence will trigger a raid, with mobs funneling into your trap mechanism.
Tips for Successful Raid Farming
- Regular checks: To clear any blockages and collect resources, monitor your farm. Ensure that the villager remains in place and that the water flow and lava blade function correctly.
- Optimization: Experiment with various designs and configurations to improve your farm's efficiency and output.
Joining Gamever Servers for Enhanced Gameplay
Building a raid farm becomes even more exciting when you can share the experience with others. The Gamever servers provide a collaborative environment where you can:
- Engage with a Community: Share your raid farm designs, get feedback, and assist others in their building endeavors.
- Stable and Secure Play: Enjoy a lag-free environment with protection against grief, ensuring your farm and resources remain intact.
- Collaborative Ventures: Join forces with friends or server members to tackle larger projects, share resources, and enjoy Minecraft's cooperative aspects.
Conclusion
Building a raid farm in Minecraft is a difficult but rewarding task that may greatly improve your resource collection and gameplay experience. By following this comprehensive method, you can build an efficient raid farm and reap the benefits. Consider the benefits of joining Gamever servers, which offer collaboration options, stable gameplay, and community assistance to enhance your Minecraft experiences.