How to make a chicken farm in Minecraft
Building a chicken farm in Minecraft is a fantastic way to secure a steady supply of meat and feathers, essential resources for food and crafting arrows. This guide will take you through the steps of constructing an automated chicken farm that is both efficient and compact, using simple redstone components and hoppers. Additionally, we'll explore the benefits of setting up and managing your chicken farm on Gamever servers, where you can enjoy enhanced gameplay and share resources with friends.
Understanding the Basics of a Chicken Farm in Minecraft
A chicken farm in Minecraft automates the process of breeding chickens, collecting their droppings, and cooking the meat. The farm's design includes several components, including hoppers, dispensers, redstone circuits, and a containment area, to manage and harvest resources from chickens efficiently.
A Step-by-Step Guide to Building Your Chicken Farm
1. Setting up the collection system
Prepare the foundation: Start by digging a 2x2 hole. This small area will serve as the base for your collection system.
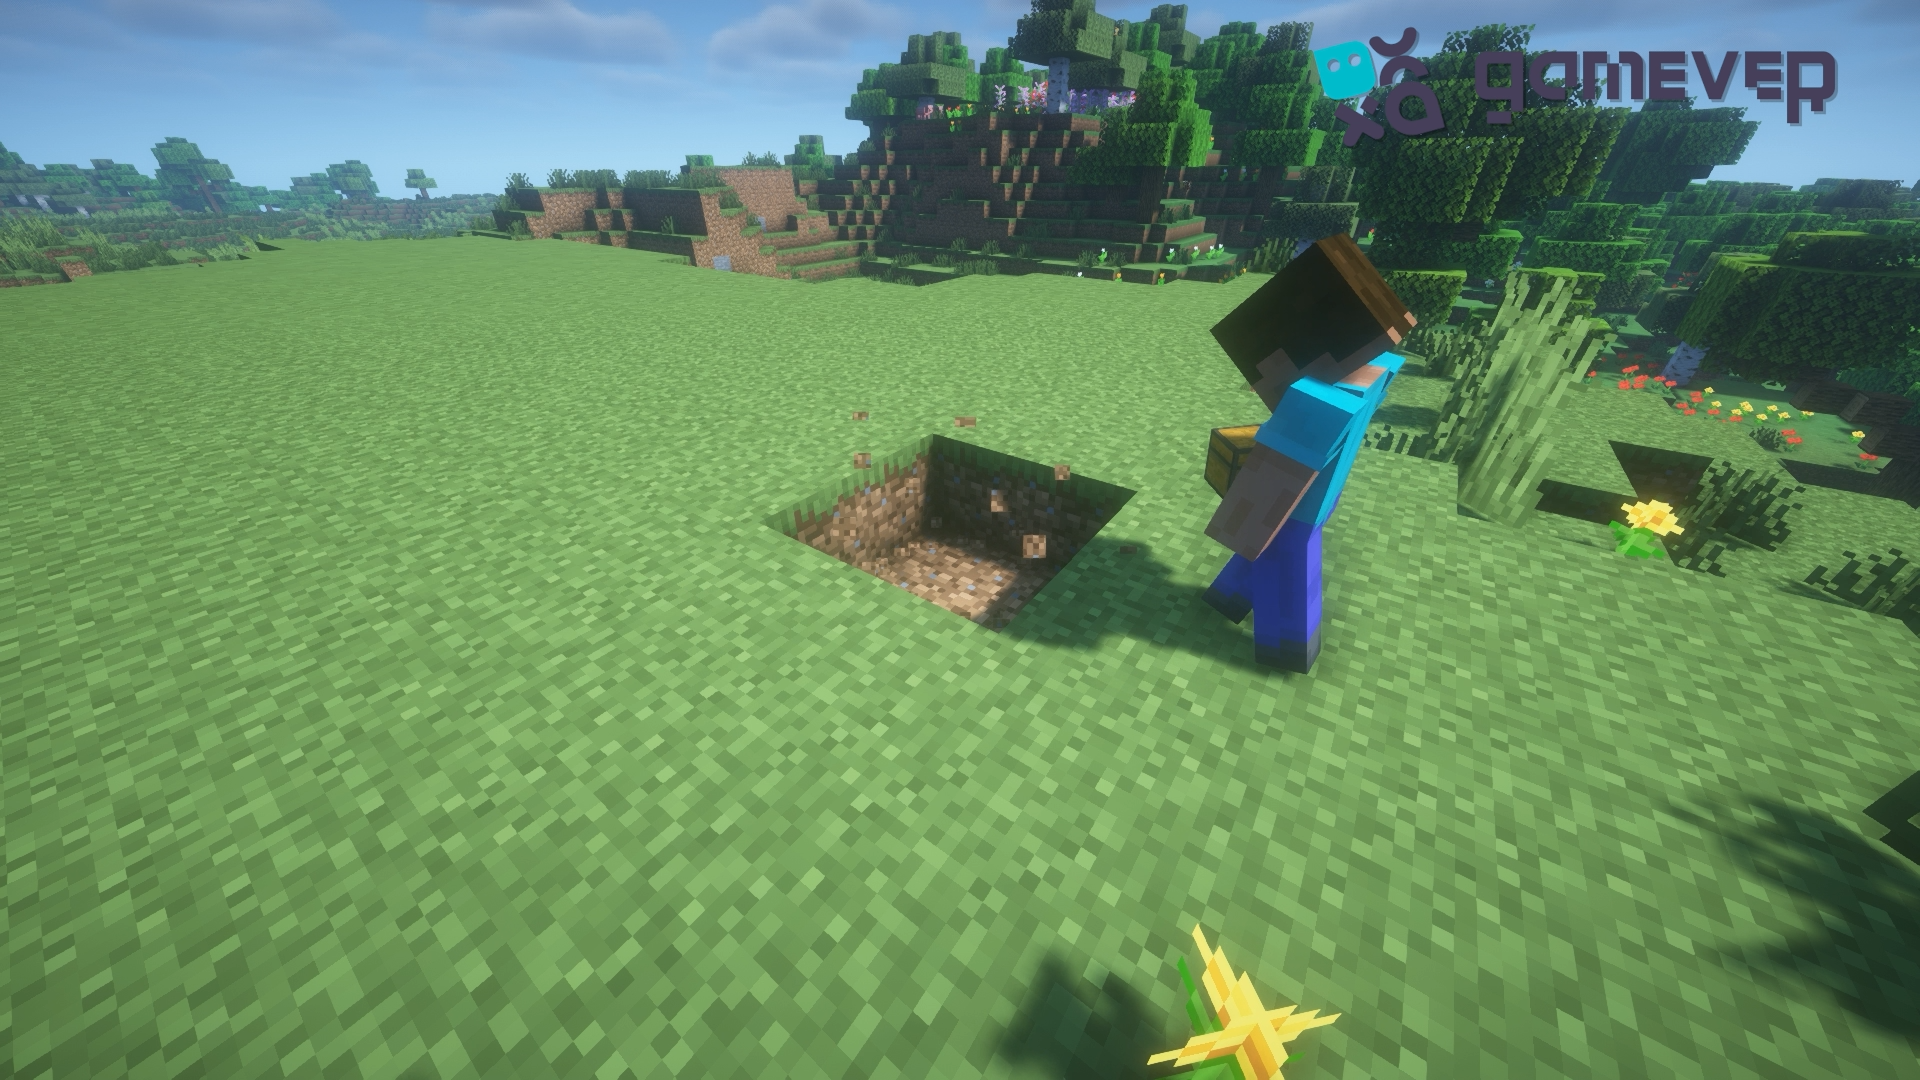
Chest and Hopper Installation : Place a chest at the bottom of the hole. Connect a hopper to this chest, which will funnel items in.
2. Constructing the dispensing system
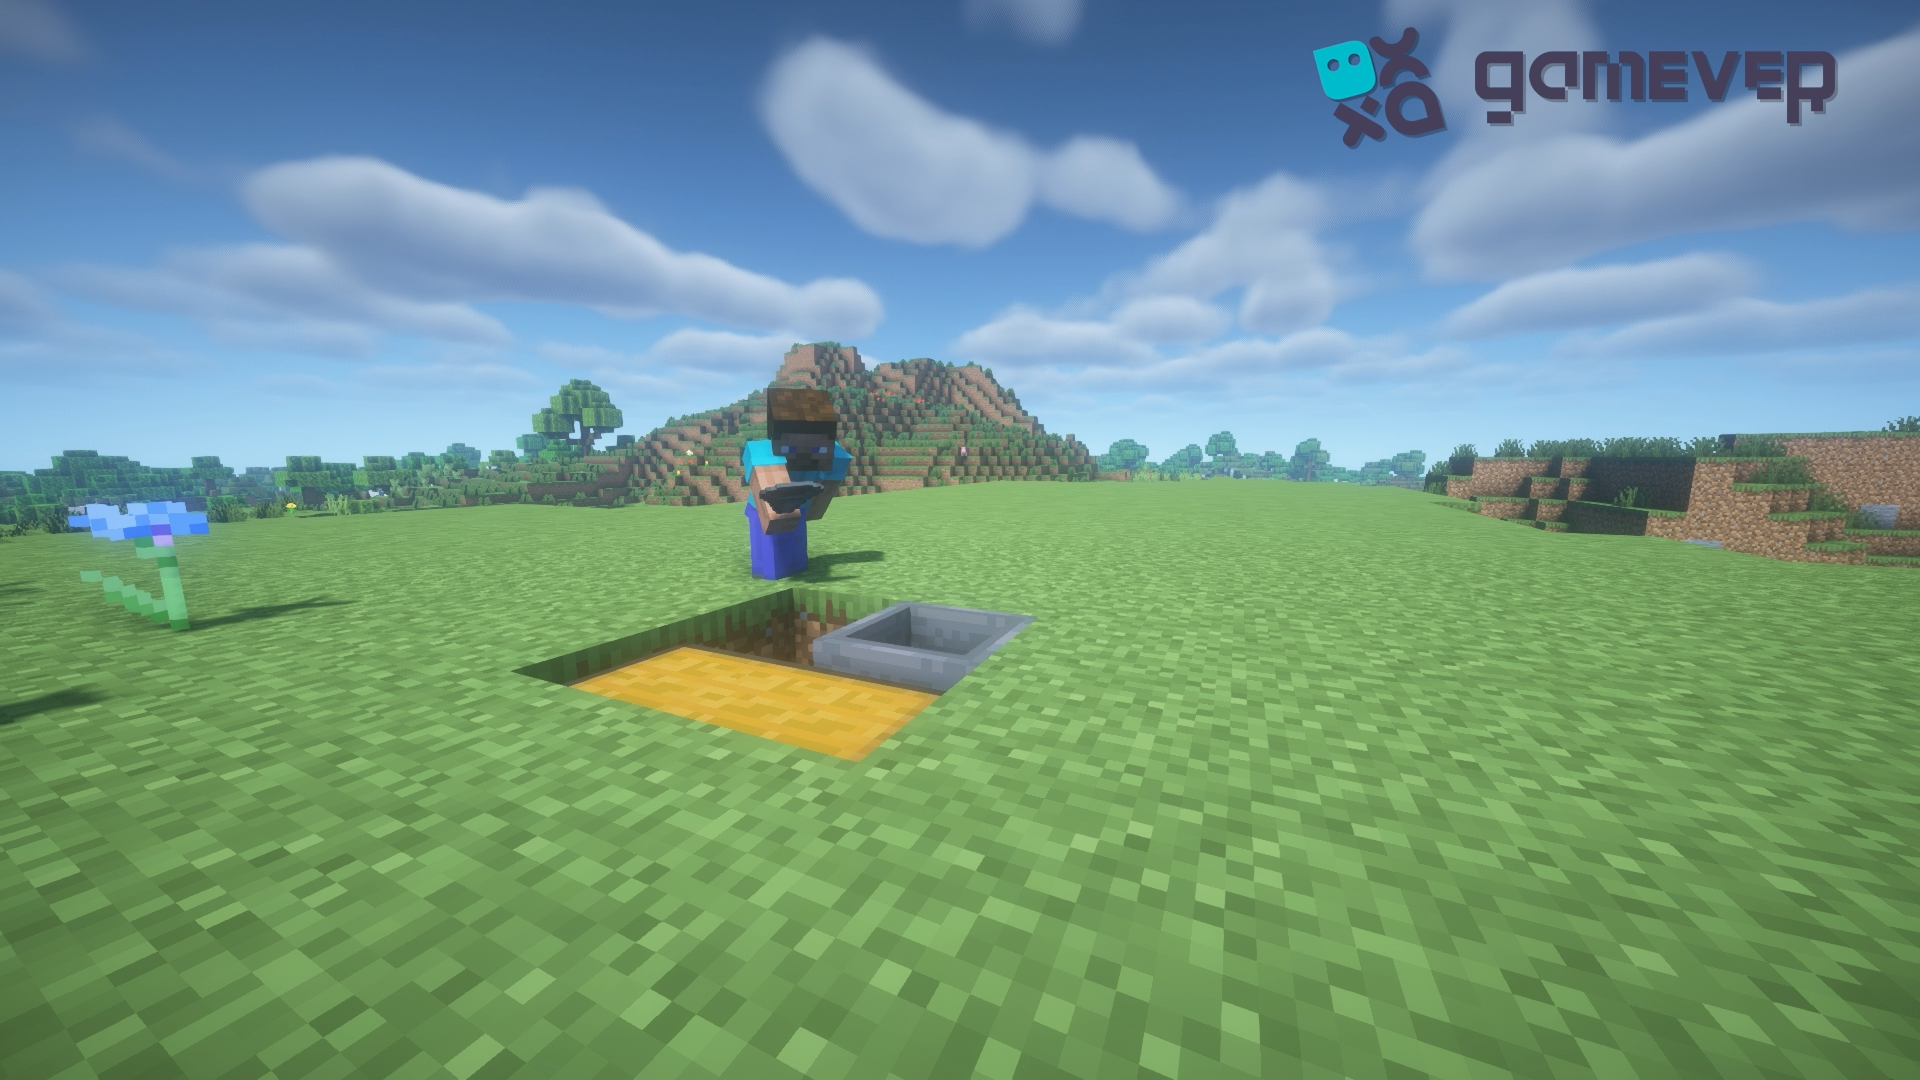
Positioning the Dispenser : Install the dispenser pointing towards the hopper. This dispenser will be used to hatch eggs collected from the chickens automatically.
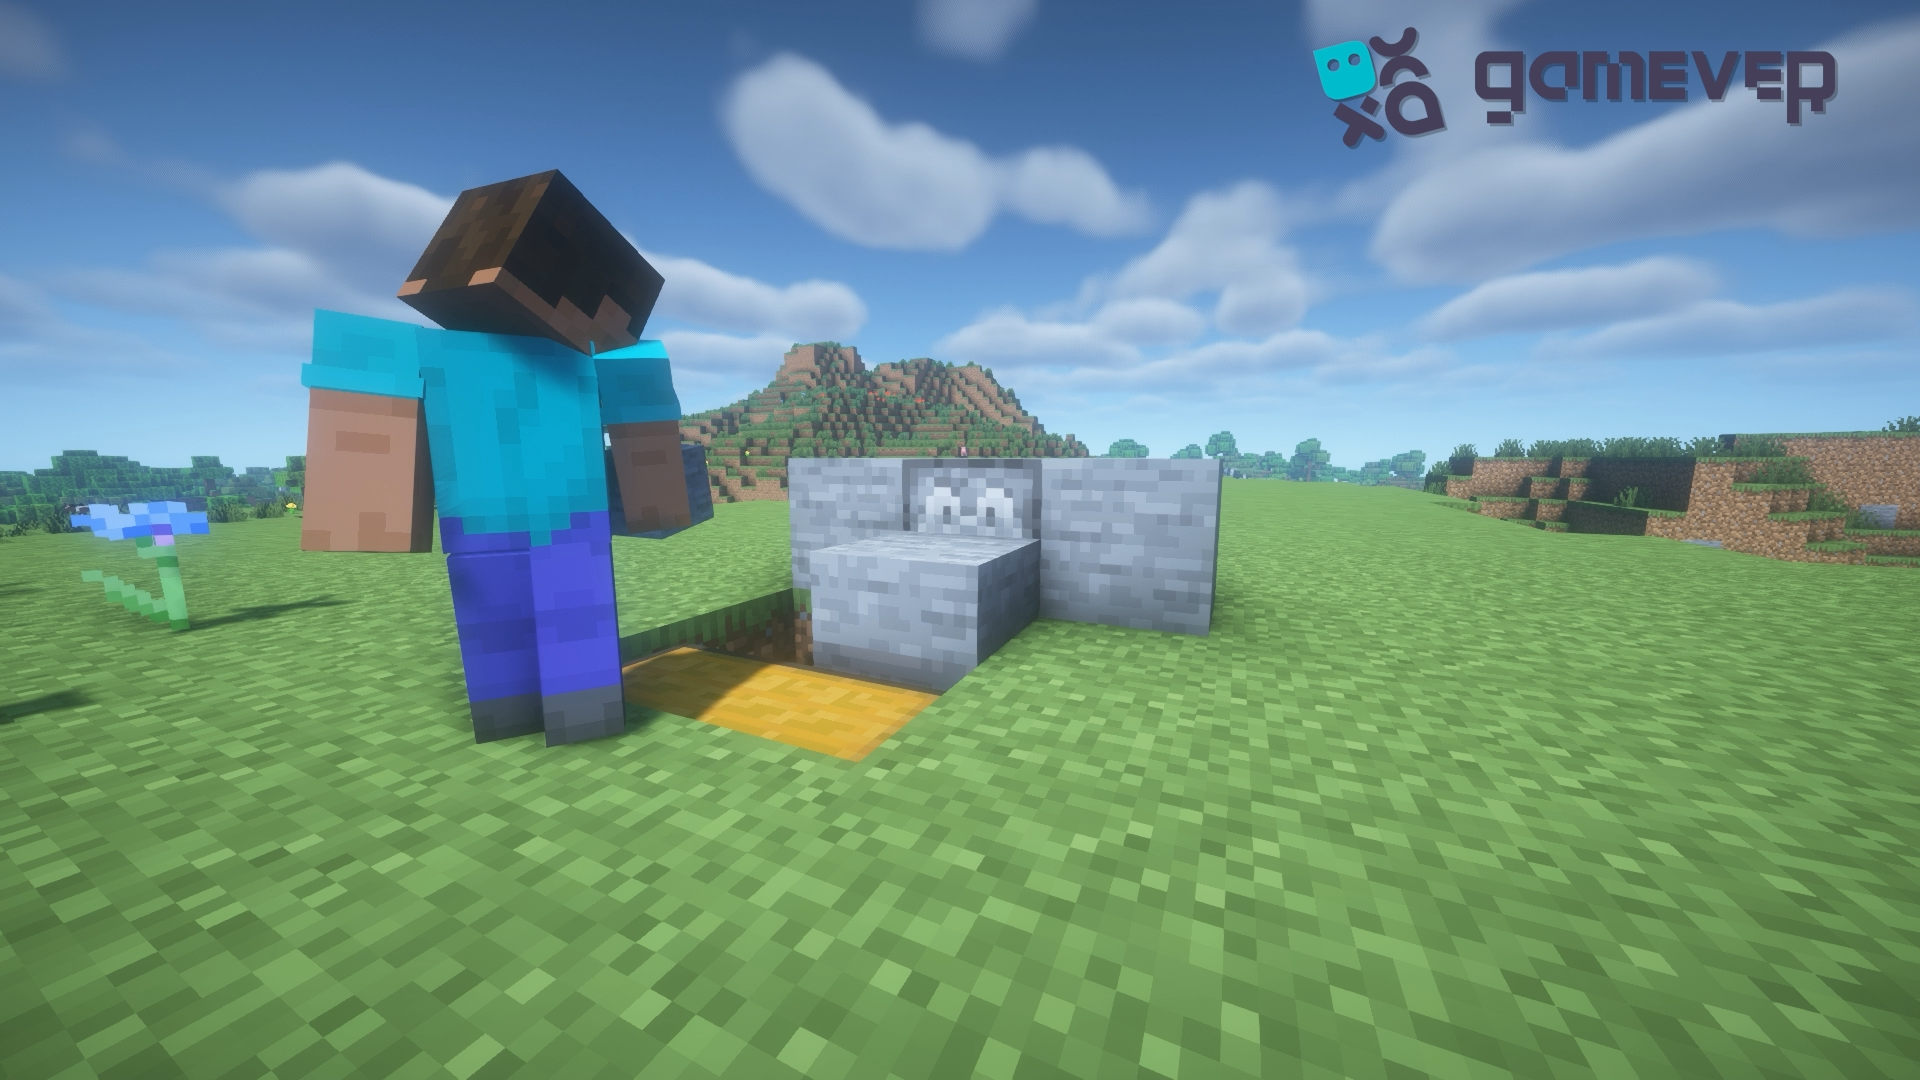
Adding Solid Blocks and Slabs : Surround the dispenser with solid blocks on the sides, and place a slab in front of it. The slab will raise the chickens, causing the adult chickens on that slab to be killed by lava
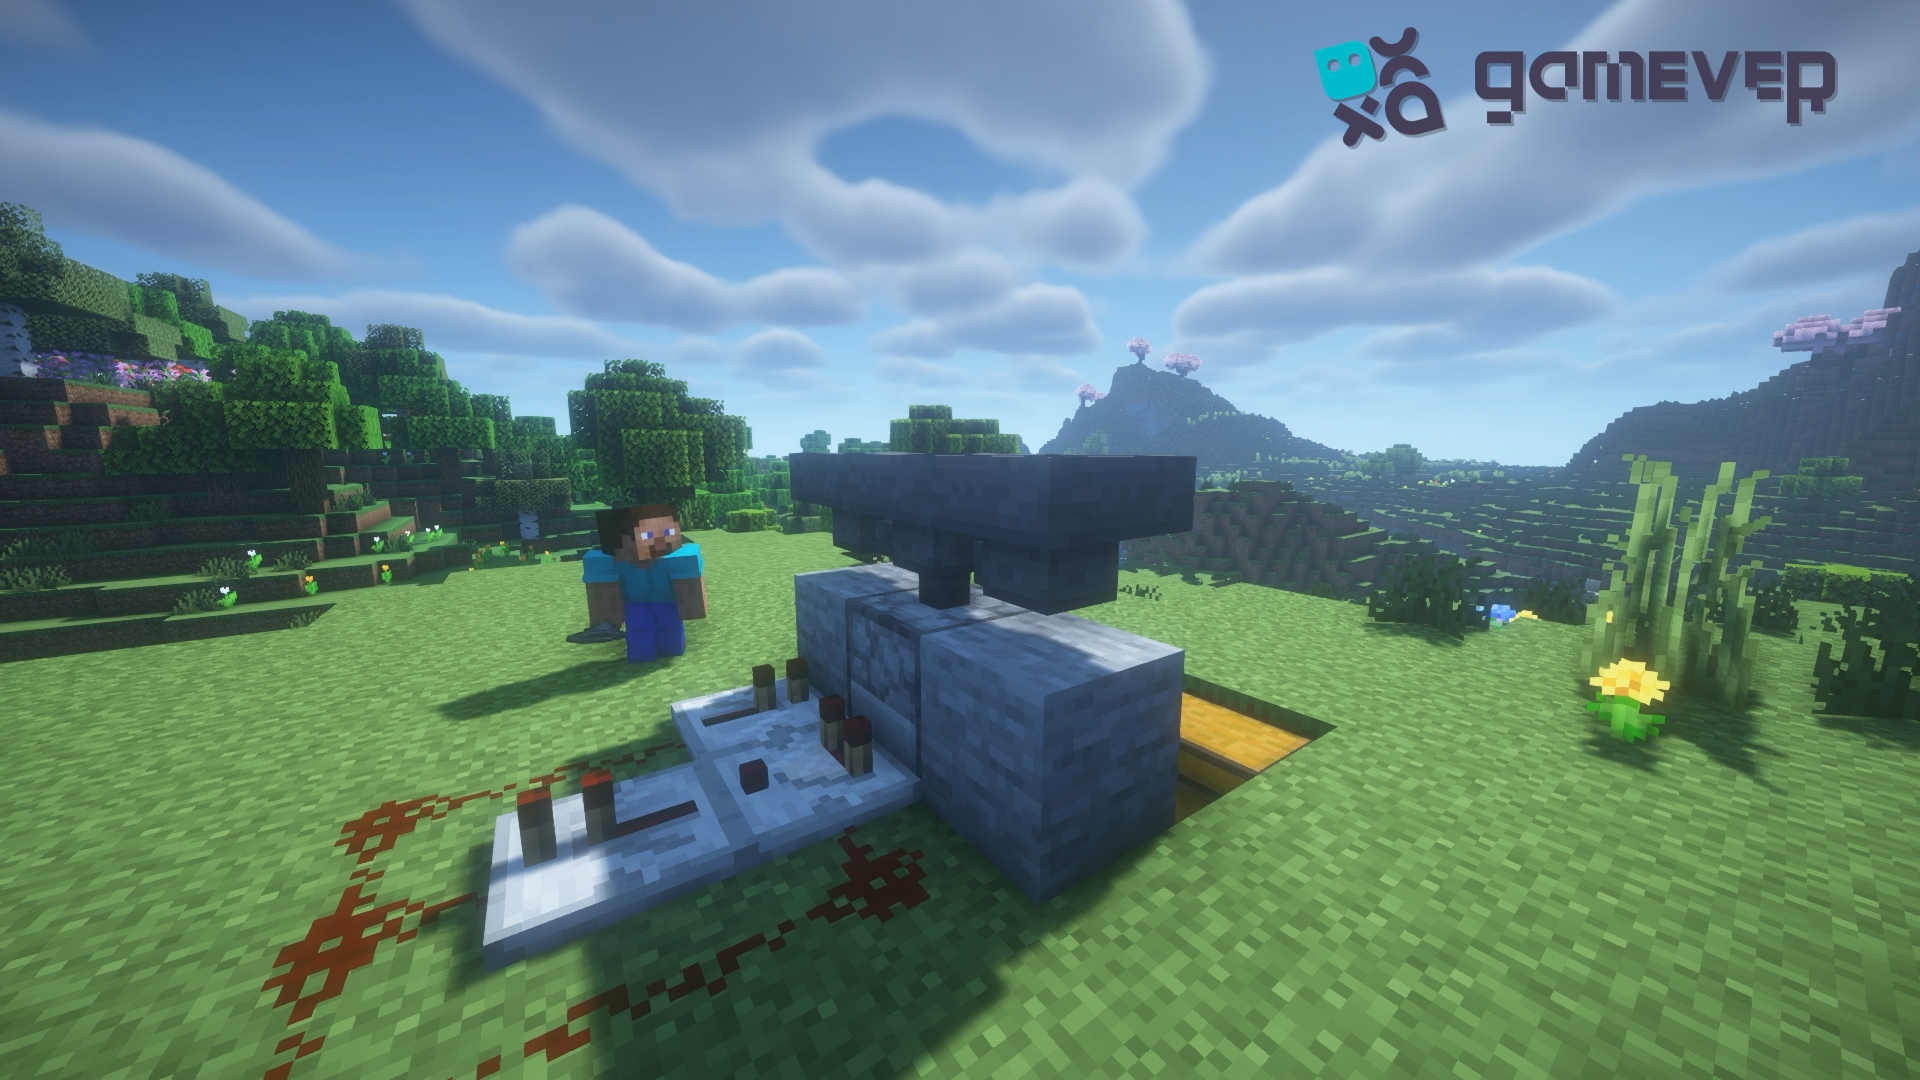
3. Creating the Redstone Circuit
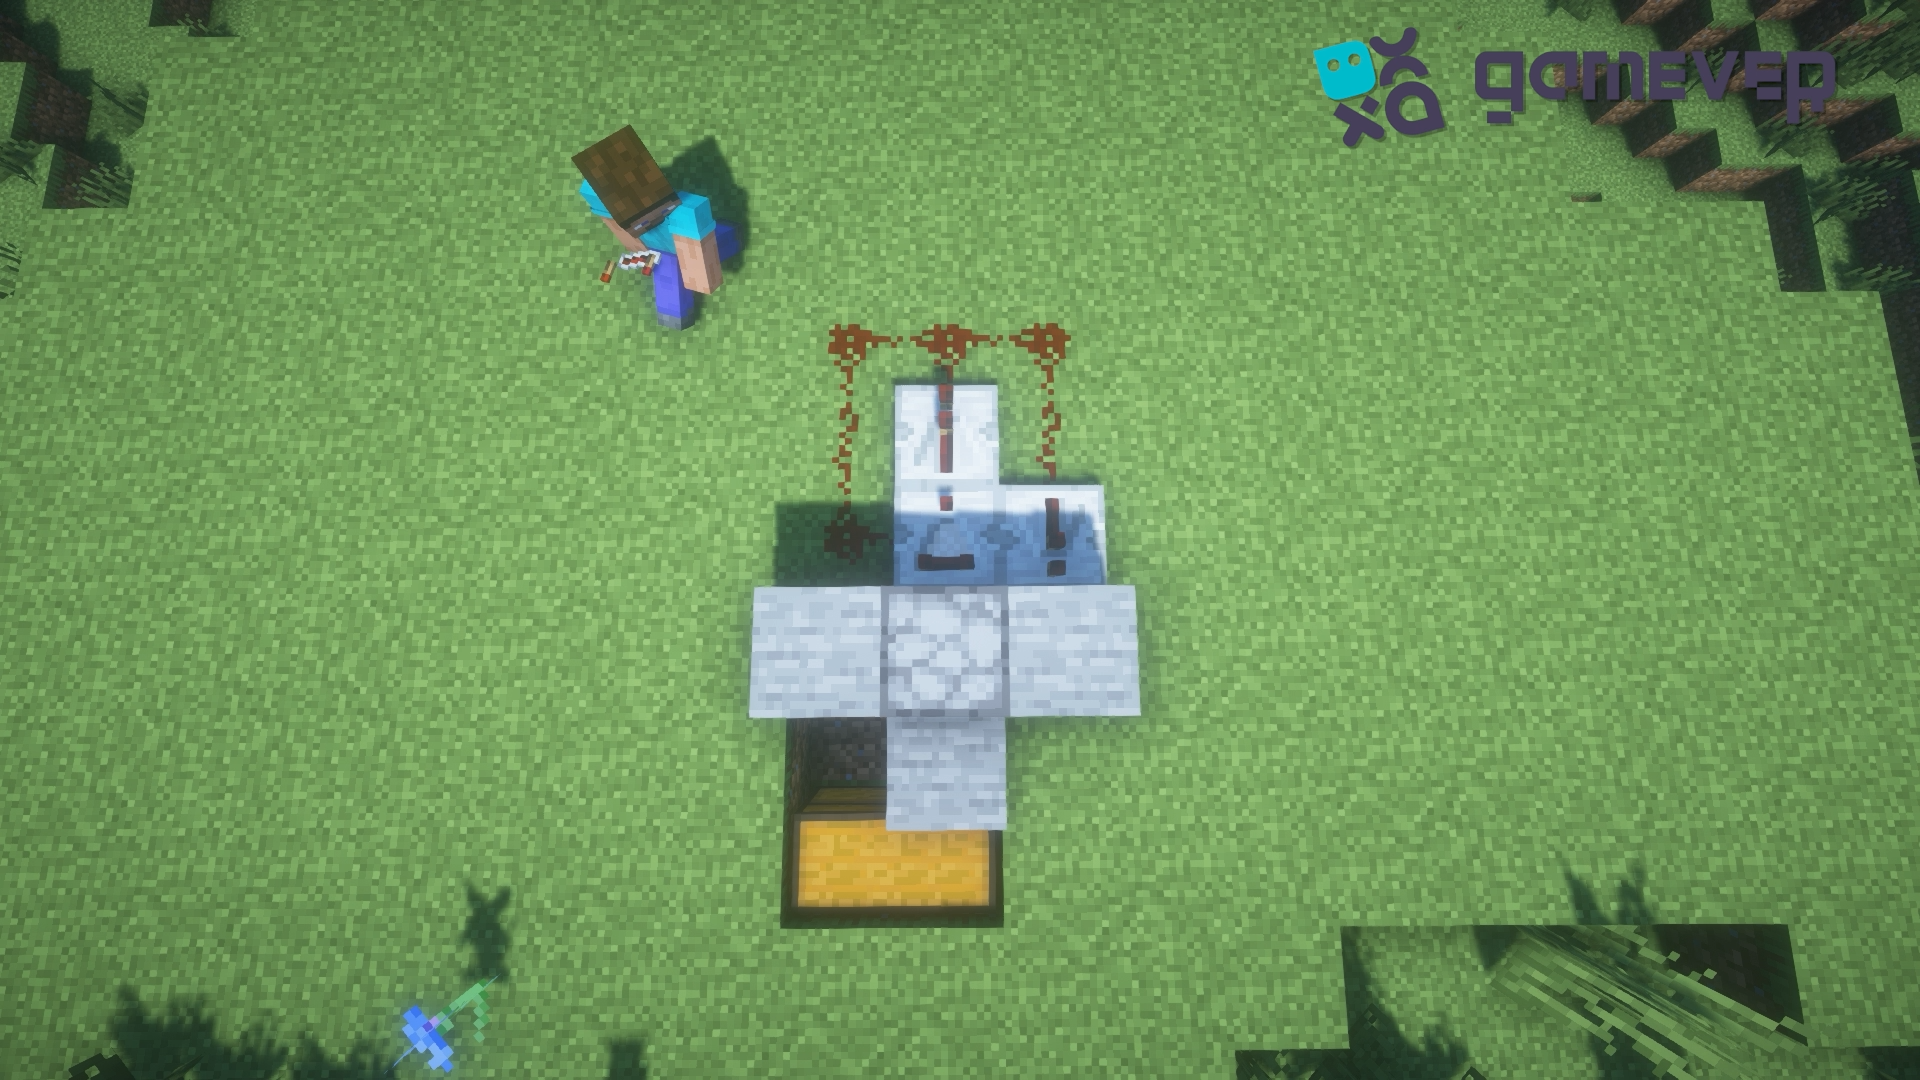
Redstone Comparator and Repeaters : Behind the dispenser, place a redstone comparator. This comparator detects if there are eggs in the dispenser and activates it. Place two redstone repeaters behind the comparator to strengthen the redstone signal, ensuring consistent operation.
Completing the circuit: Connect the comparator and repeaters with redstone dust, forming a circuit that triggers the dispenser whenever there are items (eggs) inside.
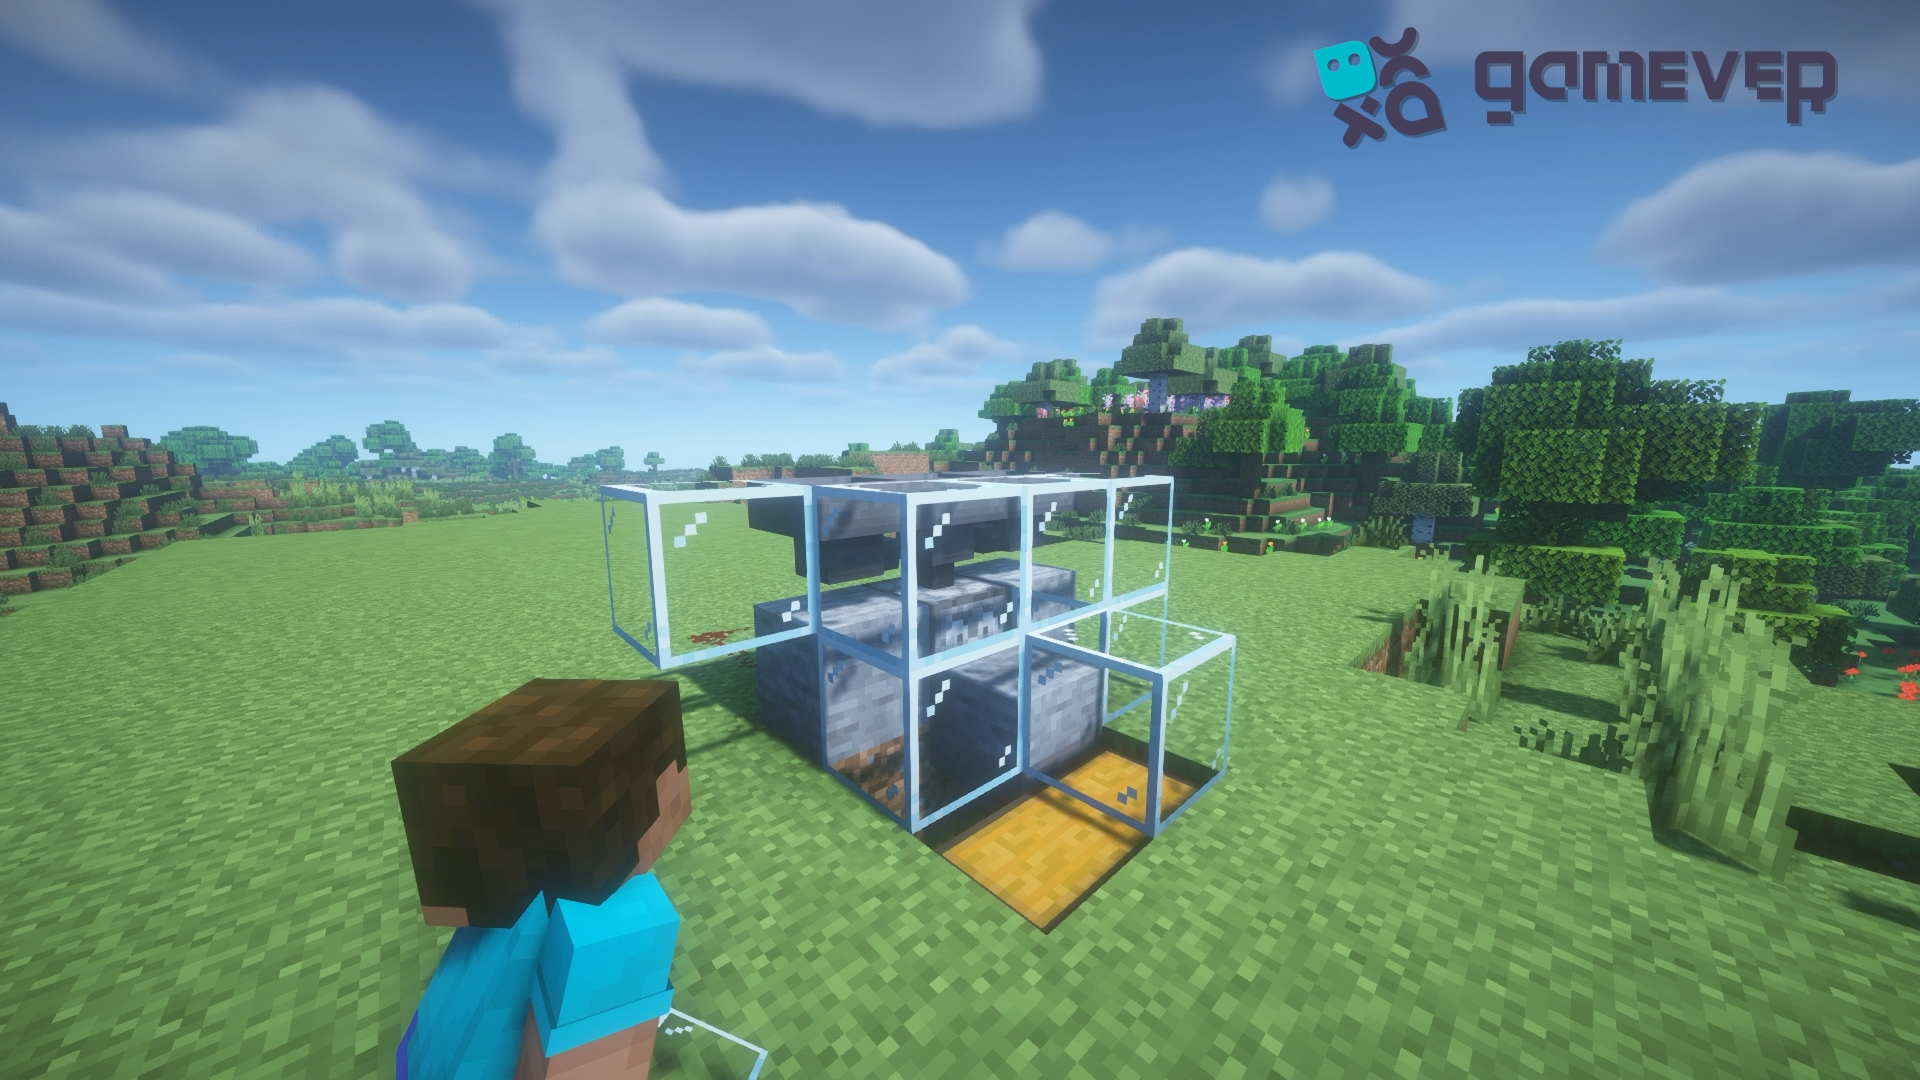
4. Building the Chicken Containment Area
Hopper installation: Connect the three hoppers to the dispenser. They will serve as a platform for the chickens.
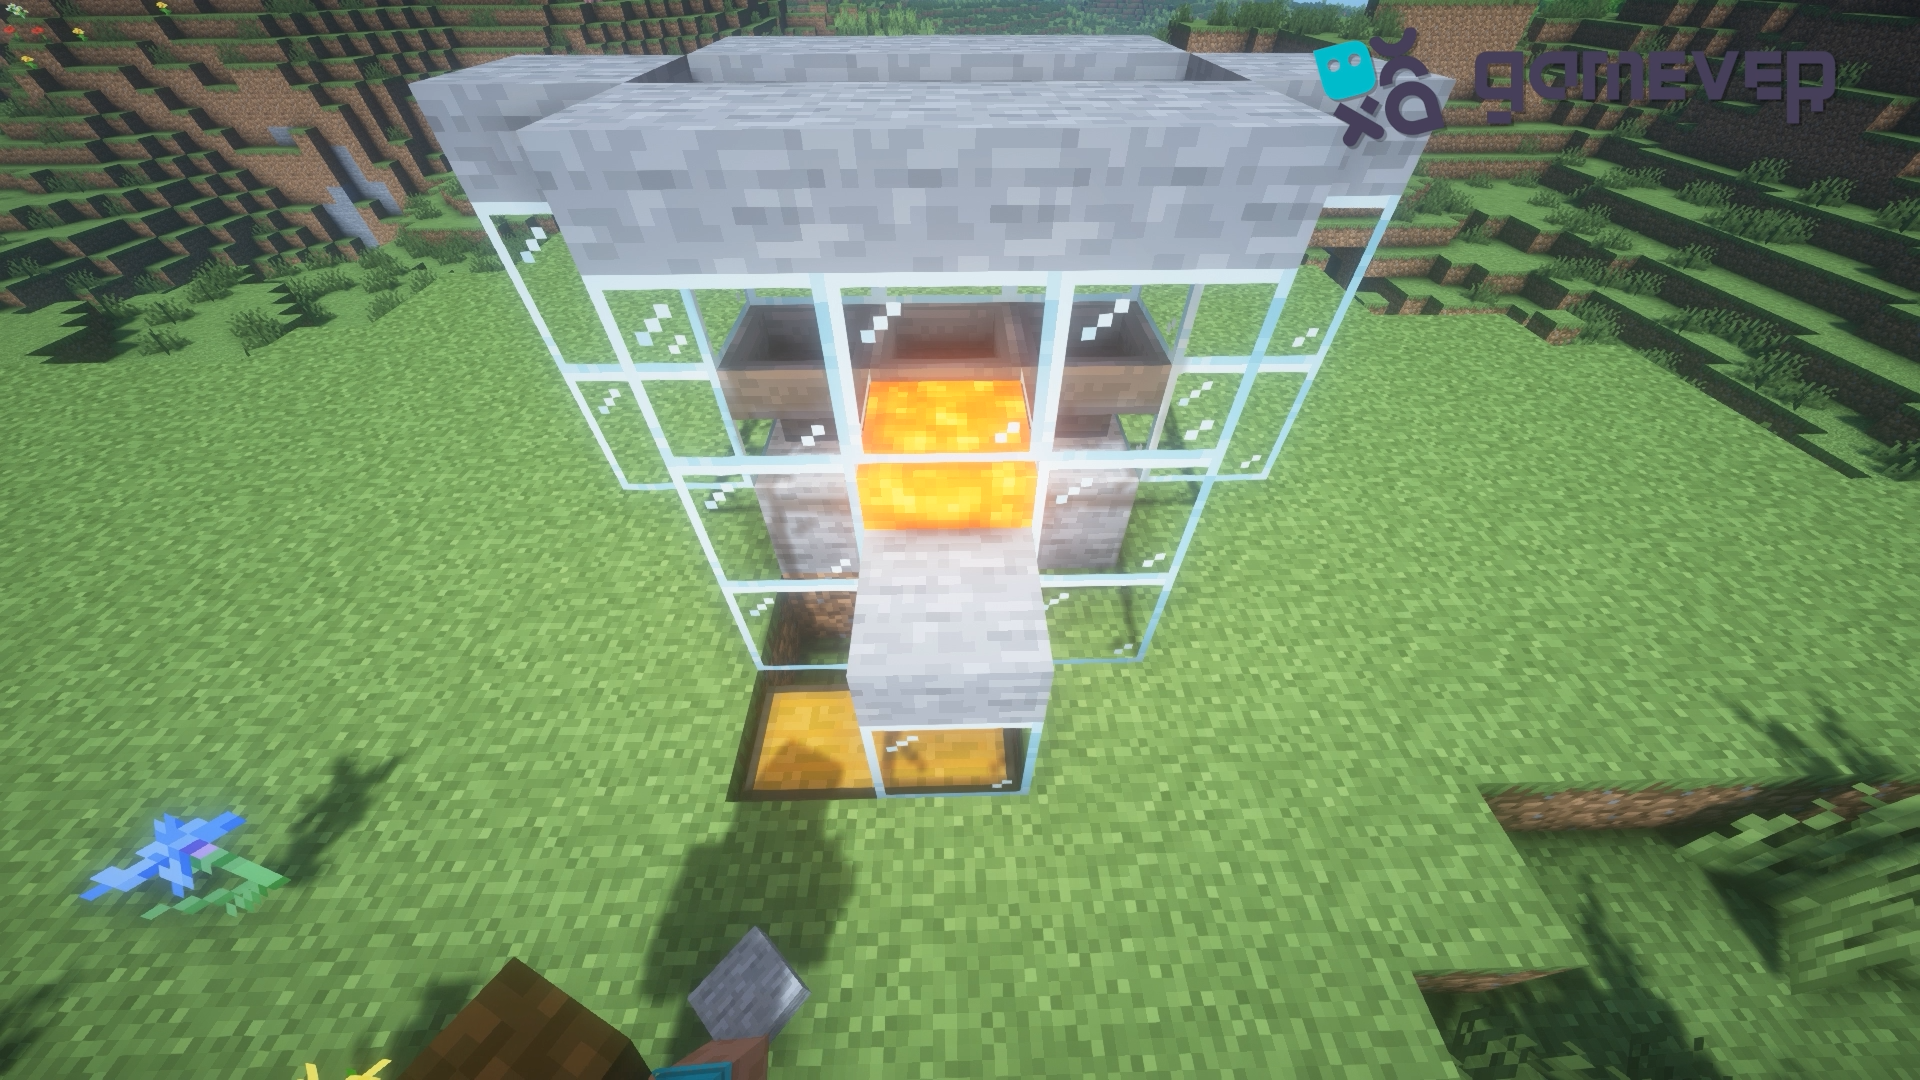
Create a Glass Structure : Above the hoppers and dispenser setup, build a containment area using glass blocks. This transparent structure allows you to monitor the chickens and ensure that they do not escape.
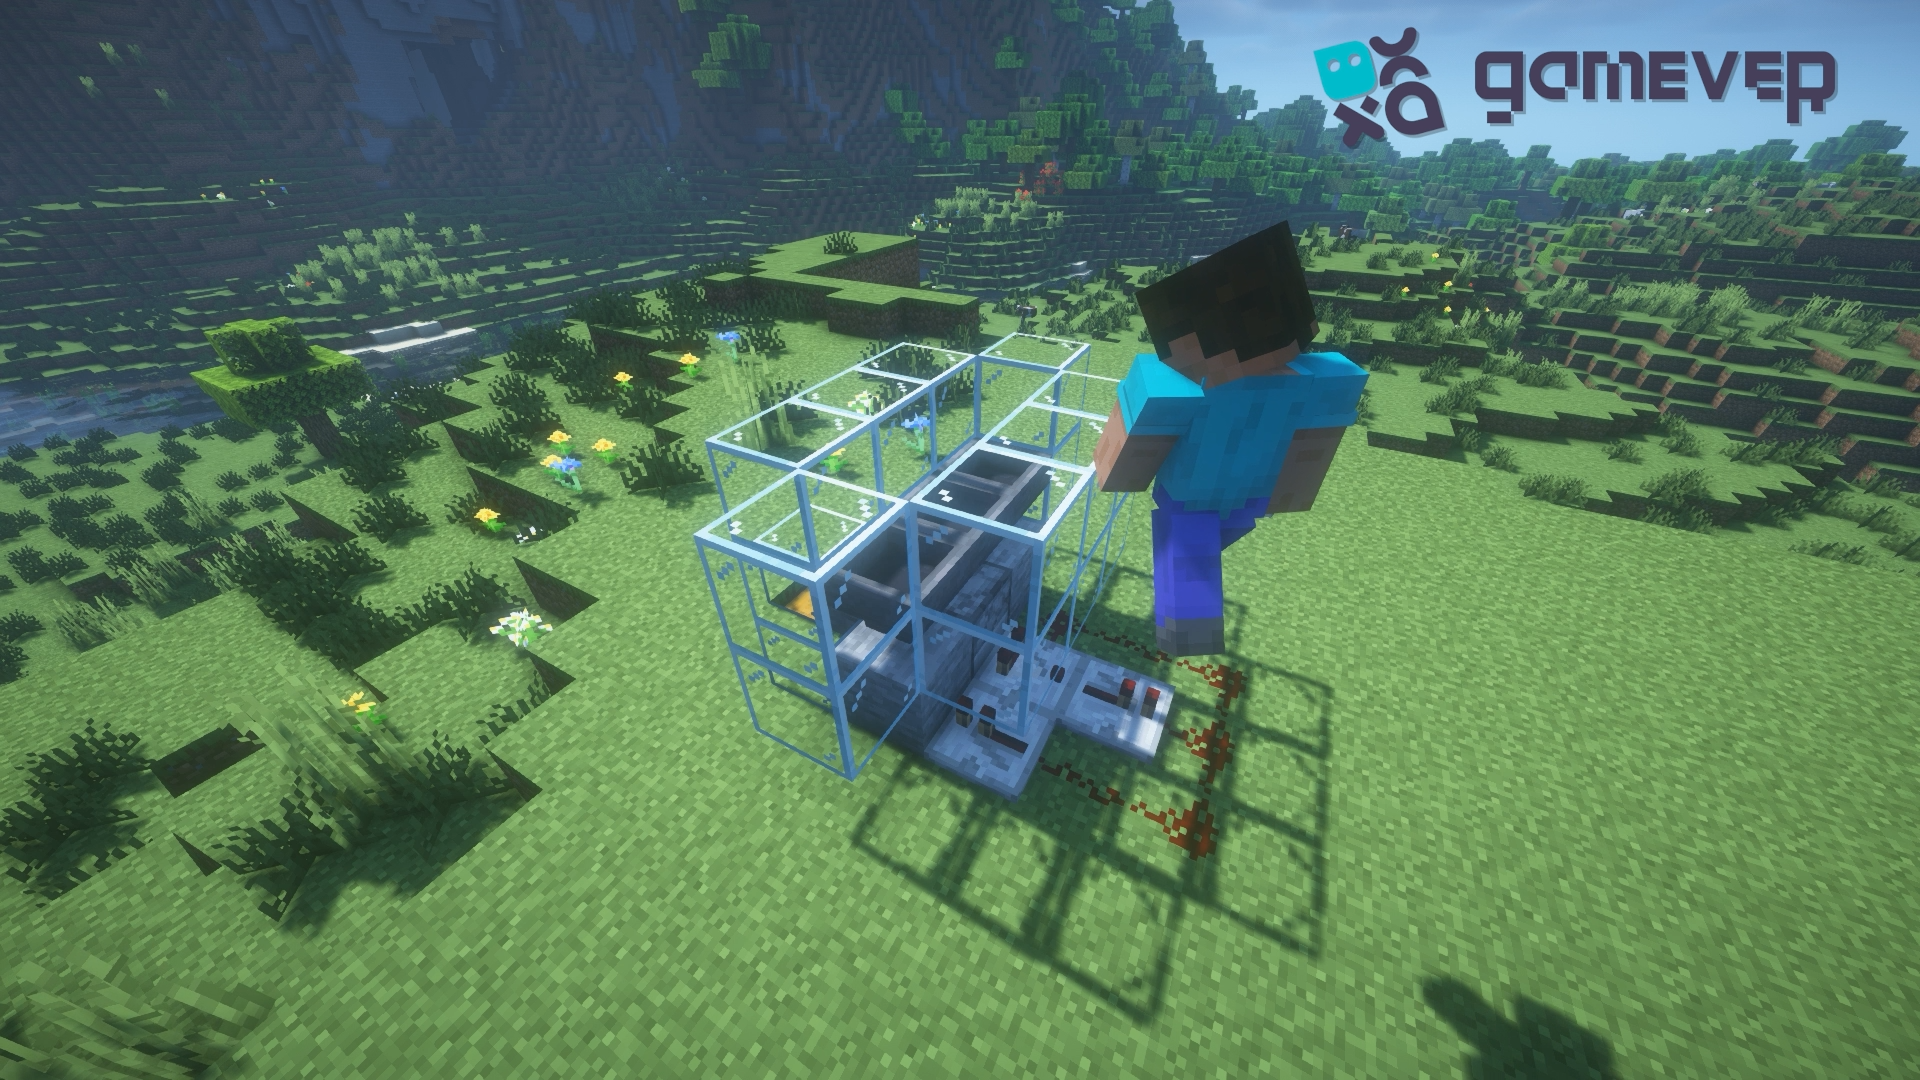
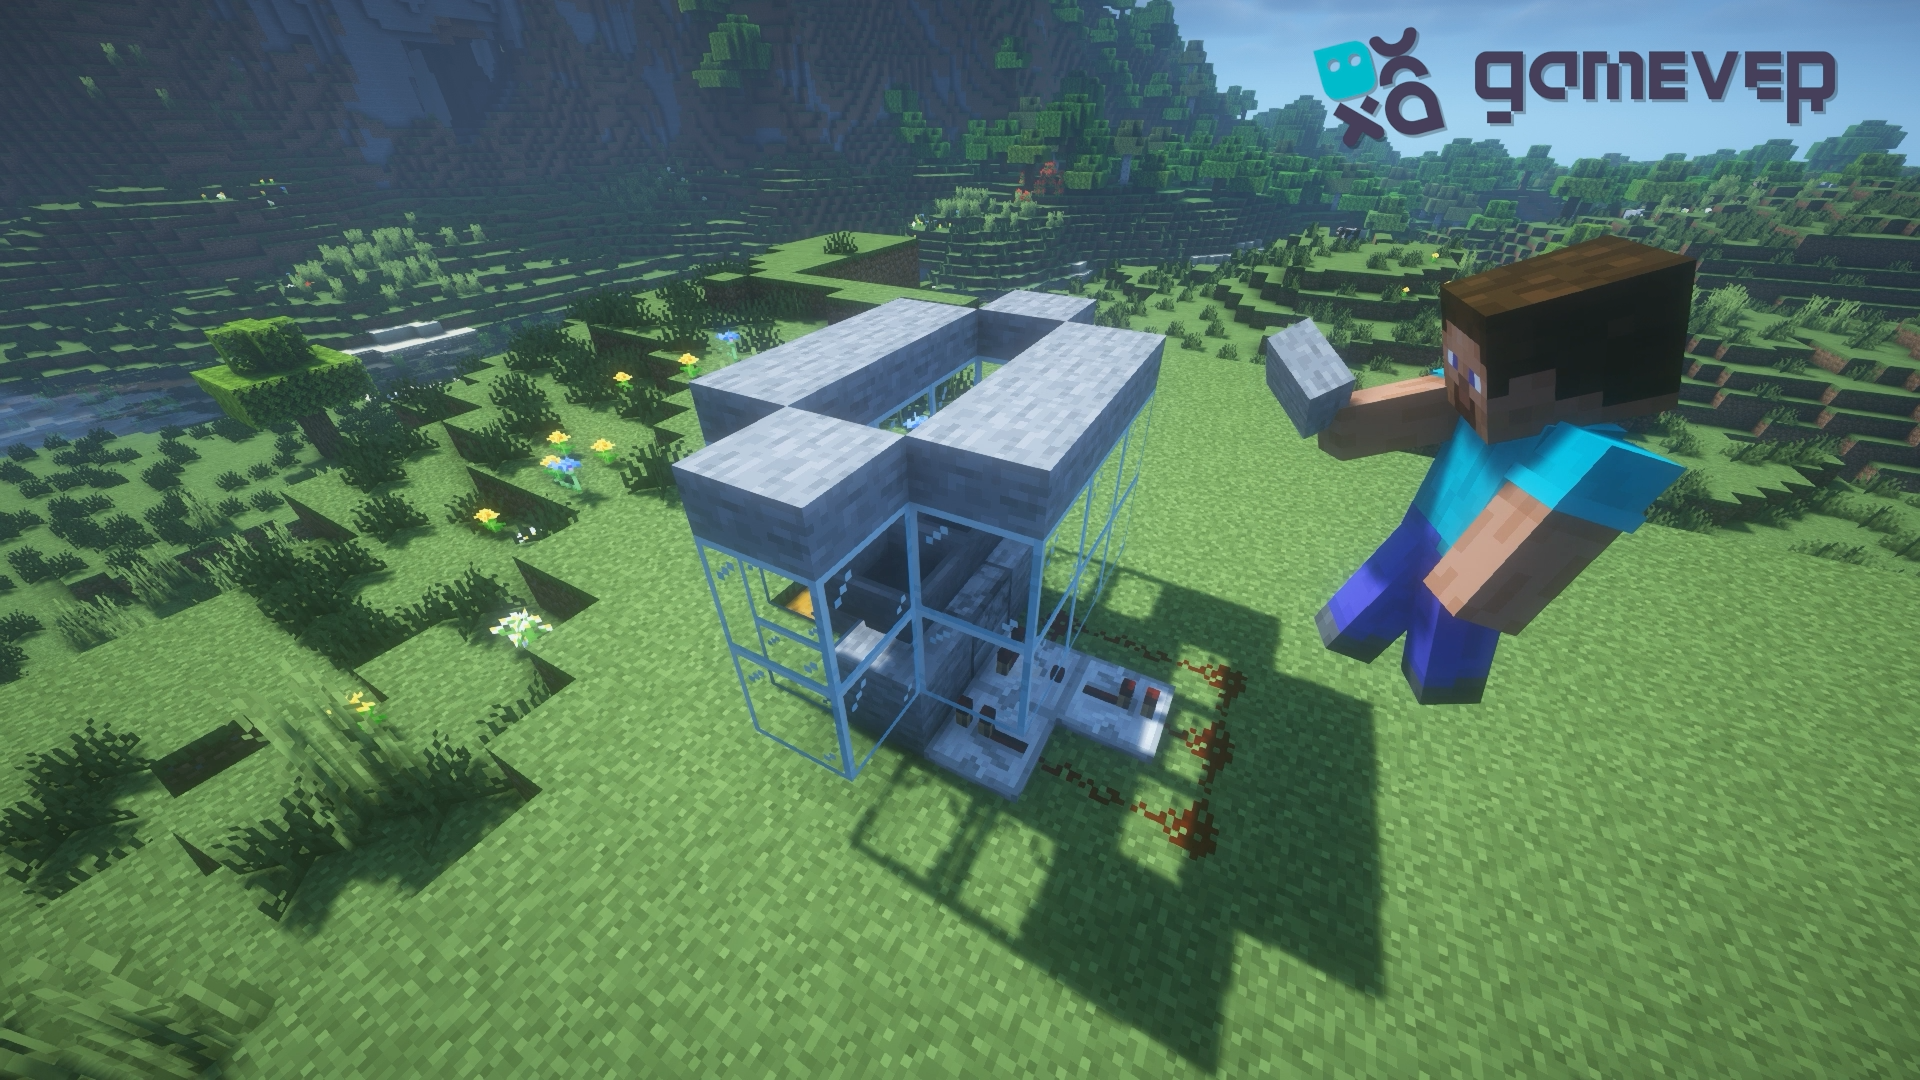
Placement of Slabs : Put slabs on top of the glass structure. These slabs prevent adult chickens from jumping out while allowing you to manually access the farm for maintenance.
5. Integrating the Cooking Mechanism
Install Lava : Directly in front of the central hopper and just above the slab level, carefully pour lava. The lava cooks the adult chickens when they grow up and touch the lava, while the baby chickens remain unharmed below because they are shorter than the slab's height.
6. Finalizing Your Farm
Adding Chickens : Introduce chickens into the glass containment area. You can either lure them with seeds or spawn them with eggs.

Operation and Maintenance : Once the chickens start laying eggs, the system will automatically collect and dispense these eggs, hatching more chickens to maintain production.
Maximising your farm's efficiency
Regular Checks : On a regular basis, check your farm for any blockages or malfunctions in the redstone circuit or dispensing mechanisms.
Expansion : As your needs grow, consider expanding the farm by adding more hoppers and increasing the containment area to accommodate more chickens.
Benefits of Building on Gamever Servers
Building your chicken farm on Gamever servers has several advantages:
Community Interaction : Share your construction techniques and farming tips with a community of experienced players. To improve your farm, gain insights and feedback.
Resource Sharing : Pool resources with other players for building materials, or trade surplus cooked chicken and feathers for other valuable items.
Enhanced Multiplayer Experience : Enjoy the collaborative aspects of Minecraft by working together on large-scale farming operations or other community projects.
Conclusion
Constructing an automated chicken farm in Minecraft can greatly enhance your resource management and food supply, making it an essential setup for any serious player. By following this detailed guide, you can build a farm that not only feeds you but also provides resources for other aspects of the game. Moreover, consider joining Gamever servers to maximize your enjoyment and collaborative opportunities within a supportive gaming community.