How to Install the CurseForge Launcher for Minecraft
The CurseForge Launcher is a vital tool for any Minecraft player looking to enhance their game with mods. With this launcher, you can easily manage, install, and update mods and modpacks, which can dramatically alter and improve your Minecraft experience. This comprehensive guide will walk you through the steps to install the CurseForge Launcher for Minecraft, ensuring you can start modding with ease.
Step-by-step installation guide
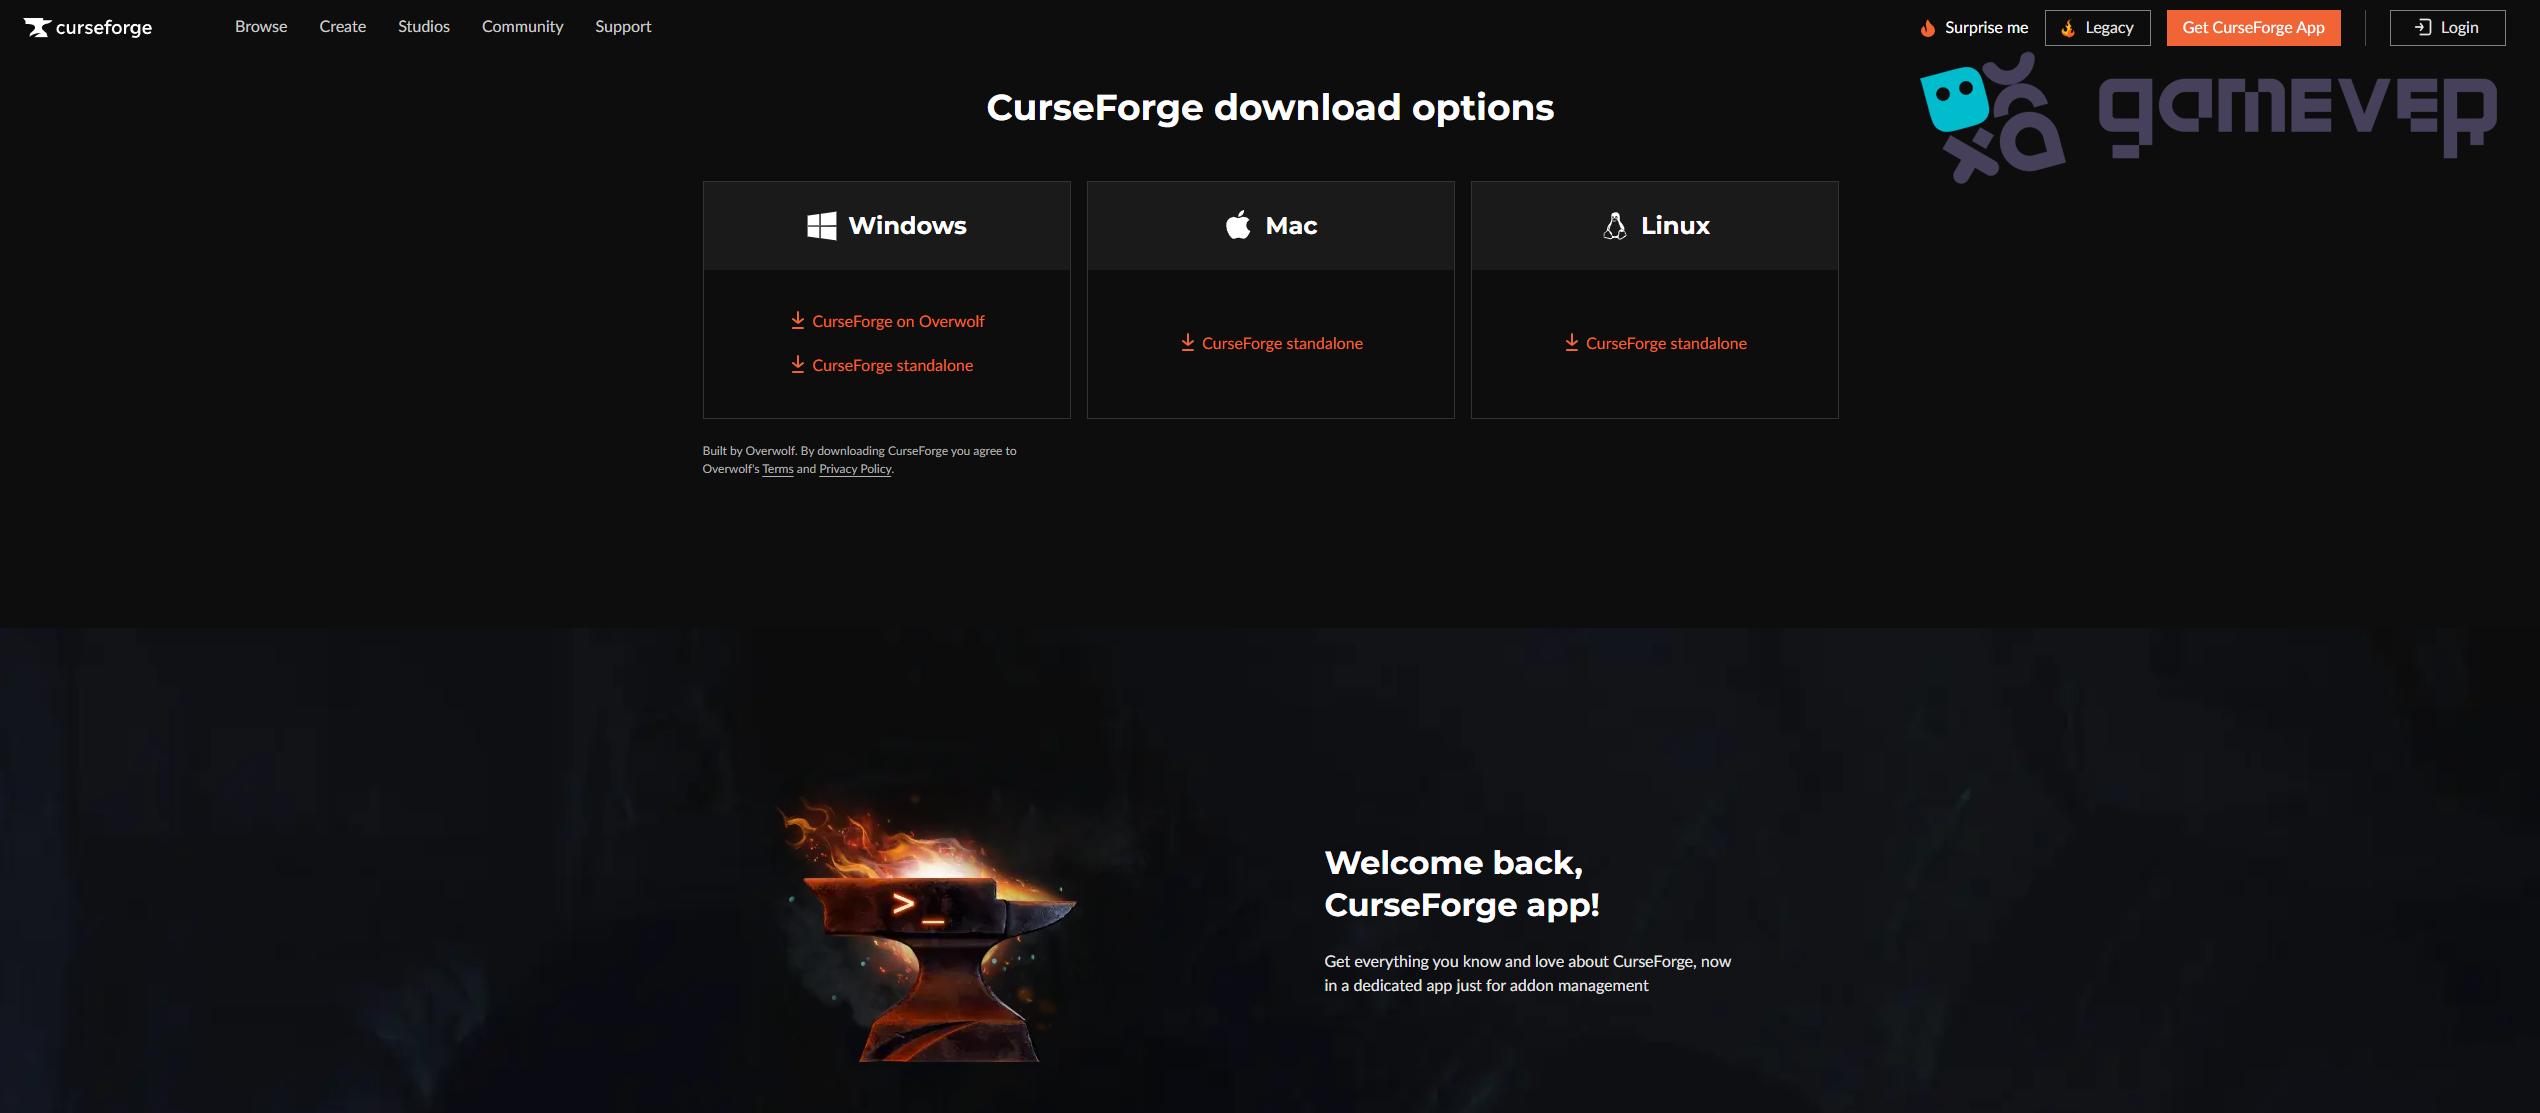
Step 1: Download the CurseForge Launcher.
To begin, download the CurseForge Launcher. Follow these steps:
- Visit the CurseForge Website: Navigate to the CurseForge download page. You will see options to download the launcher for different operating systems.
- Choose Your Operating System: Select the appropriate download link for your operating system (Windows, macOS or Linux). To start downloading the installer file, click the download button.
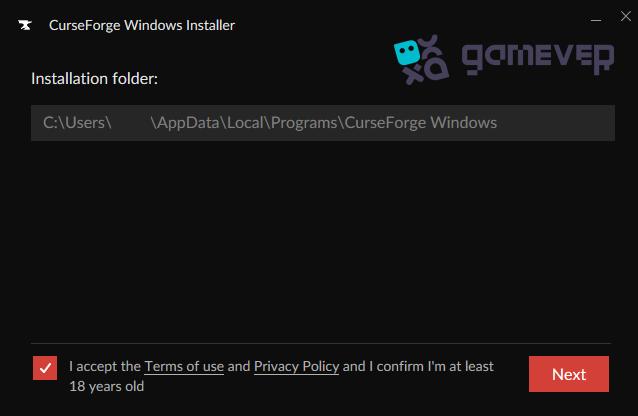
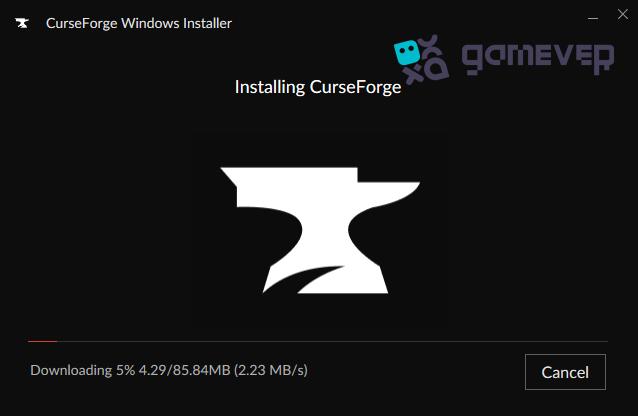
Step 2: Run the installer.
Once the download is complete, locate the installer file in your downloads folder:
- Open the Installer: Double-click the installer file to run it. You might need to confirm that you want to allow the installer to make changes to your device.
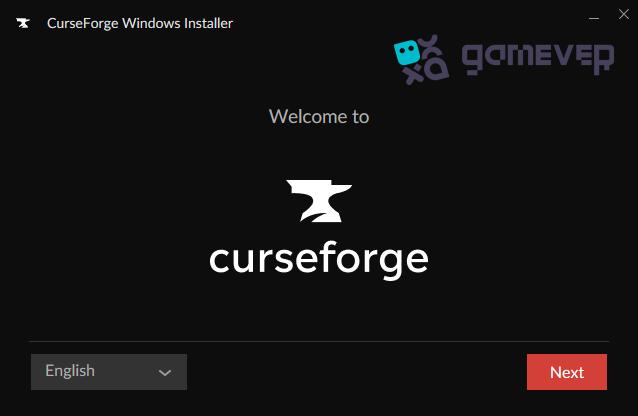
- Follow the installation wizard: The installation wizard will guide you through the process. Click “Next” to proceed through the steps, agreeing to the terms and conditions when prompted.
Step 3: Launch the CurseForge Launcher.
After the installation is complete:
- Open the Launcher: You can find the CurseForge Launcher shortcut on your desktop or in your start menu. Click to open it.
- Complete the Initial Setup: The first time you open the launcher, you may be prompted to complete an initial setup. This usually includes selecting your preferred language and completing a brief tutorial about the launcher’s features.
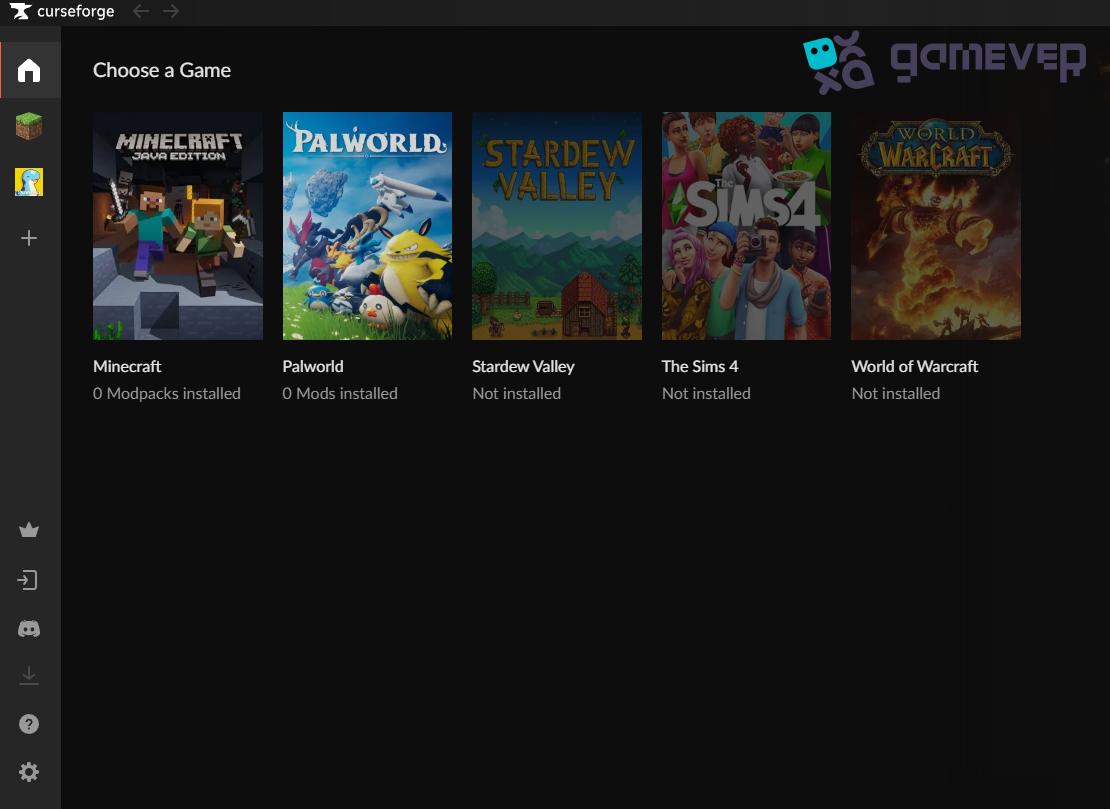
- Navigate to the Games List: On the main screen, you will see a list of supported games. Click on “Minecraft” to proceed.
Play with Friends on Gamever Servers
To fully enjoy your modded Minecraft experience, consider playing on a multiplayer server. Gamever offers reliable and high-performance Minecraft servers that you can rent to play with your friends. Setting up a server with Gamever is simple and allows you to enjoy a seamless multiplayer experience with custom mods and settings.
Why choose Gamever?
- High Performance: Ensure a lag-free experience with top-tier server hardware.
- Easy Setup: With a user-friendly interface, server setup is a breeze.
- 24/7 Support: Get help whenever you need it with dedicated customer support.
- Customizable: Tailor your server settings and mods to suit your gameplay style.
Get started today! Visit Gamever to rent your Minecraft server and start playing with your friends. Experience Minecraft like never before with custom mods and a reliable multiplayer environment.
Conclusion
Installing the CurseForge Launcher for Minecraft is a game-changer, opening up a world of possibilities with mods and modpacks. Use this guide to initiate the process, adjust your settings, and enrich your Minecraft experience. Don’t forget to take your multiplayer adventures to the next level with a Gamever server, where you can enjoy seamless gameplay with friends.