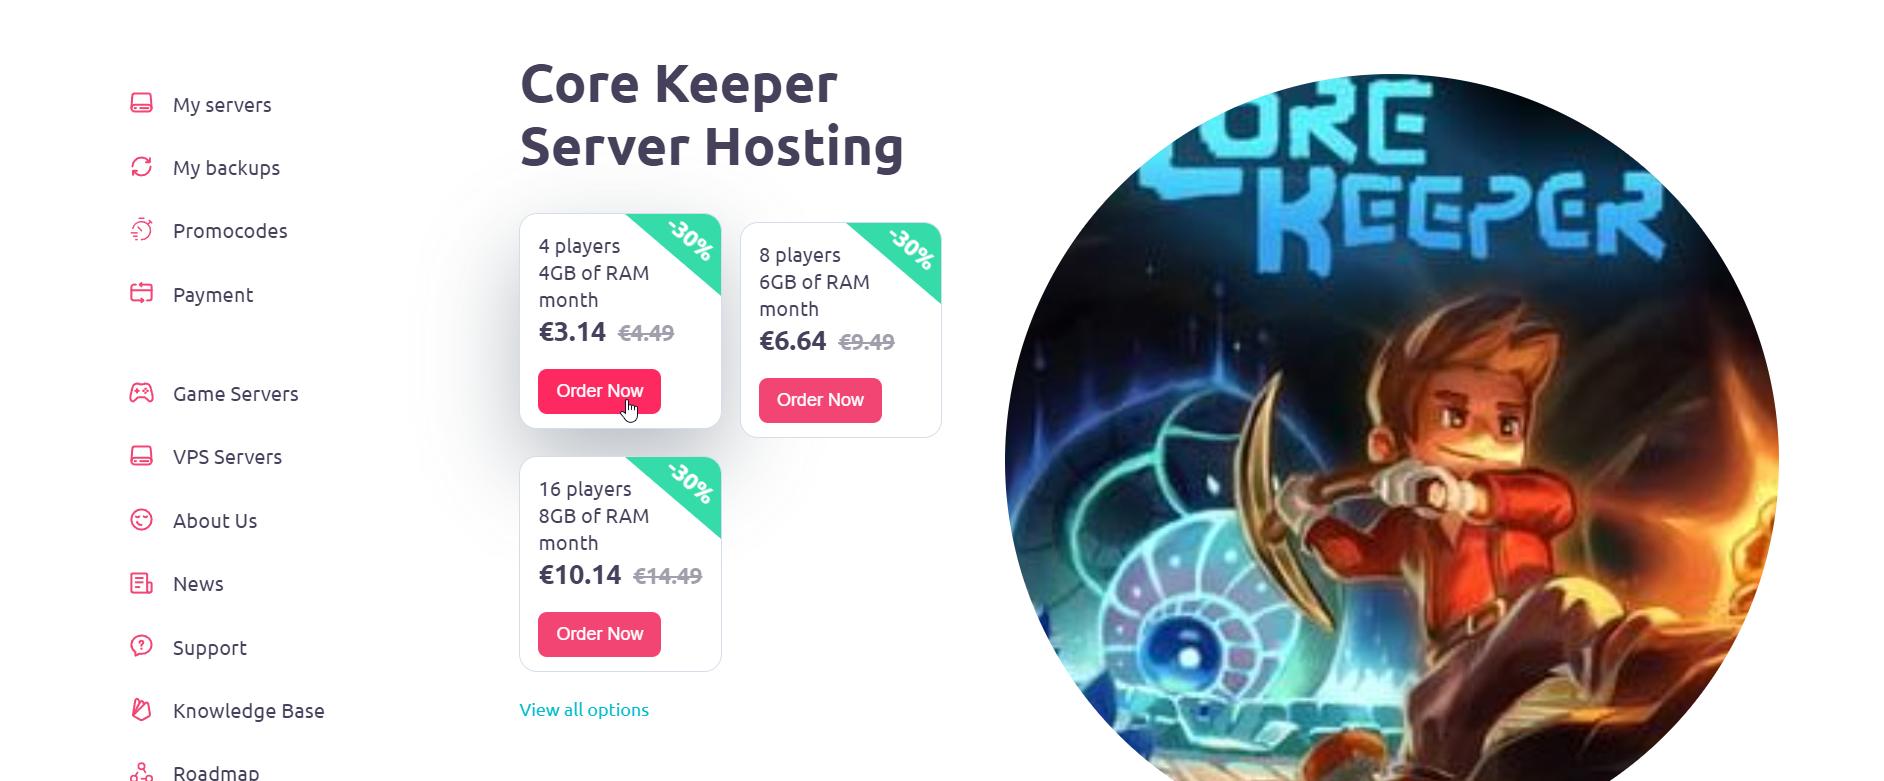
How to Host a Dedicated Server for Core Keeper 1.0
Welcome to our guide on setting up a dedicated Core Keeper server! With Gamever.io, you can easily rent a server and invite up to 16 friends to join in the adventure. Follow these steps to get your server up and running.
Step 1: Choose Your Server Location
First, select the server location that best suits your region. Gamever.io offers servers in various countries, including:
- Almaty
- Warsaw
- Amsterdam
- Frankfurt
- Istanbul
- Singapore
- And many more!
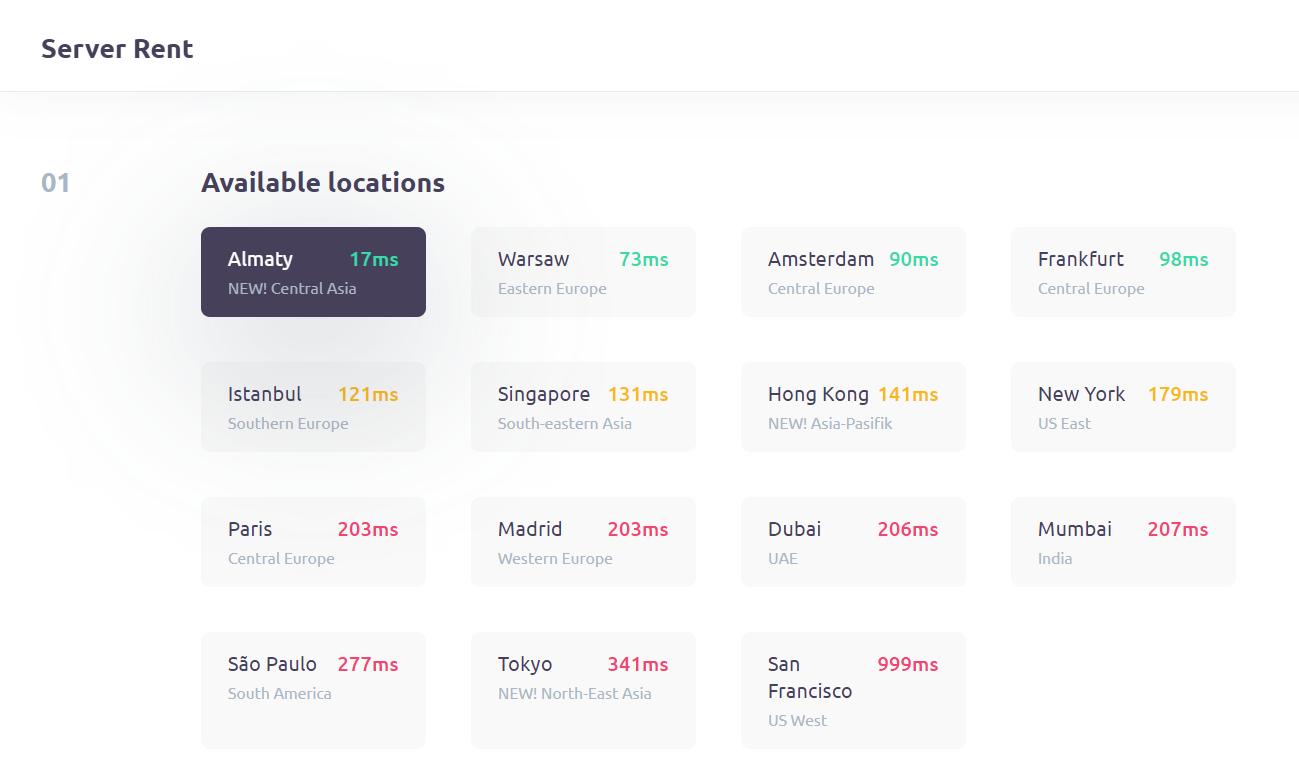
Pick a location that ensures optimal performance and minimal latency for you and your friends.
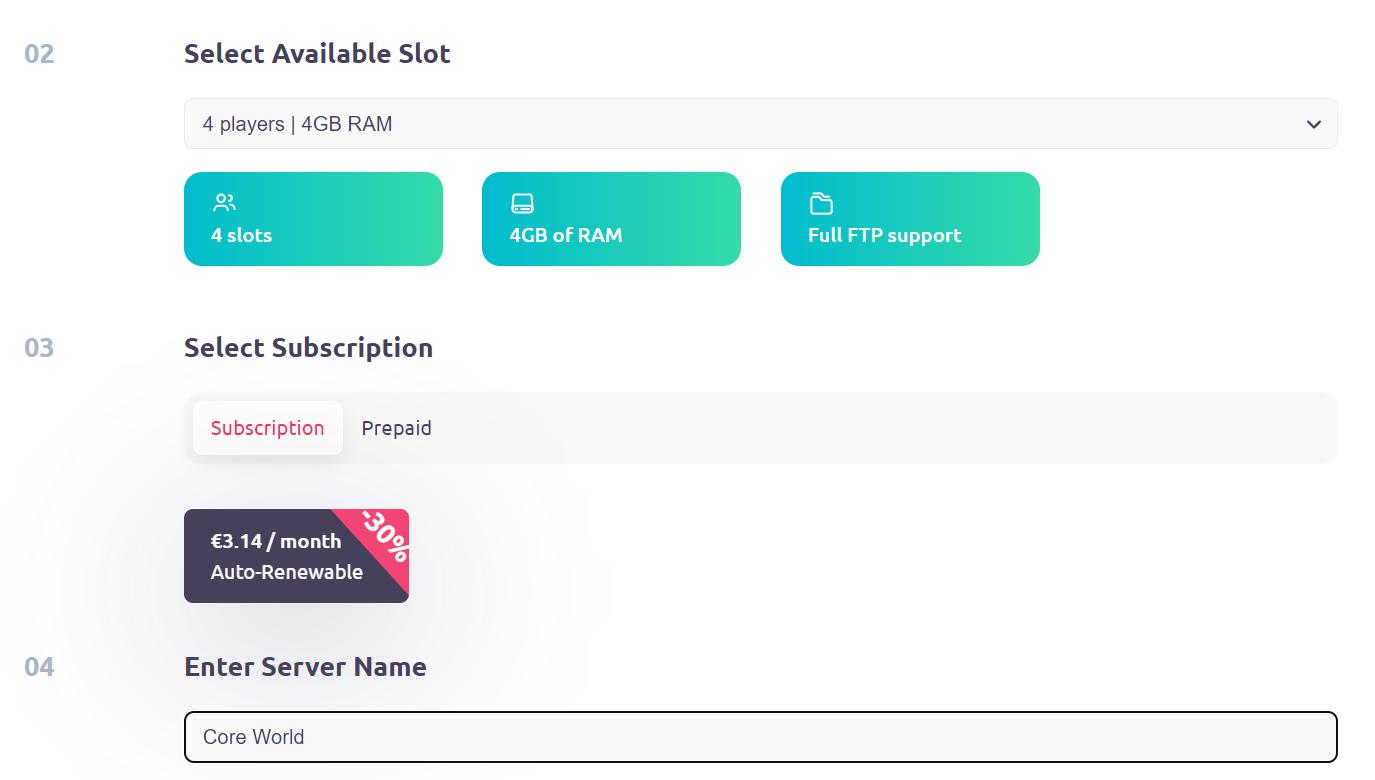
Step 2: Select Your Server Size
Next, determine the size of the server you need. The options are from 4 players minimum up to 16 players maximum.
Imagine the chaos and fun with a large team of friends in Core Keeper!
The next step is choosing a subscription plan that fits your needs. Then name your server. This name will be how you and your friends identify your game world.
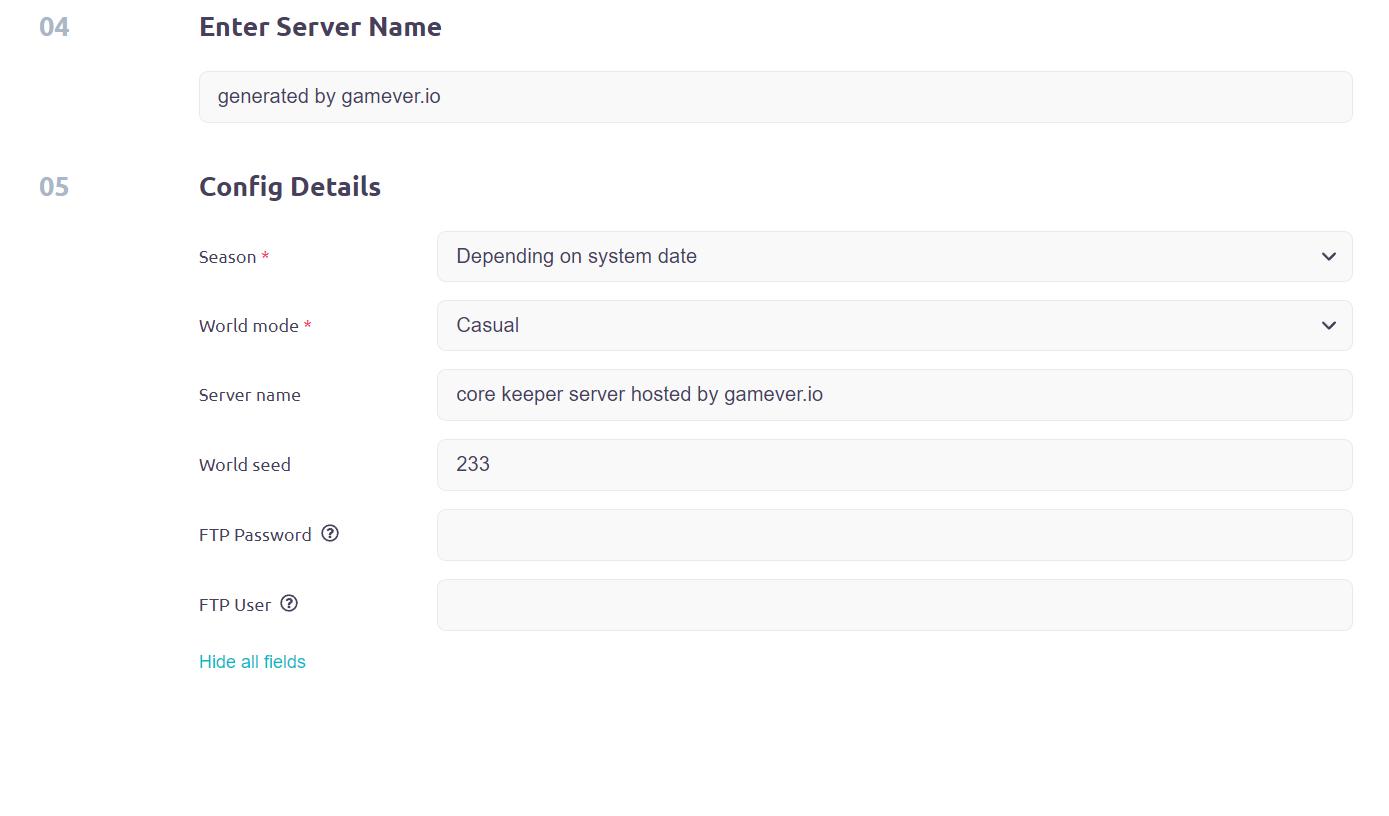
Step 4: Configure Your Server Details
In the Config Details section, specify the following:
- Season: Choose the game season you want to play: Depending on system date, Easter, Halloween, Christmas and many others.
- World Mode: Select the difficulty level for your game world, ranging from easy to challenging: Normal, Hard, Creative and Casual.
- The world seed generates your new world. If you choose '0,' it means an entirely random world will be created for you!
- If you want to add an extra layer of security, you can set a password for server access. Make sure to share this password with your friends so they can join the game.
Step 5: Start Your Server
After setting up your server, go to the My Servers section and activate your server by toggling it to On. Wait for the necessary files to download; this process may take a few minutes.
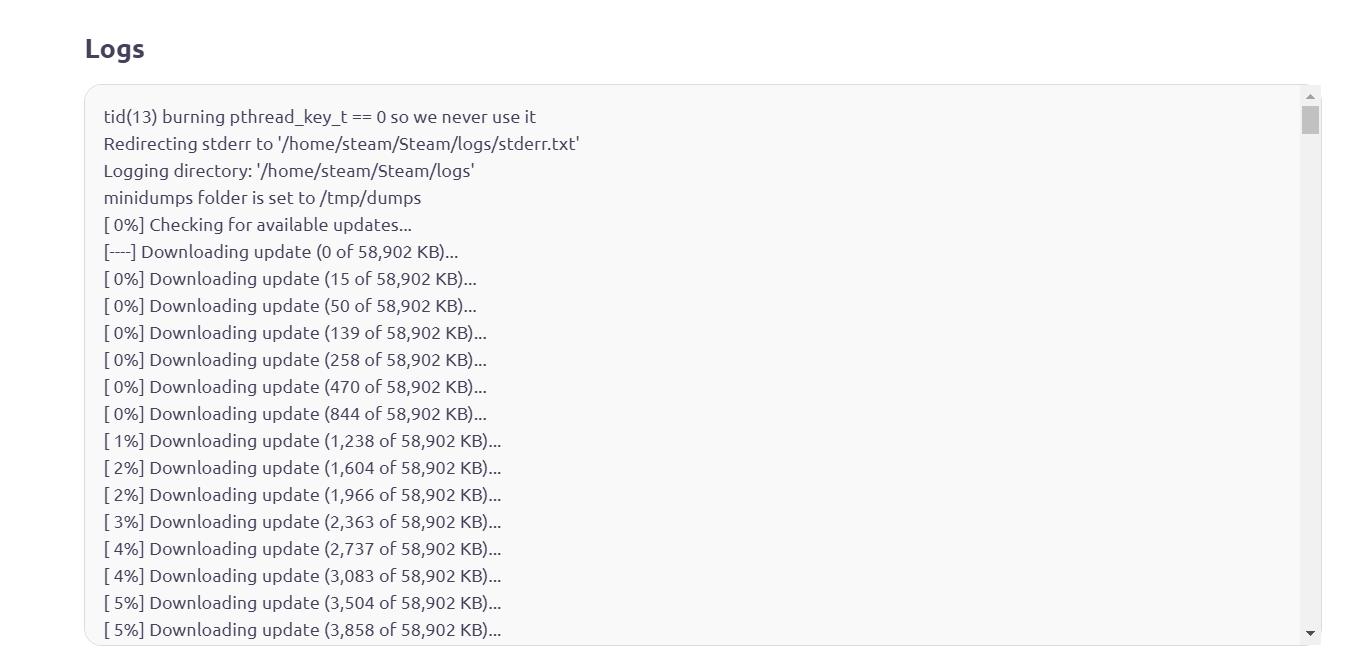
Once the download is complete, you will receive a 28-character Game ID. Go to the Server Info to recheck your settings.

Step 6: Join Your Server in Core Keeper
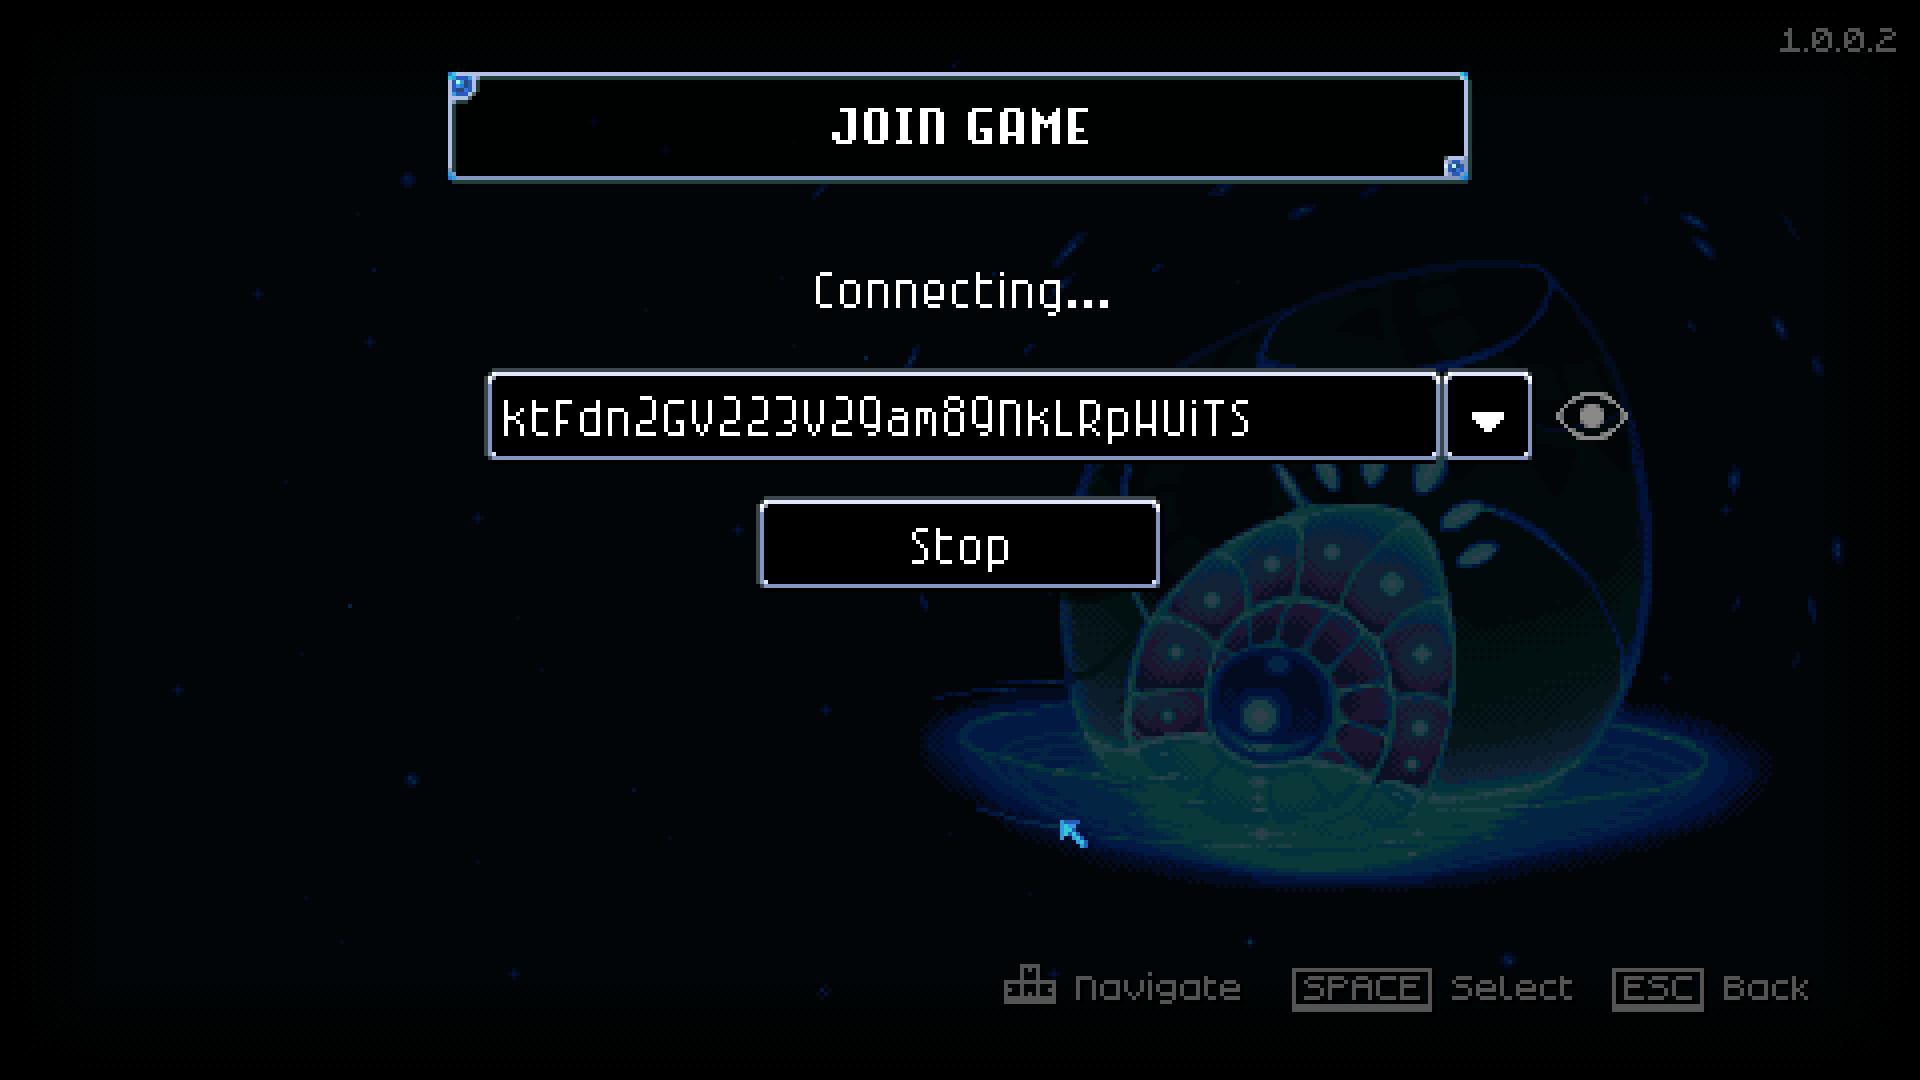
Open Core Keeper and select Join. Enter the 28-character Game ID provided by Gamever.io in the ID field. Click Join and wait for the connection to be established.
Congratulations! Your dedicated server is now live, and you can start playing with your friends. Enjoy your gaming adventure in Core Keeper!
Setting up a dedicated Core Keeper server has never been easier with Gamever.io. By following our guide, you can seamlessly rent a server, customize it to your preferences, and dive into the action with up to 16 friends.
Choosing Gamever.io ensures you have a robust and reliable platform that offers servers in various locations around the globe, allowing you to pick the best option for minimal latency and optimal performance. Whether you’re planning a small gathering or a large-scale adventure, Gamever.io has you covered with flexible server sizes and configurations.
With easy-to-use features, quick setup, and top-notch support, Gamever.io makes it simple to create and manage your Core Keeper world. So gather your friends, select your server settings, and get ready for an unforgettable gaming experience. Happy adventuring in Core Keeper!