How to grow wheat in Minecraft?
In Minecraft, growing crops is an essential aspect of the game that gives your world a layer of sustainability and survival. Wheat stands out as one of the best crops to cultivate in particular. Whether you're a seasoned player or a new player, this in-depth tutorial on growing wheat in Minecraft can assist you in managing a prosperous farm. Learn how Gamever servers may improve your farming and general gaming as well.
Why Grow Wheat in Minecraft?
In Minecraft, wheat is a crop with a variety of uses.
1. Food Source: Bread, a straightforward and potent food for regaining health, is made from wheat.
2. Breeding different animals: Wheat is used to breed sheep and cows, which is crucial for raising your livestock.
3. Trading: You may exchange wheat for emeralds, a gaming resource, by trading with villagers.
Planting Preparation: Materials Required
Before starting to cultivate wheat, you will require the following:
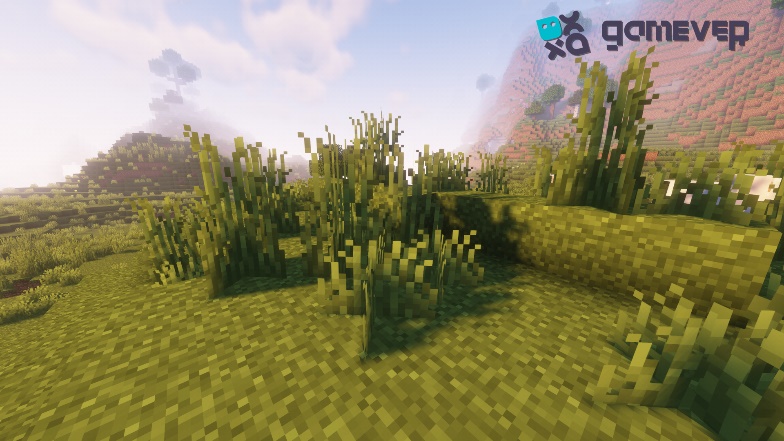
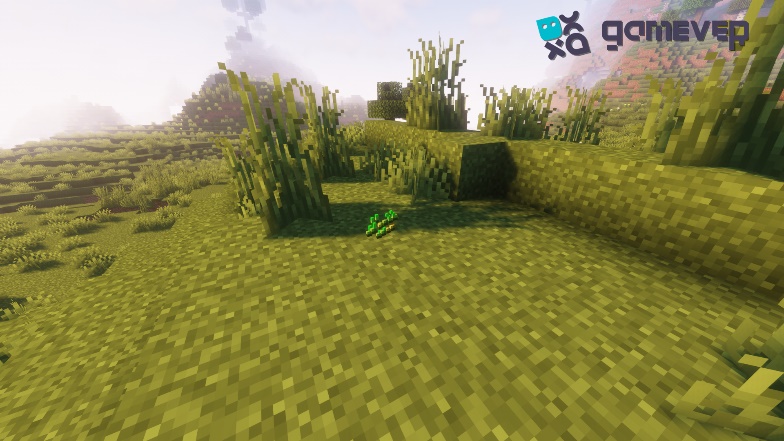
1. Wheat Seeds: By smashing blocks of tall grass, you can get wheat seeds.
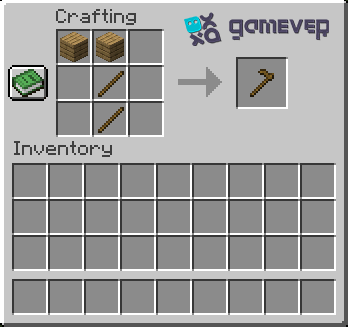
2. Hoe: The ground is prepared for planting using a hoe. Various materials, such as wood, stone, iron, diamond, or netherite, can be used to create it.
3. Water supply: A supply of water is necessary for every farm. Wheat will not grow on dry terrain

How to Grow Wheat in Minecraft, Step by Step
To cultivate your own wheat, follow these instructions after you have the required supplies on hand:
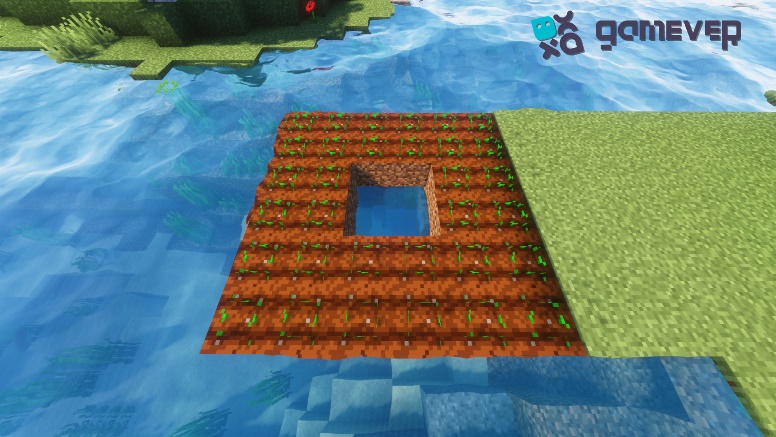
Step 1: Create farmland.
A block of grass or dirt may be turned into farmland by hoeing it. To grow seeds, you need farmland.
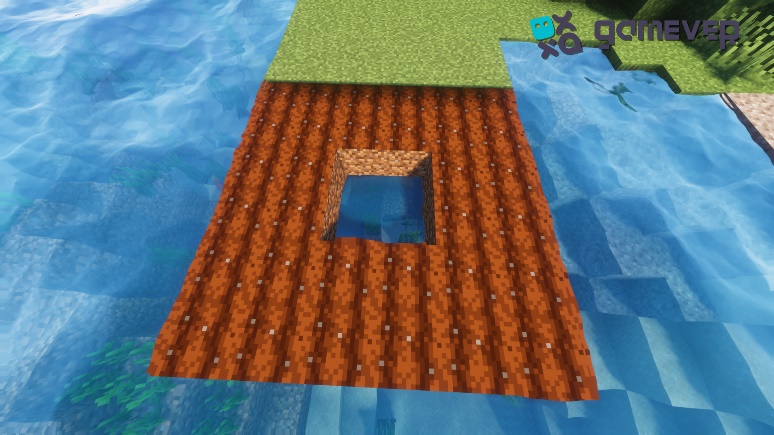
Step 2: Hydrate the Farmland
The field needs water adjacent to it to stay hydrated. Farmland that has been hydrated is darker in color than unhydrated land and is required for seed growth.
Step 3: Plant the Seeds
While holding the seeds, right-click on the farmland block. The seeds will be sown in the earth as a result.
Step 4: Wait for the Wheat to grow.
All that is left for you to do is wait. Before wheat is ready to be harvested, it passes through various phases of development. Although the procedure can take some time, utilizing bone meal, which functions as fertilizer, will hasten it.
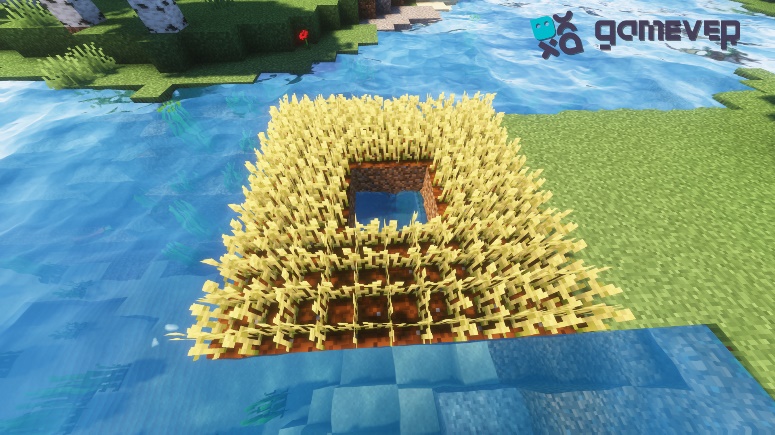
Step 5: Harvest the wheat
The wheat will have golden tips when it is completely developed. Simply left-click on the wheat crop to harvest it. More seeds and wheat will fall as a result.
The Benefit of Using Gamever: Enjoy Better Gameplay
While growing wheat in Minecraft is a rewarding hobby, it may be considerably more enjoyable on a fast server. Herein lies the role of Gamever.
You may hire dedicated servers from Gamever to play Minecraft with friends. These servers can manage several users and activities at once, resulting in a lag-free and fluid gaming experience.
Gamever servers not only deliver top-notch performance, but they also give you the freedom to create your own rules and control who may join your game. This way, whether you're growing wheat or taking on risky activities, you can guarantee a secure and entertaining atmosphere.
With Gamever, you can begin your Minecraft farming trip right now and have a whole new gaming experience.
Conclusion
Growing wheat in Minecraft is a fulfilling experience since it provides a consistent food source, a way to breed animals, and a resource that can be traded. You can create a prosperous wheat farm in your Minecraft world by following these instructions. Use Gamever servers for a smooth and improved gaming experience. Happy agriculture!