How to Get the Wilderness Mark Mask in Soulmask
Hey there, Soulmask adventurers! Ready to snag the epic Wilderness Mark Mask? This guide's got you covered with all the juicy details. Get ready for an adventure packed with poison, mechanical foes, and awesome loot. Let's dive in!
Perks of the Wilderness Mark Mask
First up, let's talk perks. This mask is a bow lover's dream, offering:
- Fidal Blow: Extra 5% crit damage
- Mirror Reflection: Arrows rebound off hard surfaces
- Air Manipulation: 20% increased arrow speed
- Frequent Adjustment: 30% additional bow precision
- Dynamic Shooting: 30% increased bow damage
- Nerve Coordination: 30% faster firing in mimicry mode
- Hunter Mode: Mini homing devices on arrows in mimicry mode
Supercharge your archery skills and make those arrows fly!
Preparation
Before you embark on this quest, make sure you're geared up:
- Poison-proof gear: Aim for at least 10%, but 15% is ideal.
- Antidotes: Essential for dealing with poison.
- Corrosive canisters: For the mechanical enemies.
- Gait or hammer: To deal with the dungeon's mechanical foes.
You'll also be rewarded with Jade crystals, blood crystals, worship containers, and more!
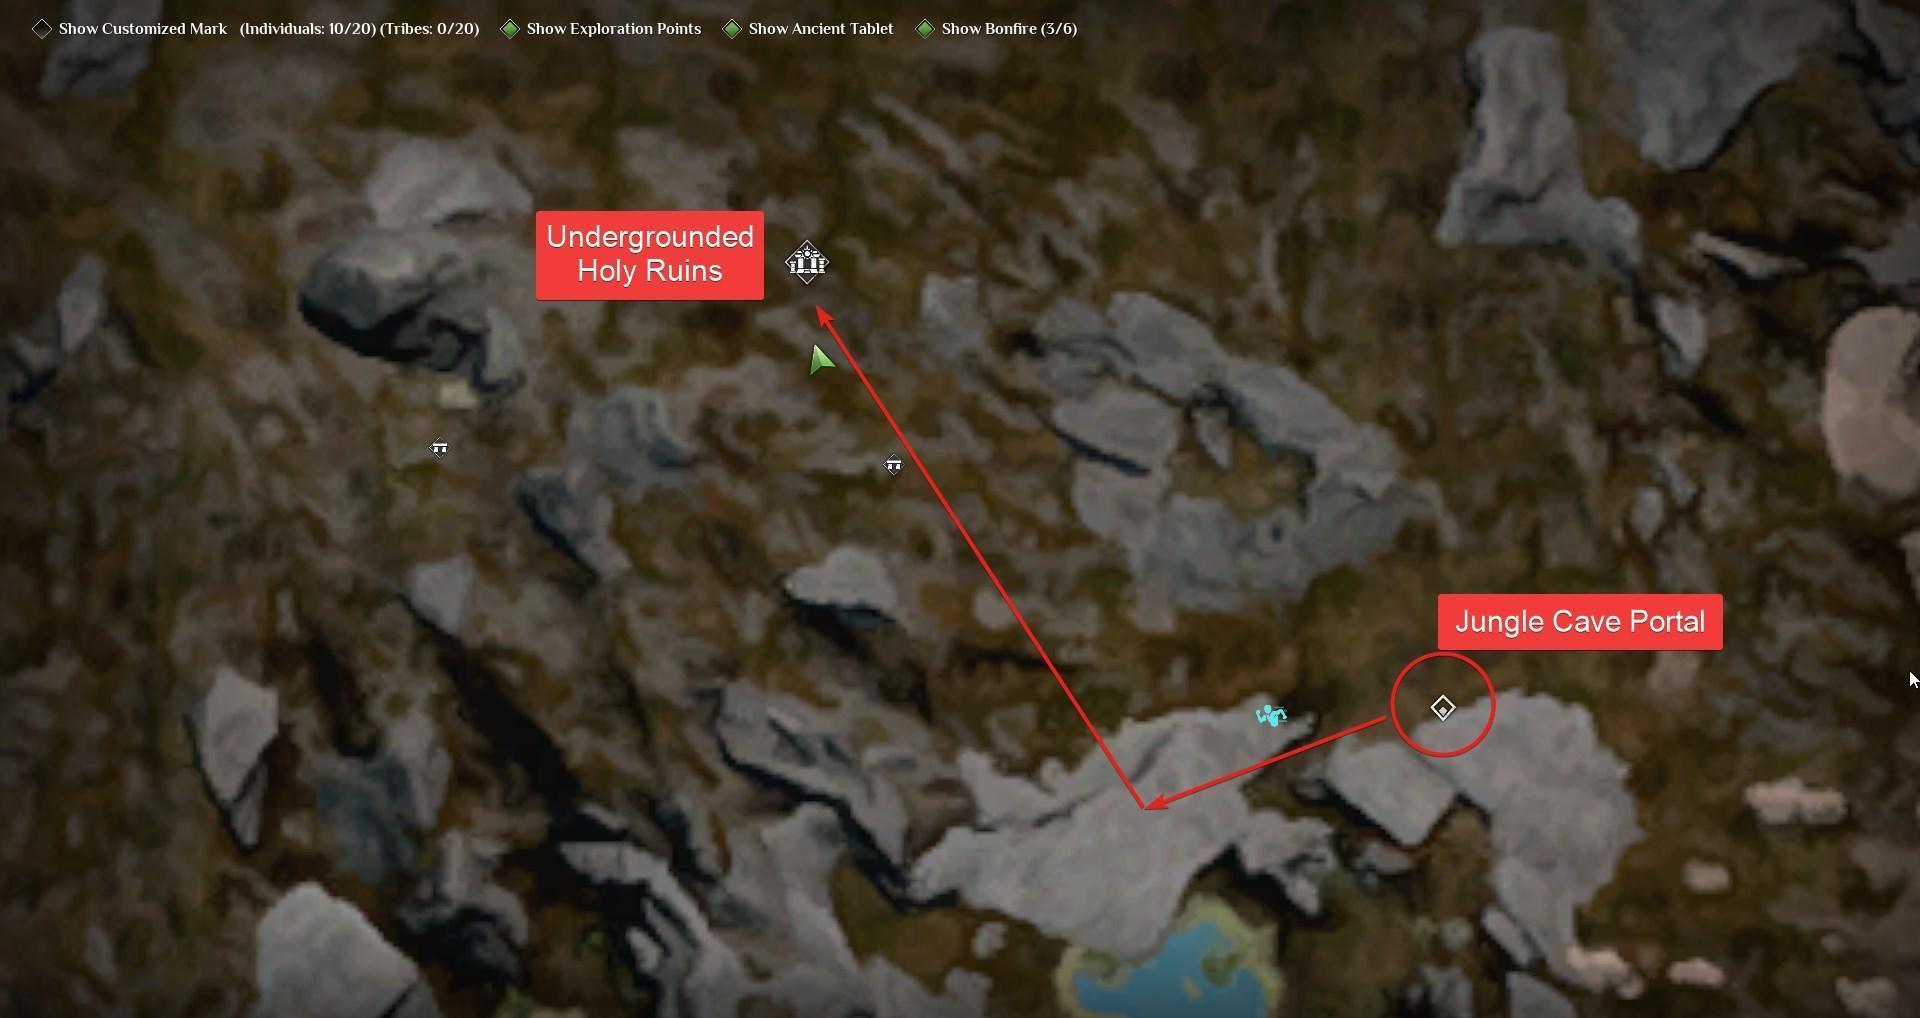
Finding the Dungeon
Head to the Holy Ruins, located all the way to the west. Here's a map reference:

Entering the Dungeon
Once you arrive the Portal, it's time to descend. Remember, don't bring a mount – the poison will quickly take them out.
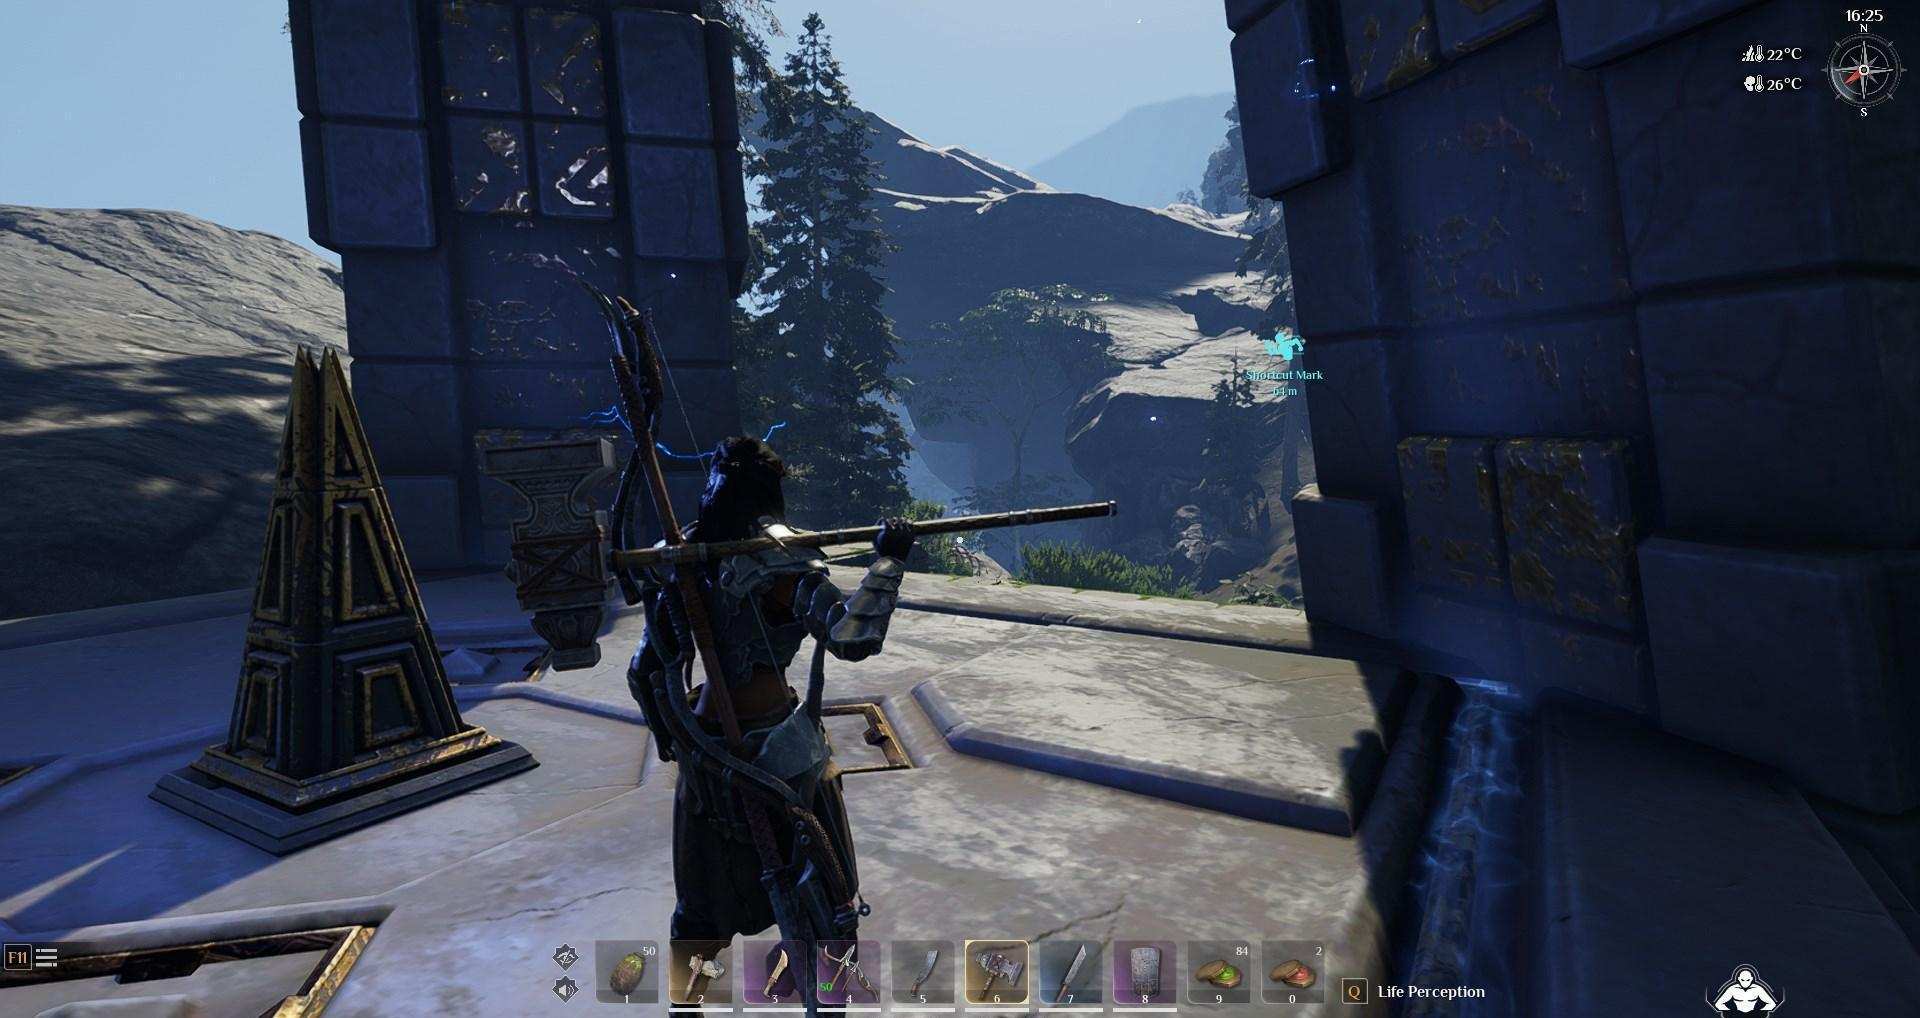
Follow these steps:
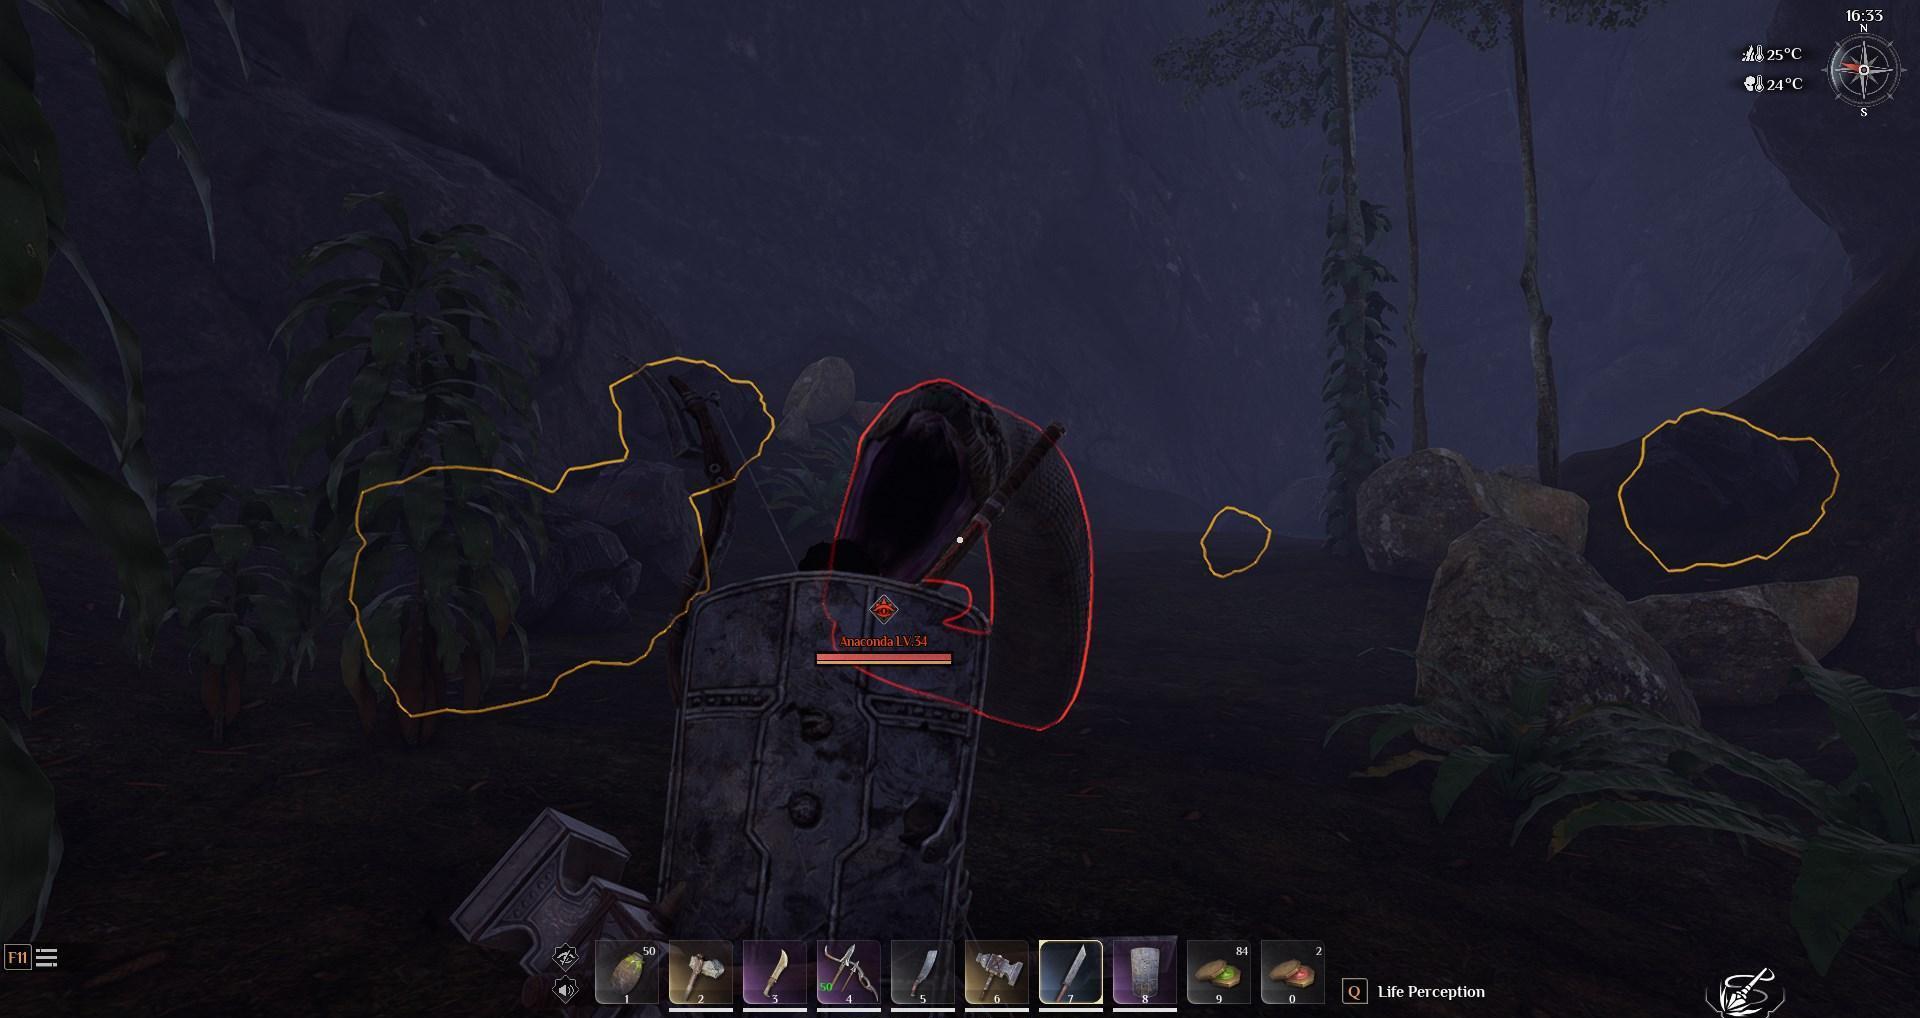
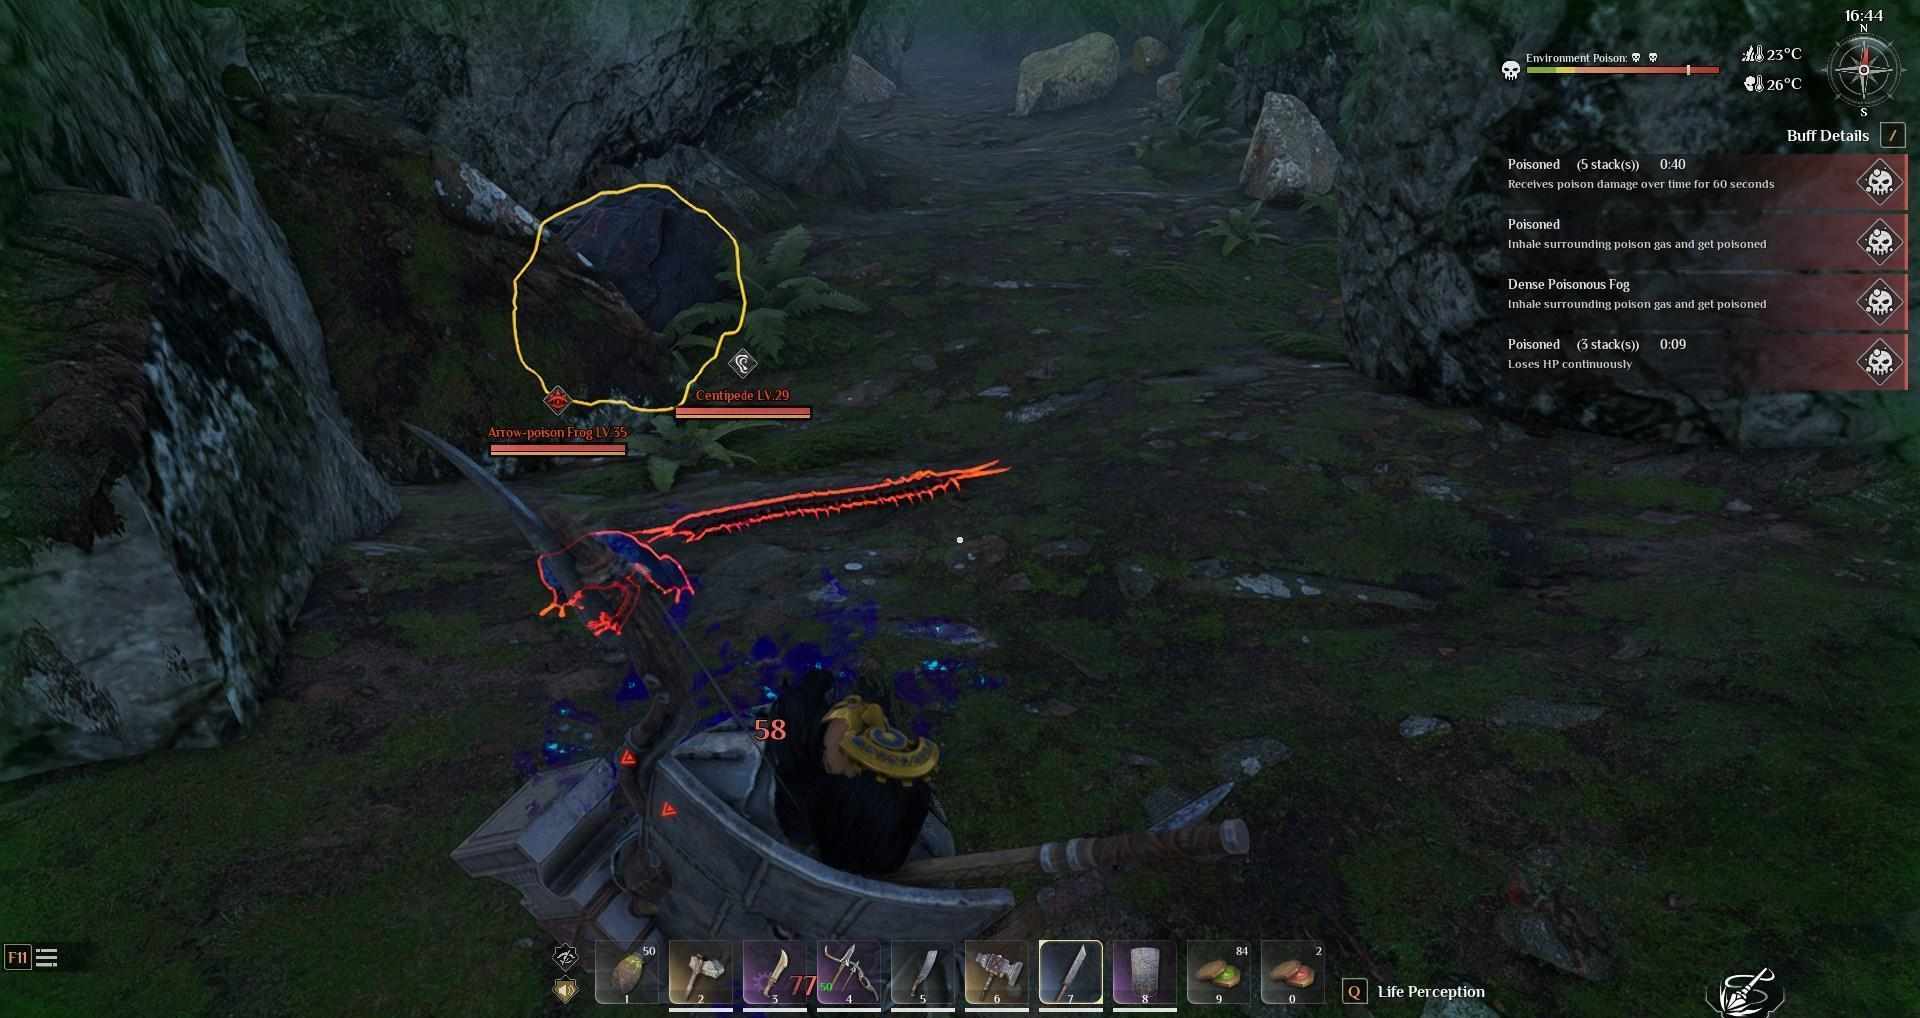
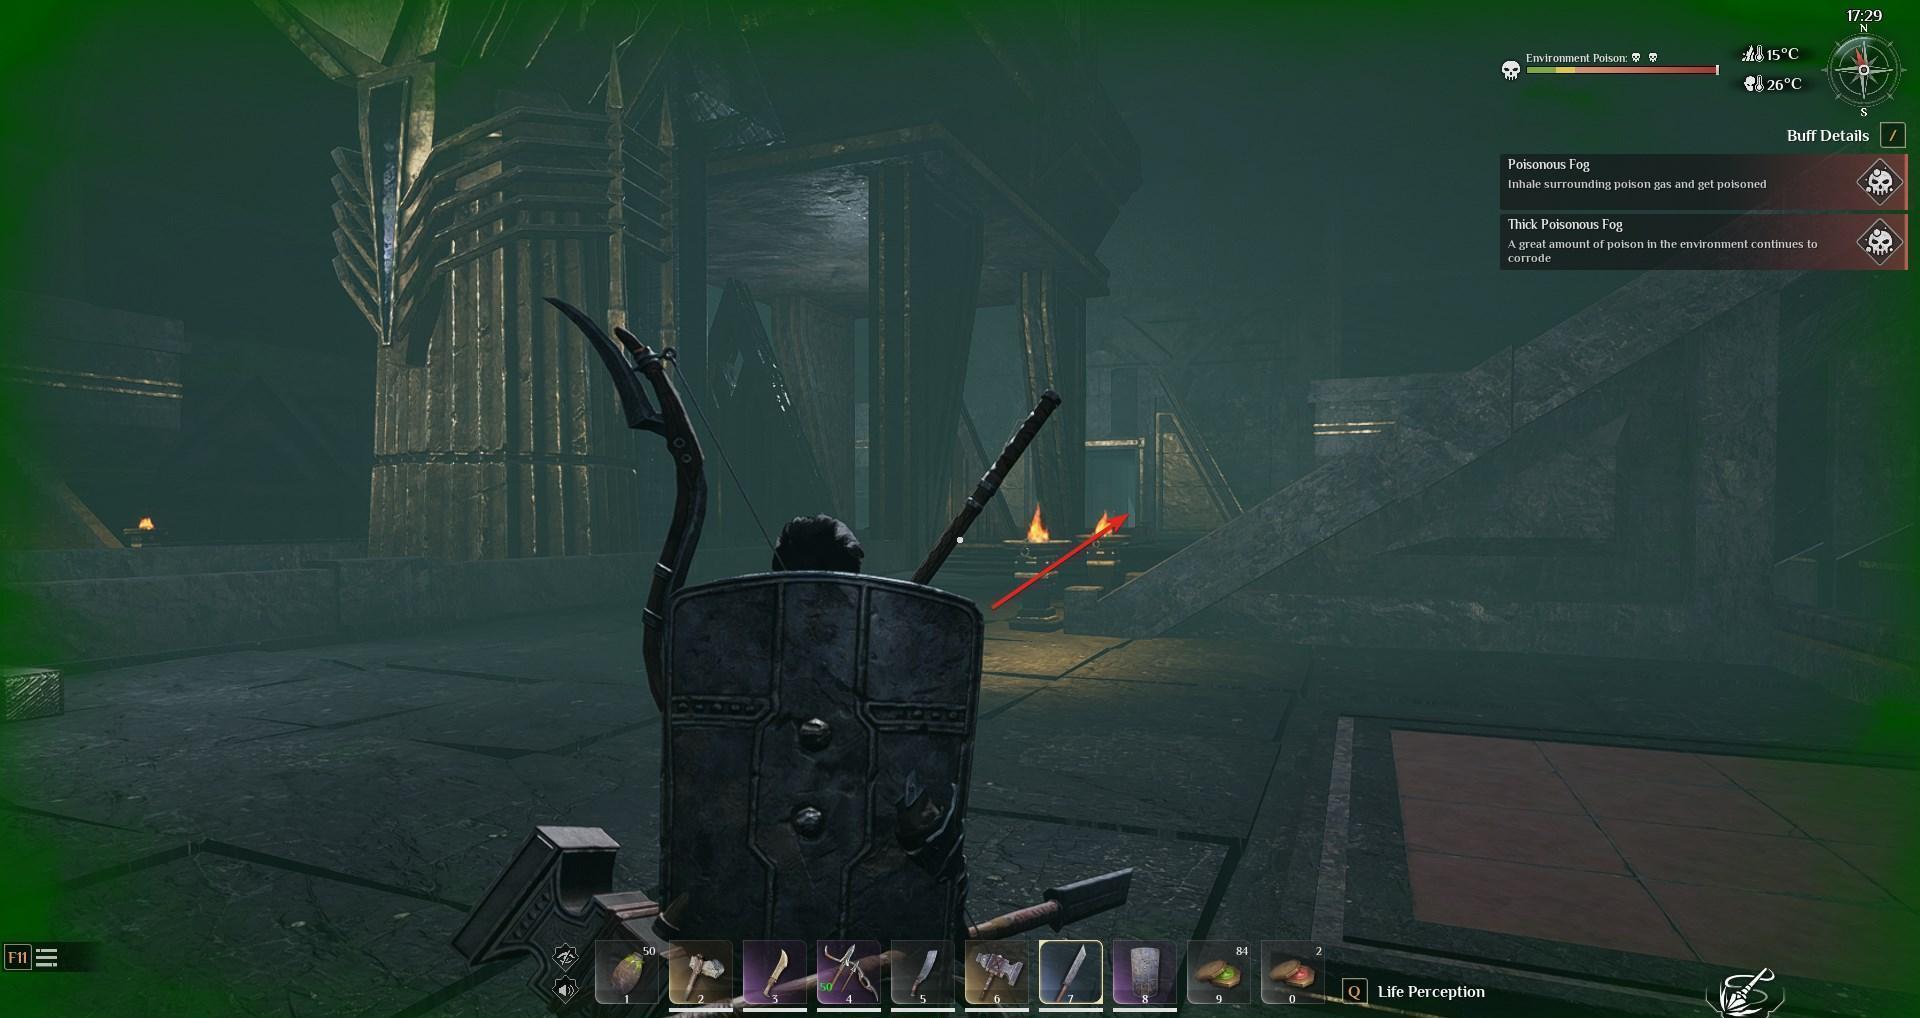
1. Descend: Start your descent into into a canyon nearby. Walk along the cliff until you see a small cave entrance. Be careful, an anaconda hides at the cave entrance.
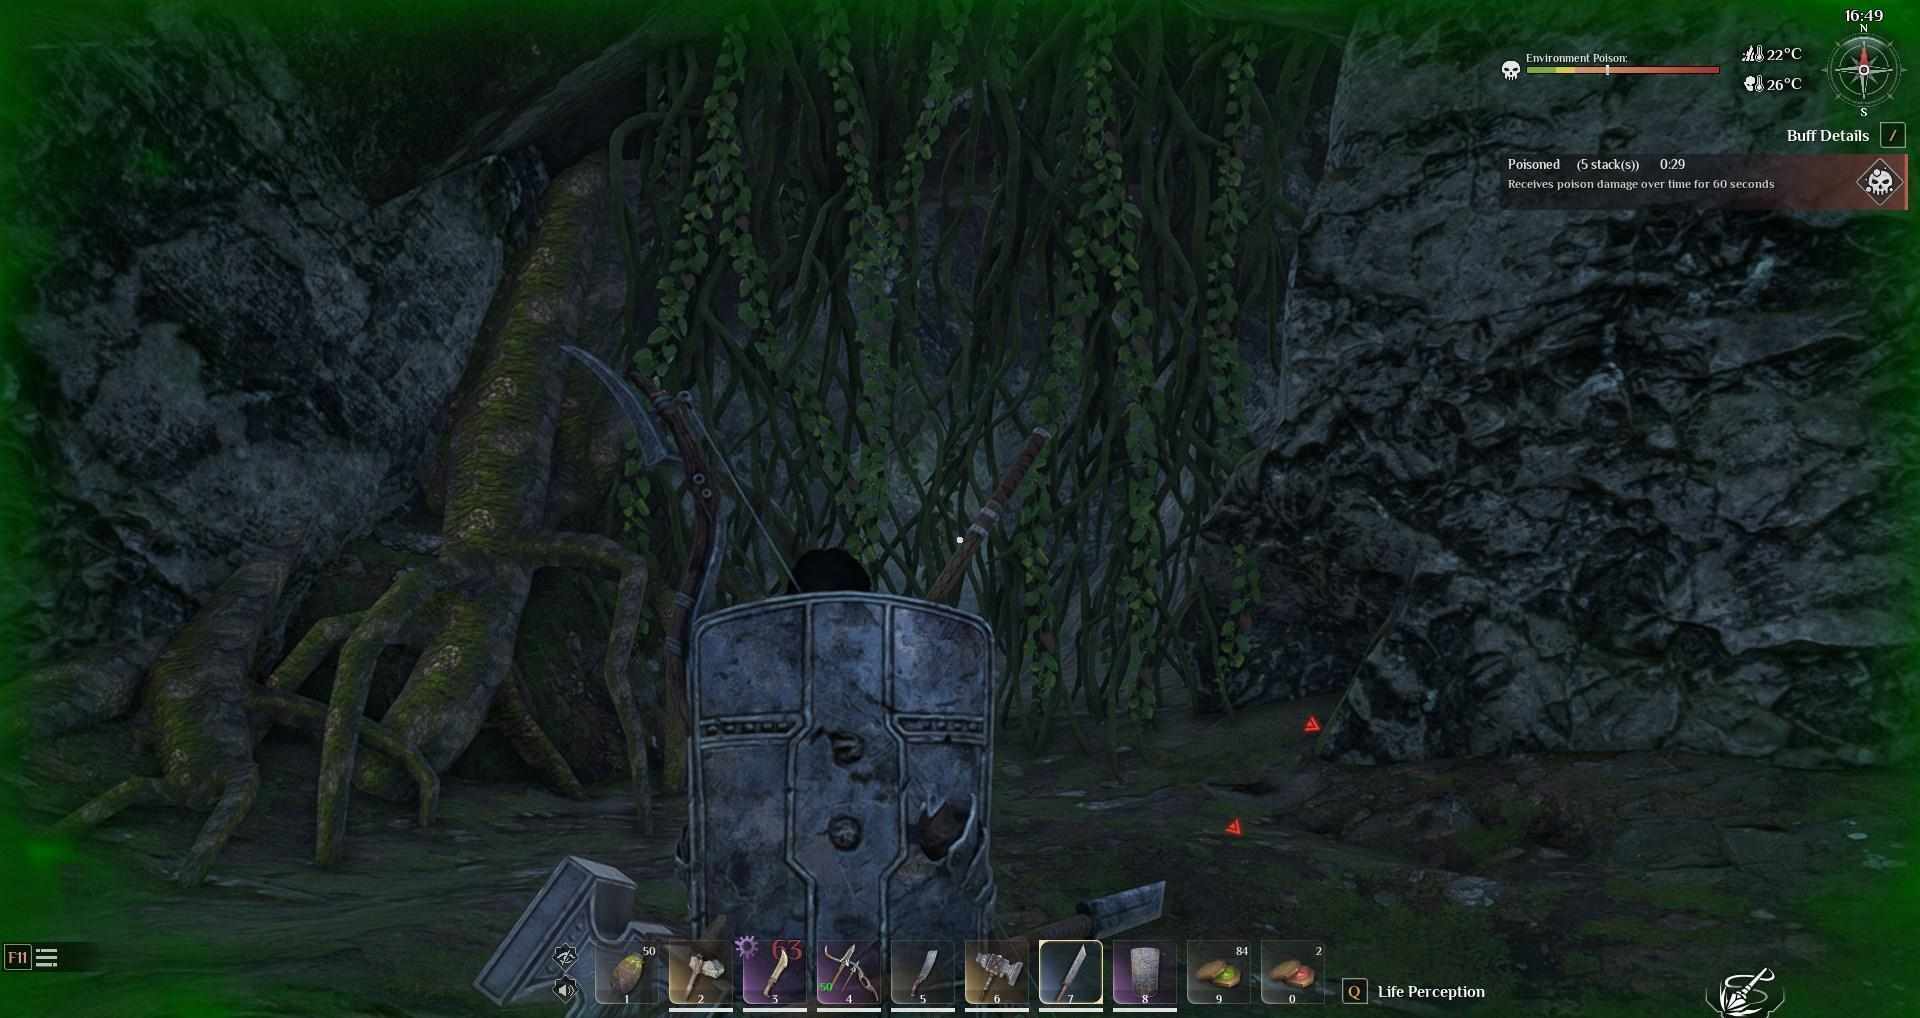
2. Poison fog: Be ready for poison fog, hence the need for poison-proof gear and antidotes. Carefully navigate the narrow corridors of the cave, keeping to the right side. You'll encounter scorpions, frogs, and centipedes. If you encounter a closed path with vines, use your weapon to clear the path and move on.
3. Ignore enemies: You can try to avoid the initial enemies or take them down if necessary. After the cave, you'll encounter a collapsed bridge. Be careful; falling into the poisonous water will deal hundreds of hit points of damage.
Navigating the Dungeon
This dungeon is filled with scorpions, centipedes, and poison arrow frogs. Follow this route to make it through:
1. Initial descent: Move down the initial path, avoiding or fighting the enemies.
2. Elite frog: Clear out enemies around the elite frog to avoid being overwhelmed. Walk straight down the corridor. When you reach a space with ladders and other floors, just ignore them, walk around the columns, and continue straight. Beware of the mechanical guards.
3. Vine barriers: Attack the vines blocking your path to progress. After the corridor, keep going straight.
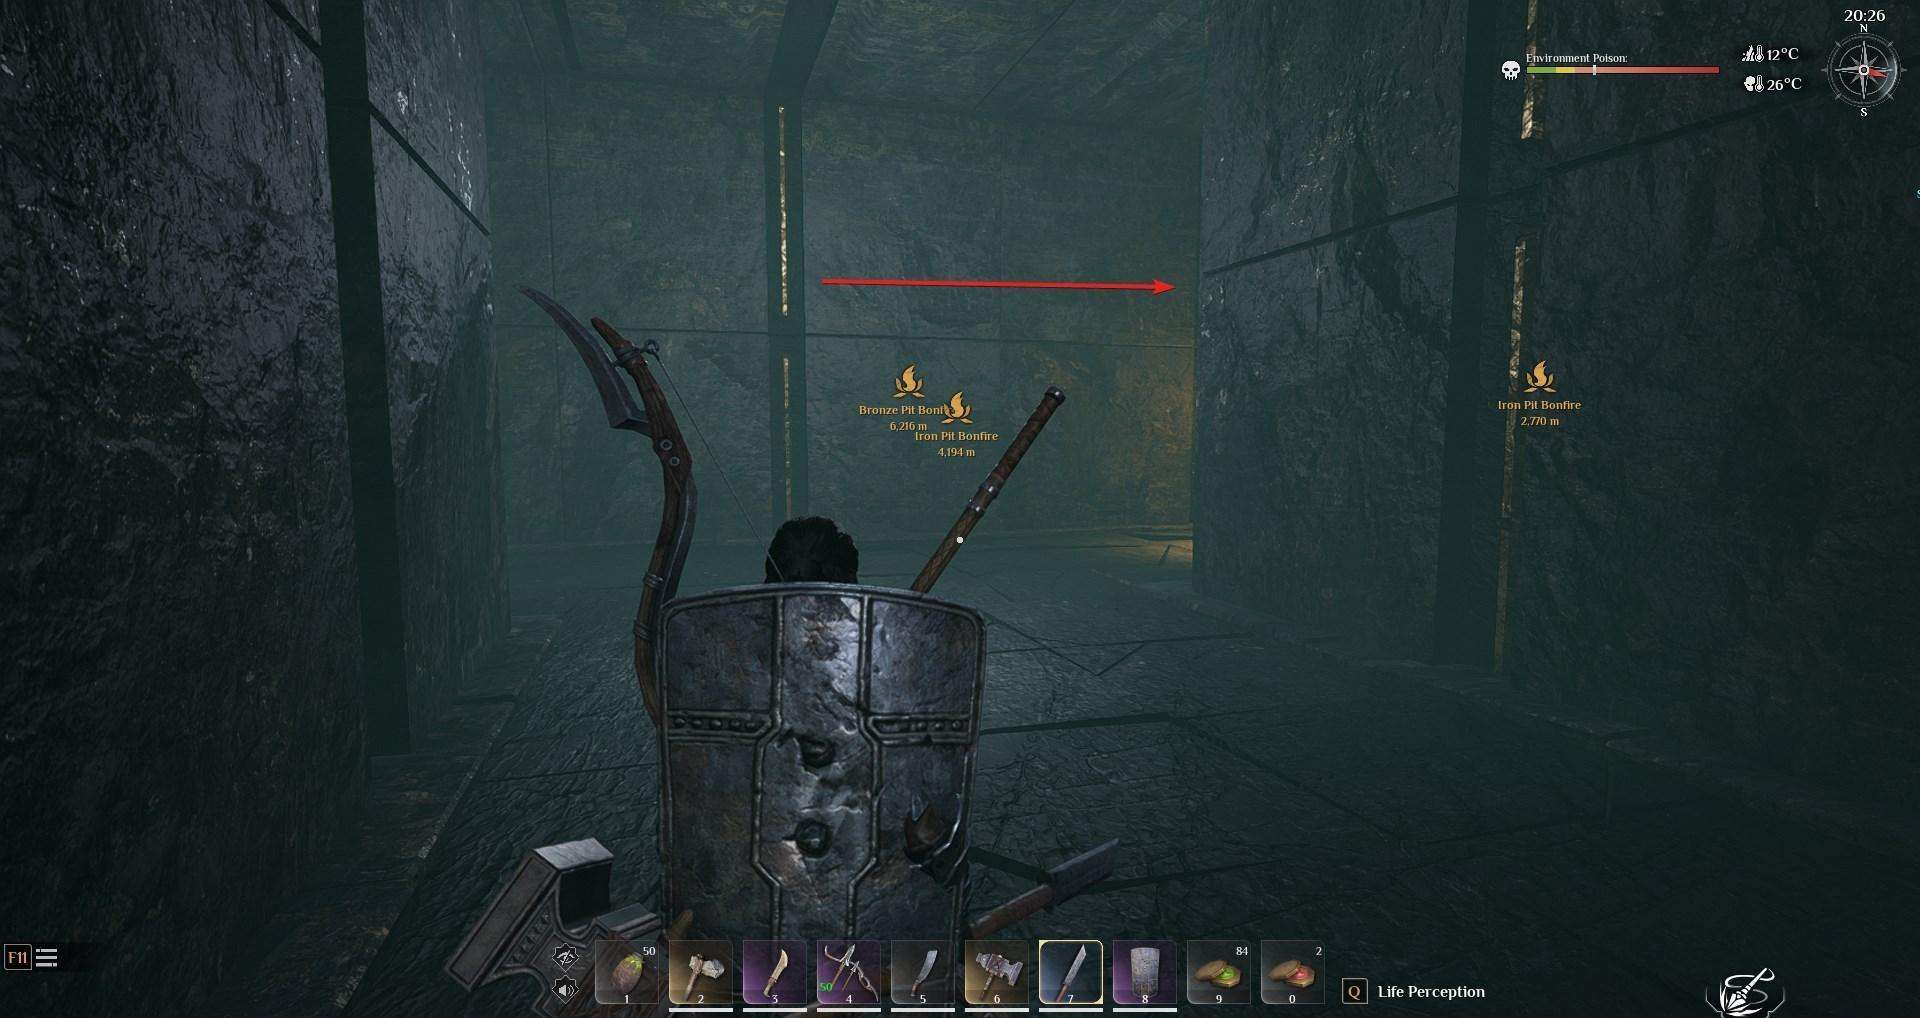
4. Scorpion area: Be quick and cautious through the dense scorpion-infested area. Avoid the water as it deals significant poison damage. Don't let the turns in the corridor confuse you; when you exit it, keep going straight.
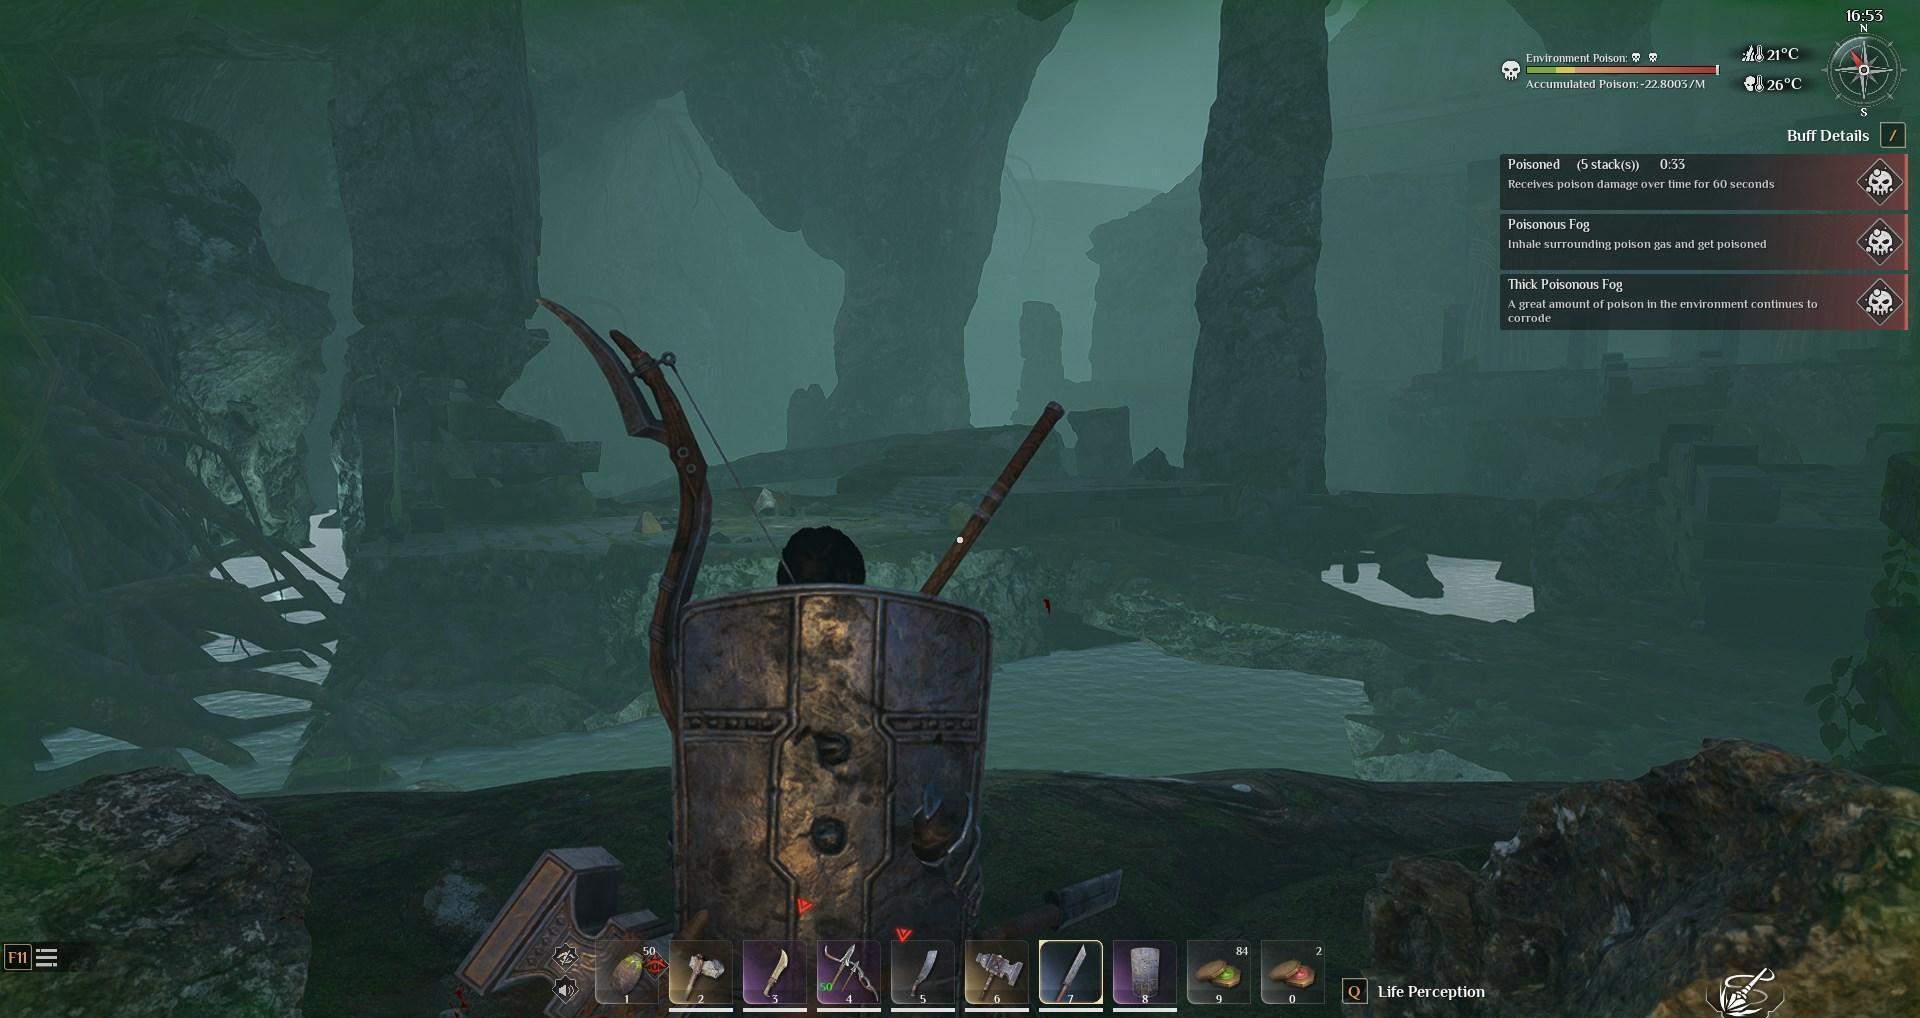
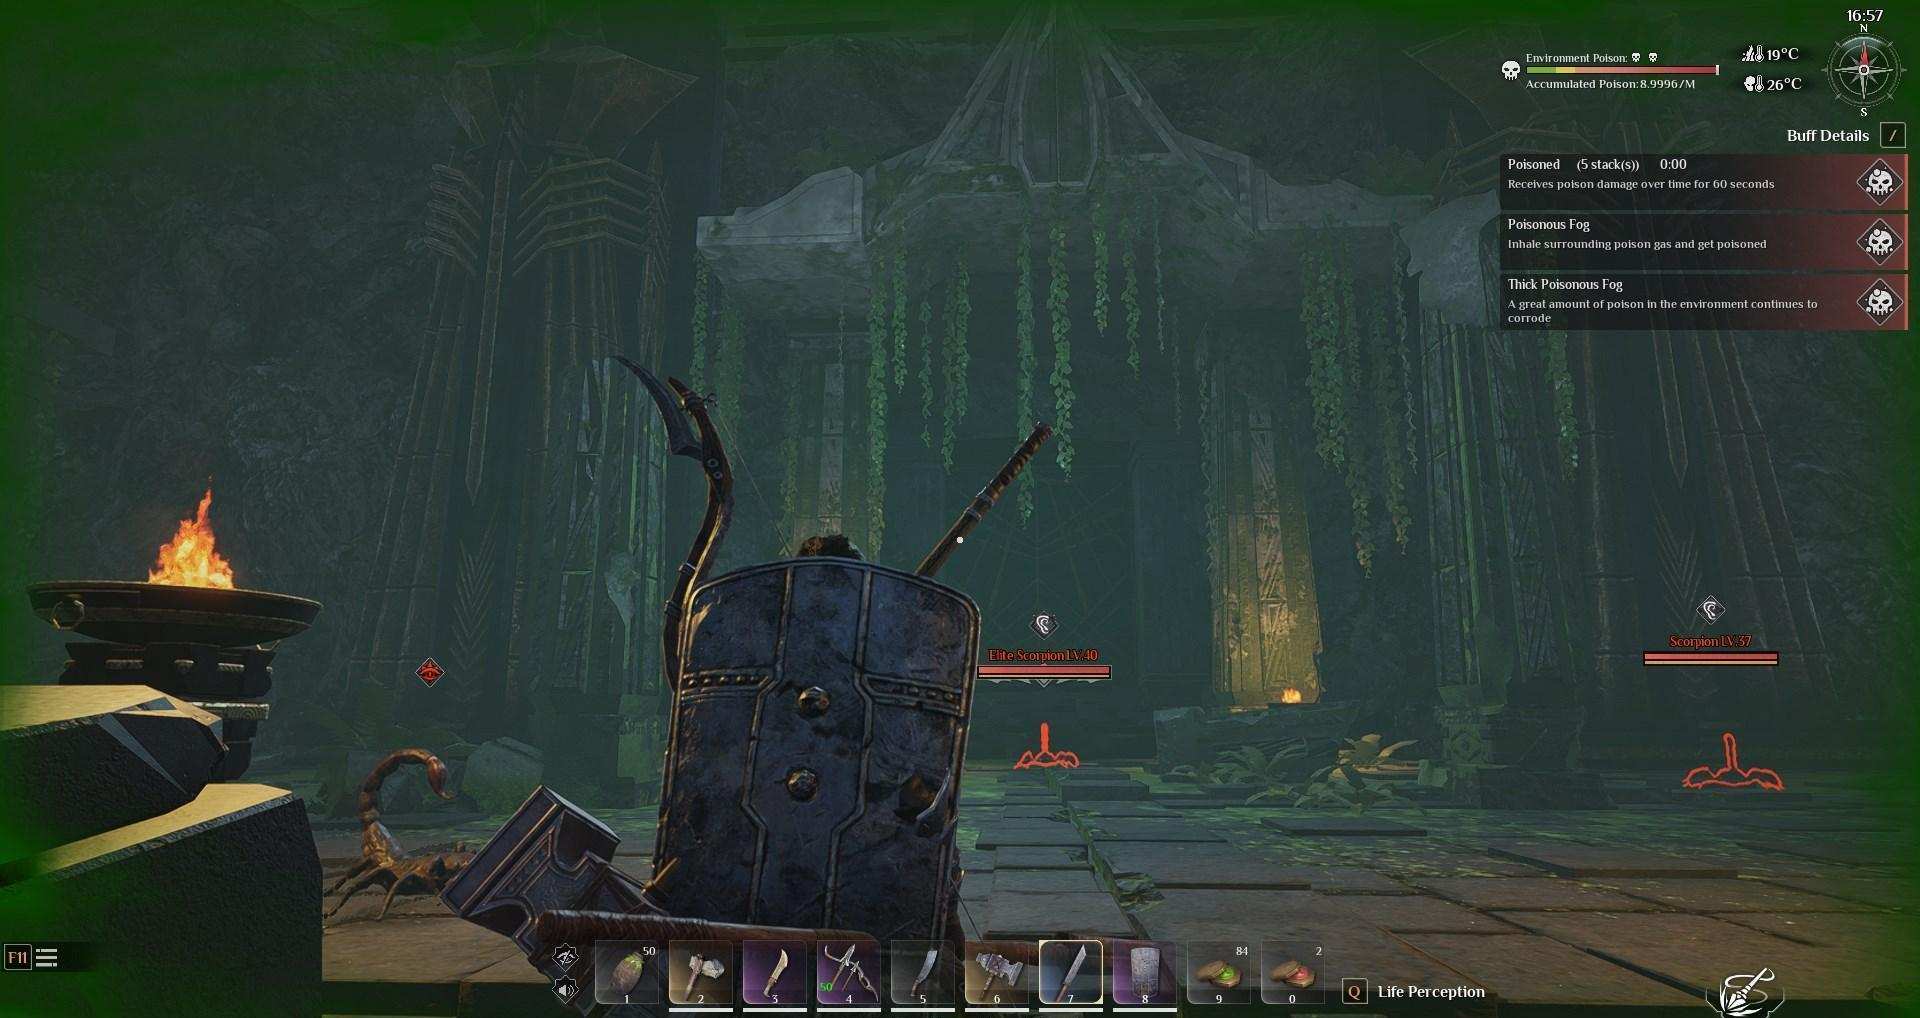
Cross the Broken Bridge After exiting the cave, you'll find a collapsed bridge. Be extremely cautious here. Falling into the poisoned water below can cause significant damage, draining hundreds of hit points. Battle Through to the Ancient Ruins After crossing the bridge, prepare for a fight with a group of scorpions near the ancient ruins. Once you've defeated them, enter through the gates.
Navigating the Dungeon
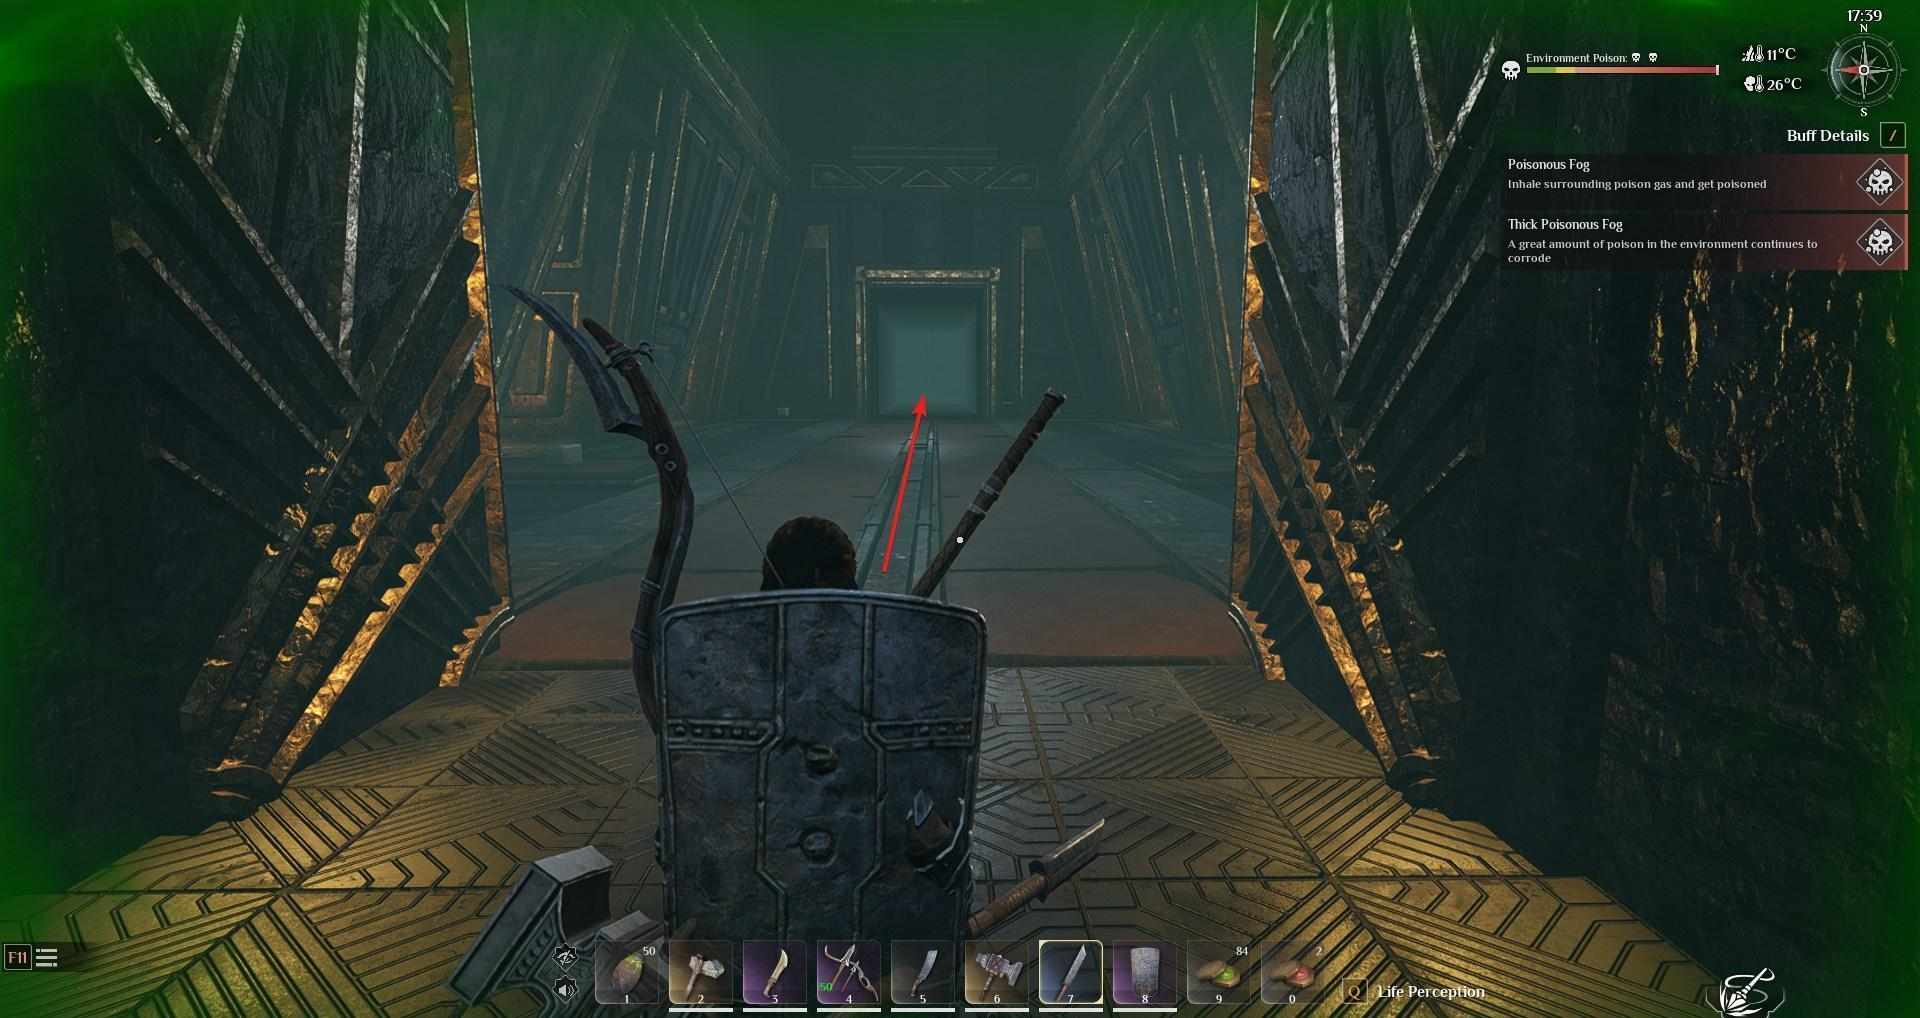
Navigate the Corridor Continue straight down the corridor. When you reach an area with stairs and multiple levels, ignore them. Instead, weave through the columns and maintain your straight path. Watch out for mechanical guards patrolling the area.
Keep Going Straight After the corridor, continue moving straight ahead. Don’t let the twists and turns confuse you—keep your direction true.
Reach the Great Gates Follow the corridor until you hit the massive gates. This is your next checkpoint.
Defeat the Mechanical Boss Beyond the gates, you'll face the mechanical boss. This level 40 boss requires precise dodging and quick attacks. Use your corrosive canisters effectively. Defeat the mechanical boss to get the Water Worship Container and the Ancient Key.

Loot and Proceed
After your victory, loot the chests in the room. Then, head through the small door and climb the stairs.
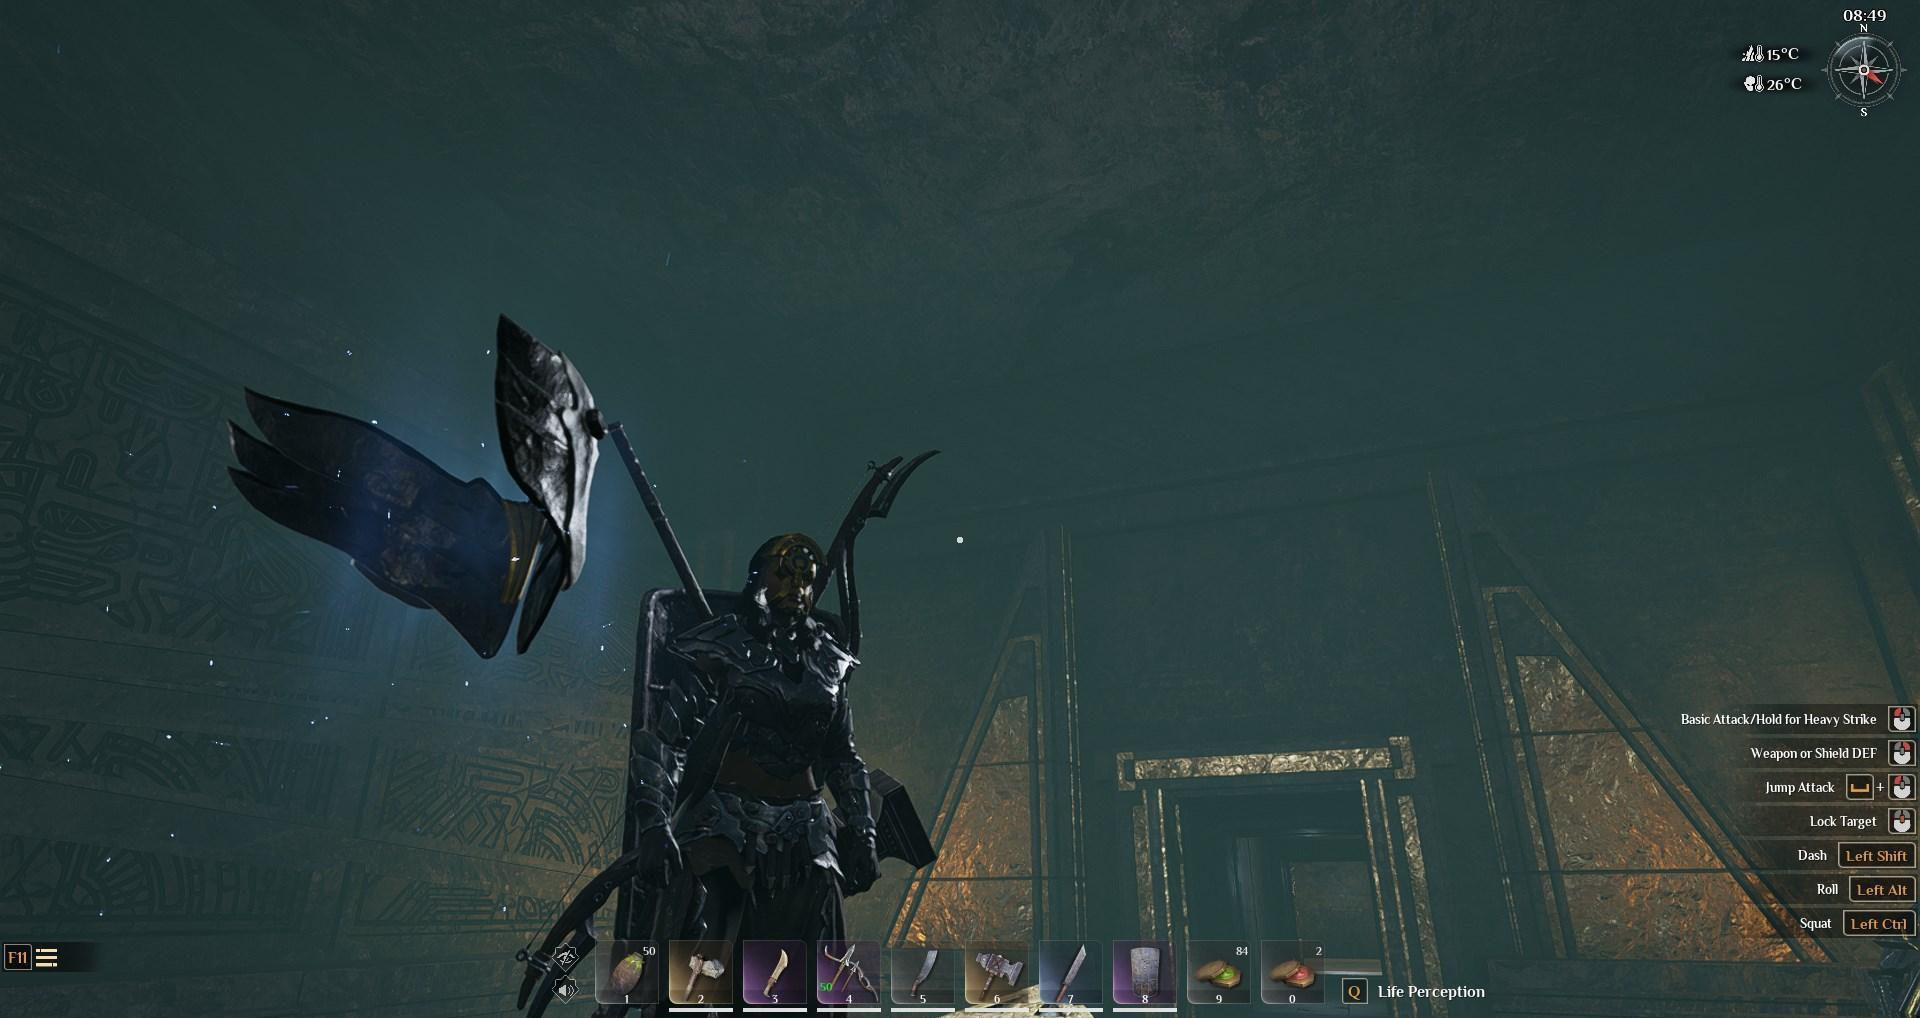
Final Encounter At the end, you'll find a Mysterious Stone Table, a chest, and an ancient container. Use the key you obtained from the boss battle to open the container.
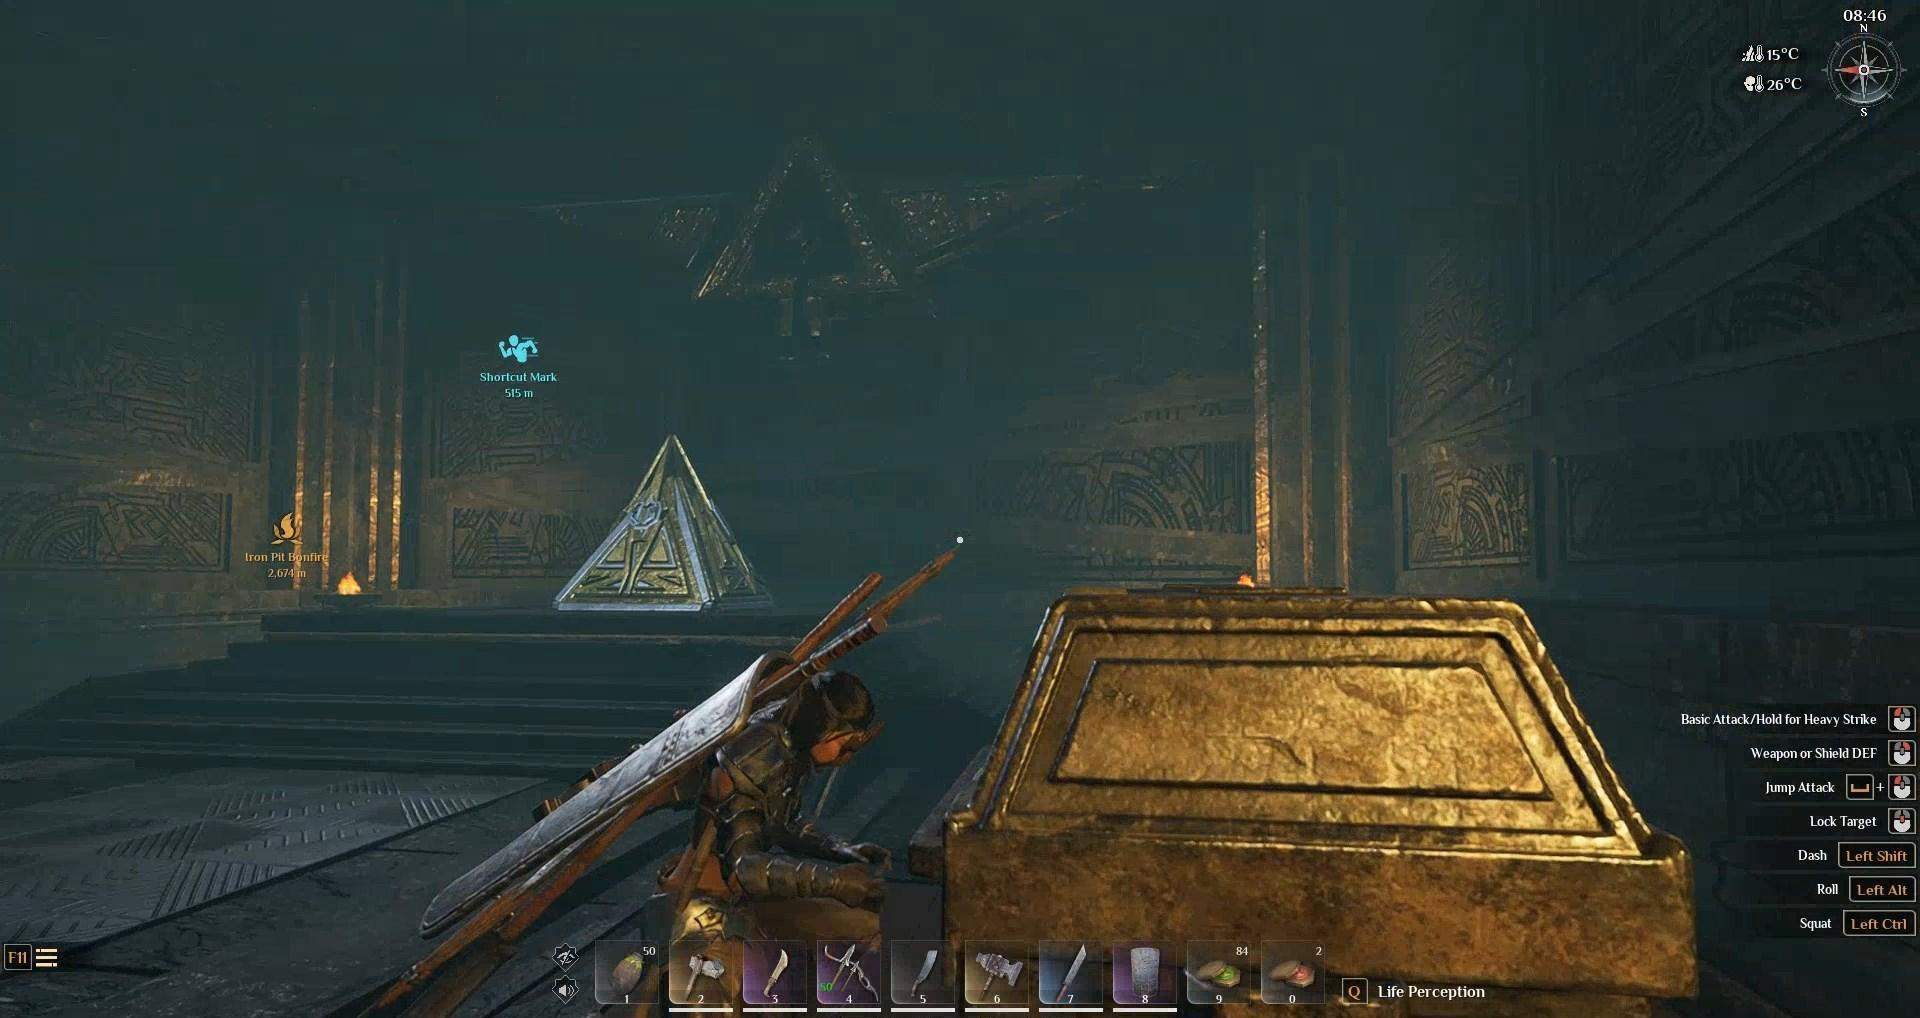
Claim Your Reward Finally, the Wilderness Mark Mask is yours! Enjoy your new powers and prepare to dominate your enemies with enhanced archery skills.
Unlocking the Mask
Now that you've got the key, head to the main chest:
Upgrade the mask: To upgrade, wear the mask and gain 1,275,000 experience, along with 205 green crystals, 32 blue crystals, and a restrictive module. At the end, you'll find a magic table, a chest, and an ancient container that opens with the key obtained in the boss battle.
Congrats! You now possess the powerful Wilderness Mark Mask, enhancing your archery skills to new heights. Equip it, upgrade it, and dominate your enemies with precision and speed. Happy hunting, Soulmask adventurers!