How to get and use Siege Tower in Rust Primitive Update
Instead of spending hours farming sulfur for gunpowder, players can now construct and deploy a mobile structure that allows them to climb over walls and reach previously inaccessible areas.
How to Obtain the Siege Tower
The Siege Tower is not something you can craft immediately. It must first be unlocked through the Workbench Level 1 tech tree, which requires a fair amount of scrap investment. However, once unlocked, crafting it is relatively simple as long as you have the necessary materials.

For those who prefer to take shortcuts, Siege Towers can sometimes be found in high-tier loot crates. These are rare, but if you’re lucky enough to come across one, you can skip the tech tree entirely. Alternatively, the good old-fashioned five-finger discount is an option - if another player has carelessly left their Siege Tower unguarded, you can simply push or tow it away with a horse and claim it as your own.
Crafting and Assembling the Siege Tower
Once you’ve unlocked the Siege Tower blueprint, you’ll need to gather the following materials:
- 500 Wood
- 250 Metal Fragments
- 1 Gear
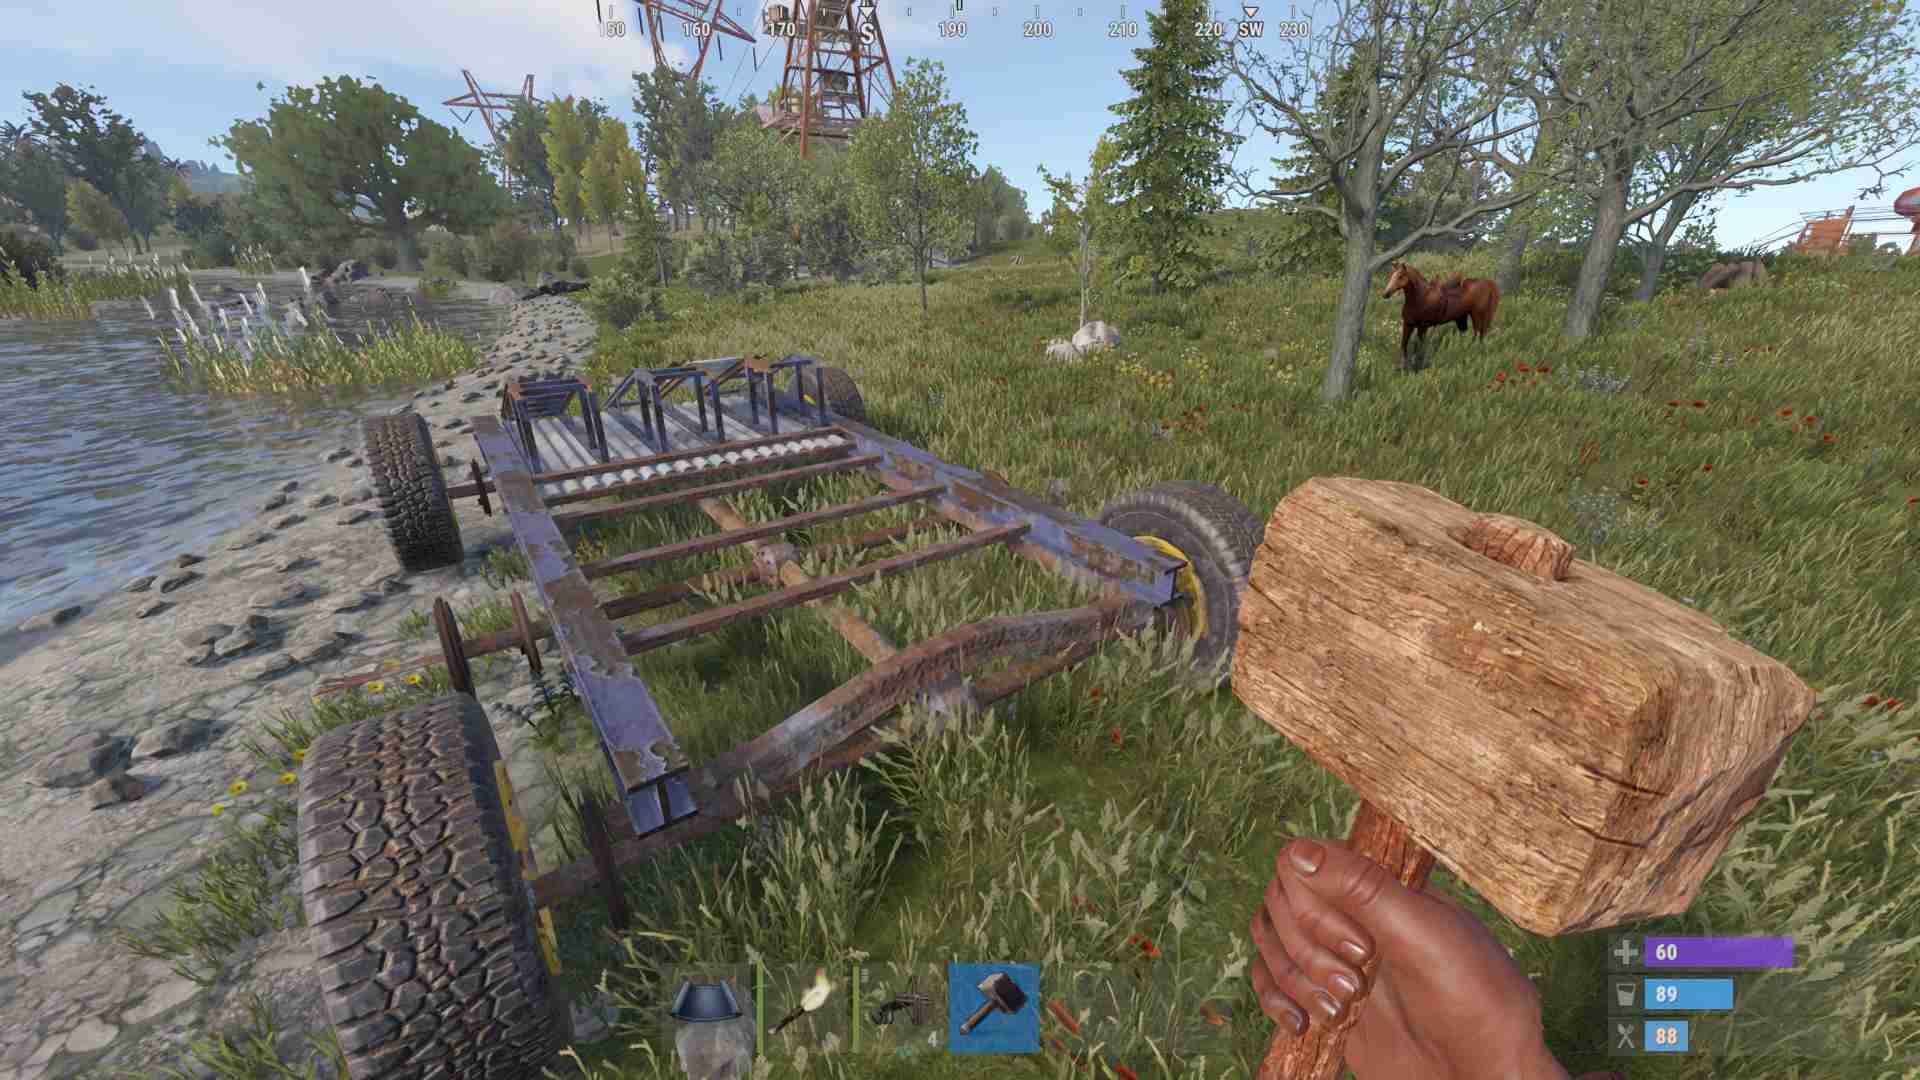
After crafting, you’ll need an additional 1000 Wood to complete the setup process. Deploying it is simple - place the Siege Tower in an open, relatively flat area, making sure there’s enough room to maneuver. Once placed, grab a Hammer and strike it ten times to fully construct it. After the final hit, the Siege Tower is ready for action.
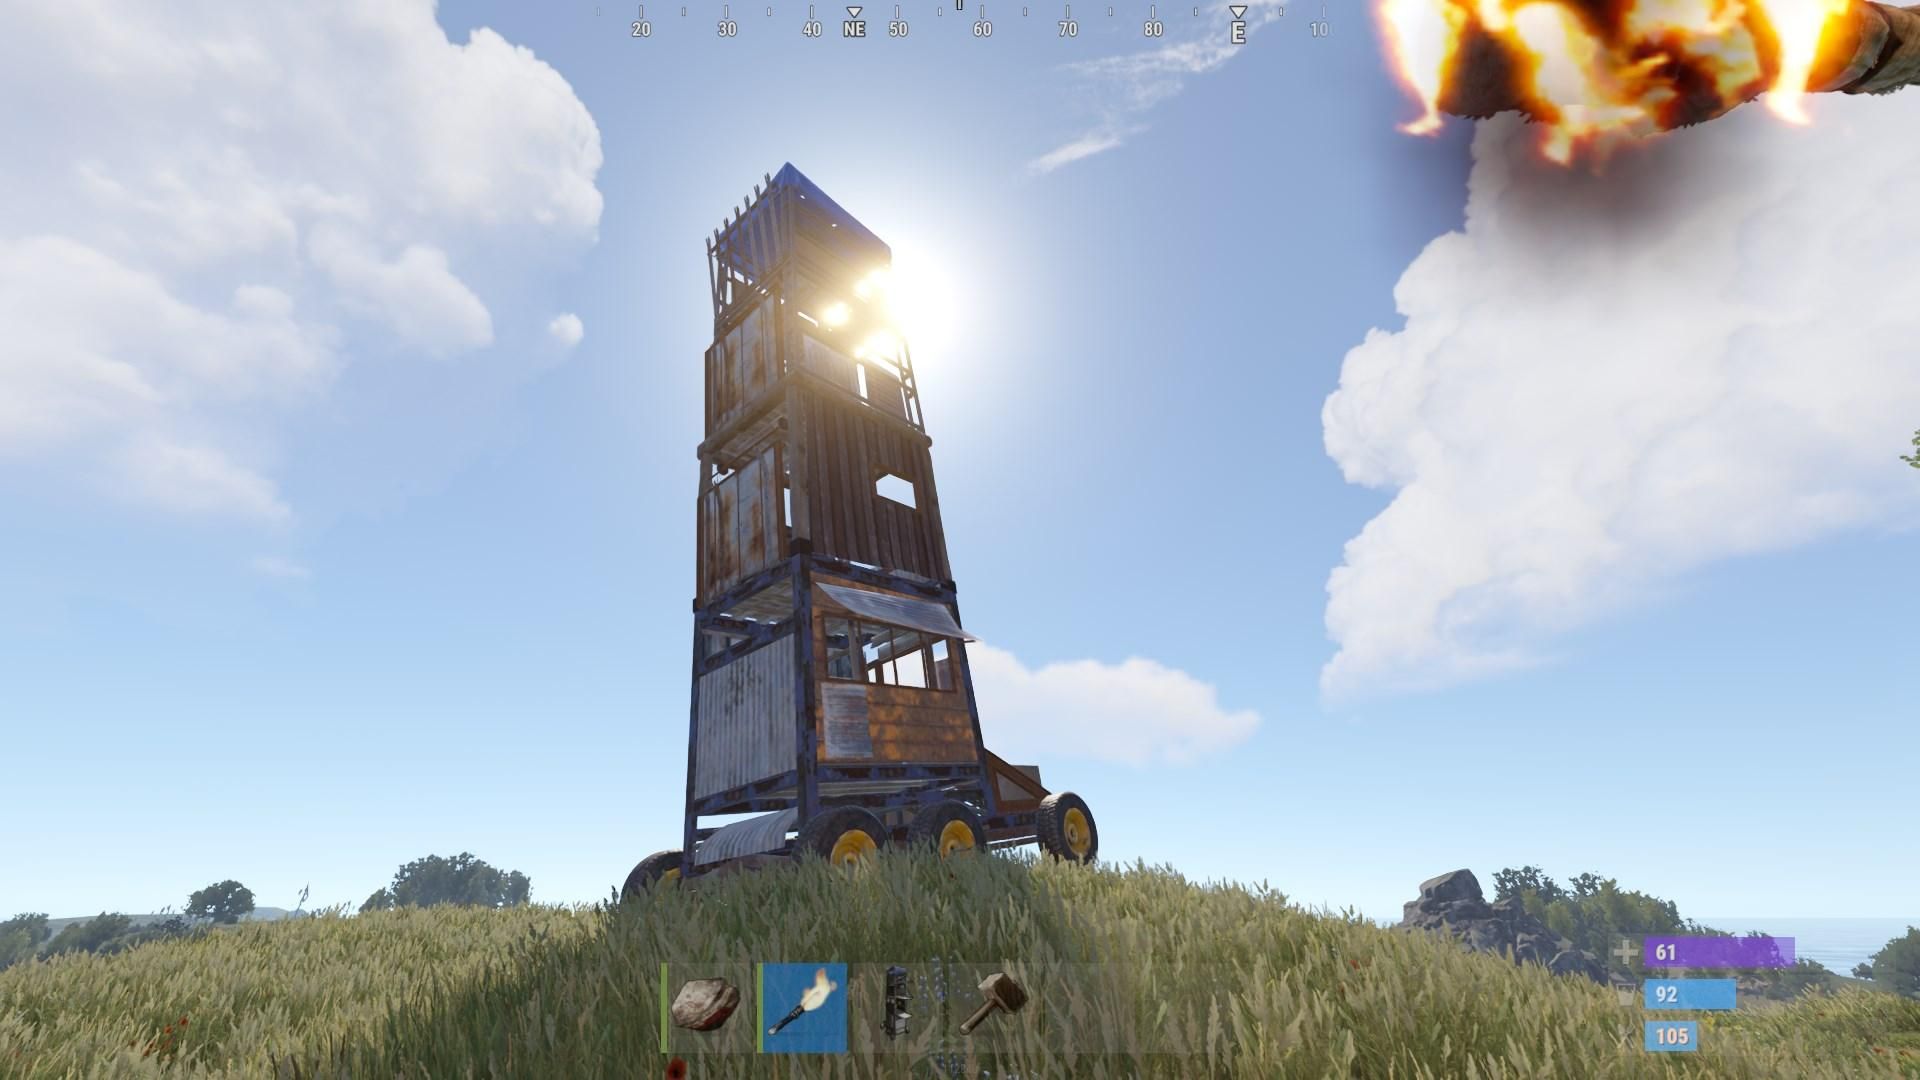
Structure and Features of the Siege Tower
Unlike traditional siege weapons that rely on brute force, the Siege Tower is built for mobility and tactical infiltration. It features three levels, each with a retractable drawbridge that allows players to access different heights.
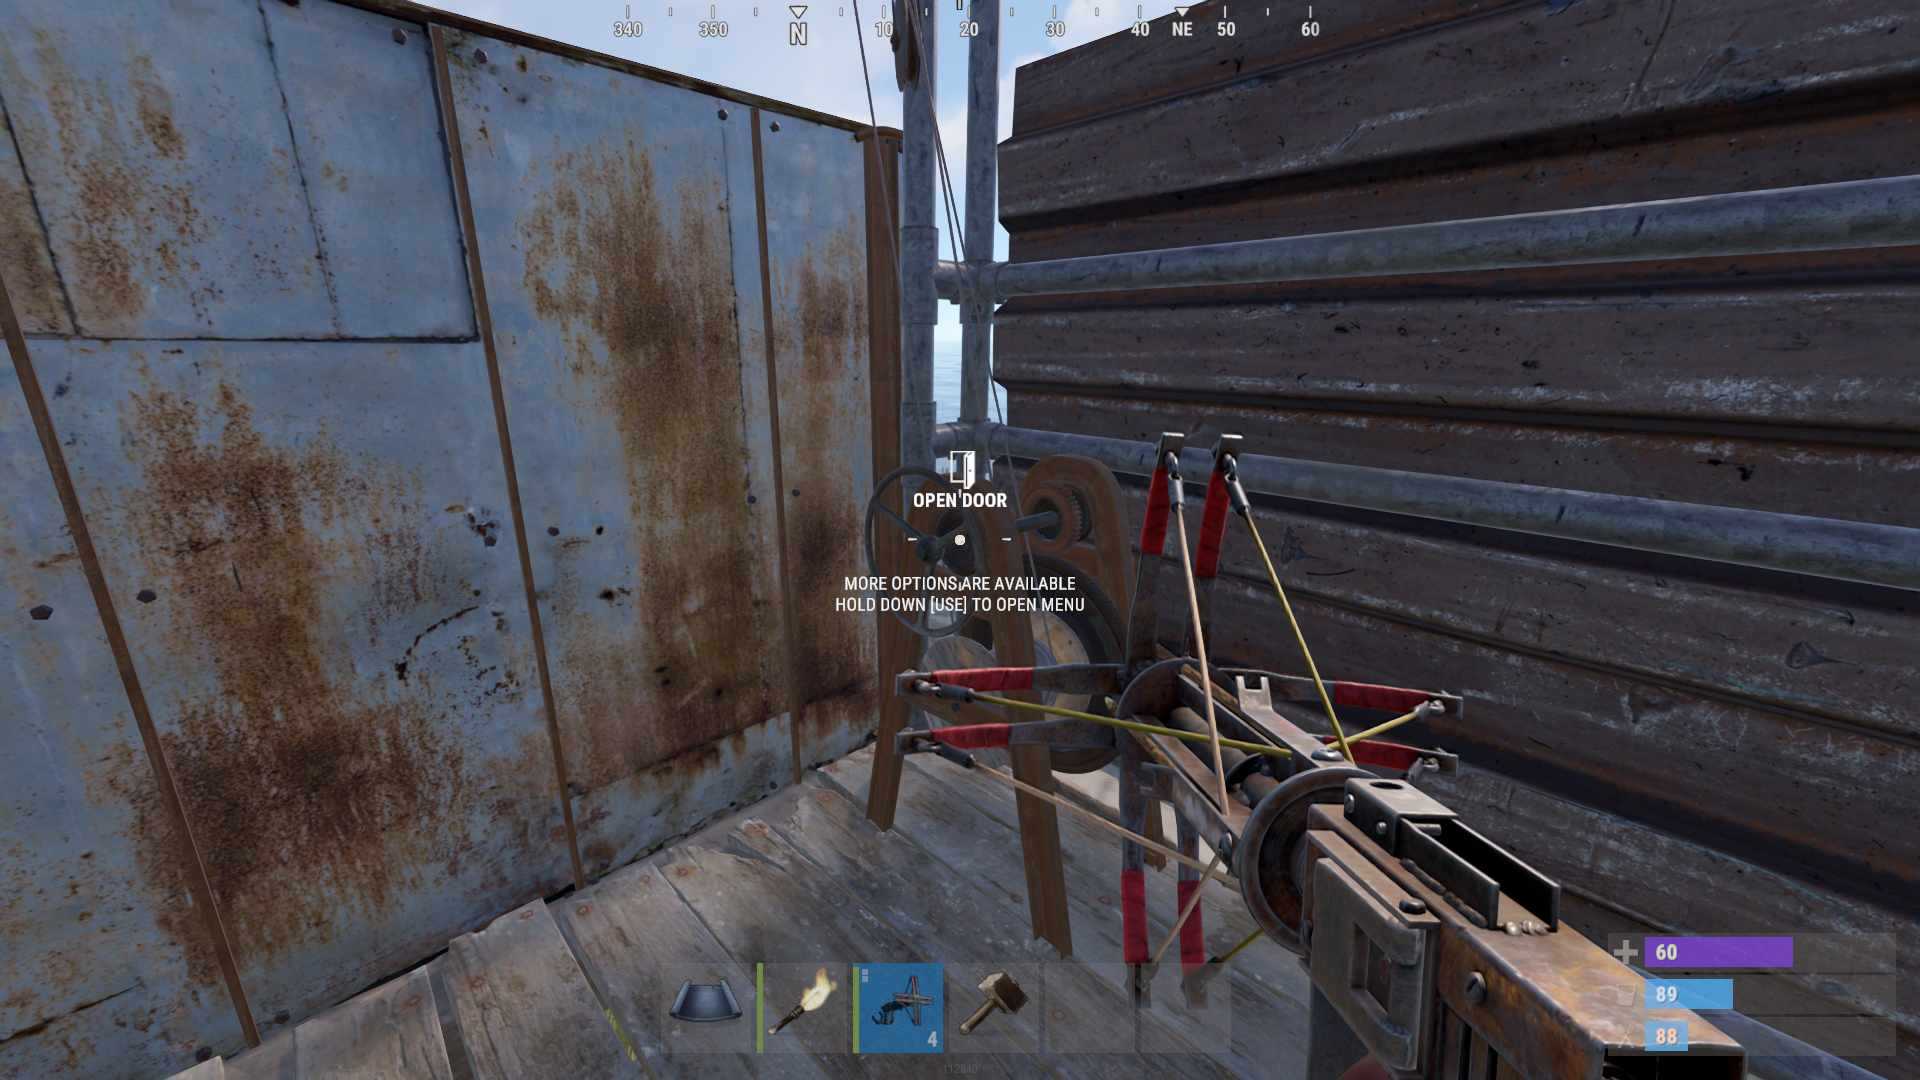
Each floor is equipped with ladders, allowing players to move up and down easily. Side panels provide some protection from enemy fire, while an optional door slot at the base lets players install a lockable door for added security. This means you can reinforce your Siege Tower to prevent enemies from taking control of it during a fight.
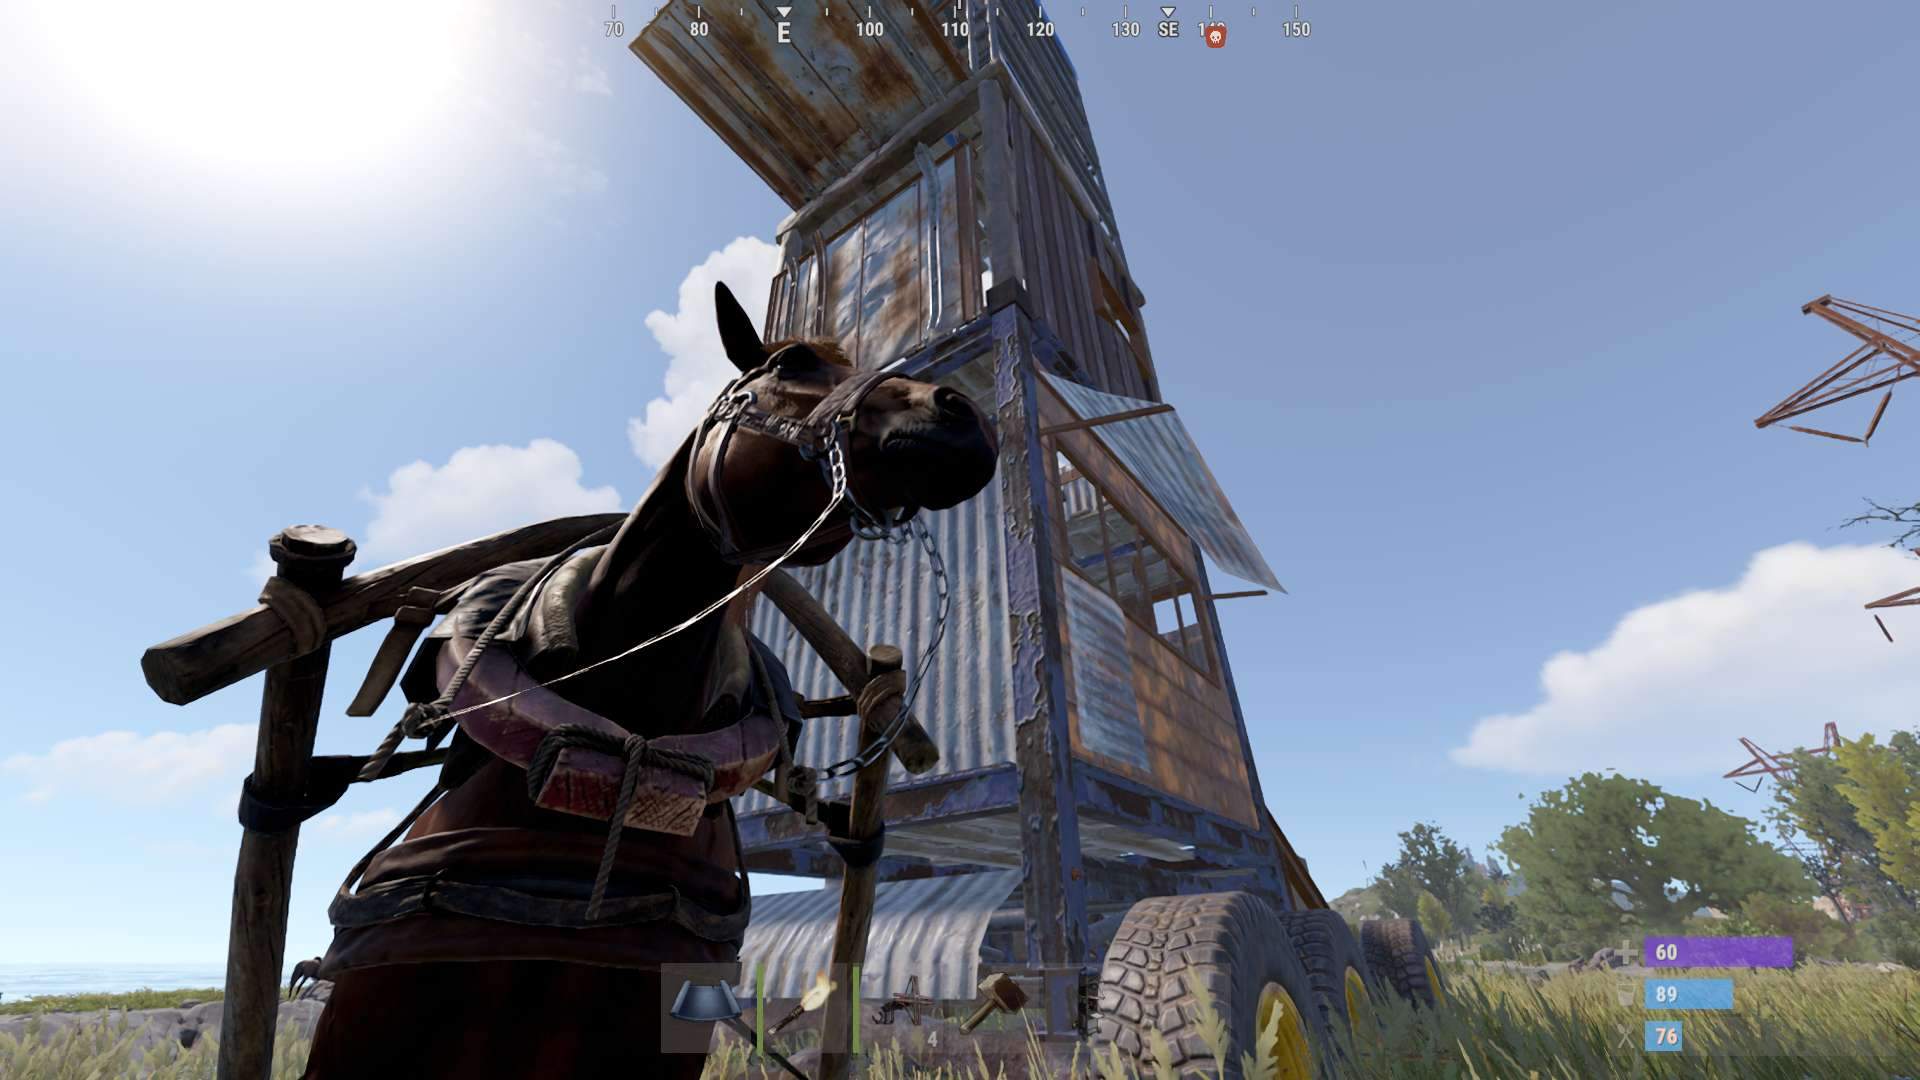
Moving and Positioning the Siege Tower
While the Siege Tower is large and heavy, it’s surprisingly mobile. Players can push it manually for short distances, but for long-range positioning, a horse is the best option.
To move it by hand, approach the side and press E to push it forward. This method is slow but effective for small adjustments. For greater mobility, tow it with a horse by backing the animal up to the front center section of the Siege Tower. When the Towing prompt appears, press E to hitch it. To unhitch, press E again.
Finding the perfect spot for deployment is crucial. Ideally, you’ll want to position the Siege Tower near a wall or high platform, ensuring that the drawbridges can extend far enough to create a proper entry point. Hills and slopes can provide better elevation for reaching higher targets.
Using the Siege Tower for Raiding
The true power of the Siege Tower lies in its ability to bypass defenses that would otherwise be impenetrable. High external walls, which once provided near-total security, are no longer an obstacle. Instead of wasting resources on explosive charges or rockets, players can now wheel up the Siege Tower, climb to the top, and drop a drawbridge straight into an enemy compound.
Raiding with a Siege Tower is best done with a team. While one player controls movement and positioning, others can stay inside, ready to rush in once the tower is in place. Defenders may try to shoot at you while you’re moving, but the covered design of the Siege Tower provides some level of protection from incoming fire.
Another advantage is its ability to create temporary outposts during a siege. If your team is stuck outside a compound, a Siege Tower can be positioned to provide cover and a vantage point for ranged attacks. From the upper levels, players can rain down arrows or crossbow bolts on defenders while staying relatively safe behind the tower’s walls.
Defending Against Siege Towers
For players on the receiving end of a Siege Tower raid, defense becomes a whole new challenge. The best way to counter a Siege Tower is to prevent it from reaching your base in the first place. Fire-based weapons, such as incendiary arrows or Molotovs, can weaken or even destroy an approaching tower. Since the Siege Tower requires a stable position to be effective, uneven terrain or spike barricades can make deployment difficult.
Once an enemy Siege Tower is in place, defenders should focus on eliminating attackers before they can establish control inside the base. Keeping windows closed and upper floors fortified can make it harder for raiders to gain entry. If possible, dismantling or destroying the Siege Tower before enemies can use it is a good strategy.
Repairing and Maintaining the Siege Tower
Like all siege weapons, the Siege Tower is vulnerable to damage over time. If damaged, repairs can be made using a Hammer and Metal Fragments. Each swing restores up to 53 health, allowing you to patch up the structure before or during a raid.
Decay is another factor to consider. Left unattended, the Siege Tower will deteriorate over 600 minutes, eventually becoming unusable. Keeping it inside a walled-off area or under some form of cover may slow the decay process, though this is still being tested by the community.
The Siege Tower brings an entirely new dimension to Rust’s raiding mechanics, offering players a tactical and resource-efficient way to breach defenses. By bypassing traditional explosive methods, it changes how raids are planned and executed, making teamwork and positioning more important than ever.