How to get and use Cooking Workbench in Rust The Crafting Update
Rust just got a flavorful upgrade! If you ever want to move beyond roasting meat over an open flame and start crafting gourmet meals, the Cooking Workbench is your new best friend. This addition in The Crafting Update introduces a brand-new way to prepare food, offering powerful buffs that can turn the tide of survival in your favor.
HOW TO GET THE COOKING WORKBENCH
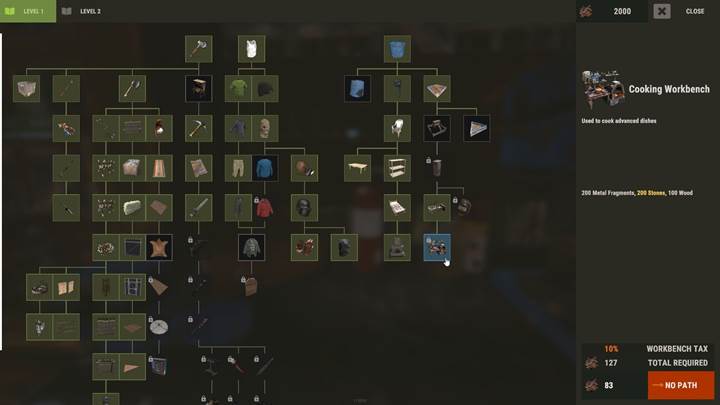
To start your journey into advanced cooking, unlock the Cooking Workbench at Tier 1 Crafting Workbench. But first, research five more techs before.
Unlike a simple campfire, this workbench allows you to prepare complex meals with special effects. To craft it, you’ll need:
- 200 Metal Fragments
- 200 Stones
- 100 Wood
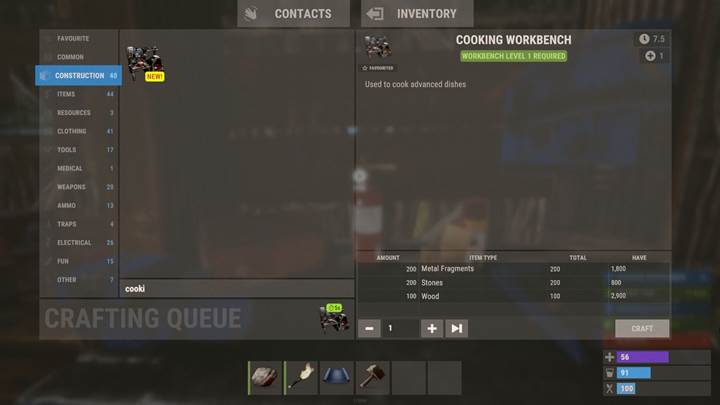
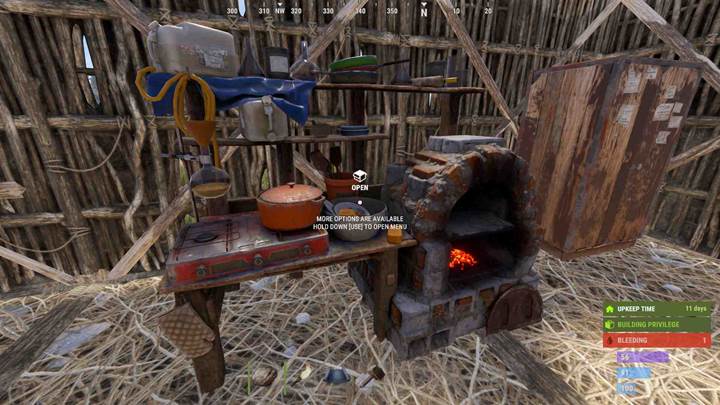
It takes 30 seconds to craft and requires Workbench Level 1. Once placed, it is a dedicated cooking station where you can prepare high-quality meals.
COOKING YOUR FIRST MEAL
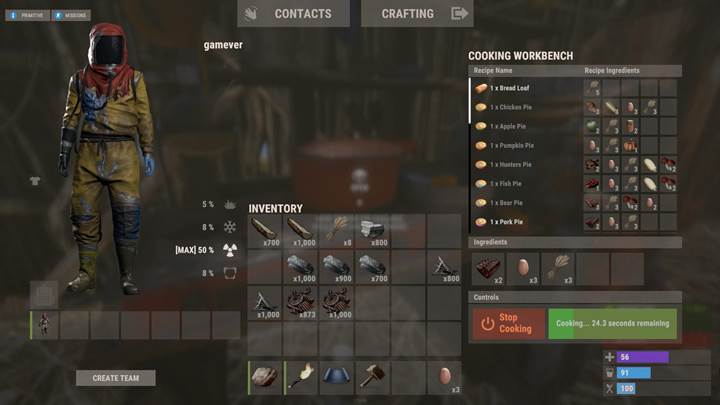
Once it is set up, it’s time to start cooking! Open the workbench, browse the available recipes, and select one that suits your needs. Each recipe requires specific ingredients, so gather them beforehand. Once you have everything, click ‘Start Cooking’ and let the magic happen.
Each dish takes a short time to prepare, and once it is ready, you can consume it immediately or store it in a fridge to prevent spoilage. Cooking has never been this easy - or this rewarding!
FOOD RECIPES AND THEIR BENEFITS
The Cooking Workbench lets you craft various meals, each offering unique buffs that go beyond simple hunger and hydration restoration. Here are some of the most useful recipes:
Chicken Pie: Grants a 5-minute boost to crop genetics, making your farming efforts more efficient.

Apple Pie: Improves night vision for 15 minutes, helping you see node sparkles and tree X-marks more clearly.
Pumpkin Pie: Increases max health for 10 minutes, great for surviving intense battles.
Hunter's Pie: Reduces bleeding for 15 minutes, giving you more time to heal up.
Fish Pie: Raises comfort levels for 1 minute, making your base a more relaxing place.
Pork Pie: Enhances healing from other sources, helping you recover faster from injuries.
DEALING WITH FOOD SPOILAGE
With great food comes great responsibility - meat-based foods now spoil over time. Raw meat lasts 6 hours before it spoils, while cooked meat lasts 24 hours. However, you can stop spoilage completely by storing food in an electrically powered fridge.

The game provides a spoilage timer in the item information panel, letting you know exactly how long your food will last. If you see the refrigeration icon, your food is safely stored and won’t spoil.
BEEKEEPING AND NEW INGREDIENTS
The update also introduces beekeeping, which means you can now collect honey from Beehives and use it in recipes. Honey is a valuable ingredient that enhances food recipes and has beneficial effects when consumed alone.

Other new ingredients include wheat, essential for making bread, and eggs, which are needed for most pie recipes. Gathering these ingredients will require farming, beekeeping, and hunting, making cooking an even more immersive part of Rust’s survival gameplay.
Remember to manage food spoilage and stock up on ingredients like wheat, honey, and eggs. Now, you are ready to become the ultimate chef of Rust’s wasteland.