How to Fly in Satisfactory
Hover Pack vs. Jet Pack
In Satisfactory, there are two main items that enable flight:
- Hover Pack: Best suited for building and exploration, as it requires a connection to a power grid. This makes it ideal for flying around your factory or exploring within a set range of power sources.
- Jet Pack: More suited for exploration, it doesn’t require a power grid but does need fuel from your inventory.
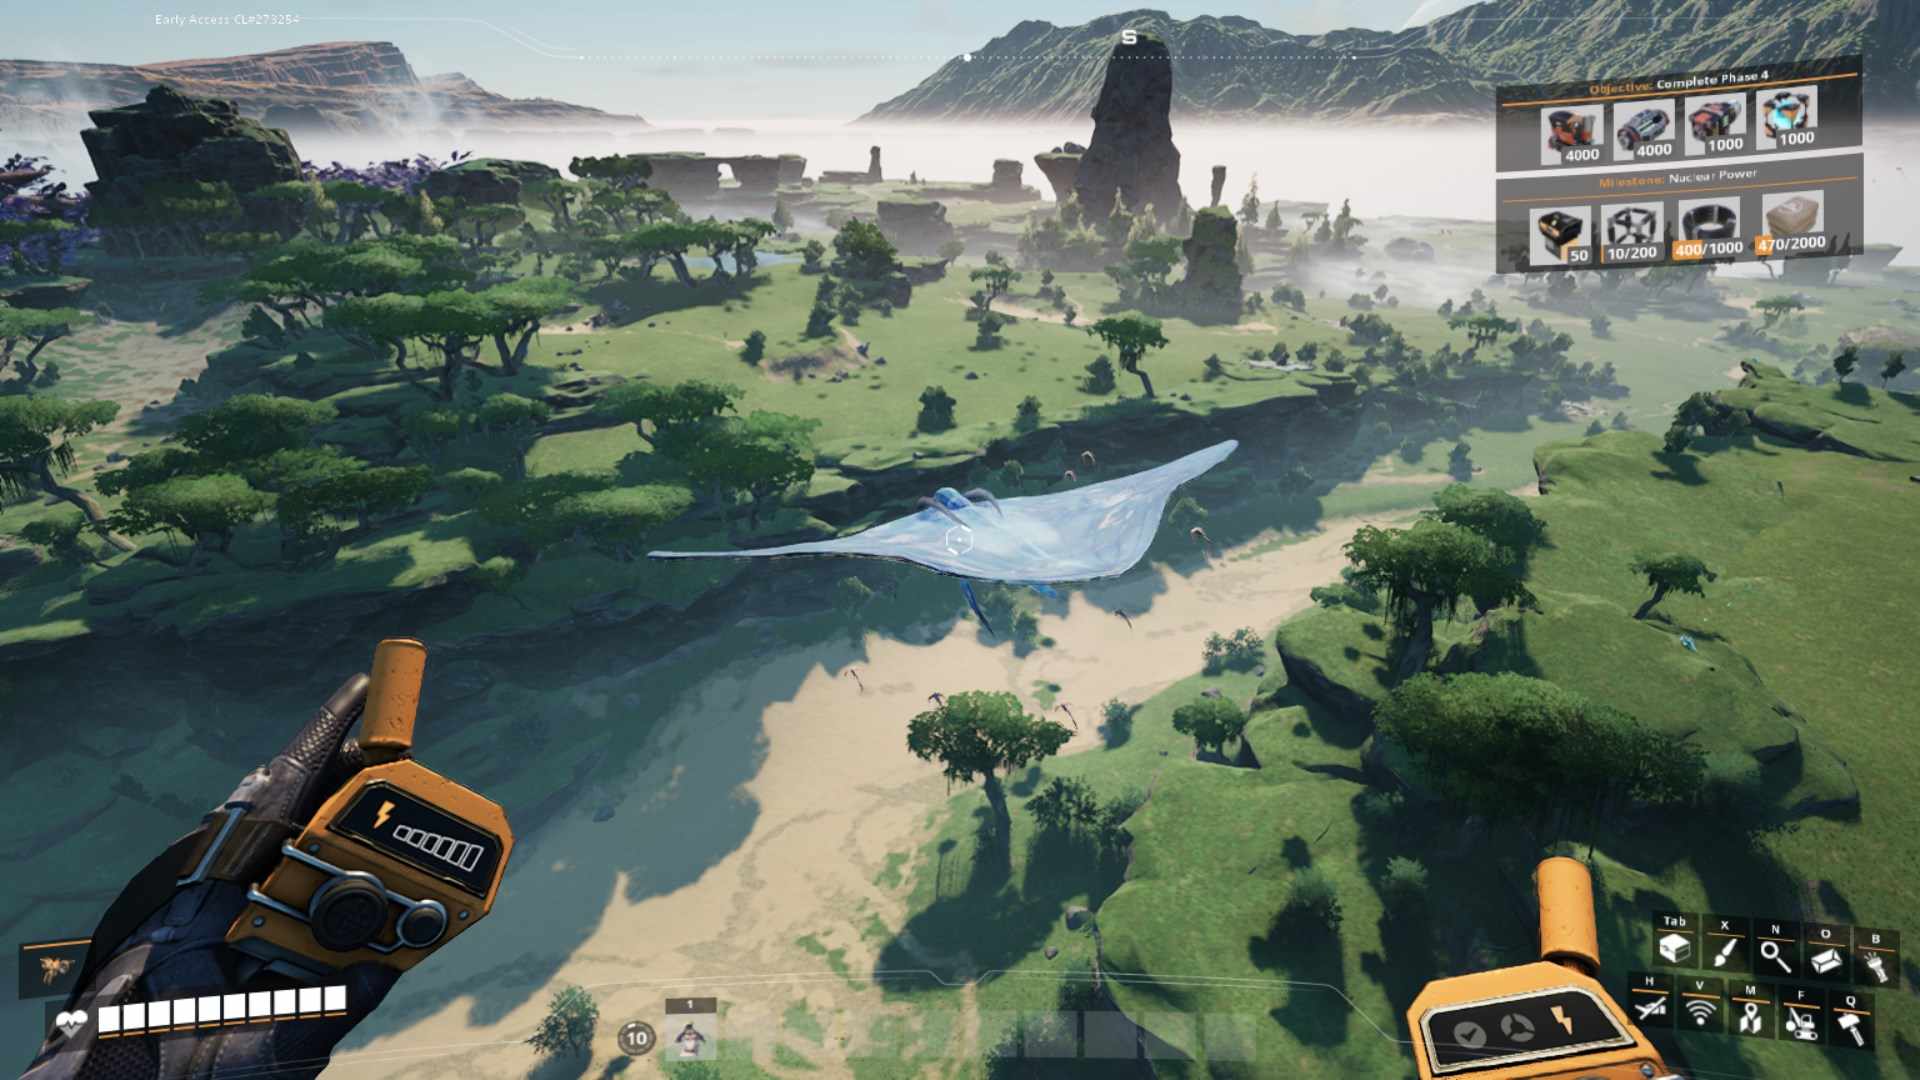
While the Hover Pack is primarily used for factory work due to its power requirements, it can also be utilized for exploration.
Hover Pack needs a power source within 36 meters to keep flying
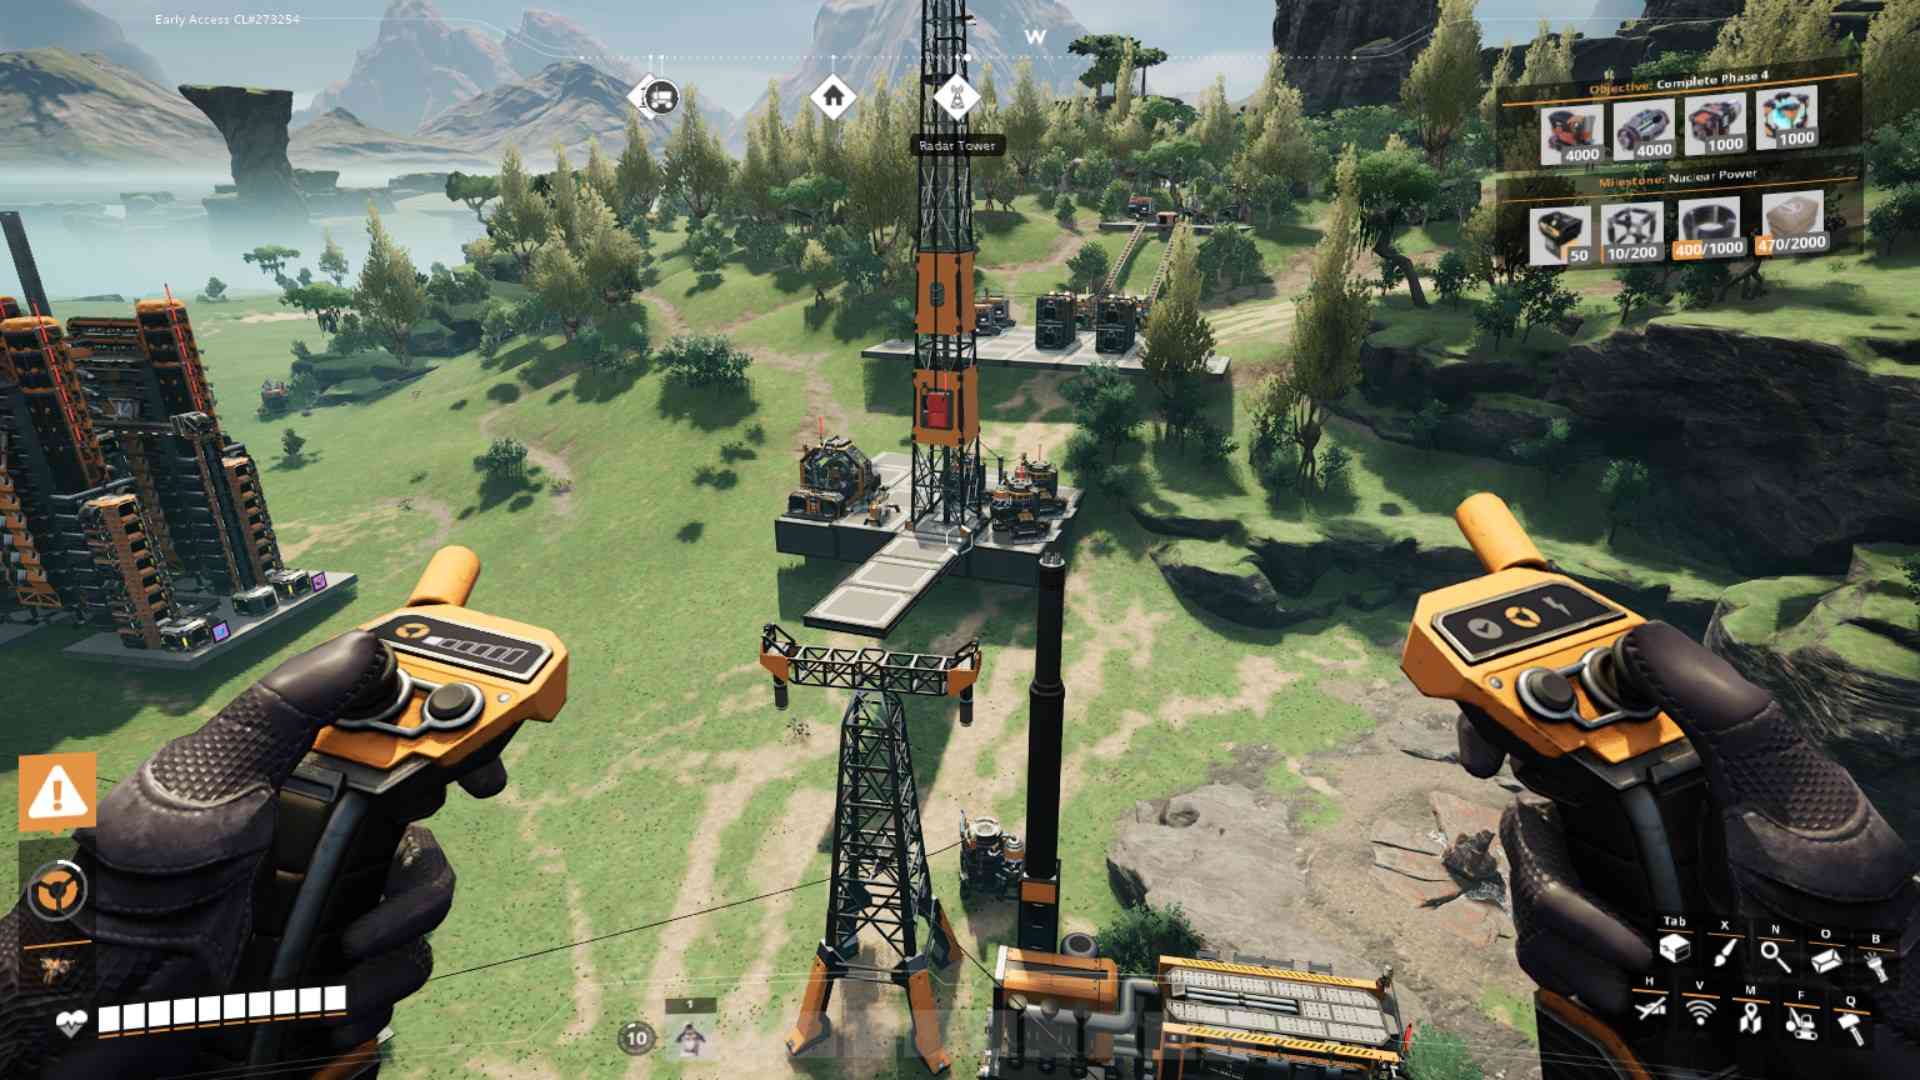
Unlocking the Hover Pack
You can unlock the Hover Pack in Tier 7, which requires:
- Aluminum Sheets: First, you need to unlock Alumina Refining and set up aluminum production.
- Computers, Heavy Modular Frames, and Motors: These materials are also necessary.
Once unlocked, the Hover Pack becomes a powerful tool for exploration. Press ‘Tab’ to open Craft menu and create some devices from there.
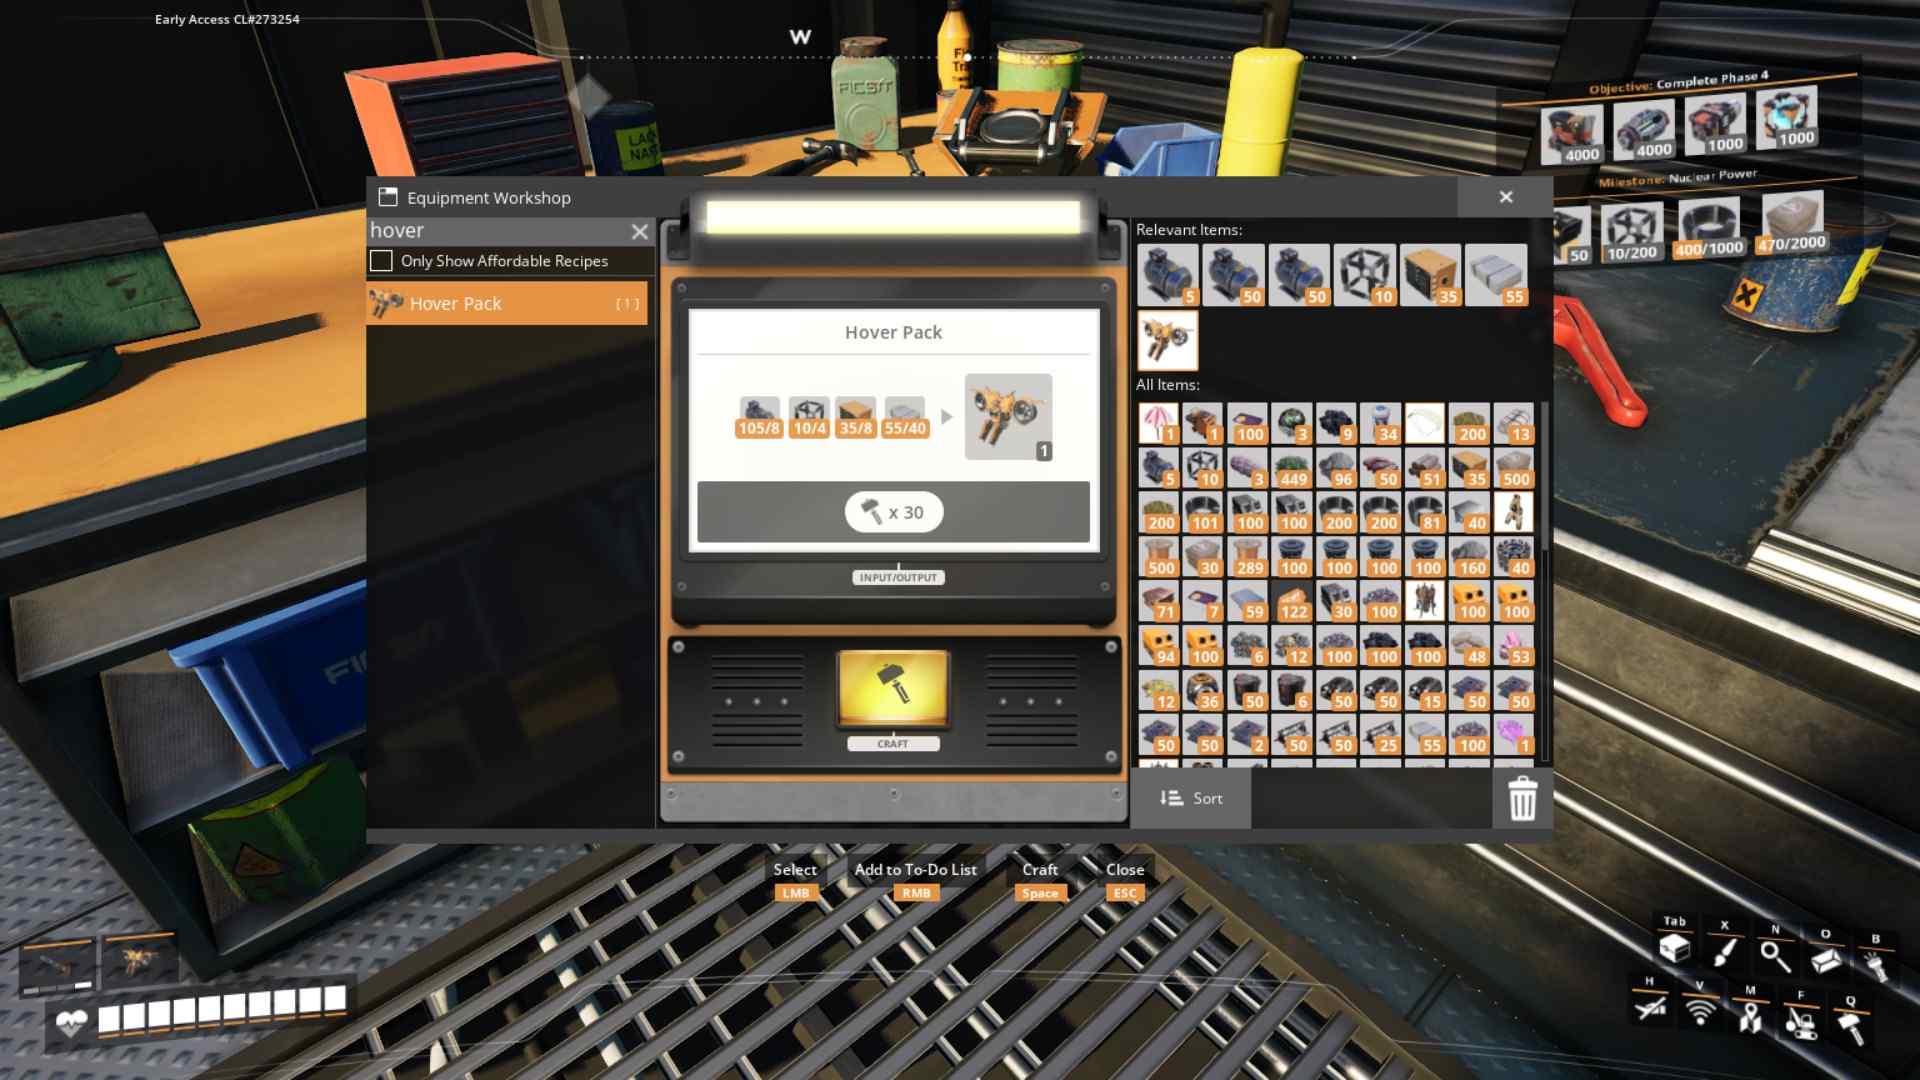
Press Tab to open Craft menu and create a Hover Pack

Hover Pack Range
The Hover Pack needs to be within approximately 36 meters of a power source to function. This range is crucial for maintaining your hover. Power poles alone are not considered power sources; they must be part of an active power grid.
Here’s how to manage your hover distance:
- Maximum Range: Power poles can be spaced up to 100 meters apart. However, you’ll need to hover high and slow-fall to bridge the gap between poles if you’re beyond 64 meters apart.
- Optimal Distance: For smoother exploration, placing power poles 48 meters apart (or 6 foundations) works well, especially when flying at higher altitudes.
- Normal Speed: 23.4 km/h.
- Sprinting Speed: 46.8 km/h—nearly as fast as sprinting with Blade Runners.
When hovering, your interaction range with buildings increases from 3.5 meters to 20 meters, making it easier to manage your base from the air.
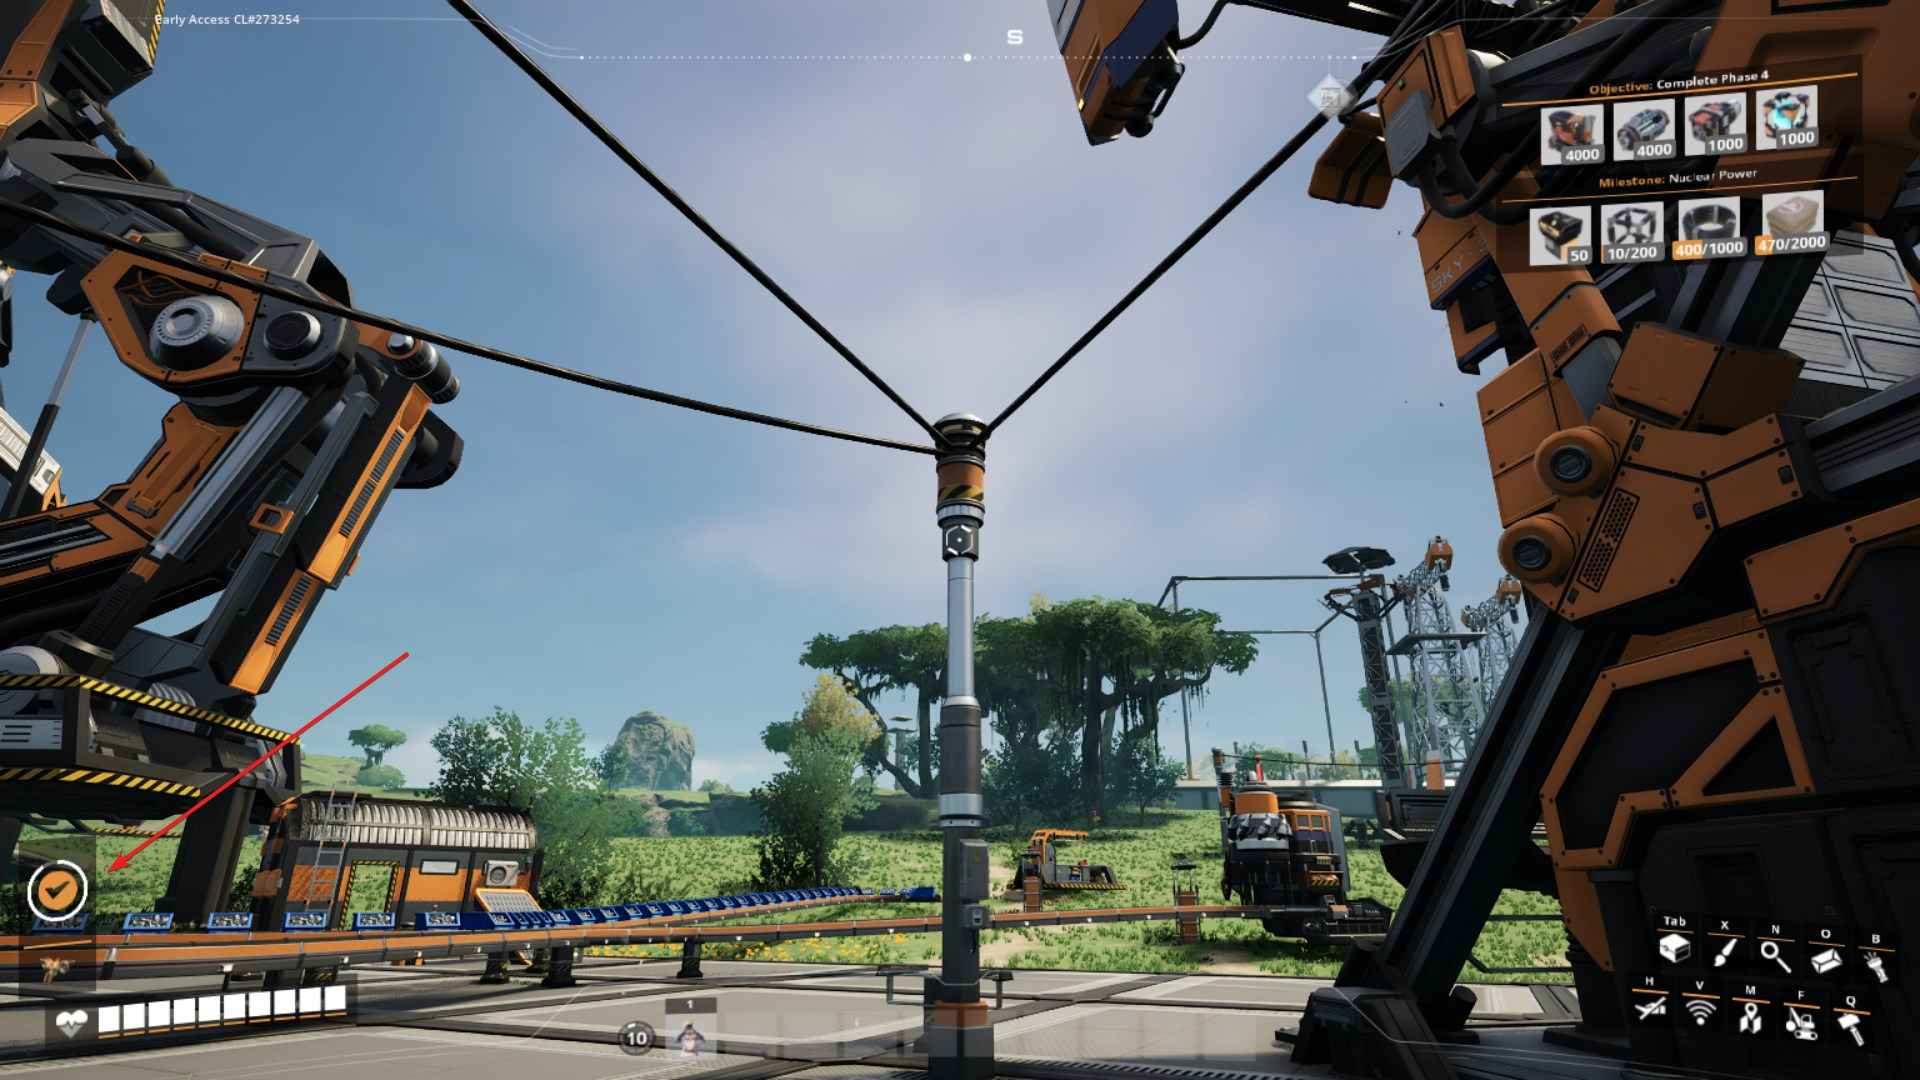
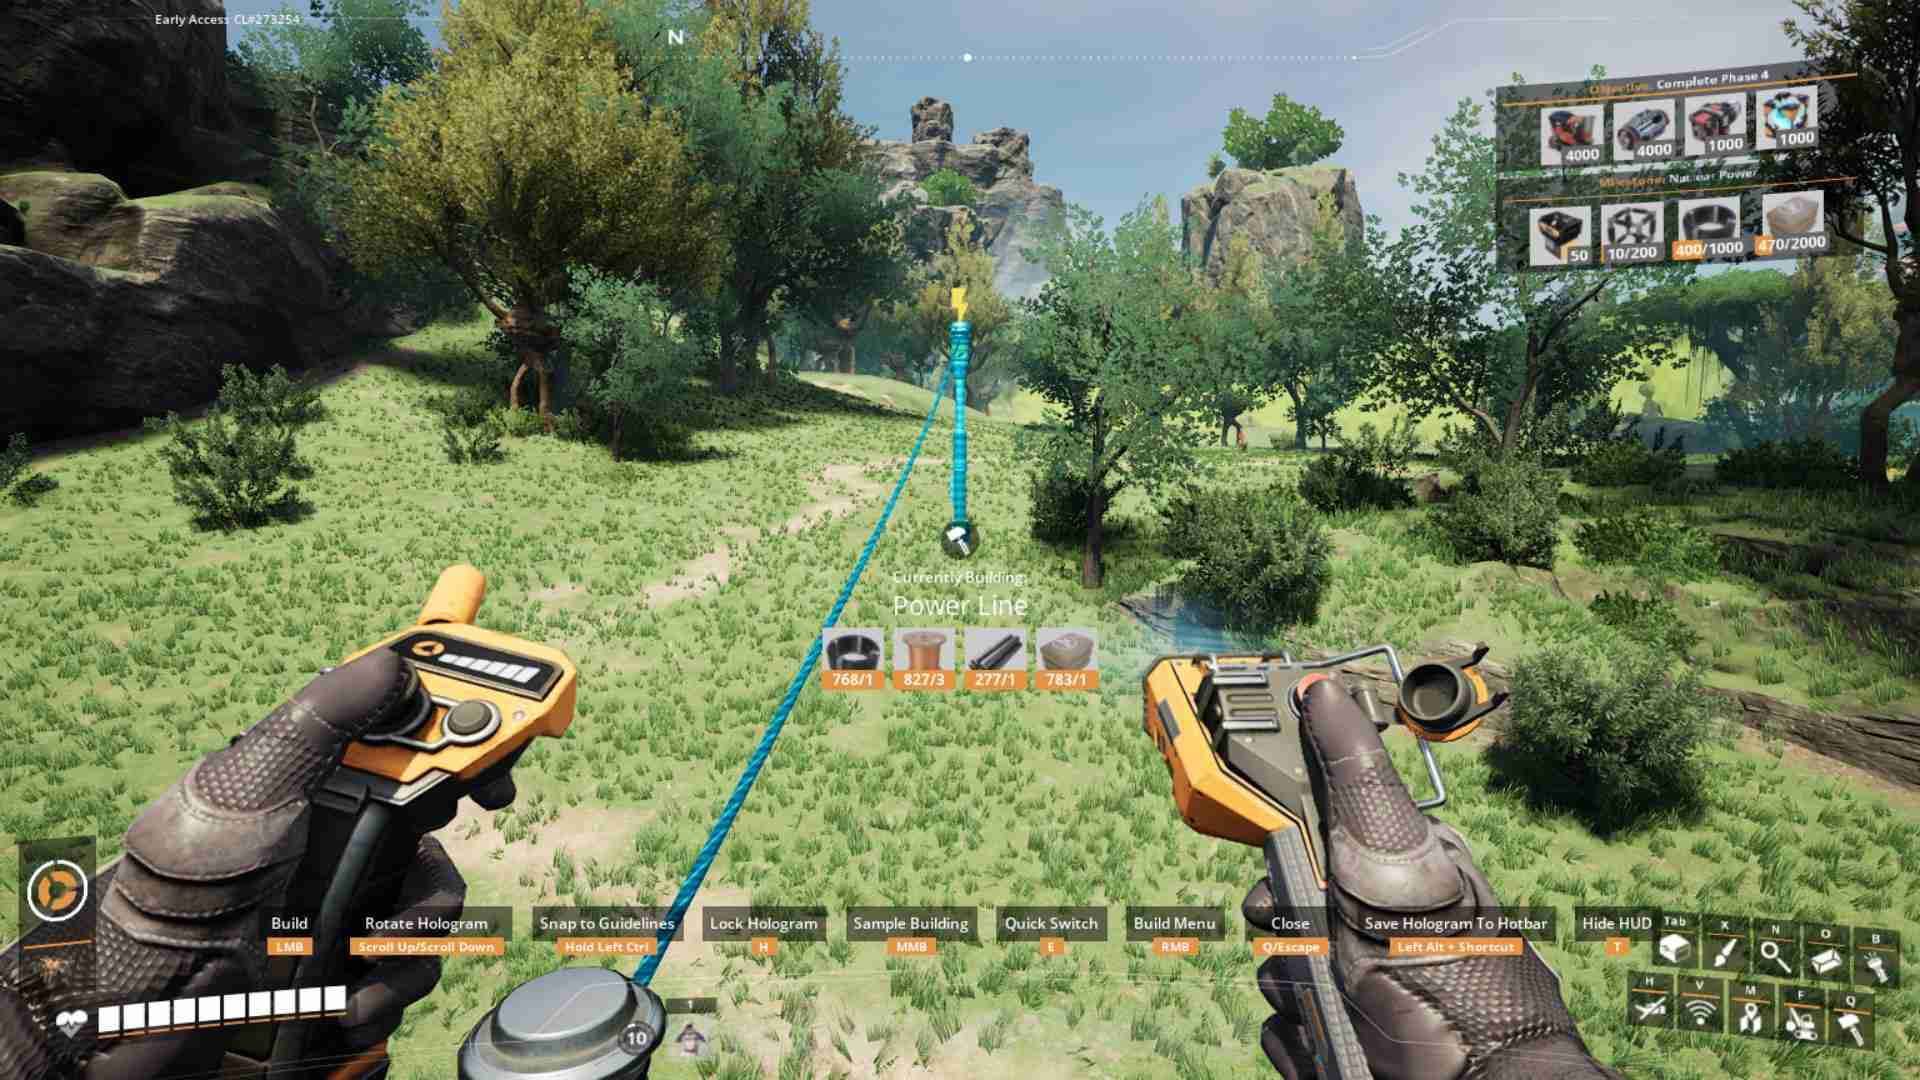
Building Power Poles
When planning your power grid for exploration:
- Materials Needed: Each power pole requires 2 cables, 3 wires, 1 iron rod, and 1 concrete for a line length between 25 to 50 meters. For extended trips, prepare ample materials. For example, with 2 dozen cables, 3000 wires, 1000 iron rods, and 1000 concrete, you can set up around 1000 power poles, covering roughly 45 kilometers.
Carry extra materials to ensure you don’t run out during your adventure.
Flight Controls and Tips
Flying with the Hover Pack is intuitive. Here’s a quick guide:
- Start Flying: Hold the Jump (Space) key.
- Ascend: Keep holding the Jump (Space) key.
- Descend: Hold down the Crouch (C) key.
- Exit Hover Mode: Double-tap the Crouch (C) key.
- Navigate: Use the WASD keys to move. Press ⇧ Shift to sprint for faster travel.
If you lose power while flying, hold the Jump (Space) key to slow-fall and control your descent. This helps you land safely and regain power if you’re close to another power source.
Overcoming Power Line Challenges
- Power Lines vs. Power Sources: Power lines alone won’t power the Hover Pack. You need a functioning power grid. If power poles are too far apart, fly high and use slow-fall to bridge gaps.
- Powered Train Rails: These can power the Hover Pack but won’t show the blue energy beam effect.
Using the Hover Pack can make exploration quite easy, sometimes taking away from the challenge. For a more immersive experience, consider using vehicles, the Jet Pack, or Blade Runners, especially during your first playthrough.
With your materials ready, start building power poles from your factory and embark on your aerial adventure. The Hover Pack enhances your exploration, allowing you to navigate, scout, and interact with the game world from a new perspective.