
How to defeat Raid Boss Hartalis in Palworld 0.7 update
Hartalis is not a raid boss that can be solved through brute force alone. Introduced in Palworld’s 0.7 update, the encounter is built around forced adaptation, elemental discipline, and situational awareness rather than raw DPS checks. Players who approach the fight as a simple escalation of earlier raids often fail not because their Pals are weak, but because Hartalis actively punishes narrow team composition and mistimed aggression.
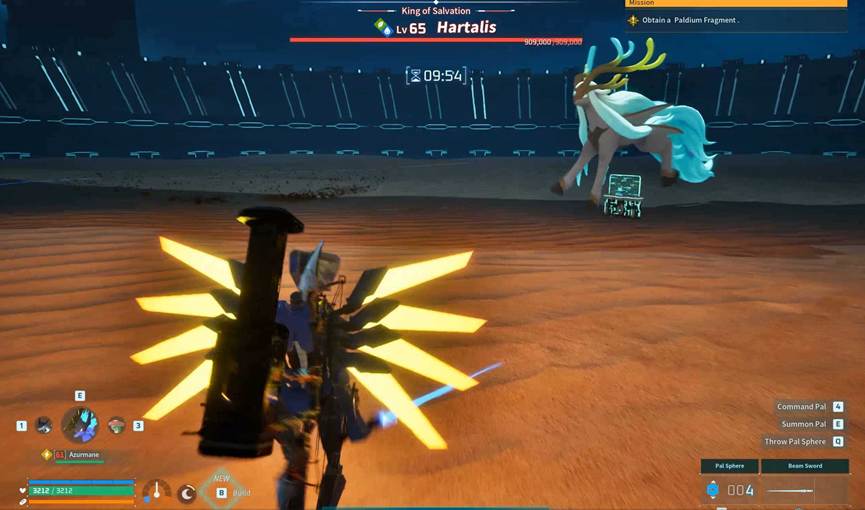
Prepare for a two-phase battle
The defining structure of the Hartalis fight is its mandatory phase transition. In its opening phase, Hartalis appears as a Water and Grass dual-type raid boss, immediately shaping the optimal damage profile around Electric attacks.
When Hartalis’ health is reduced to zero for the first time, the encounter resets rather than ends. The boss fully heals, shifts into a Neutral type, and restarts the fight with altered resistances and attack patterns. This transition is non-negotiable and functions as a hard check against single-element raid armies that cannot pivot mid-fight.
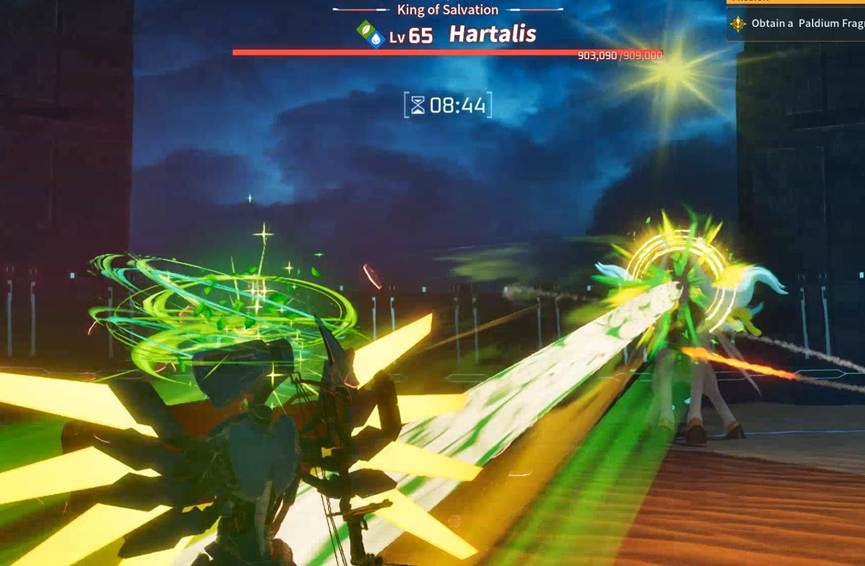
The second phase sharply devalues Electric damage and elevates Dark-type Pals to primary damage dealers. Shadow Beak, Bellanoir Libero, and other Dark-focused attackers become the backbone of sustained pressure, particularly against Hartalis’ high effective health pool. Players who delay the swap or attempt to brute-force Neutral resistances often lose momentum and time.
This two-phase design means victory is decided less by peak output and more by continuity. Teams that plan their swaps, cooldowns, and positioning around the transition consistently outperform those that rely on overwhelming force in only one phase.
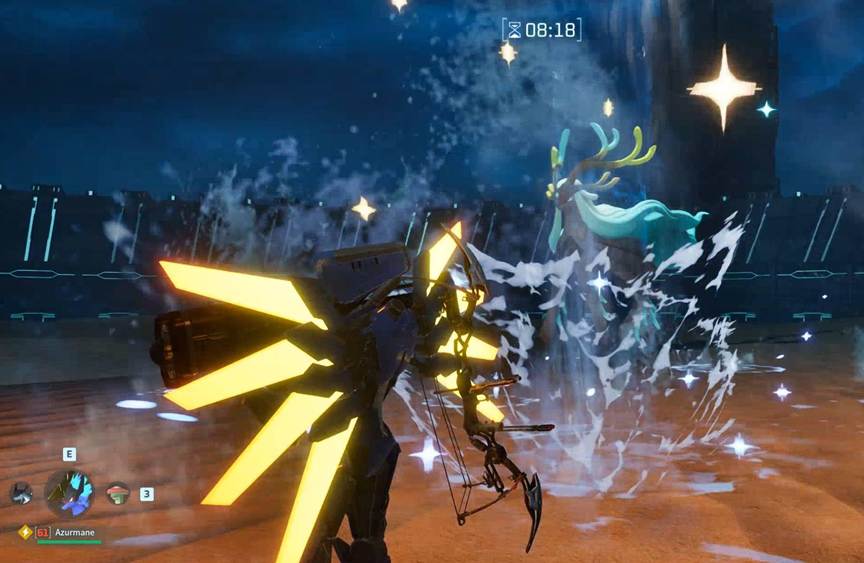
Break the elemental barriers
Hartalis periodically deploys elemental barriers that temporarily stall progress and reshape the damage economy of the fight. These barriers are not cosmetic shields; they are explicit mechanical gates that demand specific elemental responses, communicated through on-screen prompts during the encounter.
In the first phase, barriers typically call for Fire or Electric pressure to collapse them efficiently. In the second phase, Dark-aligned damage becomes critical, though reports indicate some variability in barrier sequencing. What matters is not memorizing a fixed order, but ensuring the raid composition includes low-cooldown skills across multiple elements so at least one answer is always available.
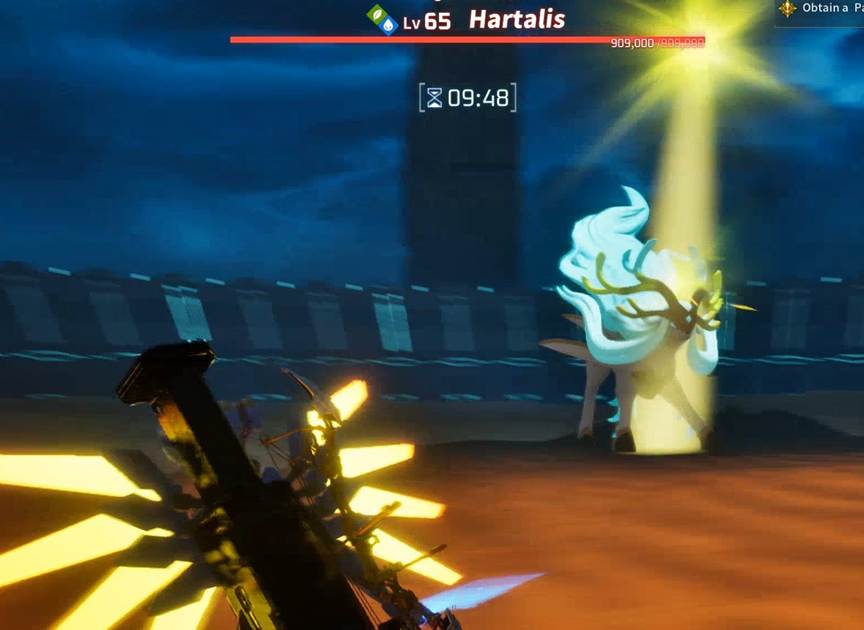
The most common failure point occurs when all high-damage skills are synchronized on cooldown as a barrier appears. Long-recharge abilities like Divine Disaster and Flare Storm are powerful, but stacking too many identical cooldown profiles creates dead zones where the barrier remains intact longer than intended. Successful teams stagger skill types and cooldown lengths to maintain constant elemental pressure.
Barrier management also rewards player involvement. Headshot-focused weapon fire and consistent chip damage help stabilize DPS during these moments, preventing the fight from stalling while Pals reposition or wait for abilities to recover.
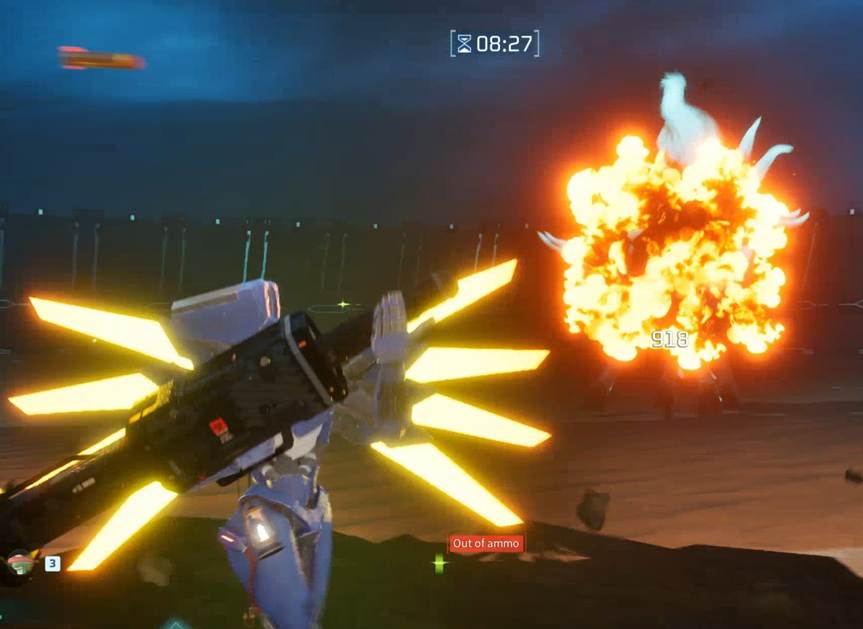
Control the arena and survivability
Hartalis’ damage profile is heavily weighted toward light and holy-style attacks, many of which cover large portions of the arena and punish static positioning. Dark Pals gain value not only through type advantage, but also because they shorten exposure time by converting openings into meaningful damage more reliably.
Movement discipline is critical. The arena’s uneven terrain and elevation shifts can either protect players from incoming attacks or trap them in overlapping damage zones. Constant lateral movement and awareness of Hartalis’ facing direction reduce the likelihood of being clipped by multi-hit abilities that rapidly overwhelm defenses.
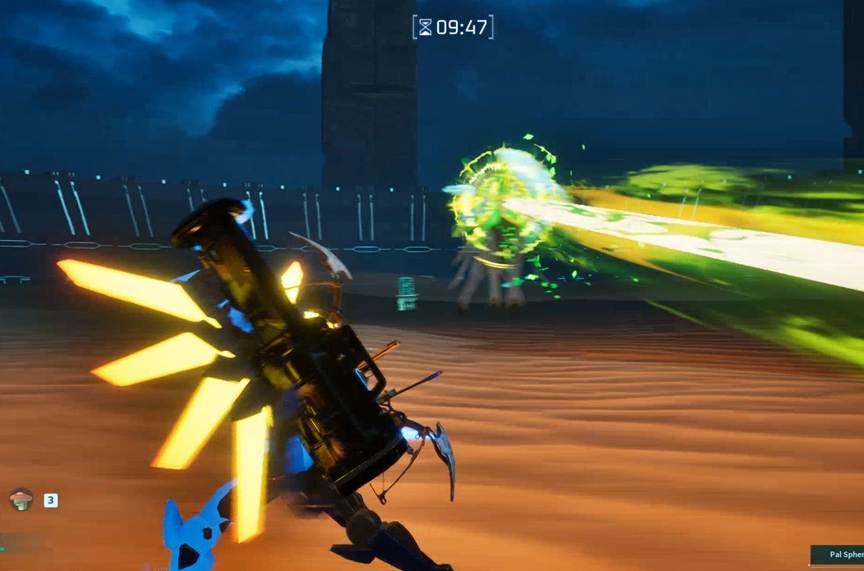
Sustain tools matter more than raw toughness. Healing items, defensive food buffs, and revive options compensate for unavoidable damage spikes, especially when multiple raid Pals are active and drawing aggro unpredictably.
Overcommitting Pals during heavy attack sequences often leads to cascading knockouts. Controlled deployment, rather than flooding the arena, keeps the raid manageable and preserves damage uptime across both phases.
Survive the final super attack
The most dangerous moment in the Hartalis encounter occurs at the end of its second phase. When reduced to minimal health, Hartalis initiates a charged super attack commonly identified as a light-based or purifying strike capable of wiping unprepared players and Pals instantly.
This attack is telegraphed through a visible charge animation and an on-screen warning to take cover. Survival depends on breaking line-of-sight by positioning behind solid terrain elements within the arena rather than relying on shields or healing. Simply attempting to outheal or tank the blast consistently results in failure.
Timing is forgiving if recognized early. Players have enough window to recall Pals, reposition, and protect themselves before the detonation resolves. Those who panic or attempt to finish the boss during the charge are usually punished with a full raid wipe.
Once the blast resolves, Hartalis can be safely finished, concluding the raid and awarding its egg. This final check reinforces the fight’s core philosophy: awareness and restraint are as important as damage.