How to Craft in 7 Days to Die 1.0
Getting Started with Crafting
Crafting in 7 Days to Die is your way to turn raw materials into life-saving items. You can craft almost anything from simple tools to advanced weapons, provided you have the right components and workstations. To start crafting, open your Crafting Window by pressing ‘Tab’ and get ready to experiment!

Crafting Basics
To craft an item, you first need to have the necessary resources in your inventory. Open your crafting menu, select the item you want to create, and ensure you have all the required components. Click the "Craft" button, or press ‘W’.
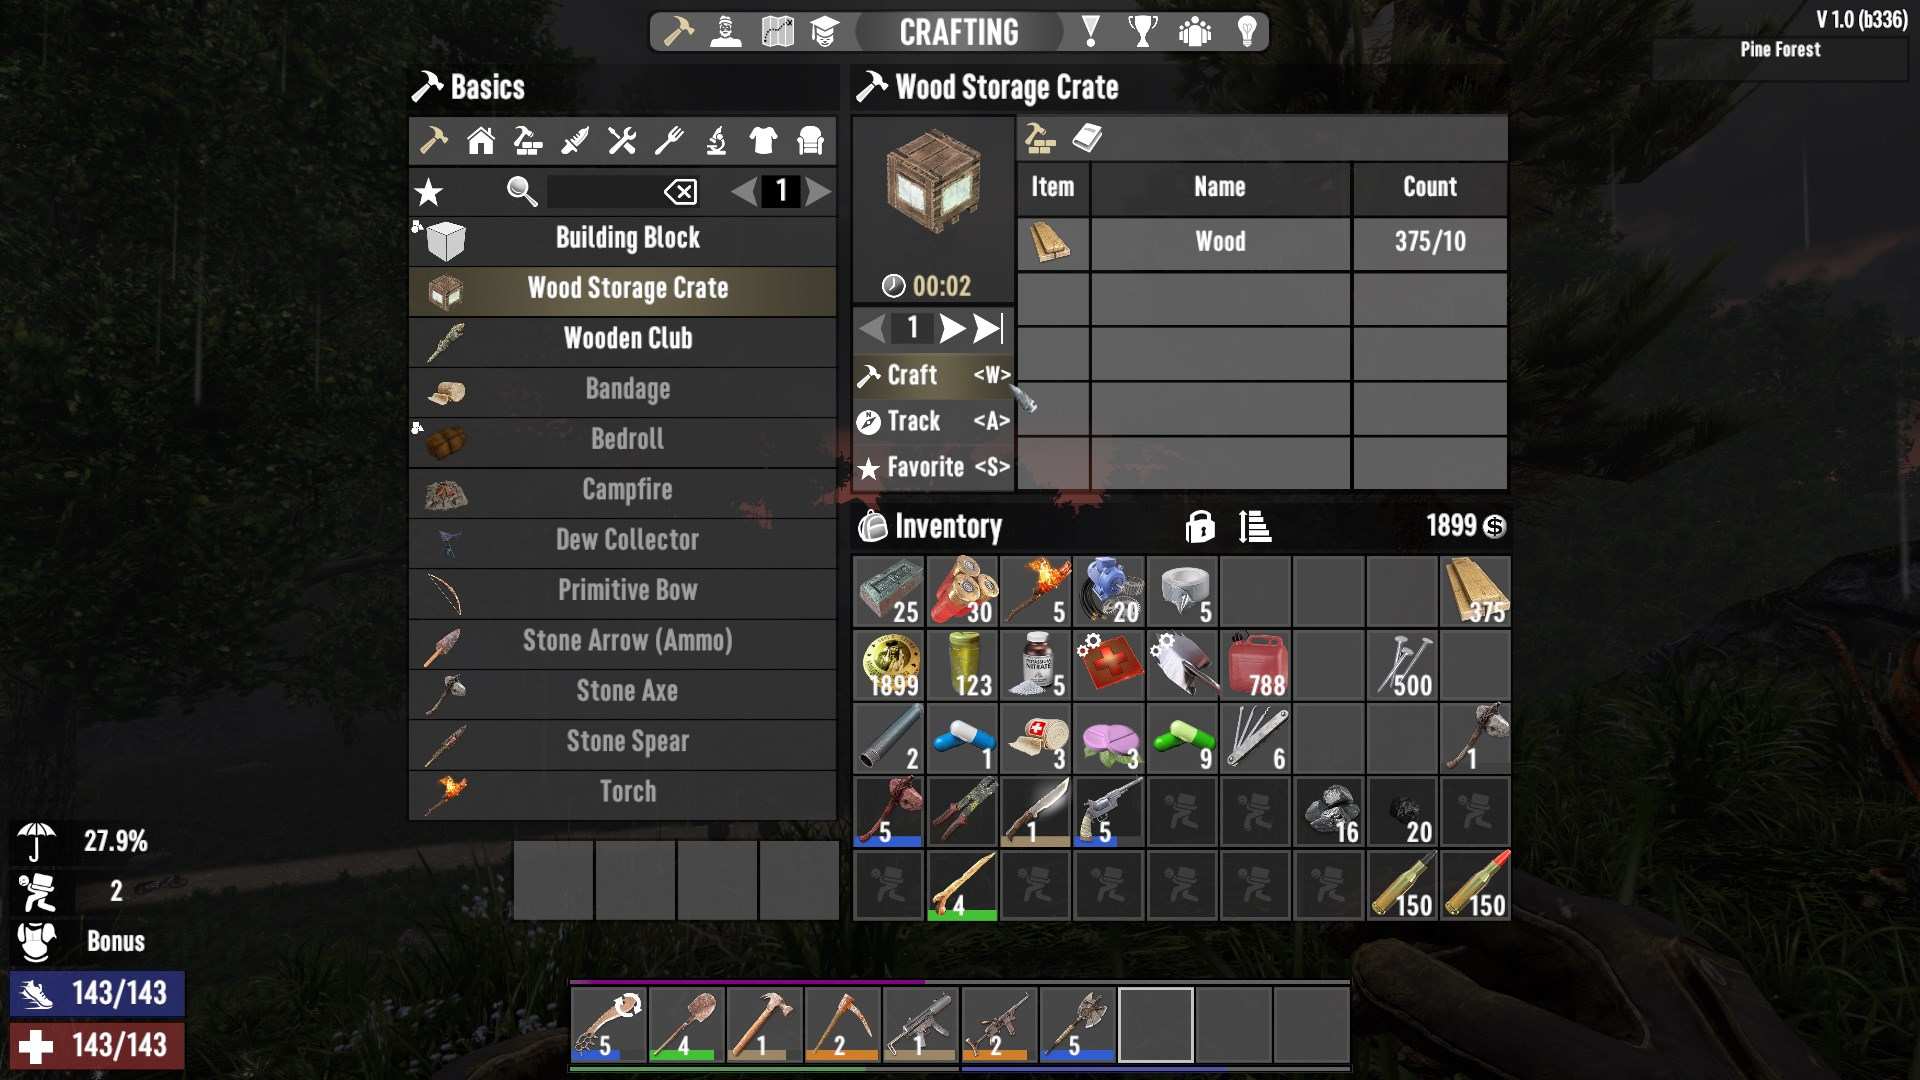
If you want to craft multiple items at once, you can adjust the quantity by clicking the arrows on the right panel or by typing a number directly into the input box. Holding ‘Shift’ while clicking will automatically set the crafting amount to the maximum your resources allow.
Crafting time varies depending on the item and the total amount of resources required. It's expressed in minutes and seconds (mmm:ss), and the game uses a rounding method to display the time. For example, crafting a box of AP 7.62MM ammo might take around 10 minutes and 40 seconds, but with certain perks or items like Nerdy Glasses, you can reduce this time by 10%!
Troubleshooting
Sometimes, crafting doesn’t go as planned. Here are common issues and how to fix them:
- Insufficient Resources: If the craft button is grayed out or missing, you might not have all the required components. Check your inventory to ensure you have enough of each item.
- Unknown Recipe: If you don’t know the recipe, you might see a locked icon. You need to discover or unlock the recipe through exploration or leveling up.
- Wrong Workstation: Make sure you’re using the correct workstation for your item. Different workstations (Campfire, Forge, Workbench, Cement Mixer, Chemistry Station) have unique recipes and requirements.
- Lack of Fuel or Tools: Some workstations need fuel or specific tools to operate. Check for any messages indicating a lack of resources or tools.
Crafting Stations
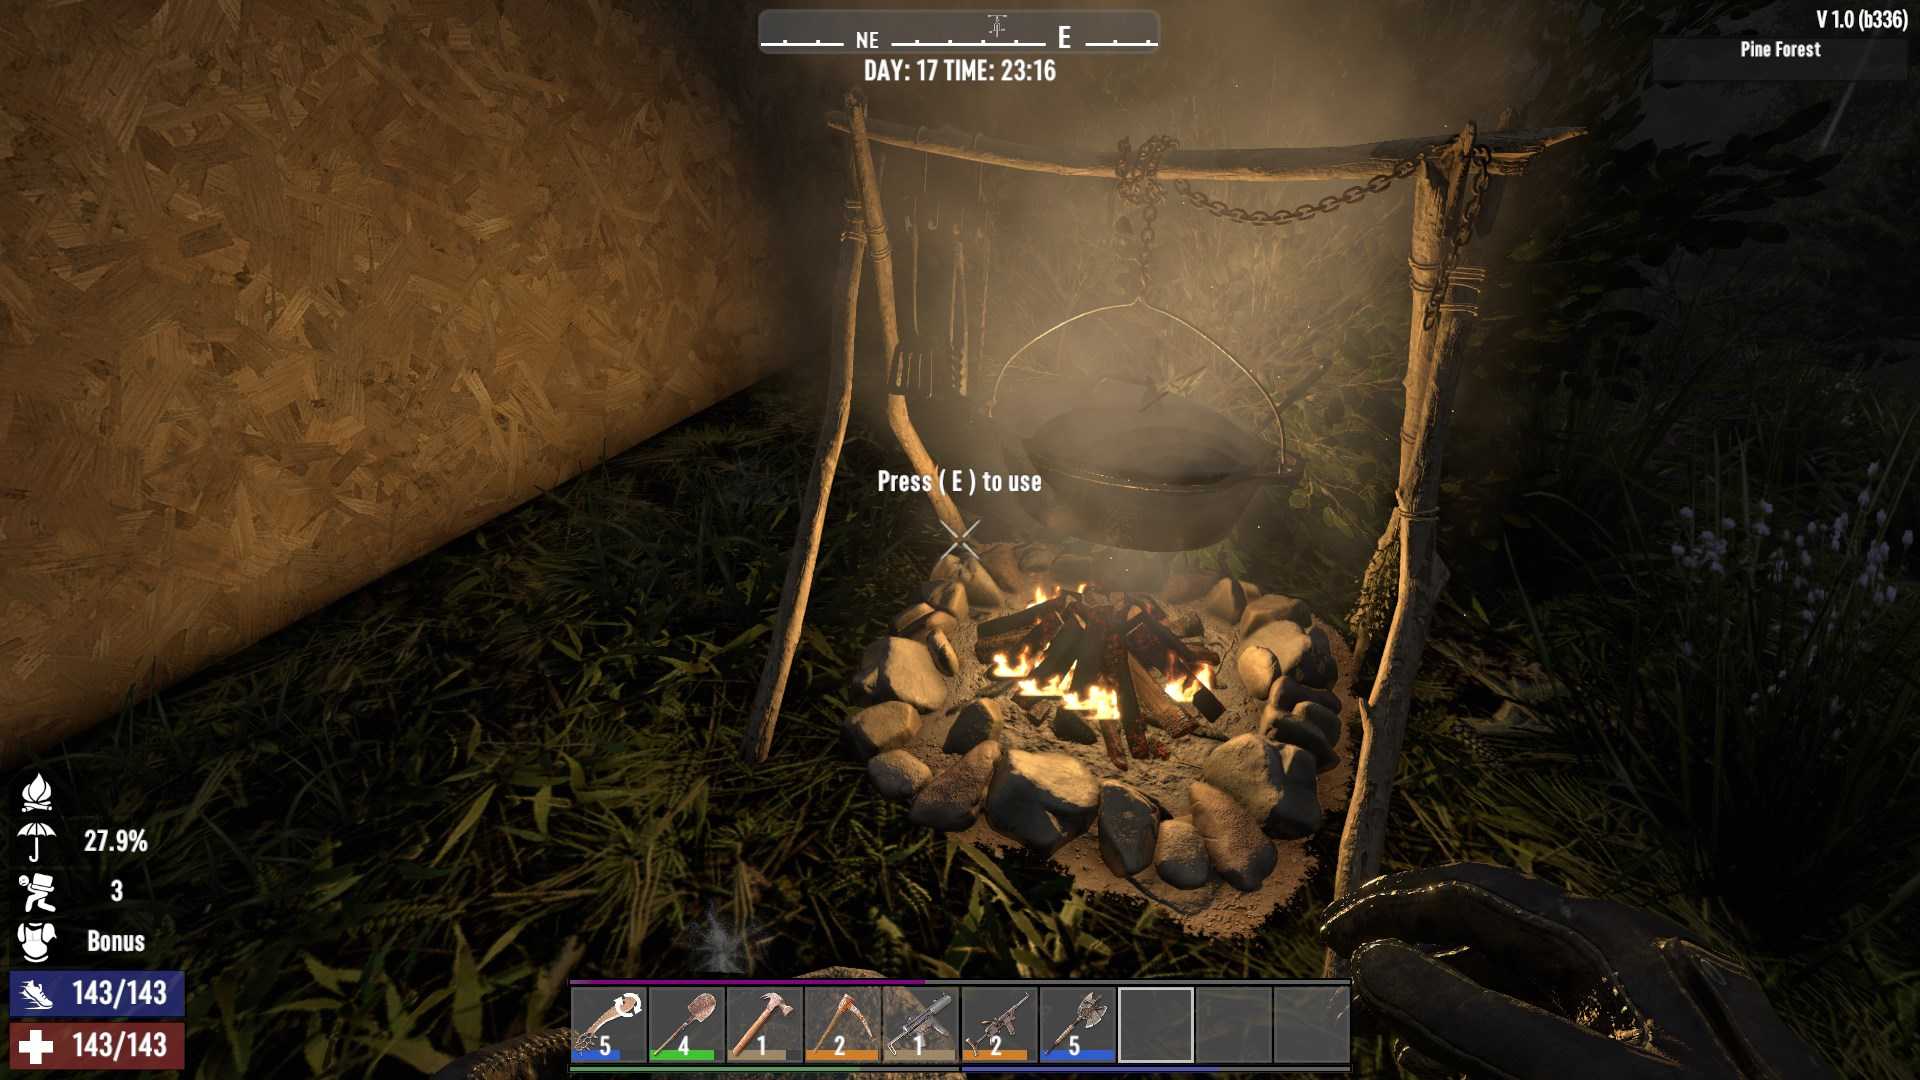
1. Campfire: This is your starting workstation, used for cooking food and crafting basic chemicals. You can enhance it with a Cooking Pot, Cooking Grill, or Beaker. Remember, it needs fuel to keep going!
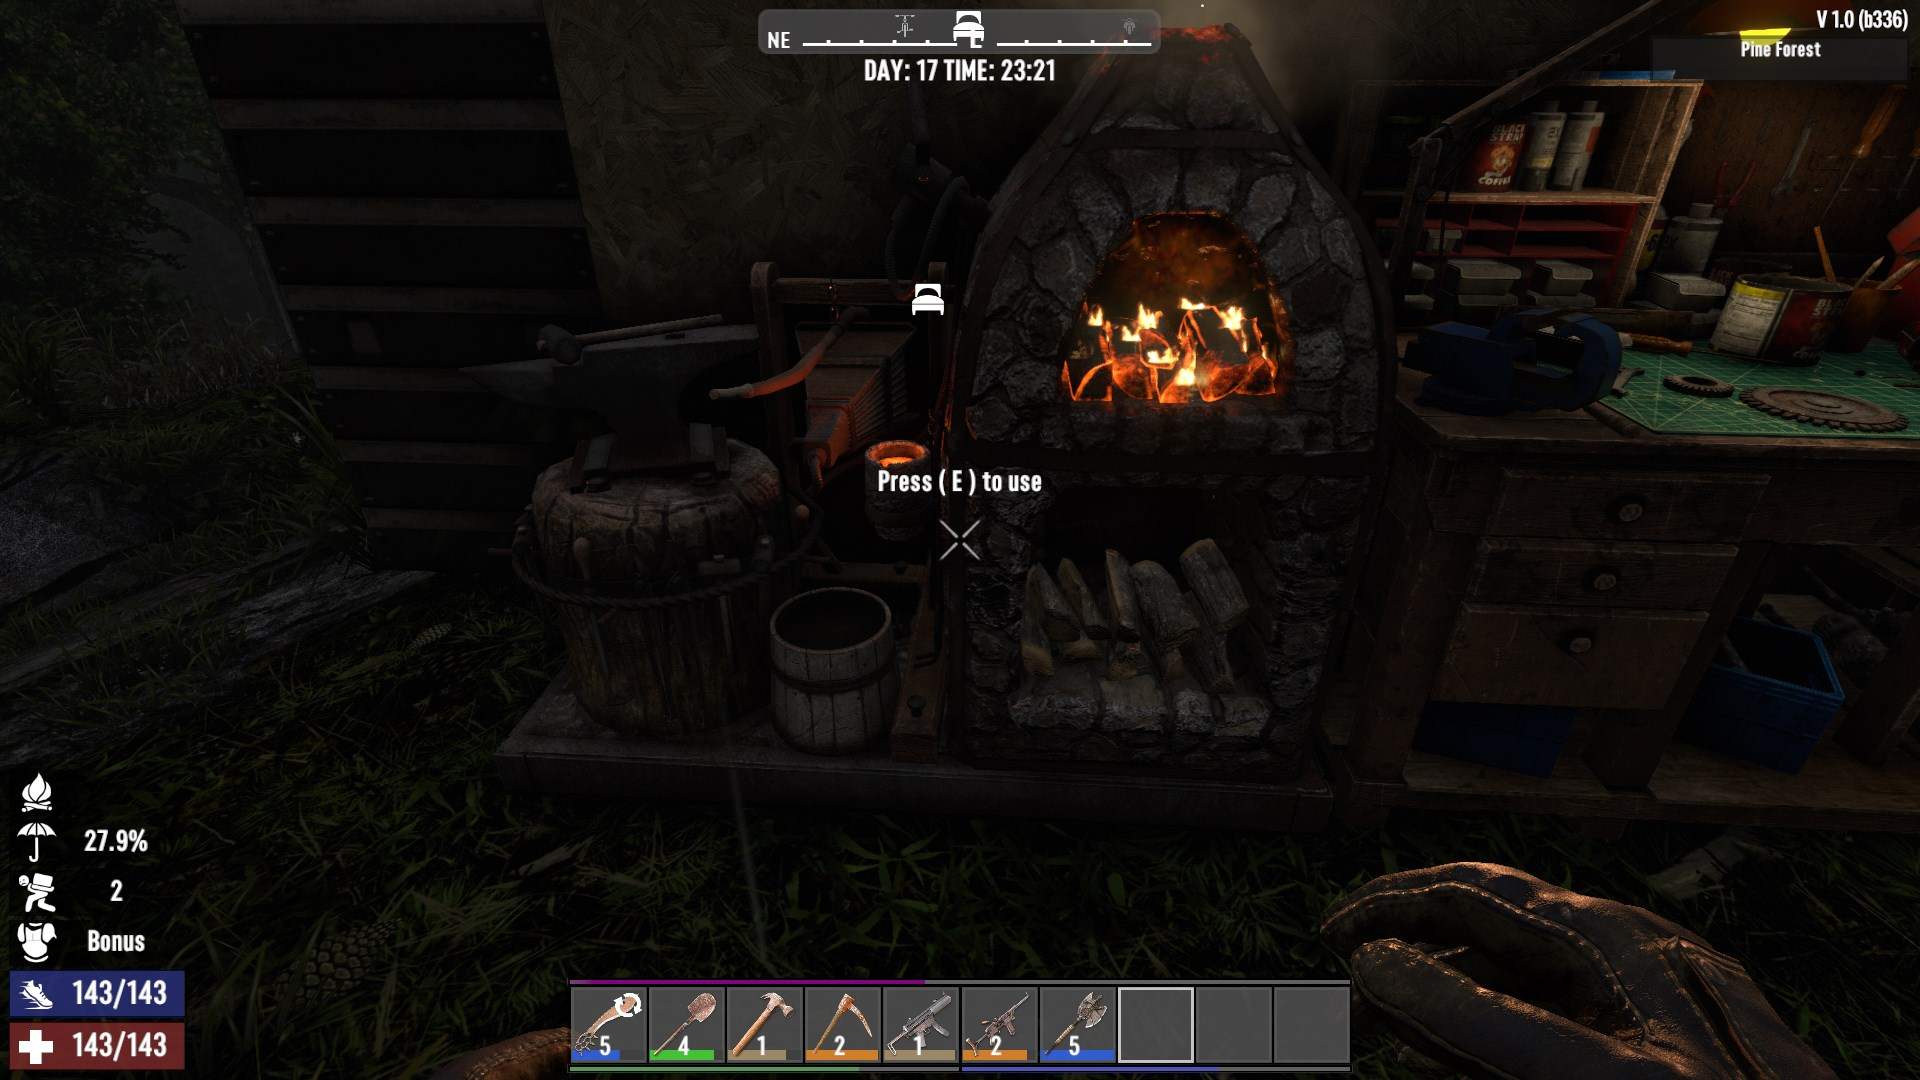
2. Forge: Essential for making advanced items like Forged Iron, Steel, and Bullet Casings. You can also use it to smelt ores and make key resources like Cement and Forged Steel. Equip it with an Anvil, Advanced Bellows, or Crucible for more efficiency.
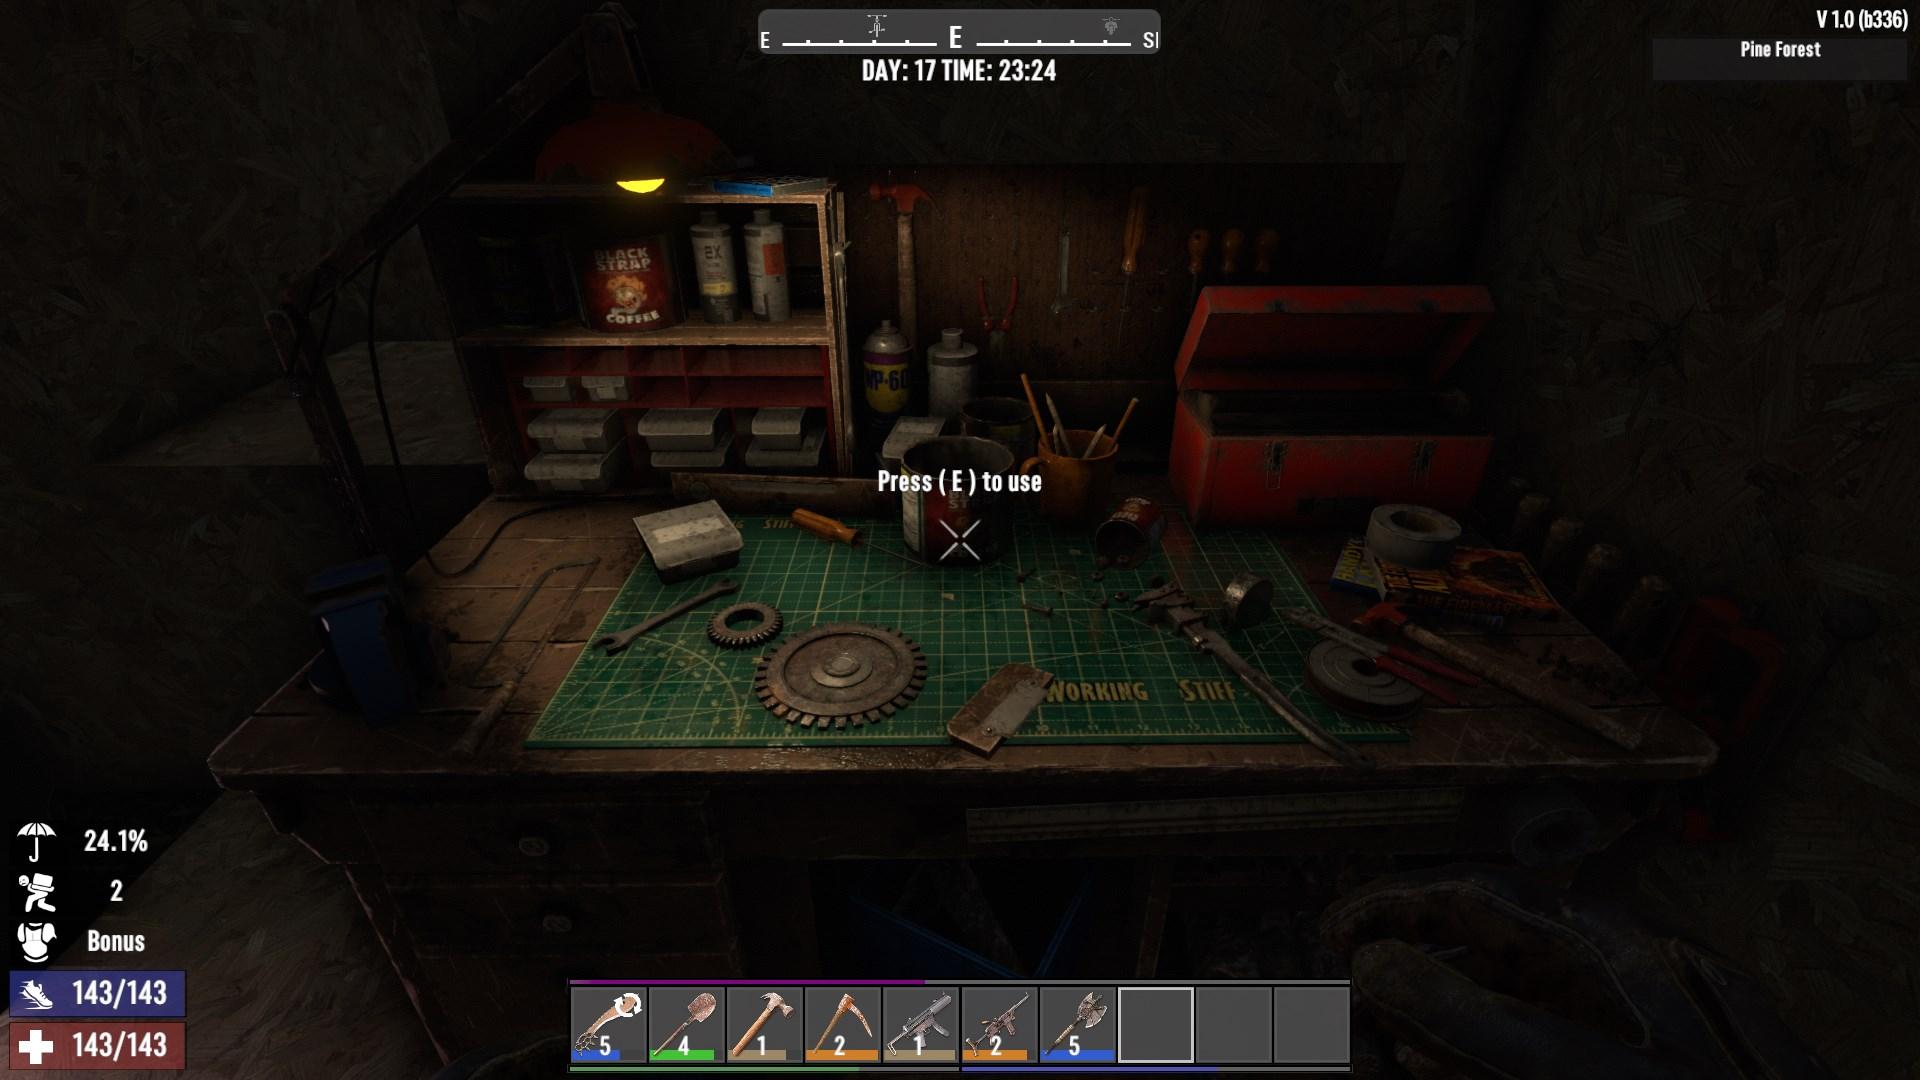
3. Workbench: Perfect for crafting large quantities of items like Cobblestone Rocks and repairing gear. It doesn’t require fuel and can handle many of the same recipes you can do in your inventory.
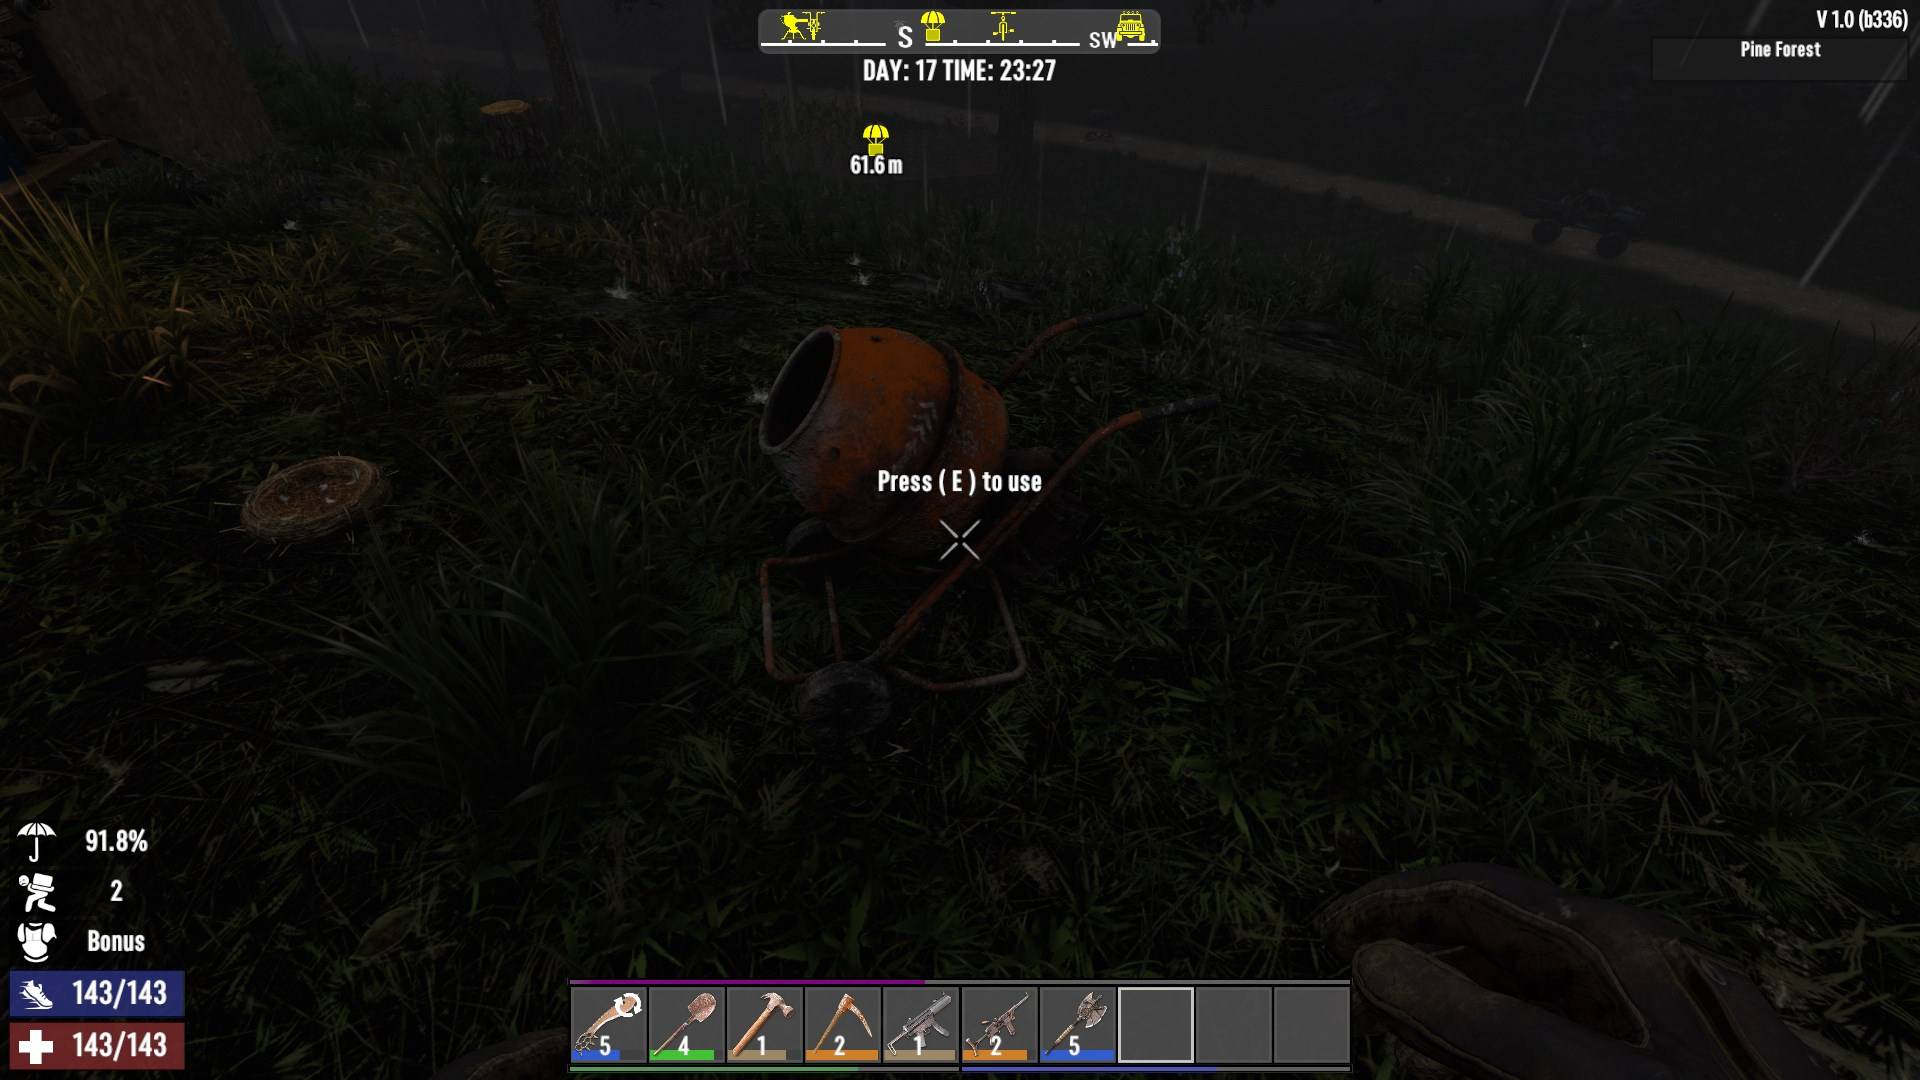
4. Cement Mixer: Use this to craft Concrete Mix and Crushed Sand, which are vital for block upgrades. It doesn’t need appliances or fuel, but you’ll need a steady supply of stone.
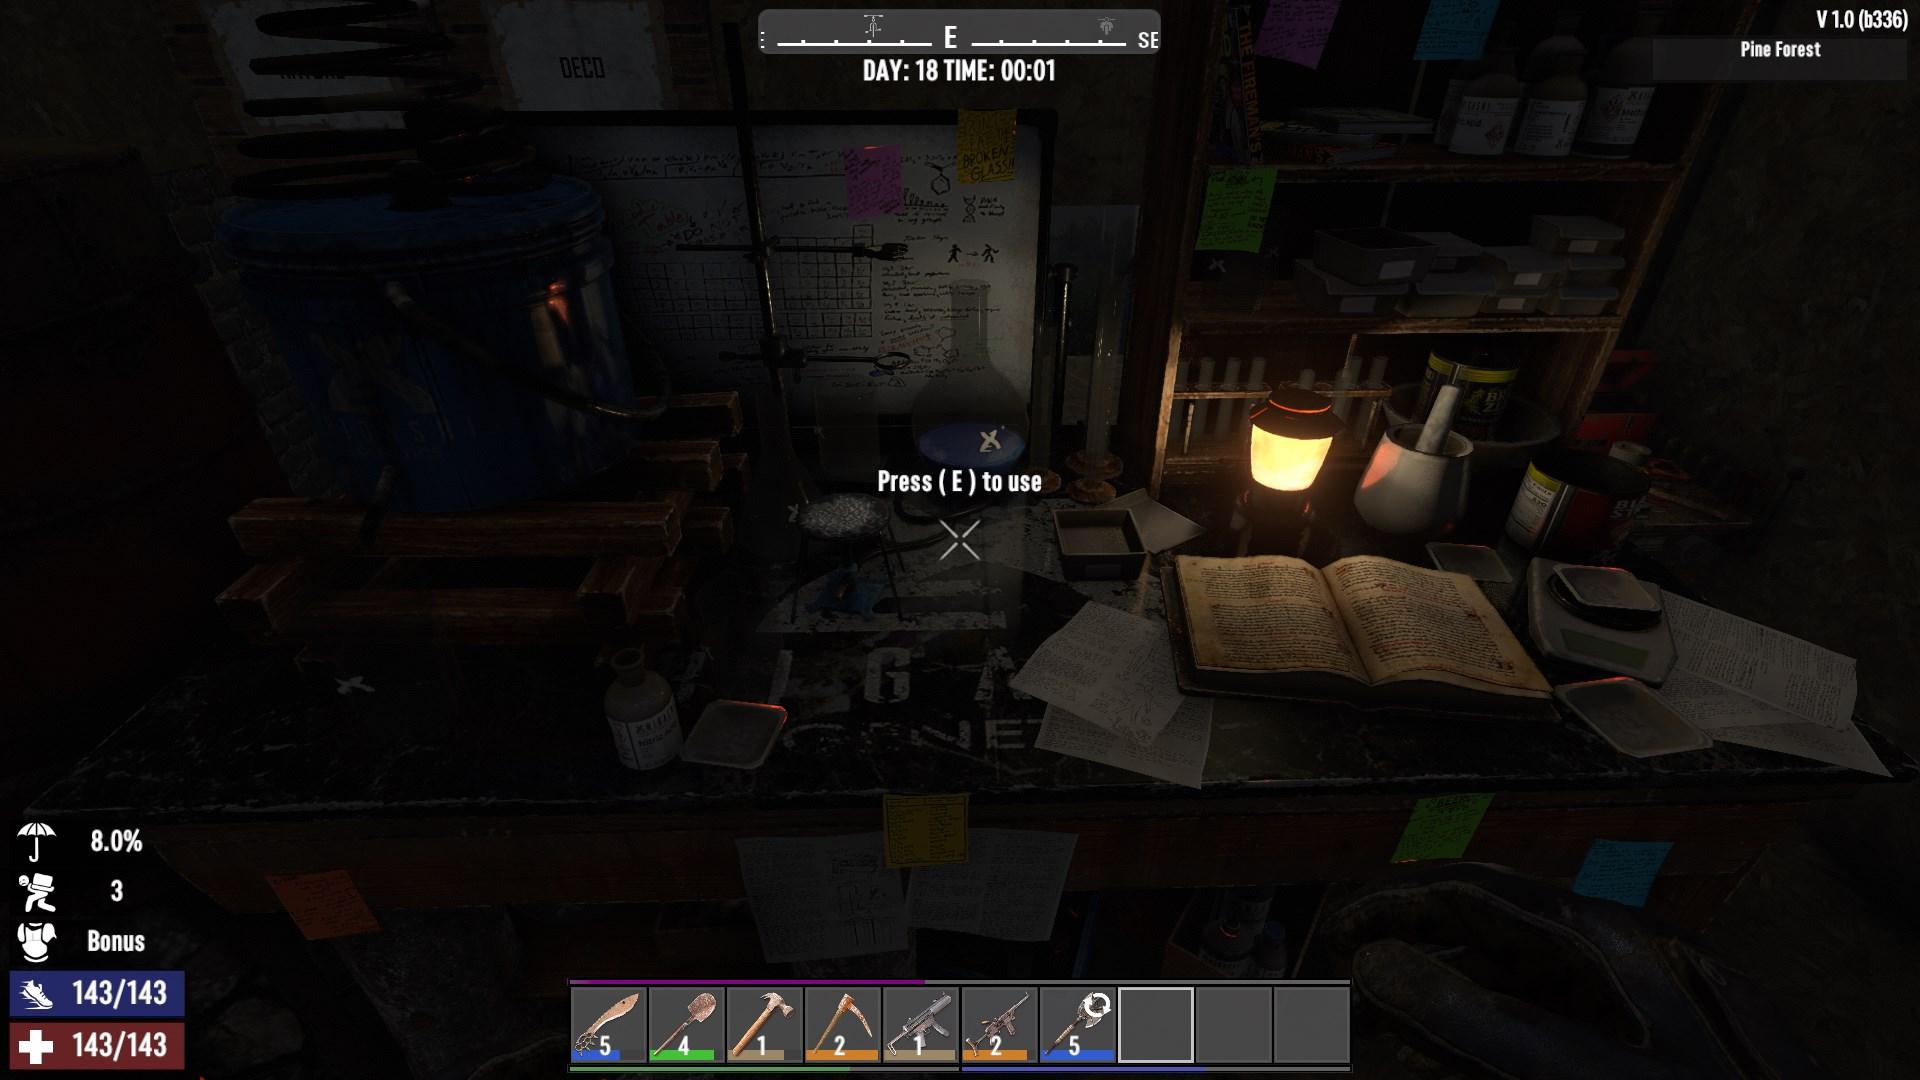
5. Chemistry Station: This is your go-to for creating chemicals, medicines, and various crafting bundles like Gun Powder. It requires fuel and is crucial for making ammo.
Efficient Crafting Tips
- Use Nerdy Glasses: They reduce crafting time by 10%—every second counts!
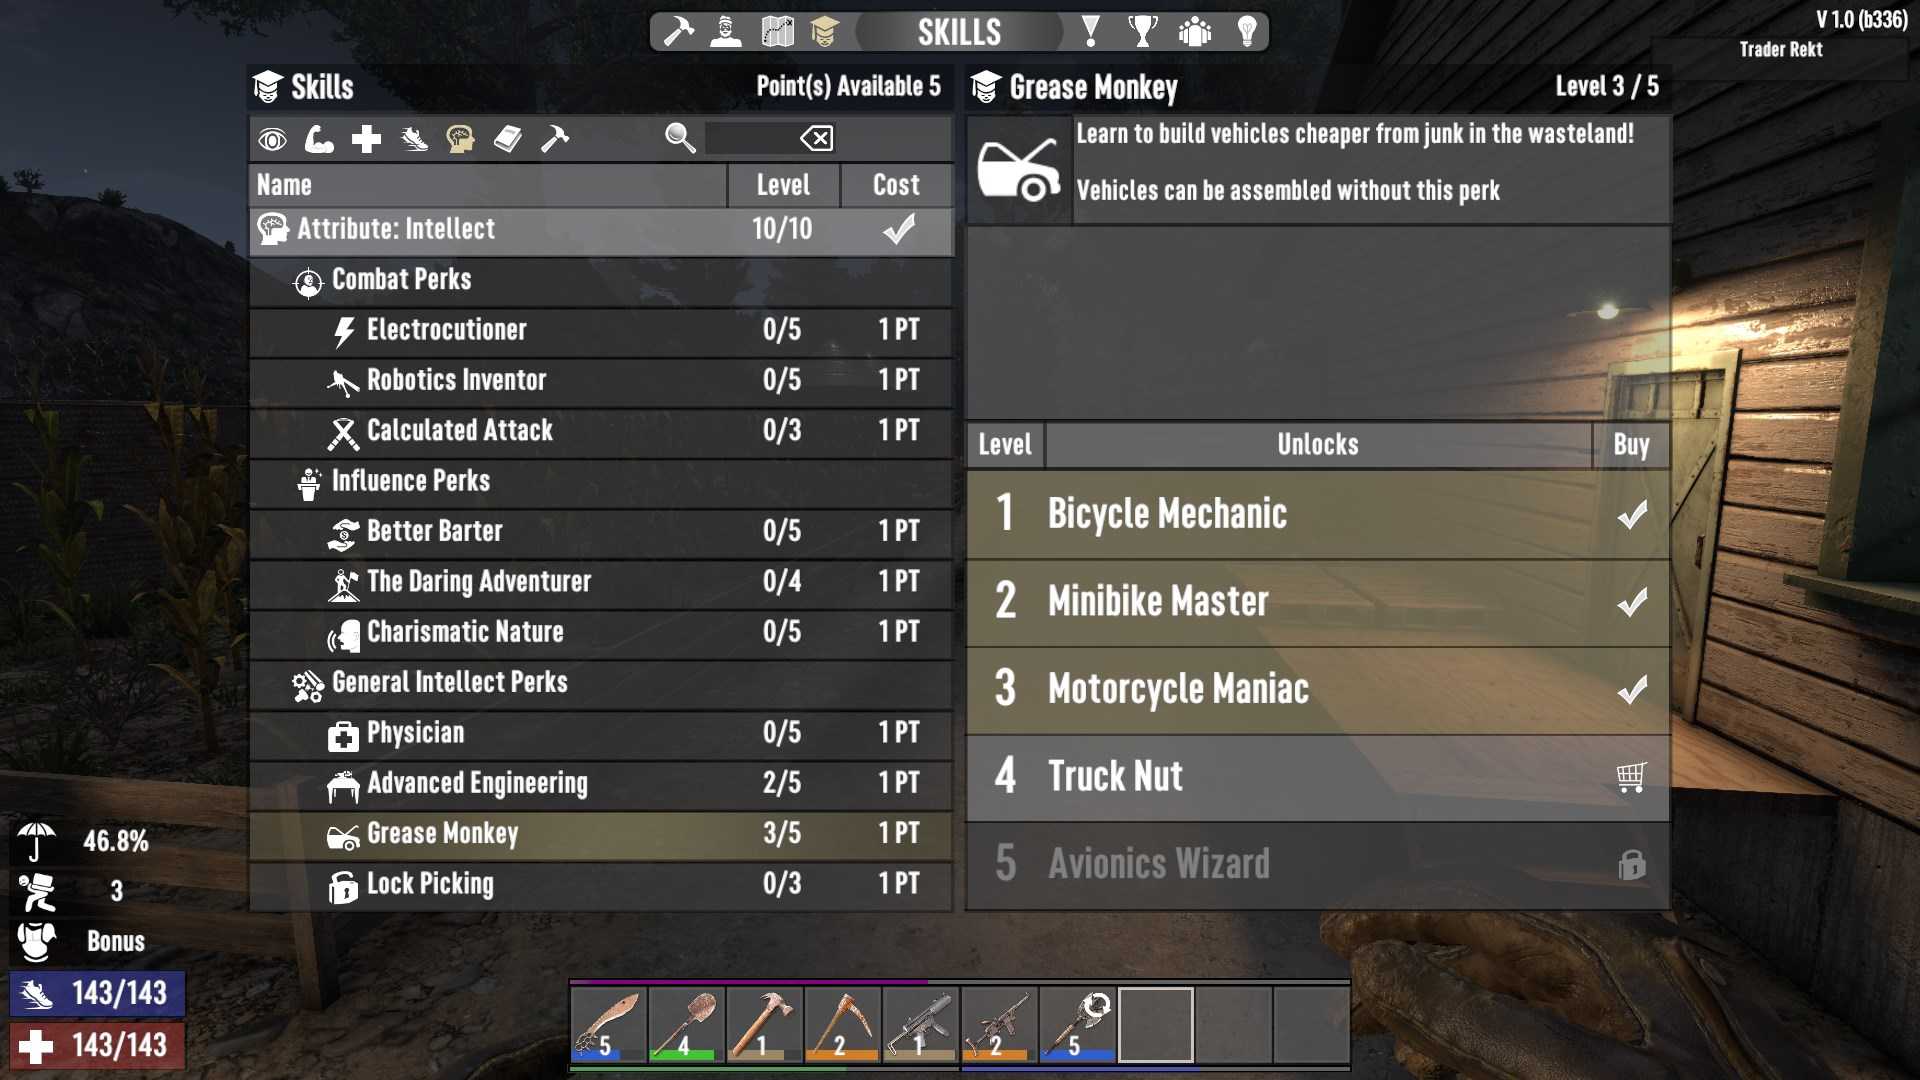
- Invest in Perks: Perks like Advanced Engineering and Grease Monkey can reduce resource costs and speed up crafting. Leveling up skills like Living Off The Land or Physician can also improve your crafting efficiency. Press ‘N’ to open Skills Panel.
- Read Perk Books: Certain Perk Books allow you to craft items in bundles, saving time and resources. For example, the Magnum Enforcer series lets you craft ammo in bulk, which is a huge time-saver.
Crafting in 7 Days to Die 1.0 is a thrilling aspect of survival, and mastering it can make all the difference between life and death. With the right resources, workstations, and a bit of practice, you’ll be crafting like a pro in no time.