
How to connect to dedicated 7 Days to Die server
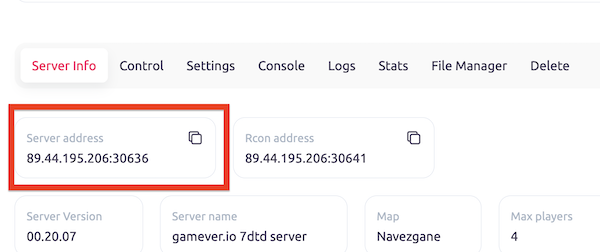
Step 1: Find an address of your Dedicated Server
Once you have found a server that you want to connect to, you will need to obtain the server address. This information can usually be found on the server's info page or in the server's ports page.
Step 2: Launch 7 Days to Die
Launch 7 Days to Die from your Steam library. Once the game has loaded, click on the "Play" button to access the main menu.
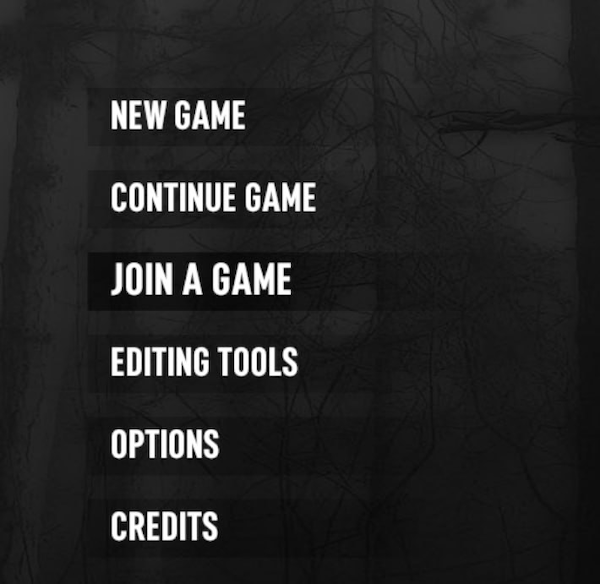
Step 3: Click on "JOIN A GAME"
From the main menu, click on the " JOIN A GAME " button. This will take you to the multiplayer menu.
Step 4: Click on "Start search" and “Connect to IP”
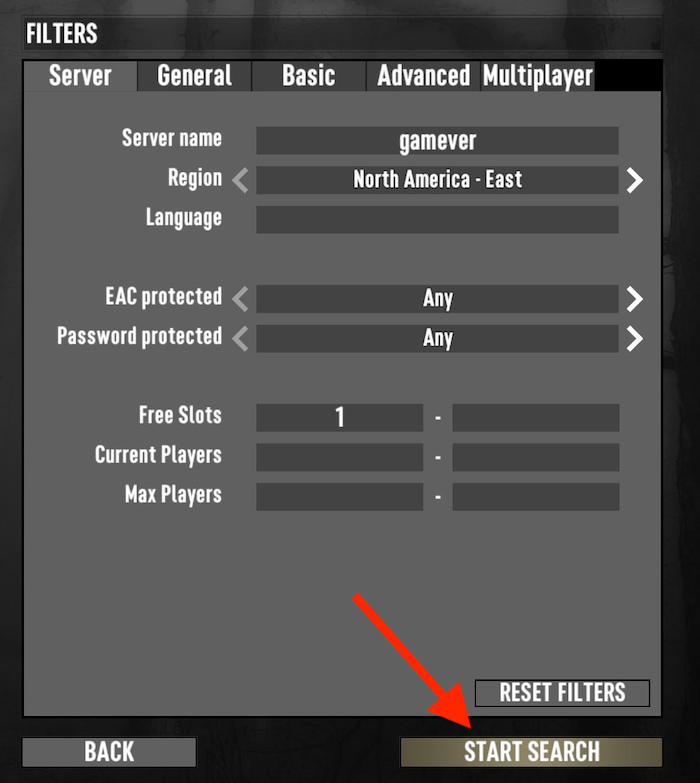
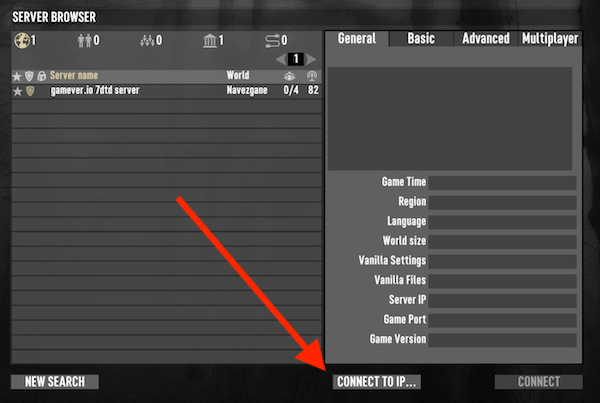
From the multiplayer menu, click on the " Start search" button. This will open a new window where you can enter the server's IP address.
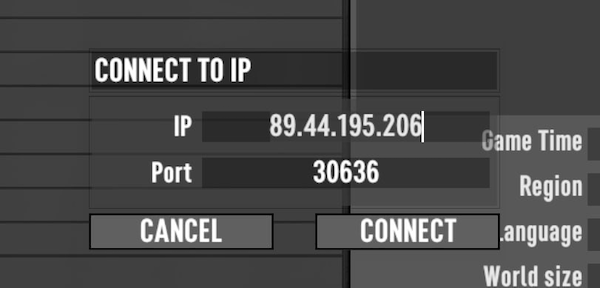
Step 5: Enter the Server IP Address
Enter the server's IP address in the "Server Address" field. Make sure to enter the IP address correctly, including any periods and numbers.
Step 6: Click "Connect"
Once you have entered the server's IP address, click on the "Connect" button. This will connect you to the server.
Step 7: Enjoy the Game)
Congratulations! You have successfully connected to a dedicated 7 Days to Die server. Now it's time to enjoy the game with other players from around the world.