
How to Configure World Settings in 7 Days to Die Update 1.0
Welcome to the wild and wacky world of 7 Days to Die Update 1.0! Whether you’re a survival newbie or a seasoned apocalypse veteran, getting your world settings dialed in is crucial for a killer game experience.

Game Setup and Initial Configuration
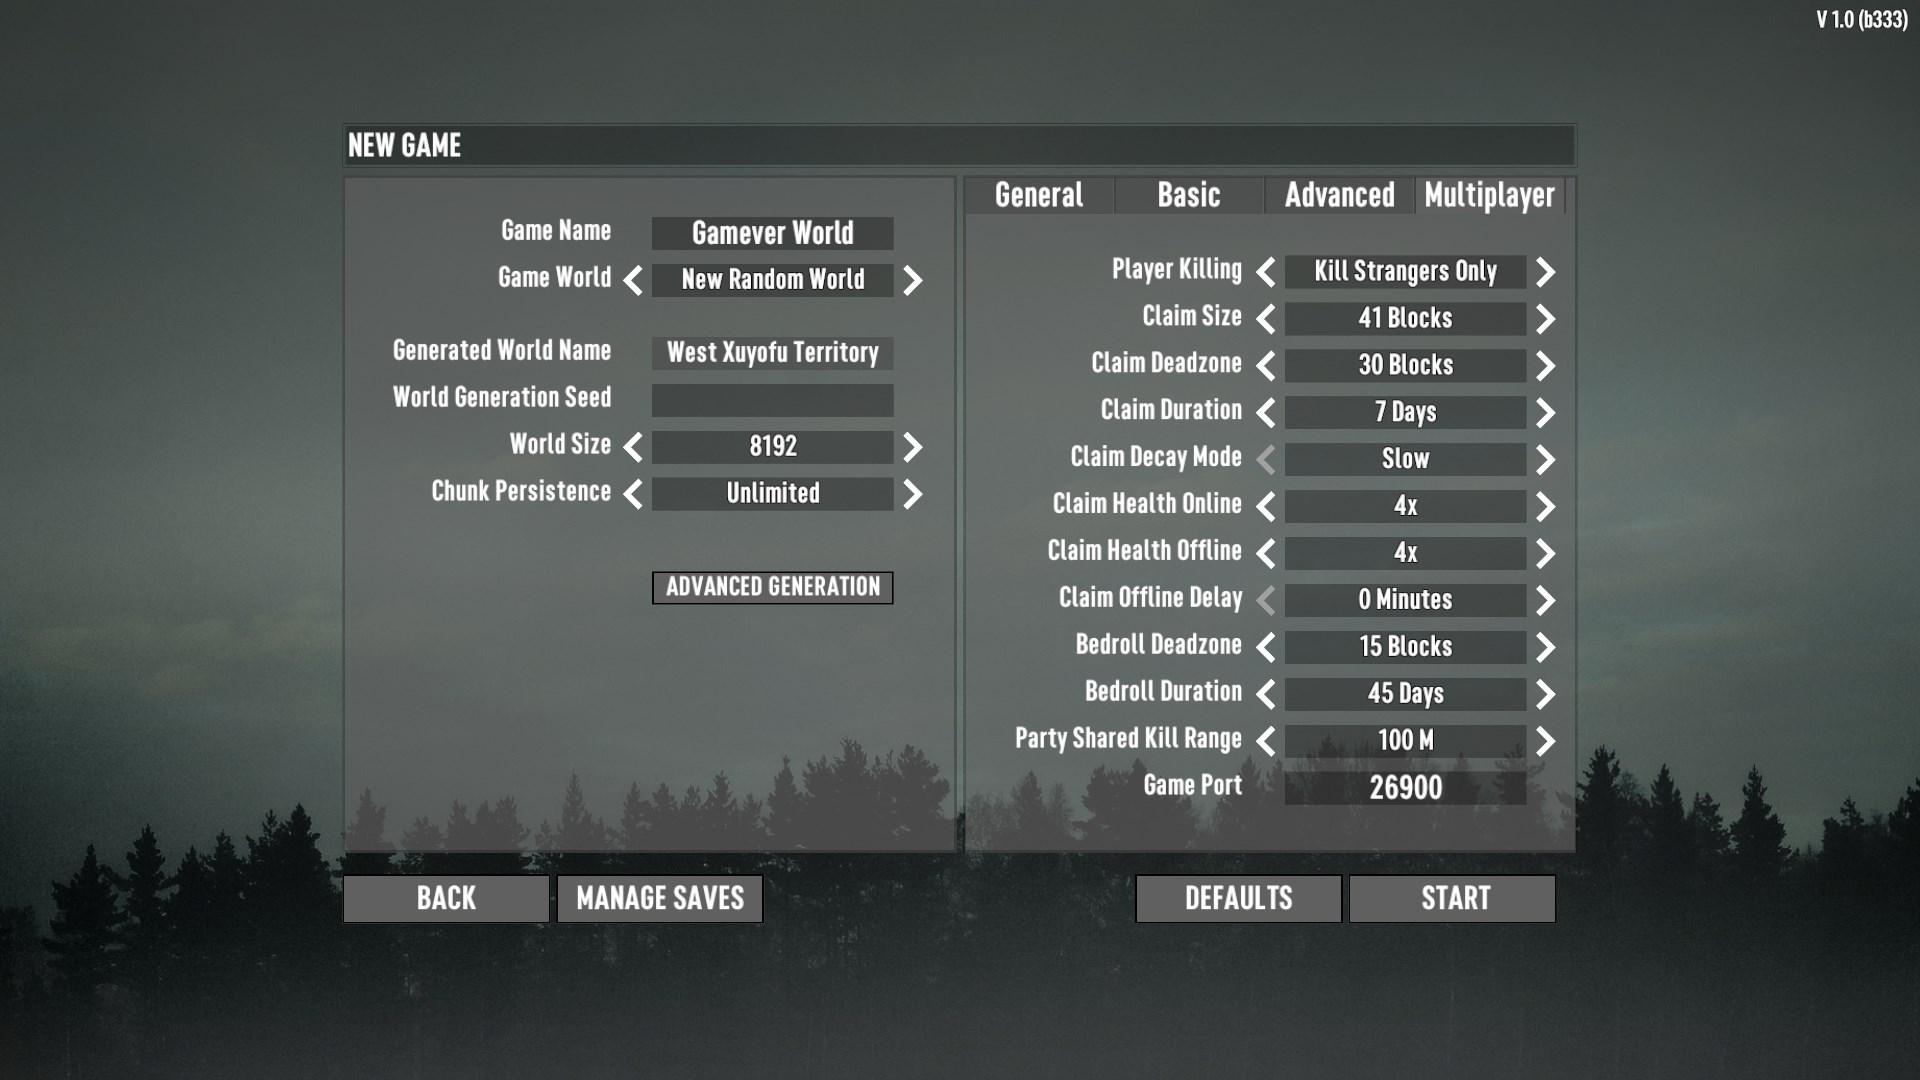
At first, boot up 7 Days to Die and get ready to dive into the chaos of customizing your survival experience. Head over to the game’s main menu, where you’ll find the gateway to setting up your perfect world. Here’s how you can ensure you’re not just surviving but thriving in your new digital sandbox. Press New Game and Select New Random World in Game World:
Selecting World Sizes and Map Types
The world size you choose can make or break your game. In 7 Days to Die Update 1.0, you have several options: 4K, 6K, and the beastly 8K worlds. The numbers here are crucial—they represent the size of the map and determine how much territory you’ll be exploring.
If you’re ready for a sprawling adventure with endless possibilities, the 8K world is your playground. Just keep in mind, you’re limited to only one 8K world at a time due to storage constraints. But it’s not just about size; it’s also about the map type.
Biome Layouts
Press Advanced Generation to customize the World of your Zombie-apocalyptic world. In Update 1.0, you have four main types to choose from:
Forest Center: This map type features a forest biome right at the center, surrounded by a variety of other biomes. It’s perfect if you want a central base and equal access to different resources.
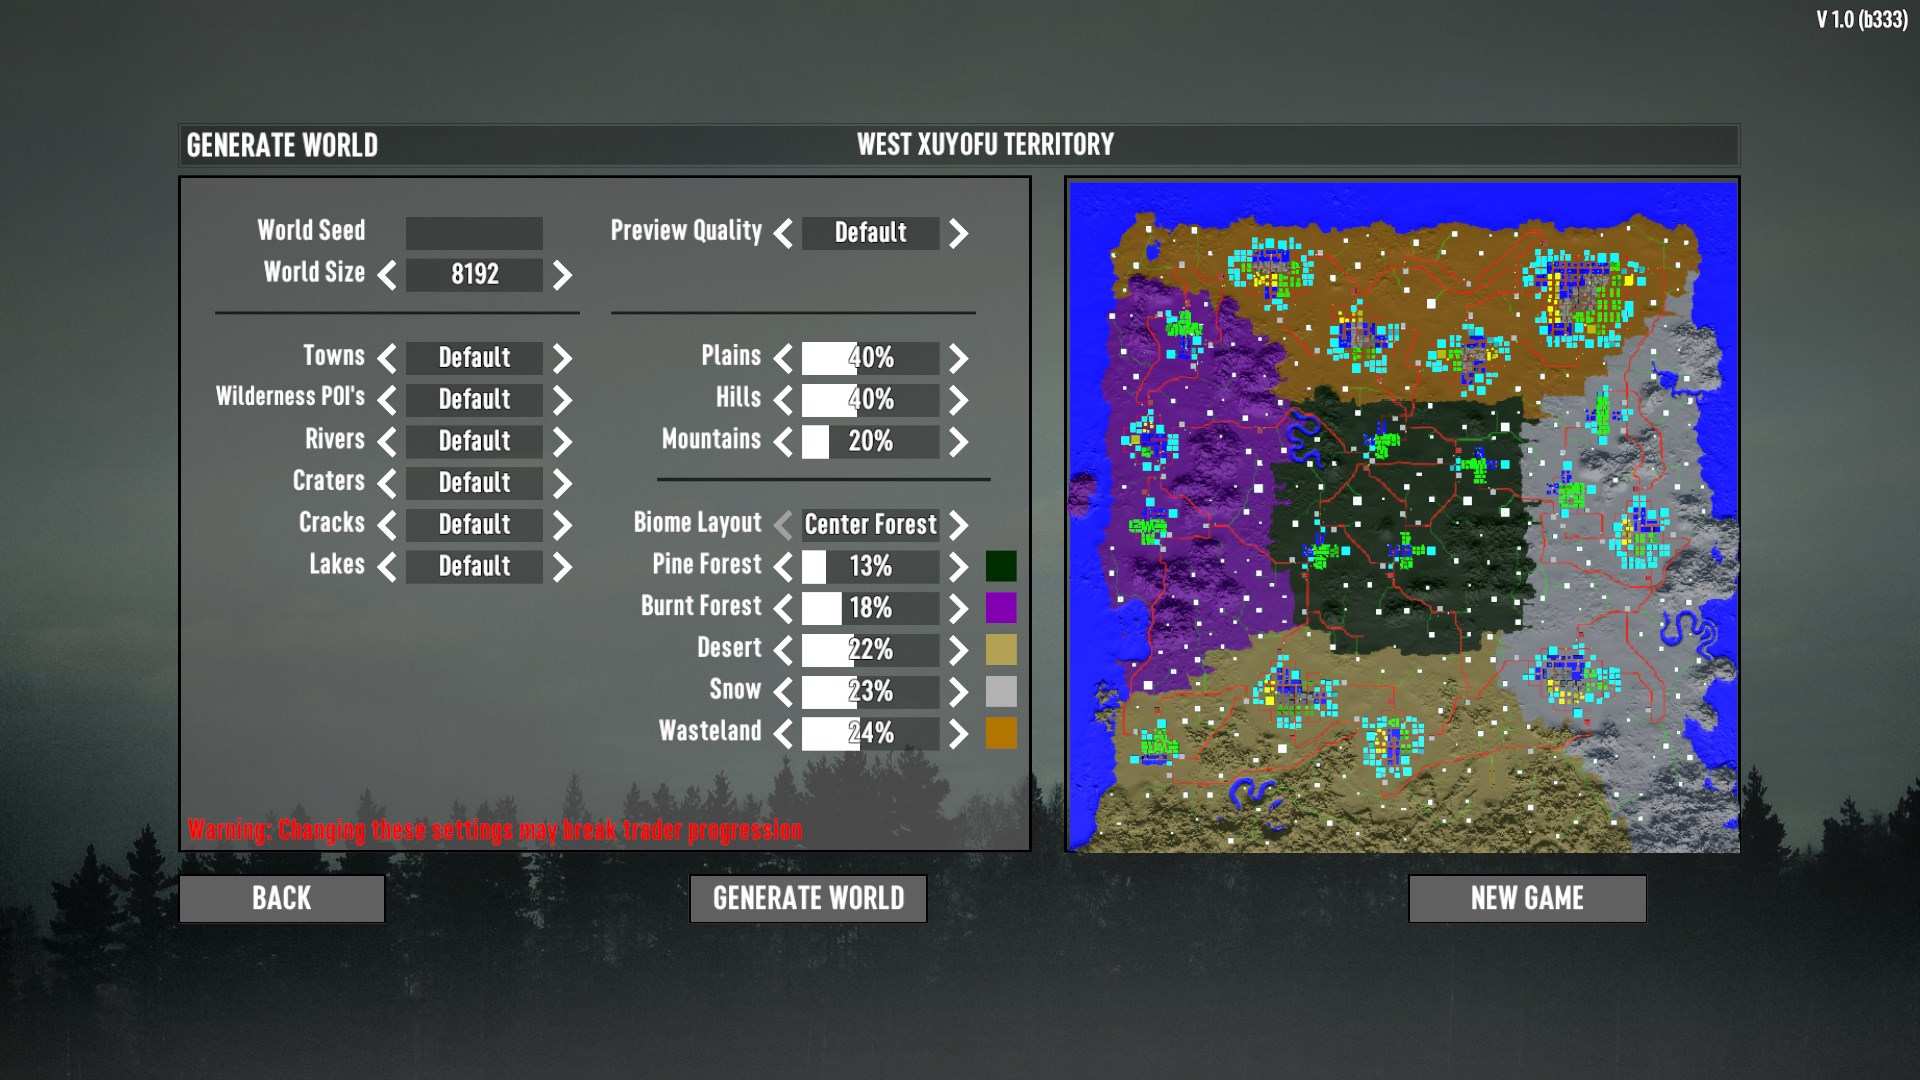
Wasteland Center: If you’re a fan of the classic post-apocalyptic look, this map centers around a wasteland with the iconic Hub City. Great for those who thrive in a desolate, danger-filled environment.
Lines: This map features biomes in stripes, creating a unique and challenging layout that’s ideal for those who enjoy a mix of environments.

Circle: A bit of everything with no set pattern—if you like surprises and variety, this one’s for you.
Difficulty Settings and Game Parameters
Next up, let’s tweak those game settings to match your playstyle. Start by setting the difficulty. The default is Warrior, which offers a solid challenge for most players. If you’re feeling particularly brave (or masochistic), you can crank up the difficulty even higher.
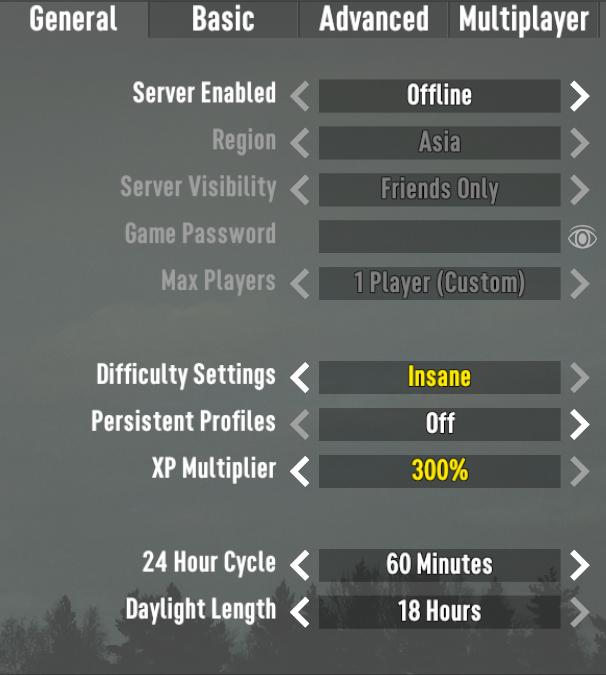
The day cycle is another crucial setting. In Update 1.0, you can adjust this to a 50-minute day cycle. This gives you ample time to gather resources, build, and fend off zombies before nightfall.
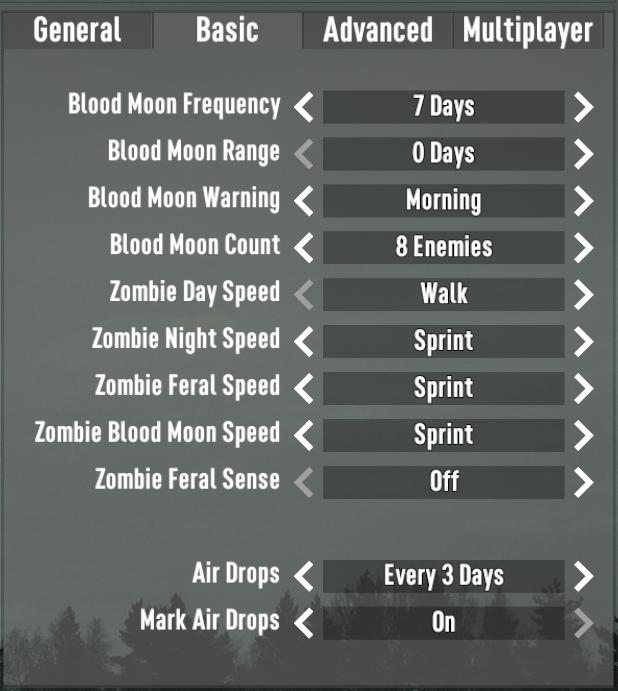
Another critical setting to adjust is the Blood Moon count. Legacy players might remember the old limit of eight zombies at a time, but in Update 1.0, you can ramp this up to a maximum of 64 zombies. This setting will test your survival skills like never before, so make sure you’re prepared for the chaos.
Loot respawn and quest progression are also worth a look. In Update 1.0, you can turn loot respawn off if you prefer a more static world. Additionally, adjusting the daily quest progression limit to its maximum can keep your gameplay fresh and engaging, offering more opportunities to complete quests and explore.
Configuring your world settings in 7 Days to Die Update 1.0 can significantly impact your gaming experience. By understanding and adjusting the world sizes, map types, and game parameters, you’re setting yourself up for an epic survival adventure. Whether you prefer a sprawling 8K map with a balanced biome distribution or a challenging wasteland center, tailoring the settings to your playstyle is key. So, go ahead, make those adjustments, and dive headfirst into the apocalypse with a world perfectly suited to your survival needs!