How to Change Mic in Rust
Encountering microphone problems while playing Rust can be frustrating, hindering communication with teammates. If you're facing mic issues, follow these simple fixes to get your voice chat back on track.
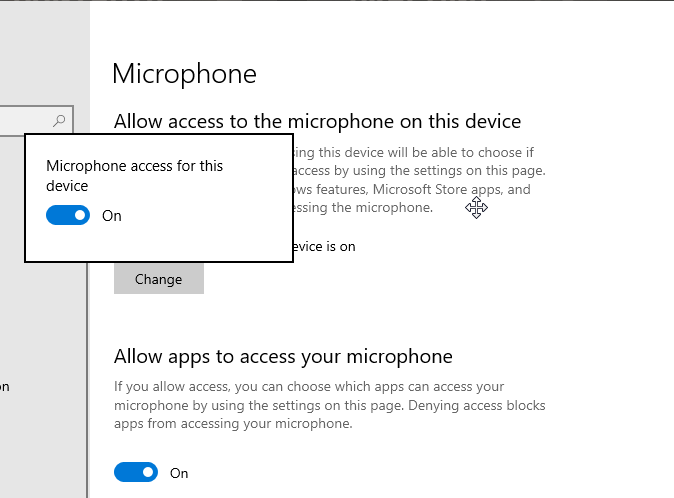
Allowing Access to Your Microphone
Ensure Rust has permission to access your microphone:
Open Windows settings by pressing Windows logo key + "I."
Select "Privacy" and choose "Microphone."
Enable "Microphone access for this device" and "Allow apps to access your microphone."
Toggle on "Allow desktop apps to access your microphone."
Configuring Sound Settings
Adjust sound settings to set your microphone as the default device:
Right-click the speaker icon and select "Sounds."
Go to the "Recording" tab and disable unused microphones.
Set your active microphone as the default device and adjust its volume.
Save changes and check if the microphone works in Rust.

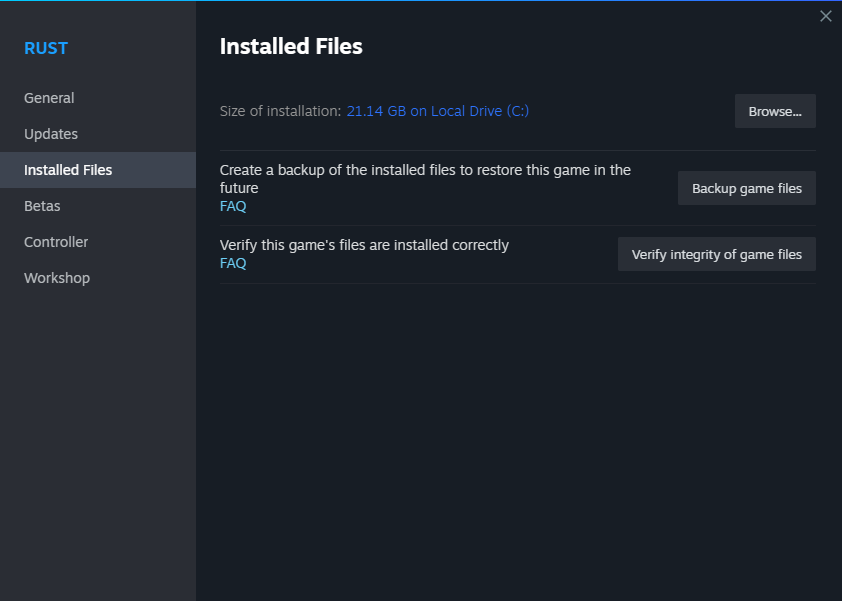
Verifying Game Files
Missing or corrupted game files will lead to a variety of game issues including the Rust mic not working. Luckily, Steam can automatically scan and repair the game files by a few easy steps.
Ensure game files are not corrupted:
Open Steam and go to the Library tab.
Right-click Rust, select "Properties," and go to the "Local Files" tab.
Click "Verify Integrity of Game Files" and wait for the process to complete.
Conclusion
By following these steps, you can troubleshoot mic issues in Rust and restore seamless voice chat with your teammates. Remember to check your hardware and connections as well. Enjoy improved communication and a better gaming experience in Rust.