
How to build a simple tree farm in Minecraft?
In Minecraft, planting trees is a great way to make sure you always have wood, which is useful for making, building, and fuel. You can focus on other parts of the game, while a semi-automated tree farm saves you time and effort. This guide will show you how to use basic redstone techniques to build a simple, effective tree farm. We will also talk about the perks of playing on Gamever servers, where you can share your work and work with friends.
Understanding the Basics of a Tree Farm
In Minecraft, a tree farm automates or facilitates the growth and harvesting of trees. By combining redstone mechanics, dispensers, and bone meal, you can create a system that speeds up the growth process and makes wood collection more efficient.
Step-by-Step Guide to Building a Simple Tree Farm
1. Setting Up the Core Mechanism
Install the Dispenser : Start by placing a dispenser. This will be the core component that applies bone meal to the saplings, accelerating their growth. Attach a lever to the dispenser to manually control the dispensing of bone meal.
Positioning the Block for Redstone : Place a solid block behind the dispenser. This block will serve as a base for redstone torches and dust.
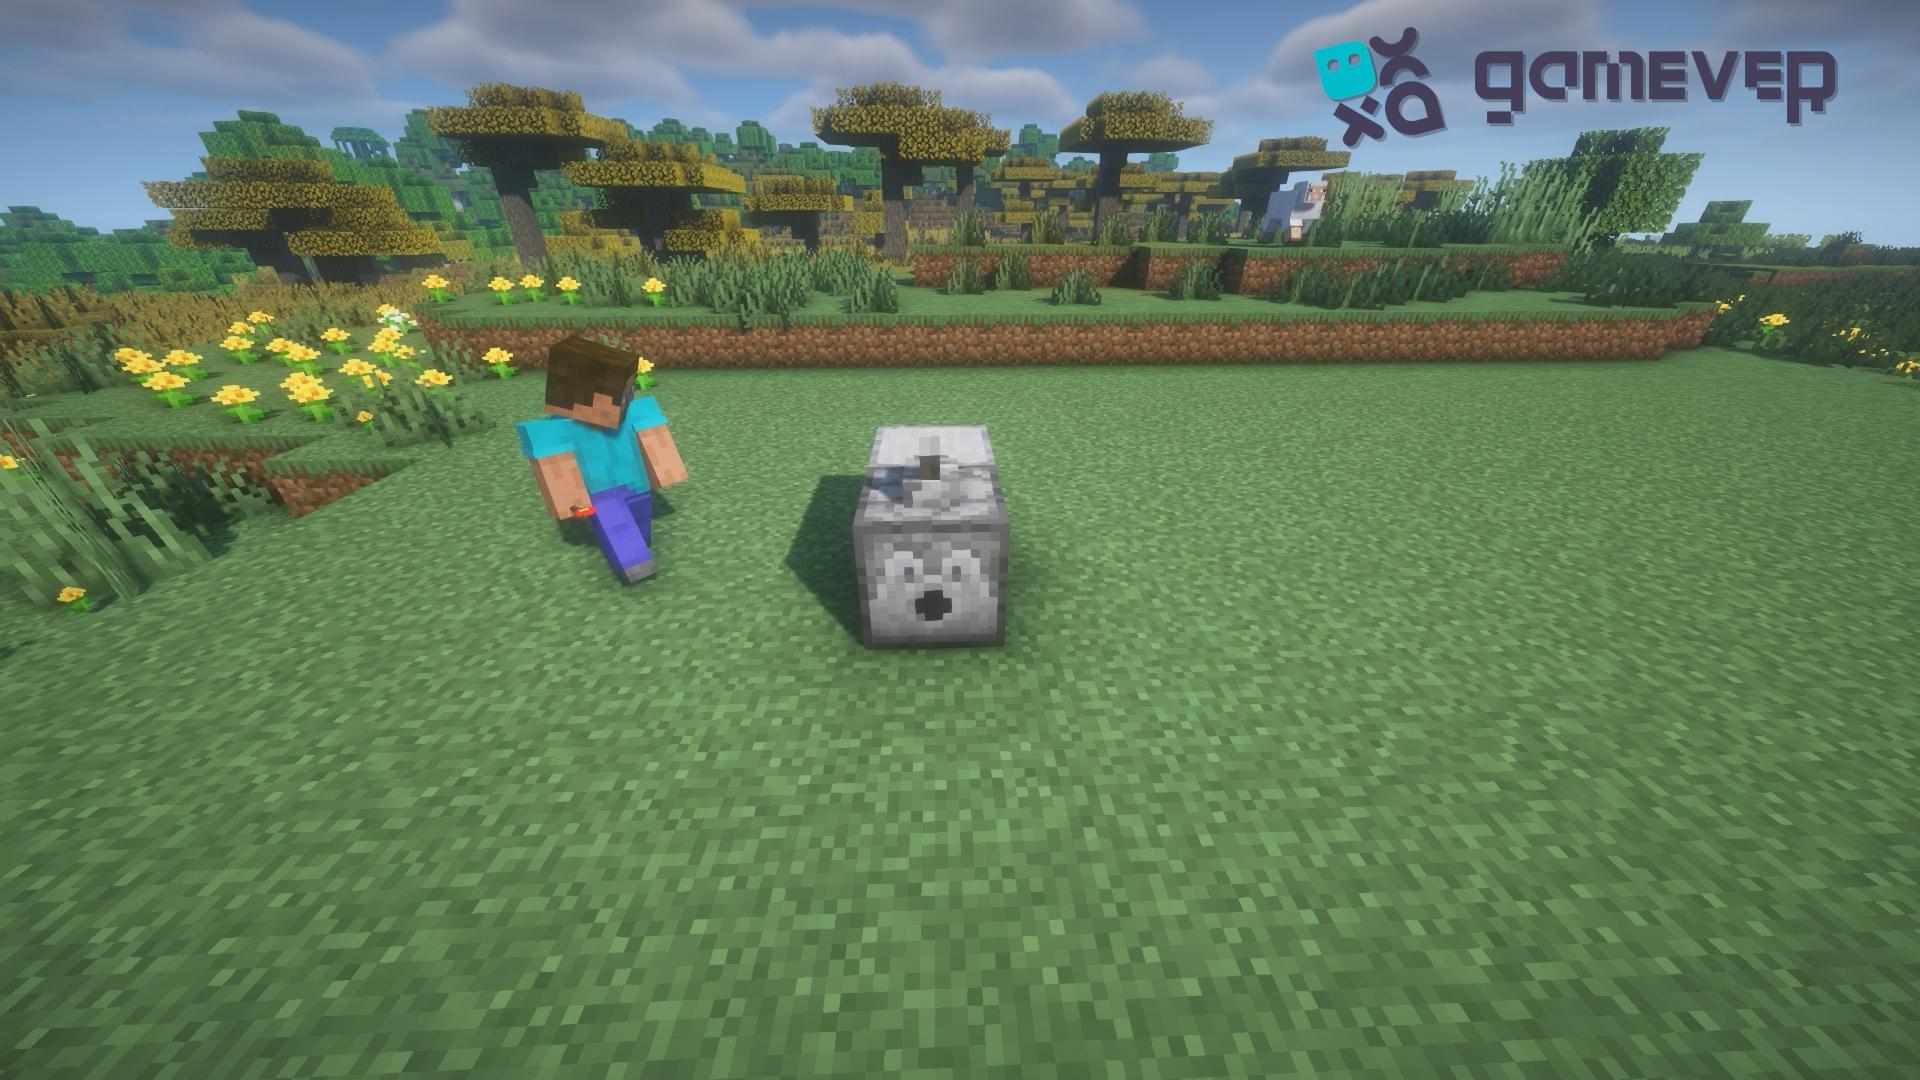
Adding Redstone Torches and Dust : On the solid block, place redstone torches and connect them with redstone dust. This setup will ensure a continuous power supply to the dispenser when needed.
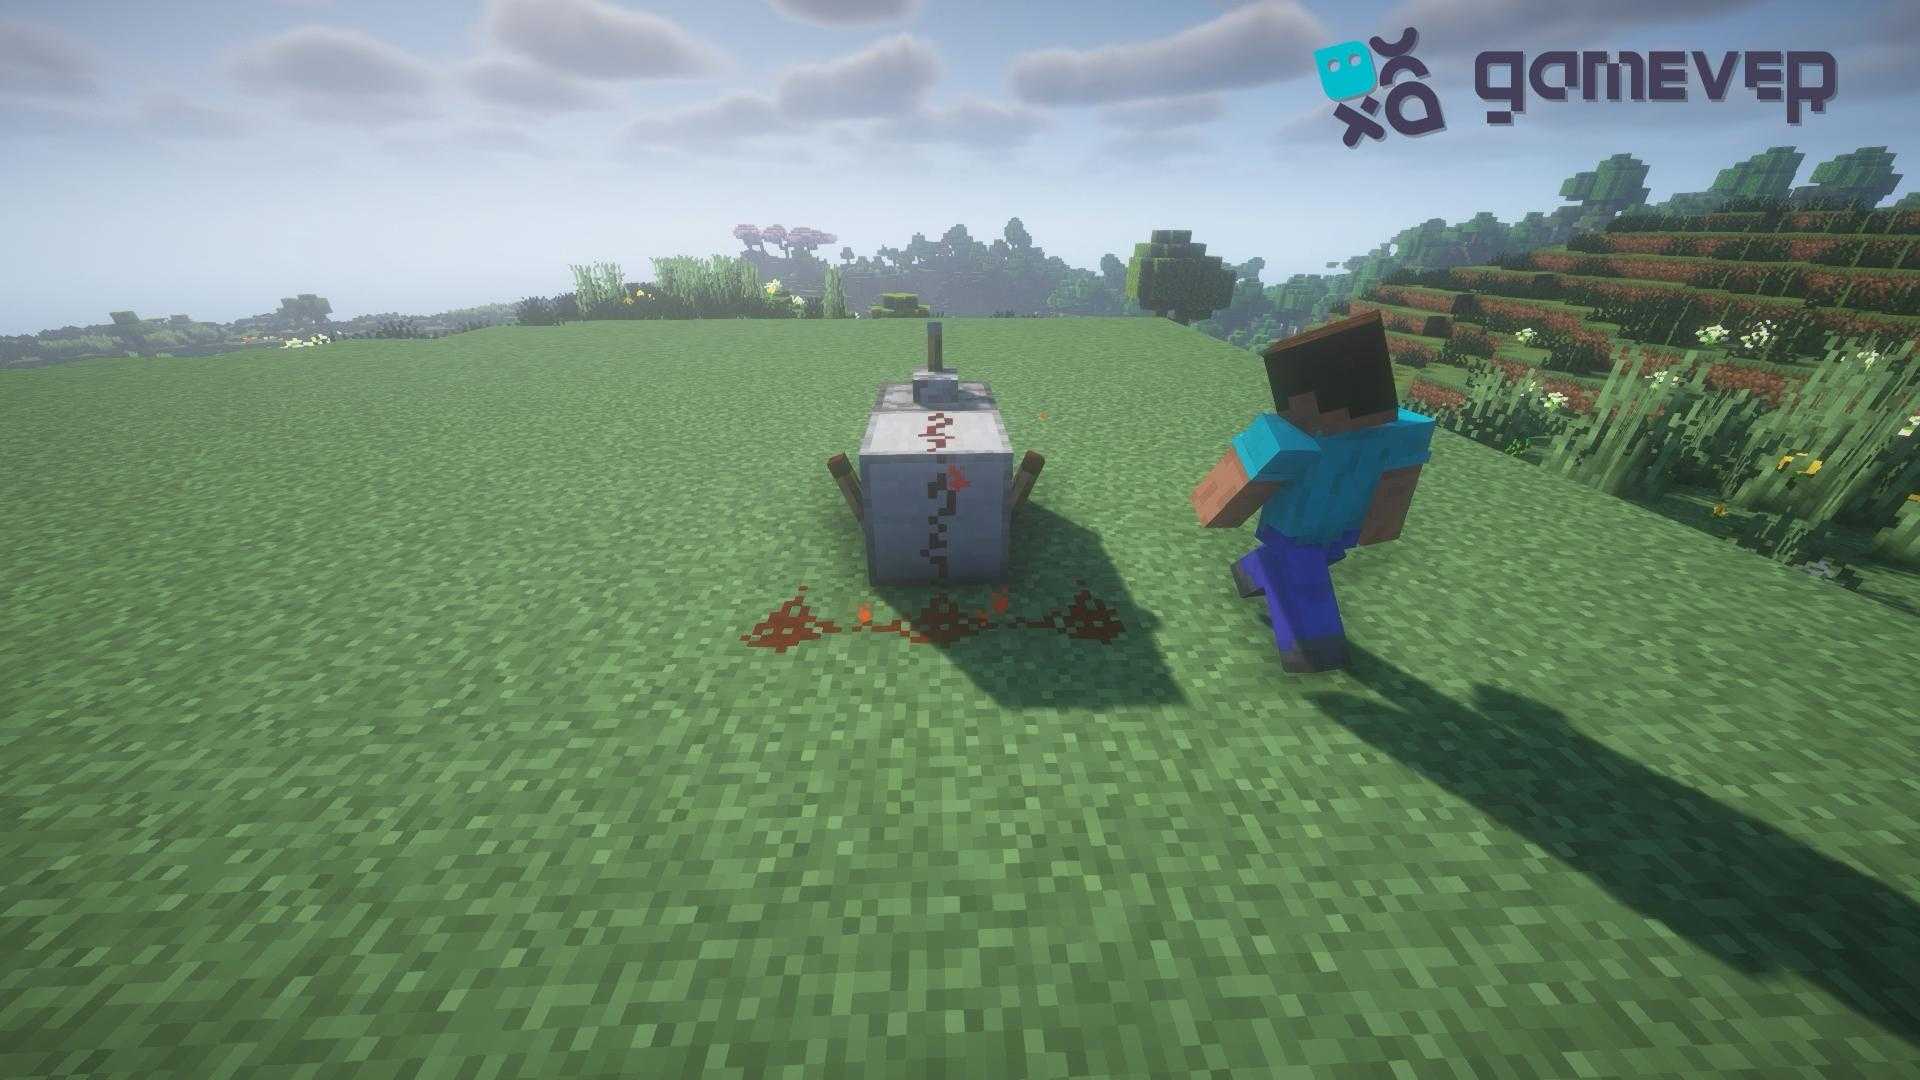
2. Configuring the Pistons and Observer
Placing the Pistons : Set up four pistons near the area where the tree will grow. Once the tree grows, these pistons will push the tree logs, freeing up space for new saplings.
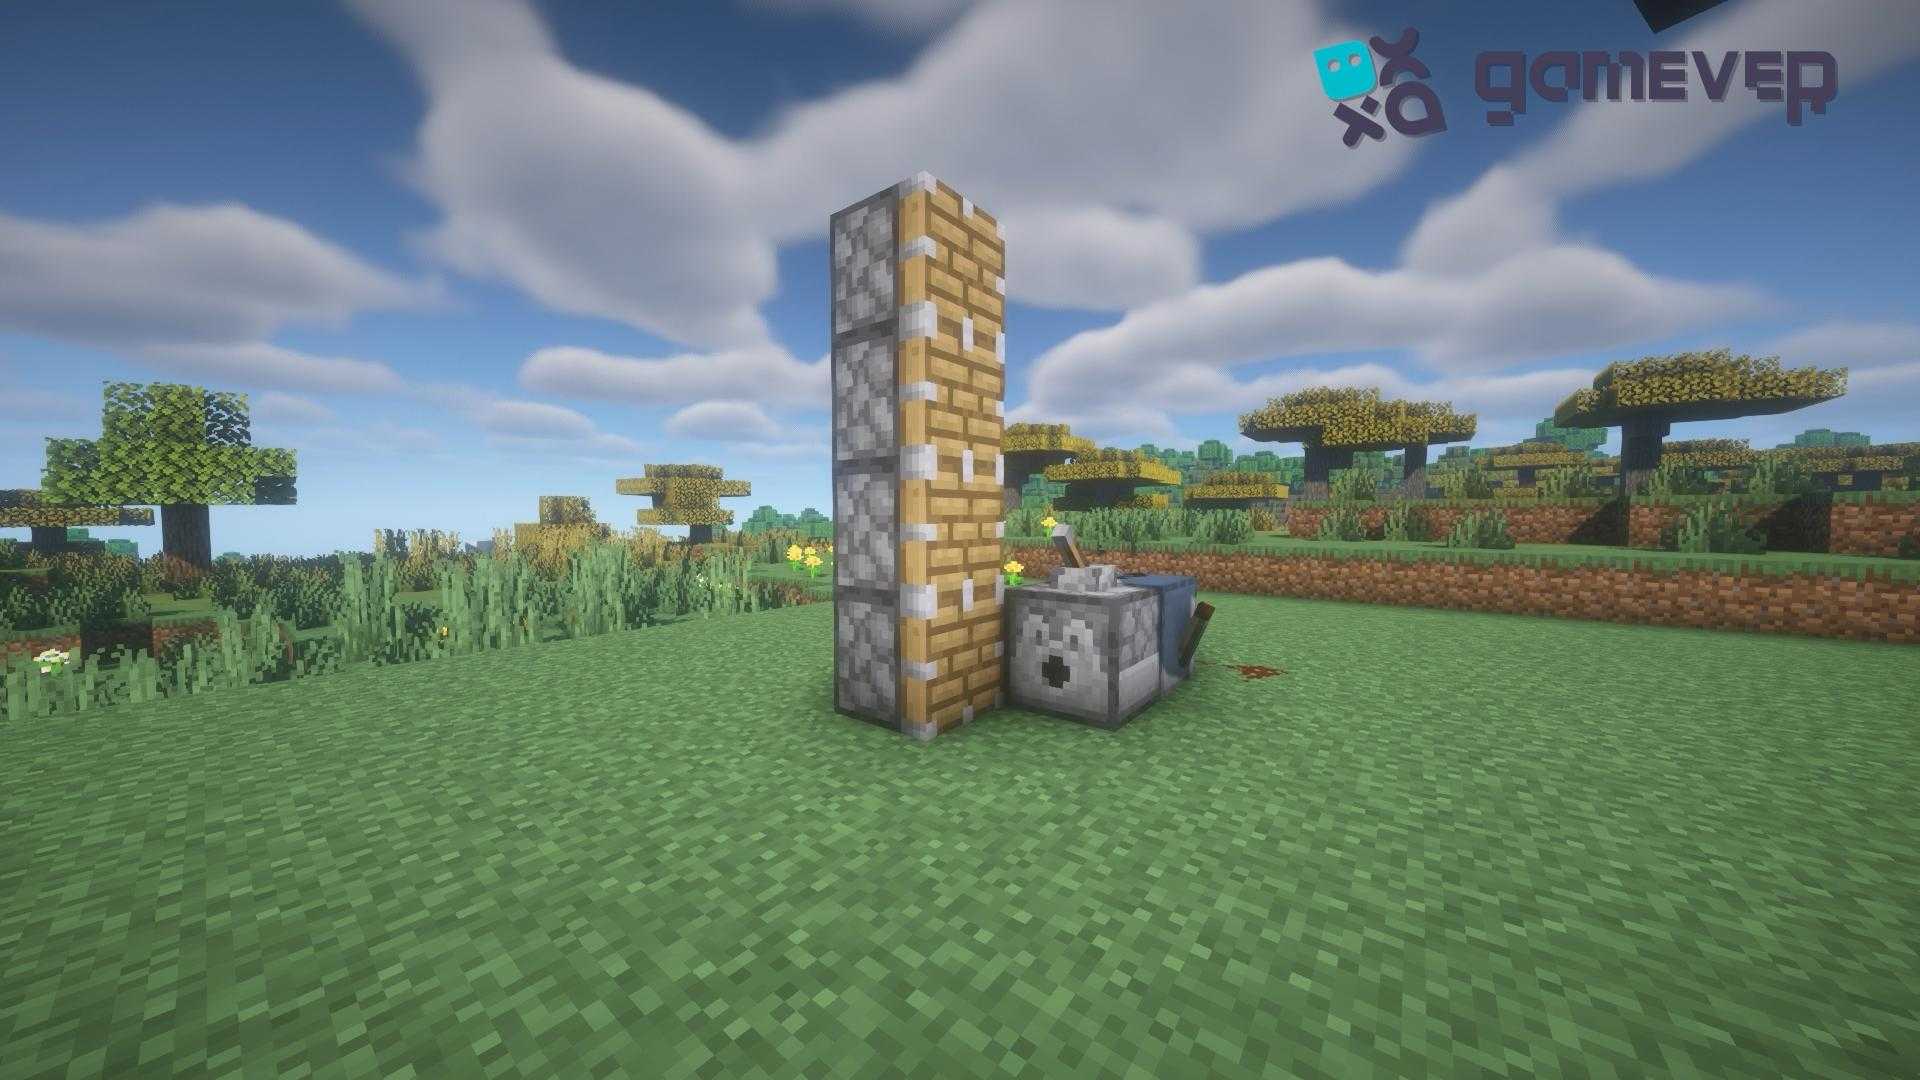
Installing the Observer : Place an observer on top of the pistons. The observer will detect when a tree has grown and send a redstone signal to activate the pistons.
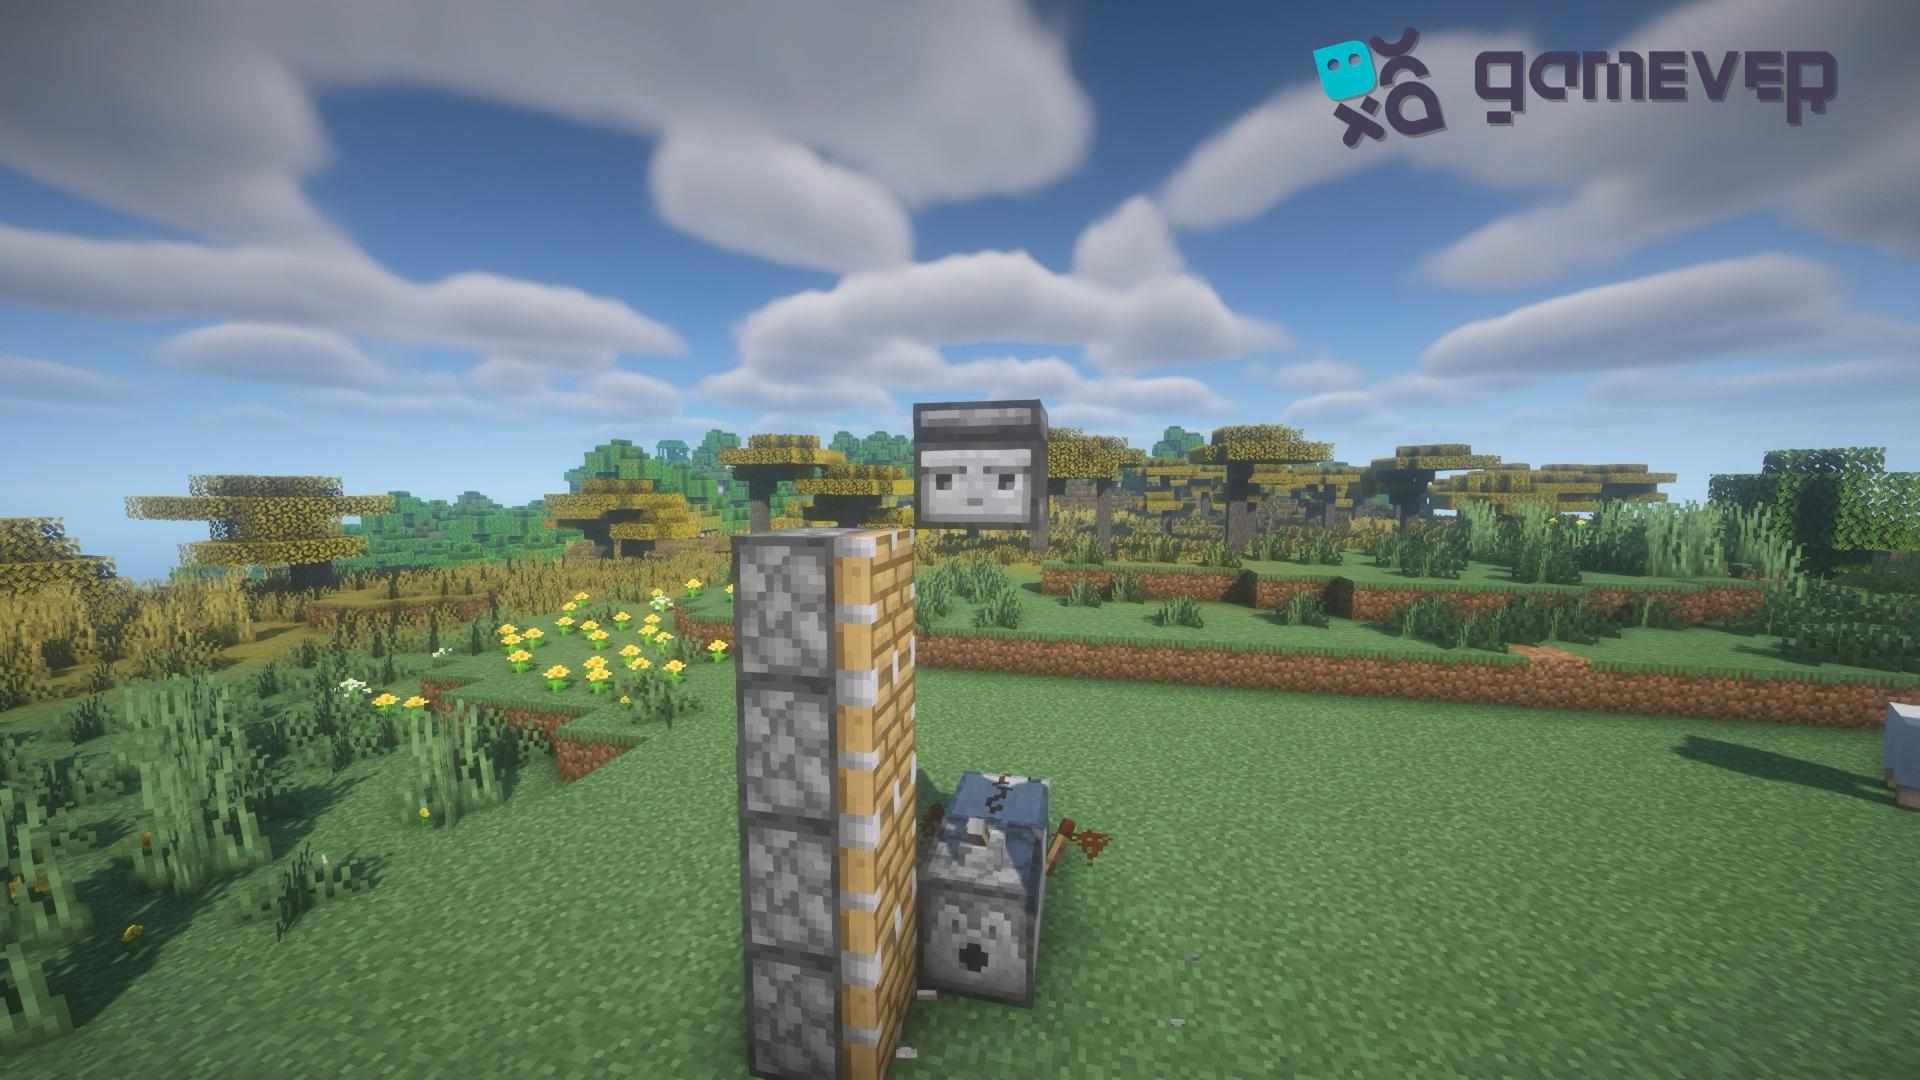
3. Completing the Redstone Circuit
Redstone Dust and Comparator Setup : Behind the pistons, place redstone dust and a redstone comparator. This setup will help control the timing and activation of the pistons.
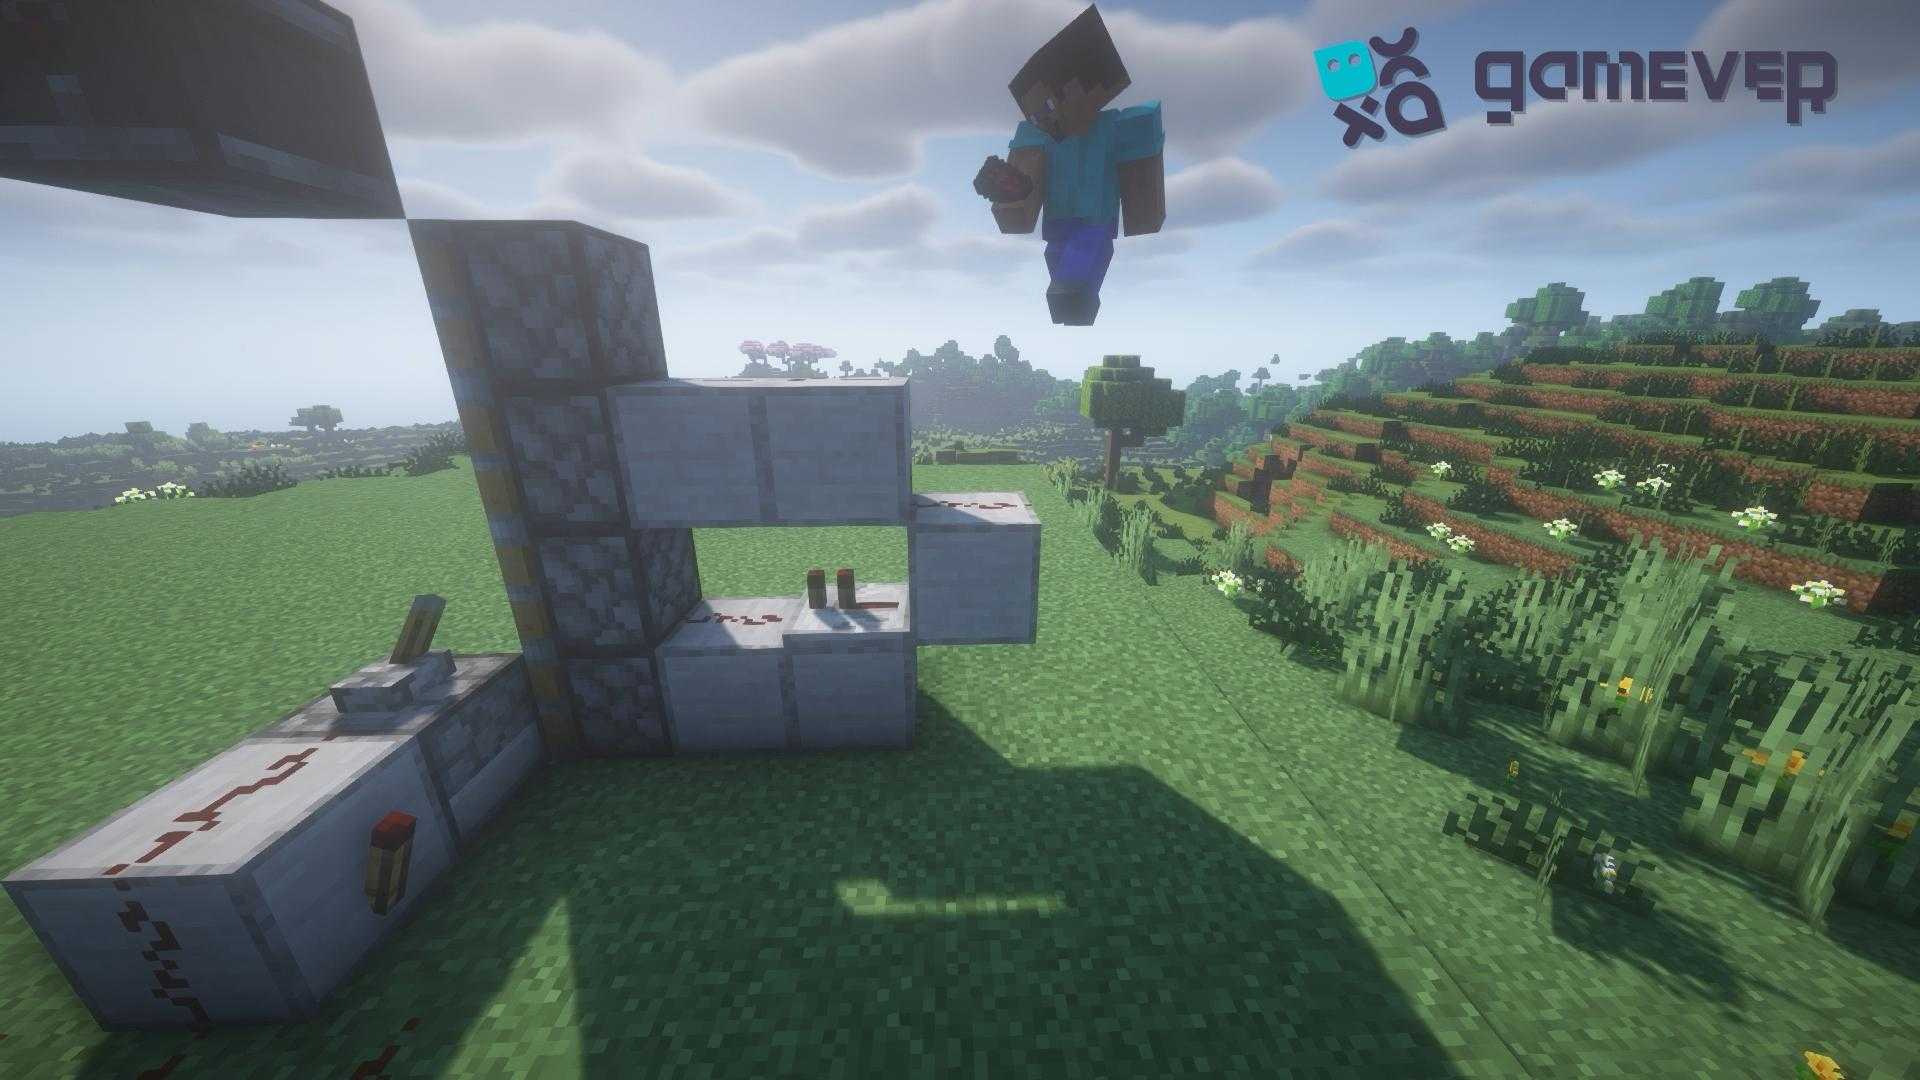
Connect the redstone dust and comparators to the observer and the system behind the pistons. This will synchronize the actions of the dispenser, observer, and pistons.
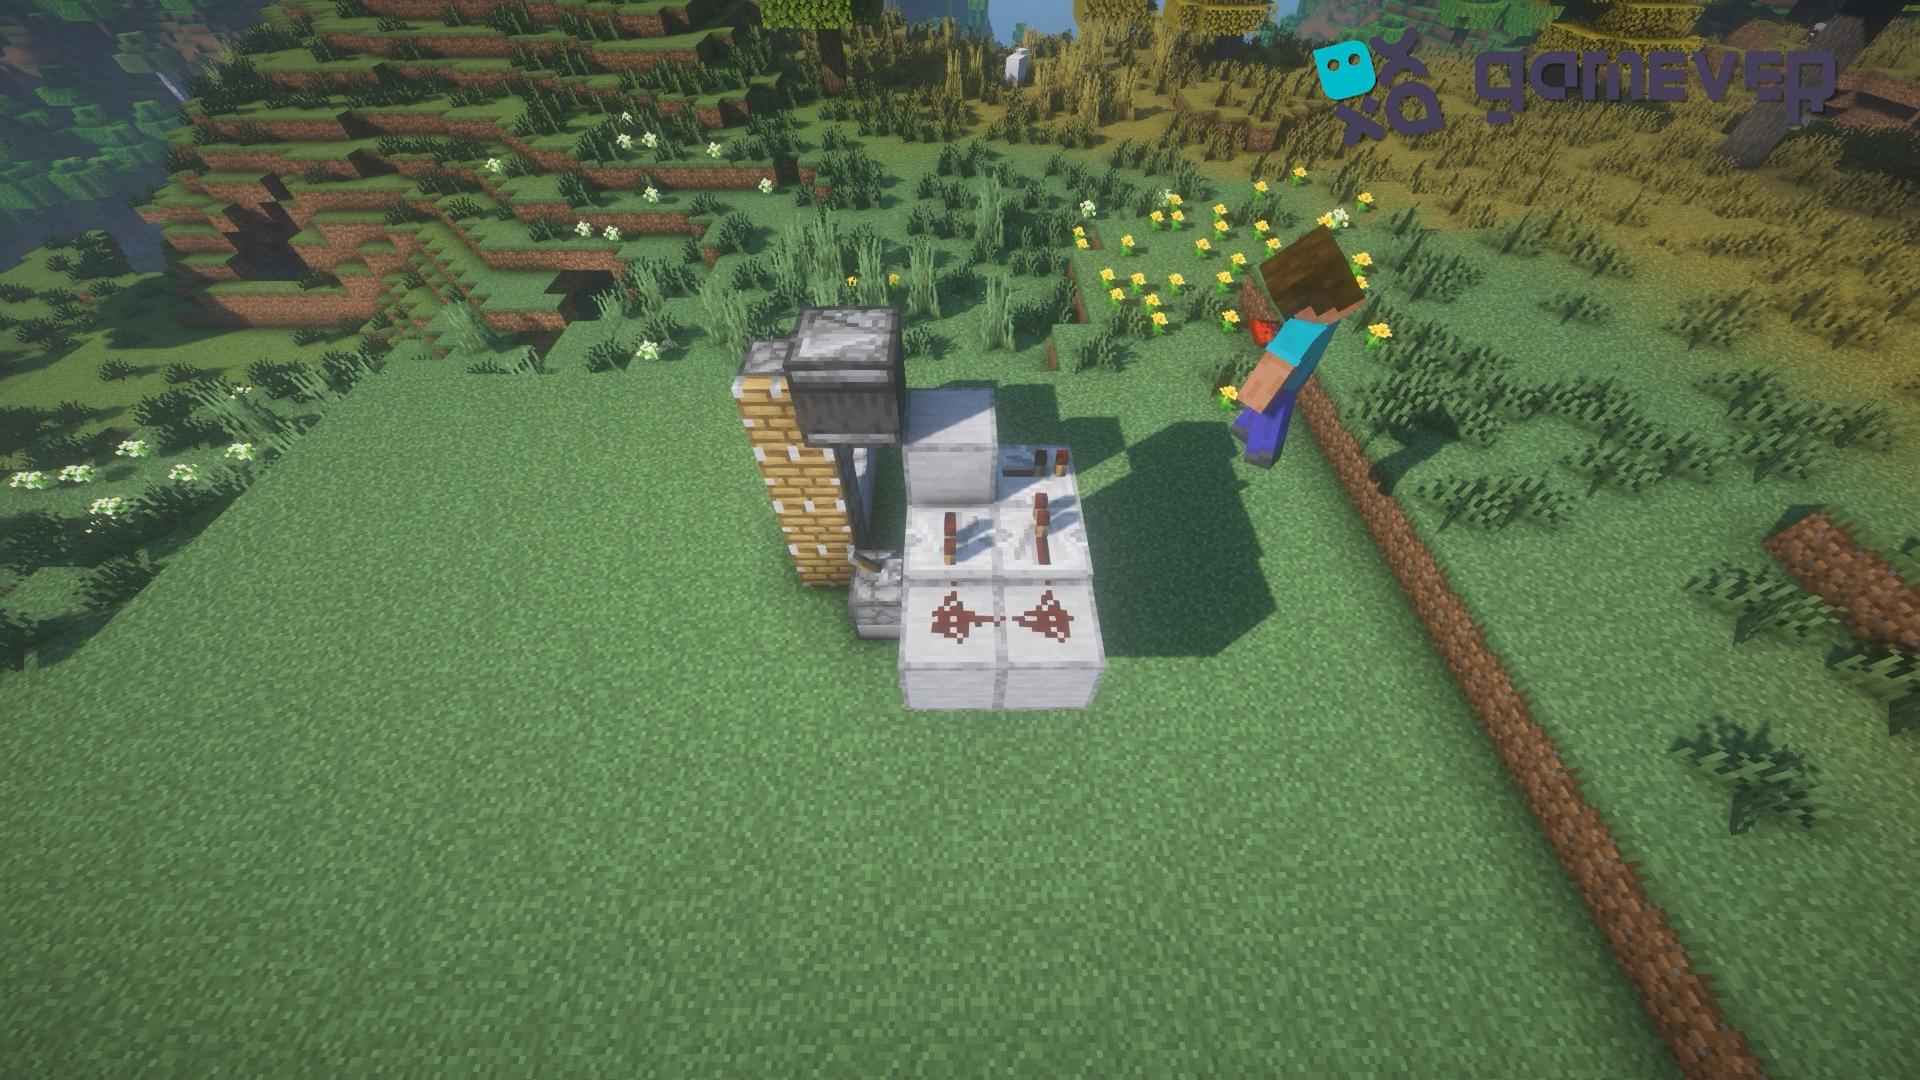
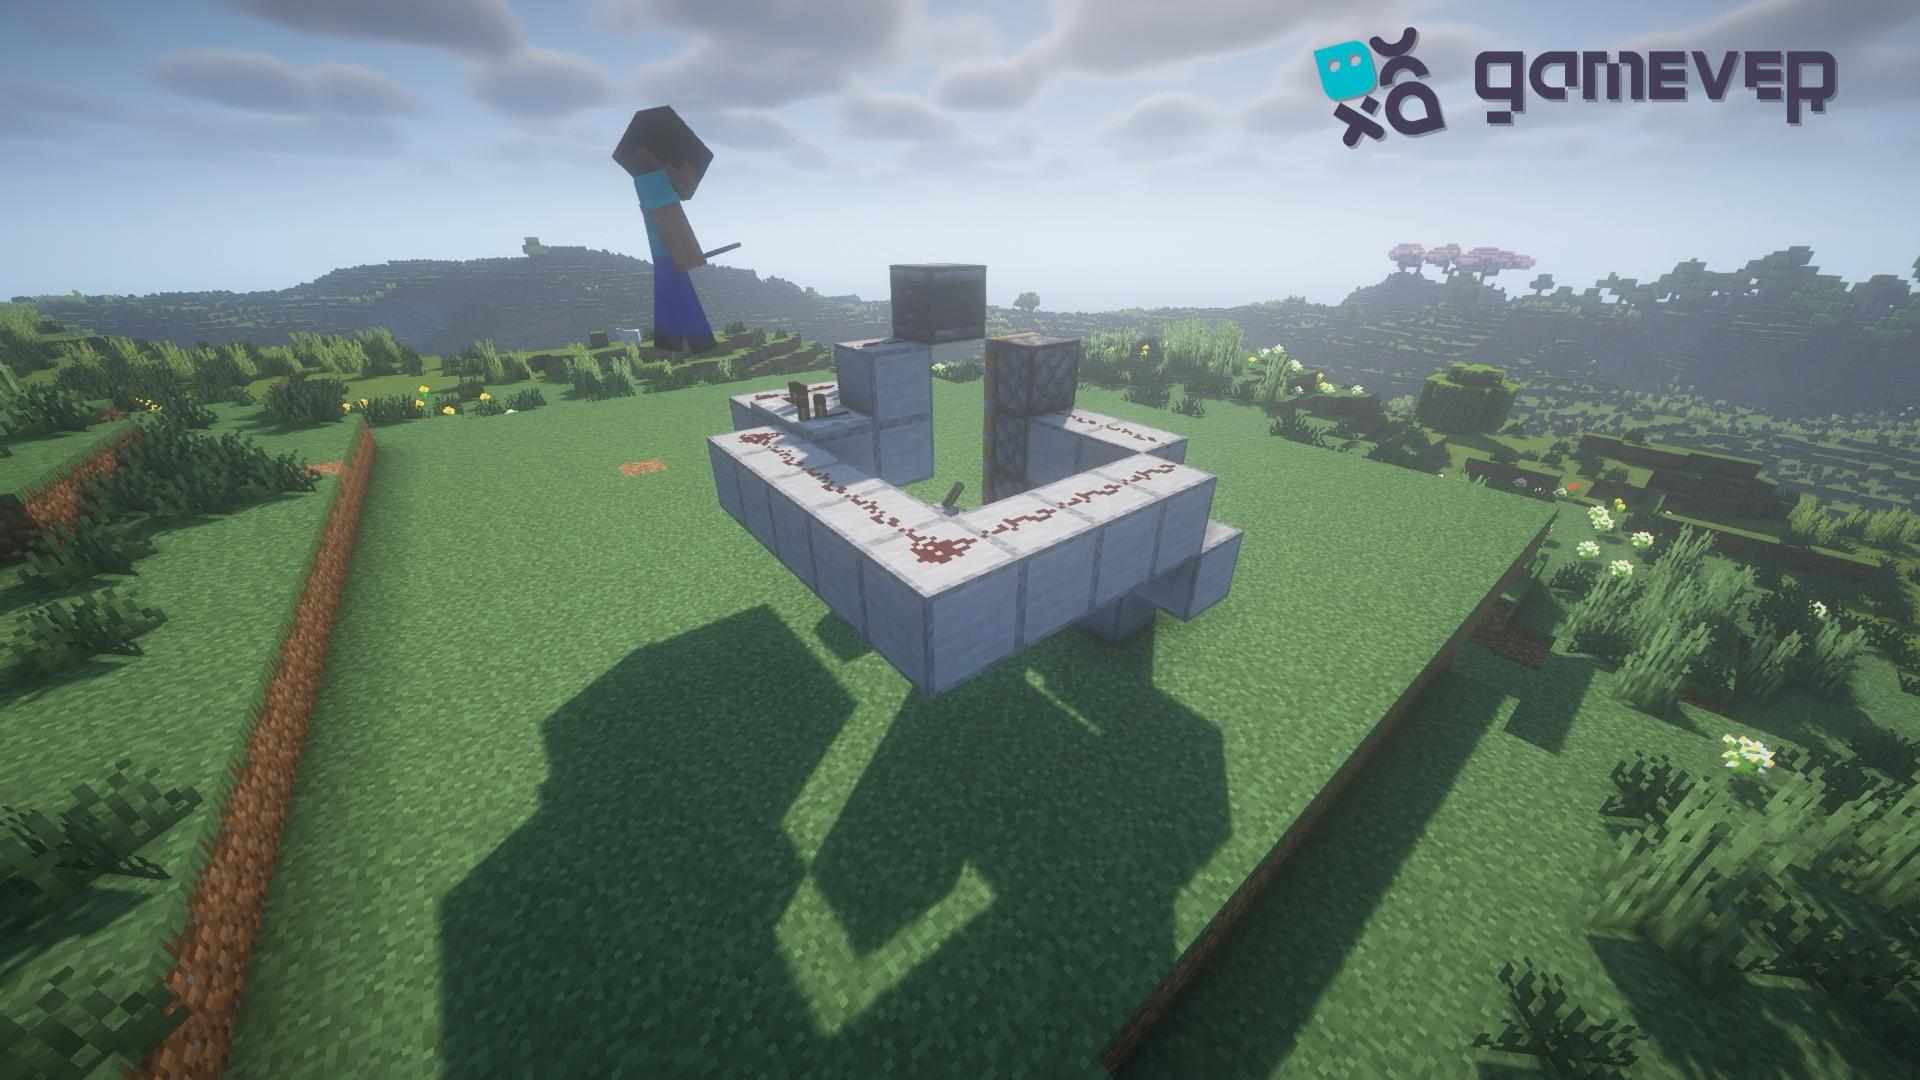
Block Above the Observer : Place a block above the observer to finalize the structure. This ensures that the tree does not grow too big, which in turn disrupts the growing process.
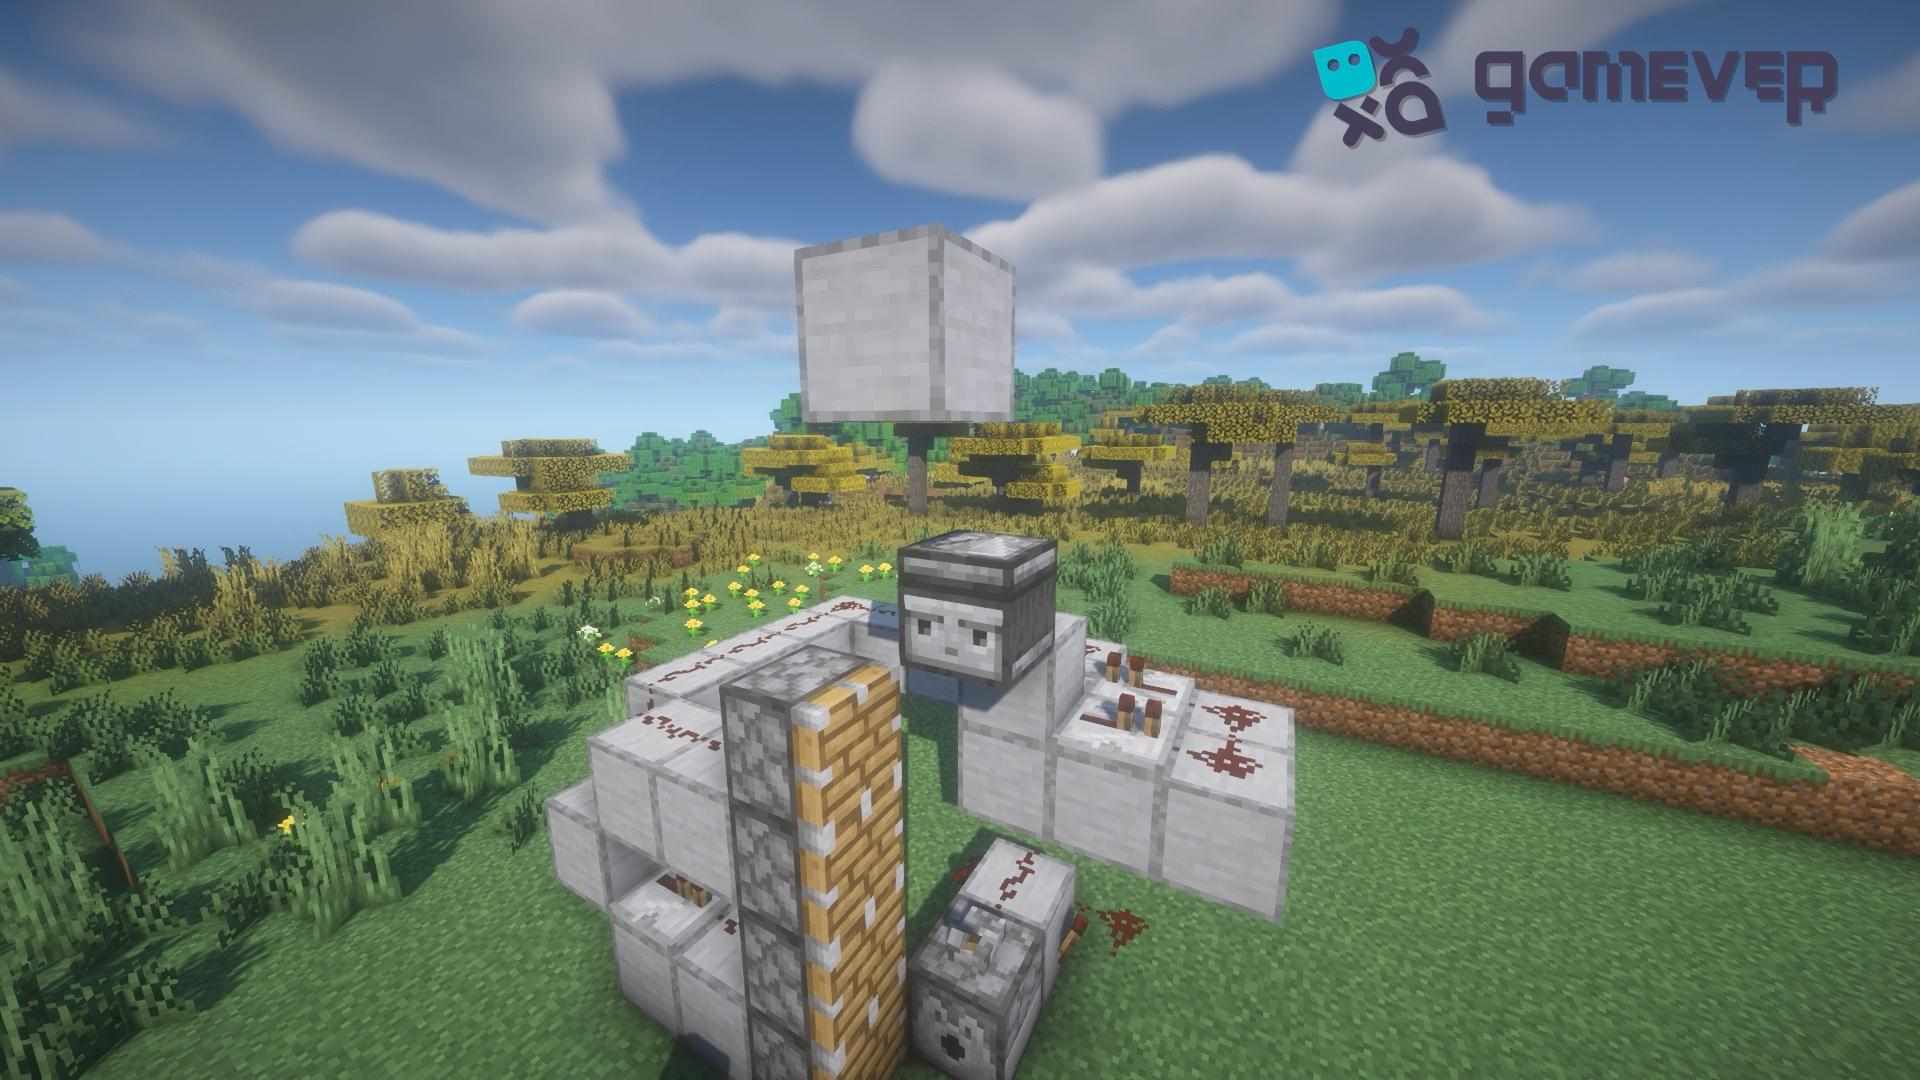
4. Preparing for Tree Growth
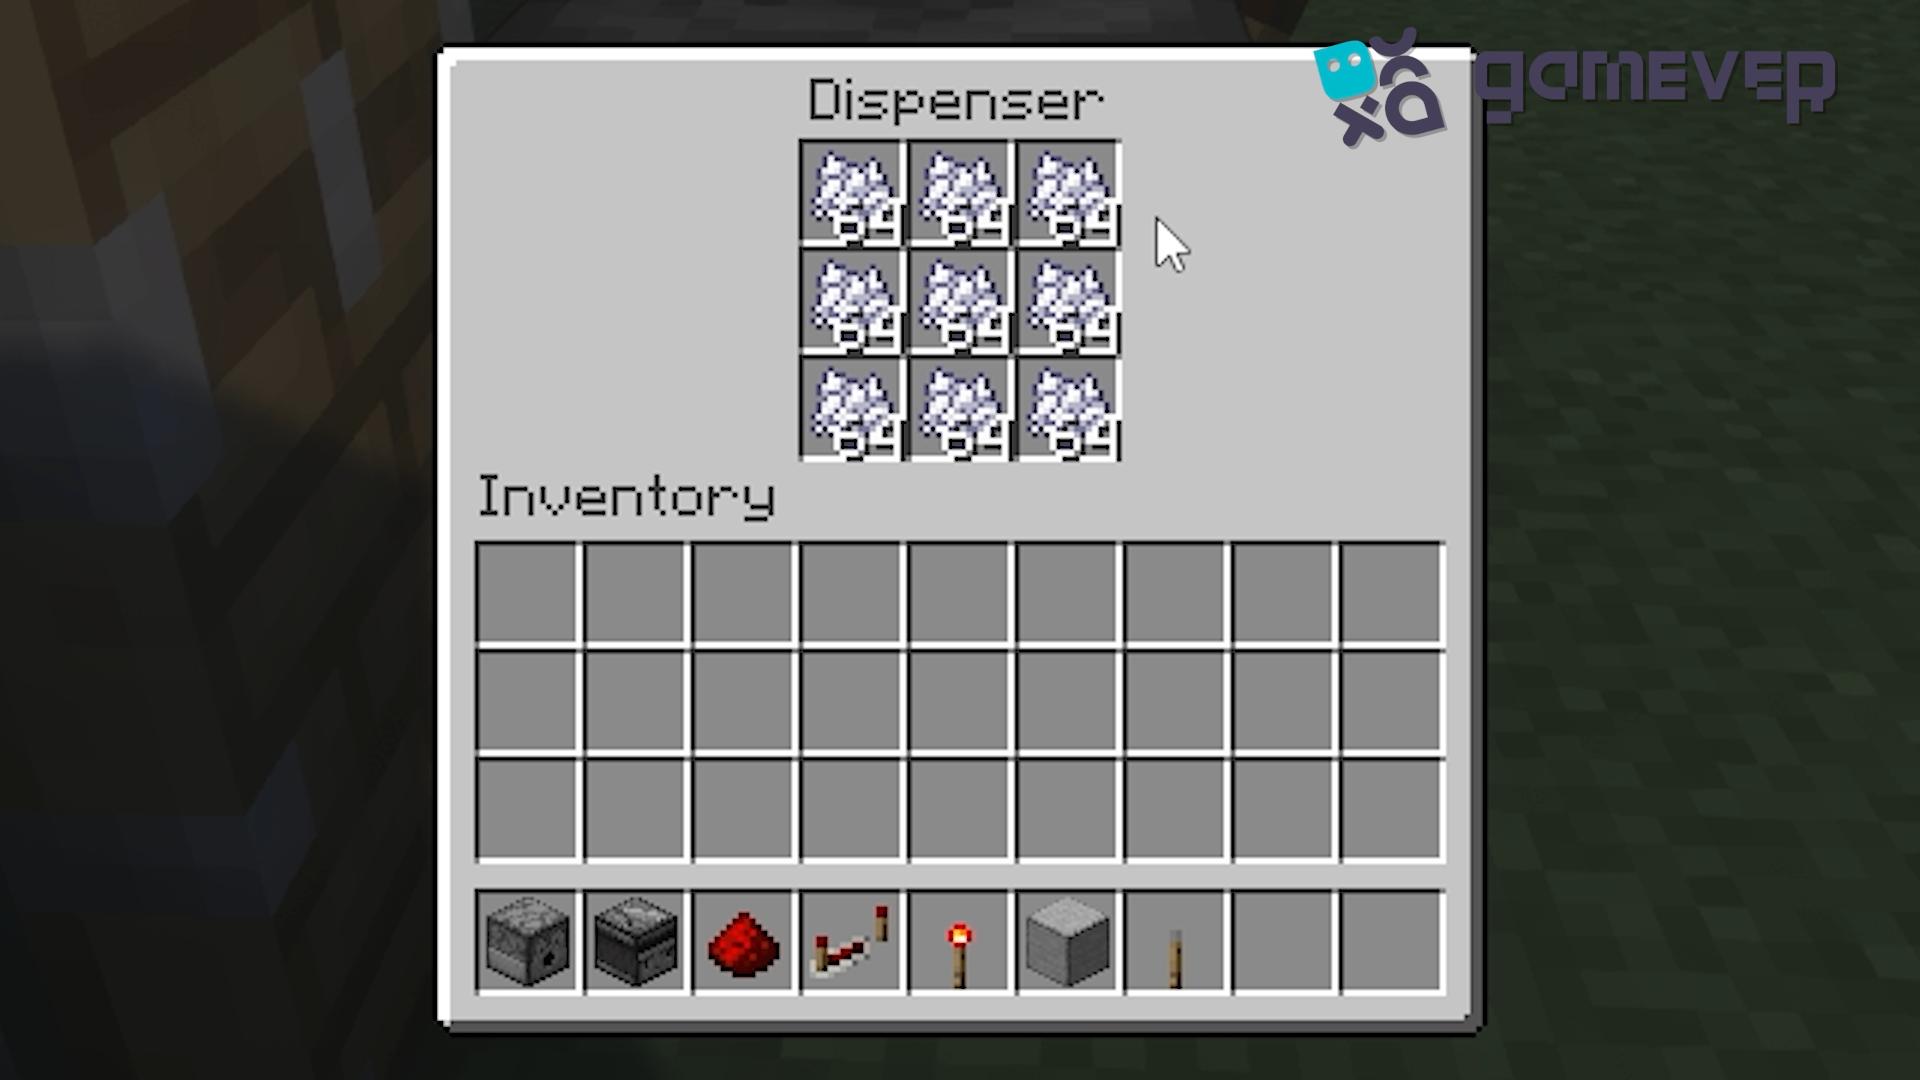
Filling the Dispenser with Bone Meal : Load the dispenser with bone meal. Bone meal is essential for speeding up the saplings' growth process.
Using and Maintaining Your Tree Farm
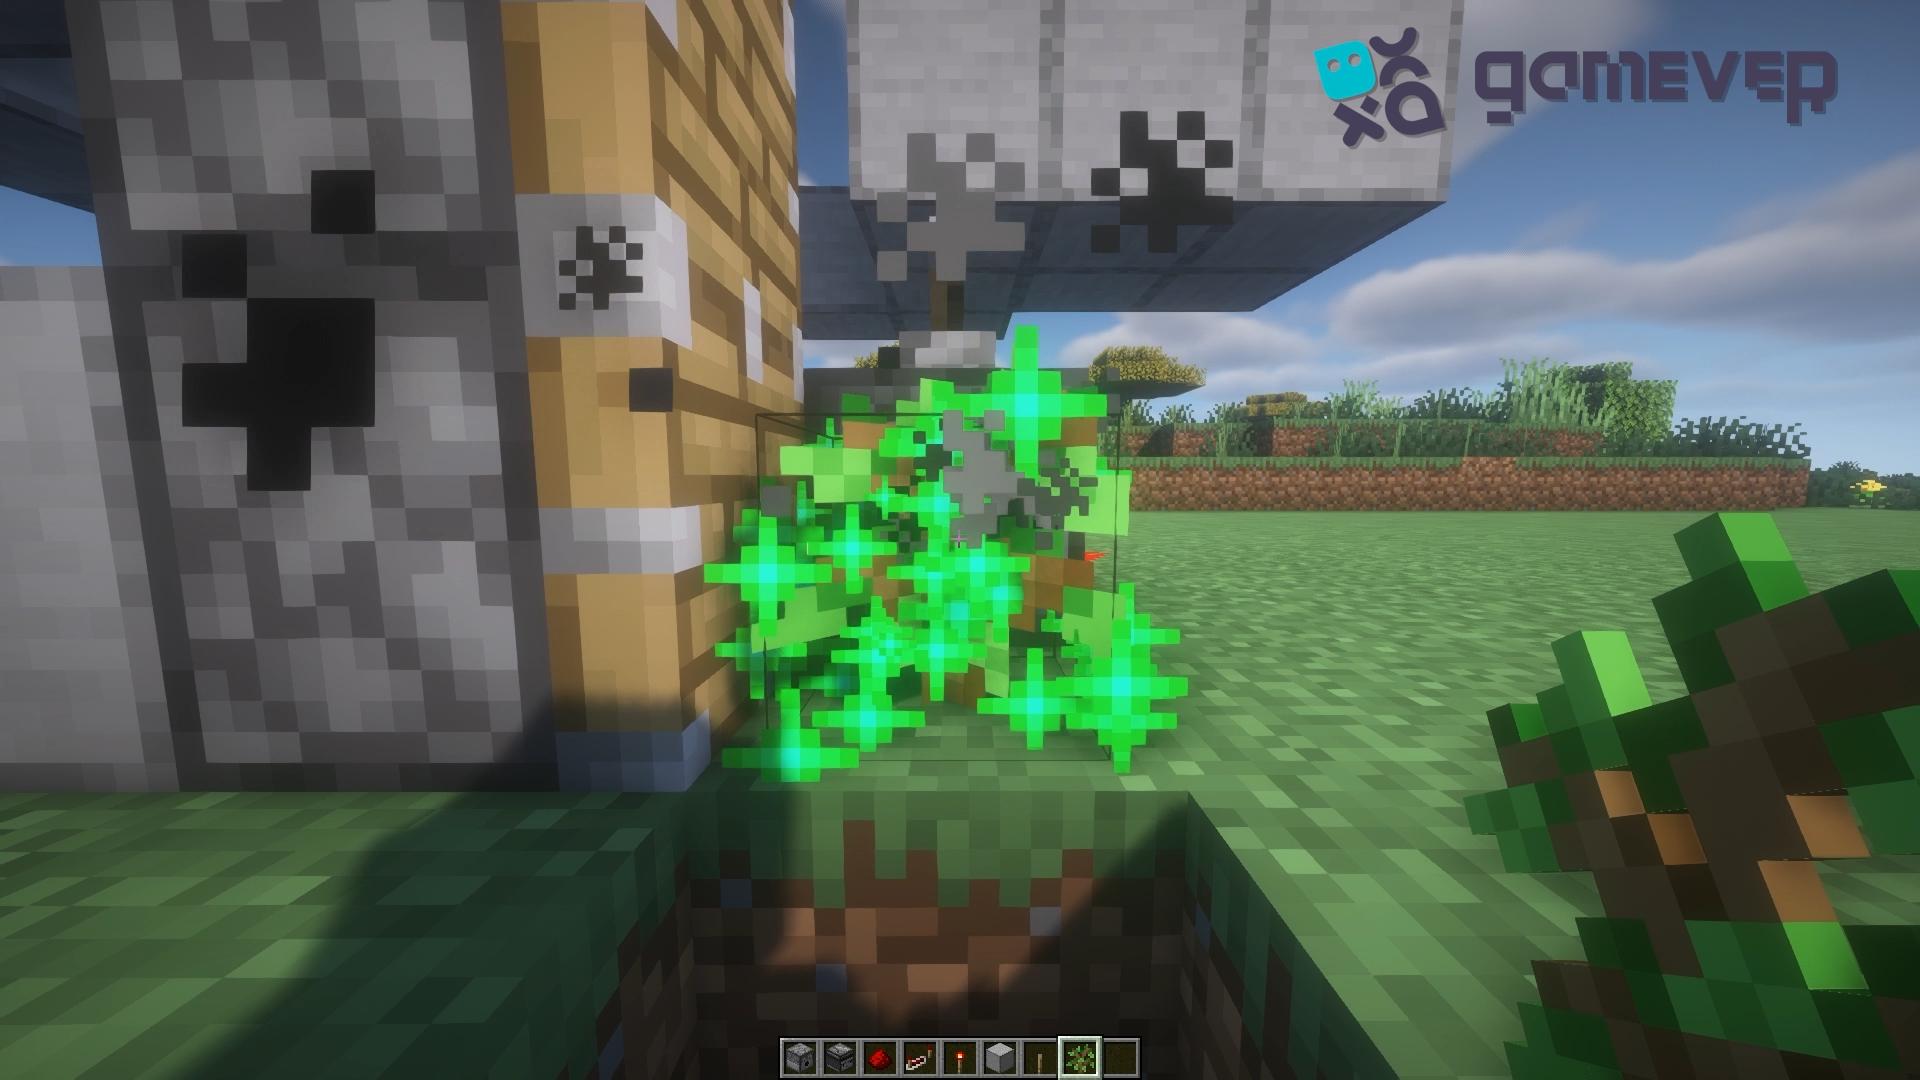
Manual Activation: Apply bone meal to the saplings manually using the dispenser's attached lever. Watch as the observer detects growth, and the pistons push the logs out of the way.
Harvesting Wood: Consistently inspect the farm to retrieve the wood that the pistons have pushed out. Make sure to replenish the dispenser with bone meal to maintain the farm's smooth operation.
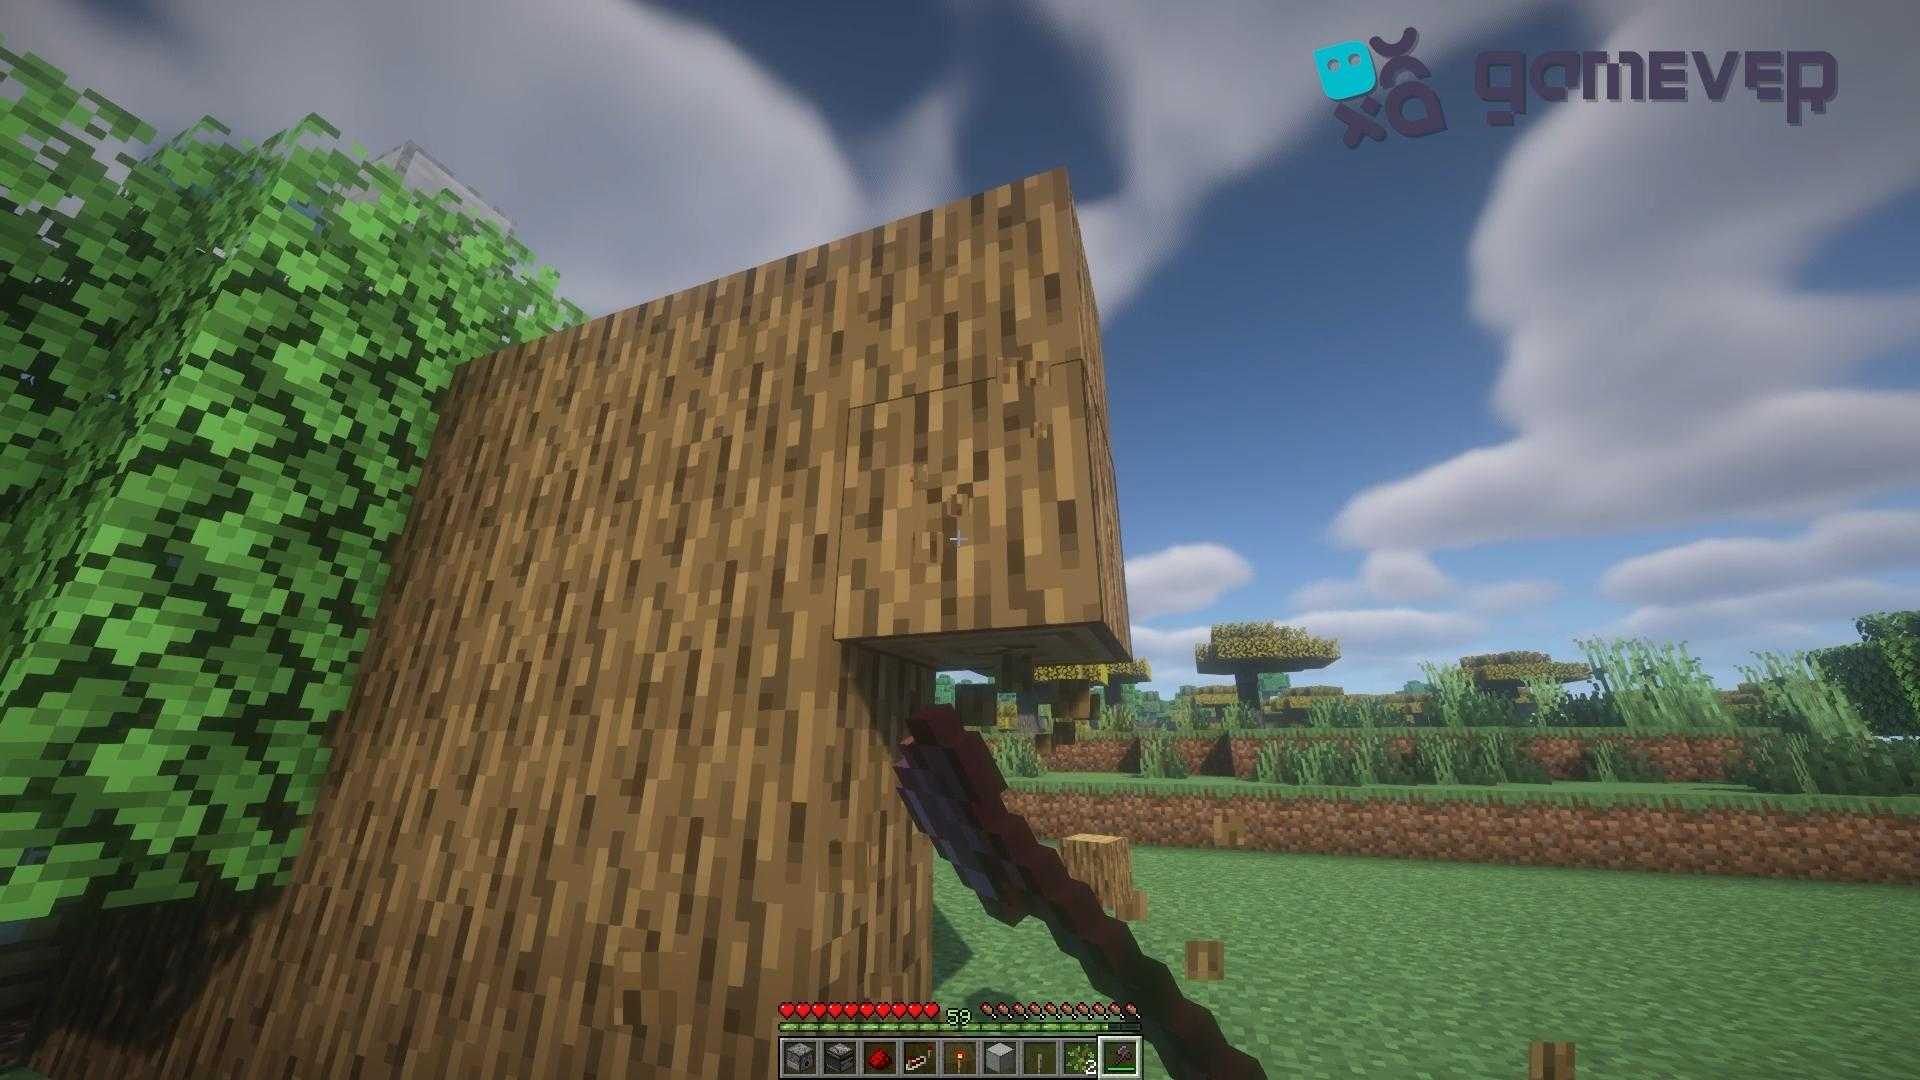
Maintenance : Periodically inspect the redstone circuit to ensure there are no disruptions or broken components. Refill the dispenser with bone meal as needed.
Benefits of Building a Tree Farm on Gamever Servers
Creating a tree farm on Gamever servers offers several advantages:
Community collaboration : Share your tree farm design with other players, gather feedback, and collaborate on improvements or larger farming projects.
Resource Sharing: Use your farm to produce wood efficiently, share it with friends, or trade with other players on the server.
Enhanced Gameplay : Enjoy the stability and performance of Gamever servers, ensuring your tree farm operates without interruptions.
Conclusion
Building a simple tree farm in Minecraft is a practical and efficient way to ensure a steady supply of wood. By following the steps outlined in this guide, you can create a farm that automates the growth and harvesting process, saving you time and effort. Additionally, consider the benefits of constructing your farm on Gamever servers, where community engagement and resource sharing can enrich your Minecraft experience.