How to build a roof in Minecraft?
Introduction:
In the boundless universe of Minecraft, where your creativity is the only limit, building your dream structure involves more than just erecting walls and setting down a floor. One of the paramount features of any abode, real or virtual, is a well-constructed roof. Not only does it add aesthetic appeal, but it also provides protection against the relentless mobs that prowl when night falls. This comprehensive guide will delve into the art of constructing various roof styles in Minecraft, elevating your architectural designs while ensuring practicality and safety within your virtual sanctuary.
The Importance of a Good Roof:
A roof is not merely a structural cap for your Minecraft building; it's a statement of style, a layer of defense, and a demonstration of your architectural prowess. A well-crafted roof:
• Shields against threats like spiders or phantoms.
• Protects against environmental elements like rain or snow.
• Provides additional space for activities or storage.
• Enhances the visual appeal, complementing your building’s architectural style.
Getting Started: Basic Materials:
Before you embark on the building process, it's crucial to gather materials. Common roofing materials include:
Wooden planks are easy to acquire and offer a rustic look.
Slabs and Stairs: Provide versatility in design, allowing for slopes and angles.
Terracotta offers various color options for more vibrant roofs.
Concrete: For a more modern, sleek look
Remember, the materials you choose should complement your building's overall aesthetic and the environment surrounding it.
Types of roofs:
Your choice of roof should depend on the purpose of the building, the overall architectural style, and your personal preference. Here are a few types:
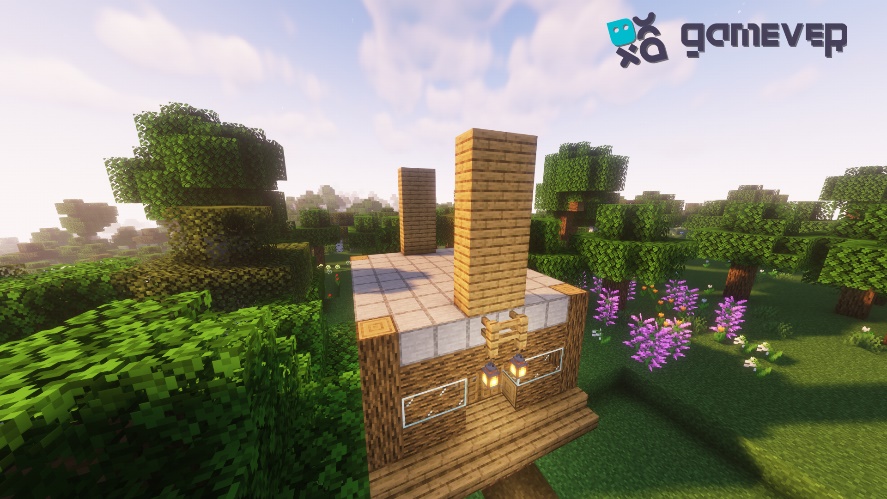
• Flat Roof: Suitable for modern or industrial buildings
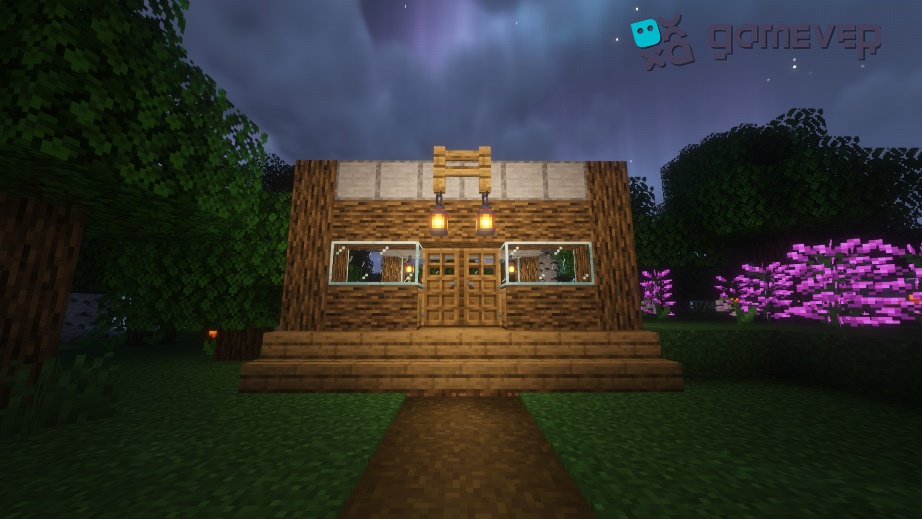
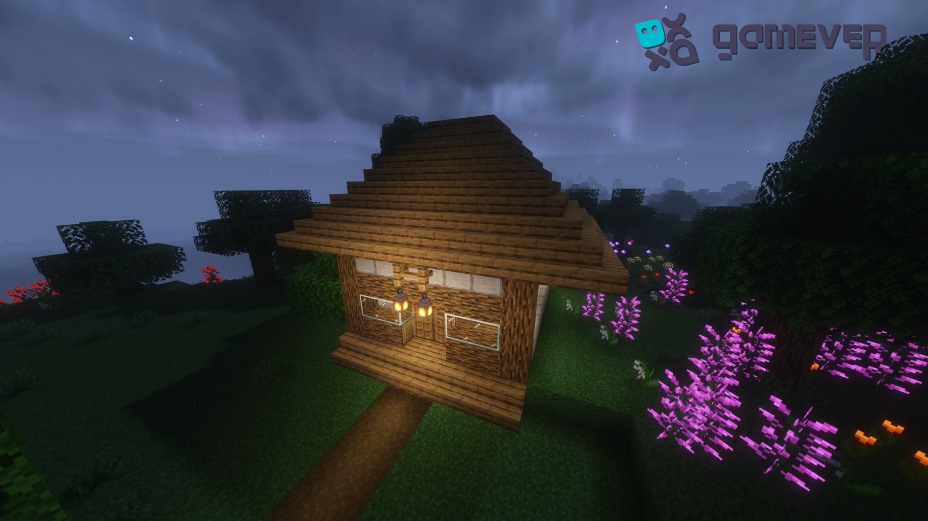
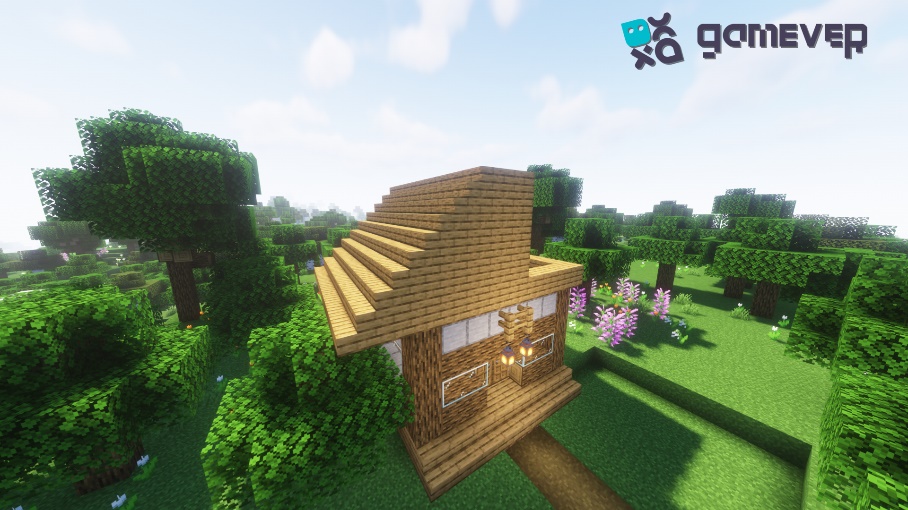
• Gabled Roof: A classic, triangular roof

• Hipped Roof: Slopes on all sides come together at the top.
Building Your Roof:
For beginners, starting with a gable roof is advisable. Here’s a step-by-step guide:
1. Base Structure:
Ensure your building’s walls are complete and of even height.
2. Roof Outline:
Start by outlining the roof’s ridge (highest point) using a straight line of blocks across the top of your building’s walls.
3. Building the Slopes:
From the ridge, place blocks diagonally downwards towards the building’s walls to create the roof’s slope. Repeat on the other side.

4. The Interior
Don't forget the inside! The space under your gabled roof can be used for storage, or you can even create an attic room.
Advanced Techniques:
• Overhanging Eaves: Extend the roof beyond the wall to create a small overhang, adding depth to your structure.
• Multiple Gables: For larger buildings, consider multiple gables or combining them with a hipped roof for a complex, interesting roofline.
• Skylights: Insert glass blocks or panes into the roof to create skylights, allowing for natural light.
Conclusion:
Building a roof in Minecraft is an art that combines creativity with utility. While it serves to protect your structure and its inhabitants, it's also a declaration of your style. From the simple gabled roofs to the more complex domed structures, your choice of roofing can significantly impact your building's visual appeal and function. So gather your materials, let your imagination soar, and craft a roof that's both protective and aesthetically pleasing.
Take your architectural pursuits to the next level by building with friends on Gamever servers! Gamever allows you to rent a server exclusively for you and your friends, providing a secure, private environment for all your construction projects. Whether you're collaborating on a massive castle or competing for the best-designed house, Gamever offers high-performance servers for a seamless, lag-free experience. Rent your server today and embark on unforgettable building adventures in the world of Minecraft!