
How to Build a Railway in Satisfactory Release 1.0
Building a railway in Satisfactory Release 1.0 is an exciting way to streamline your factory’s logistics and transport resources efficiently across vast landscapes.
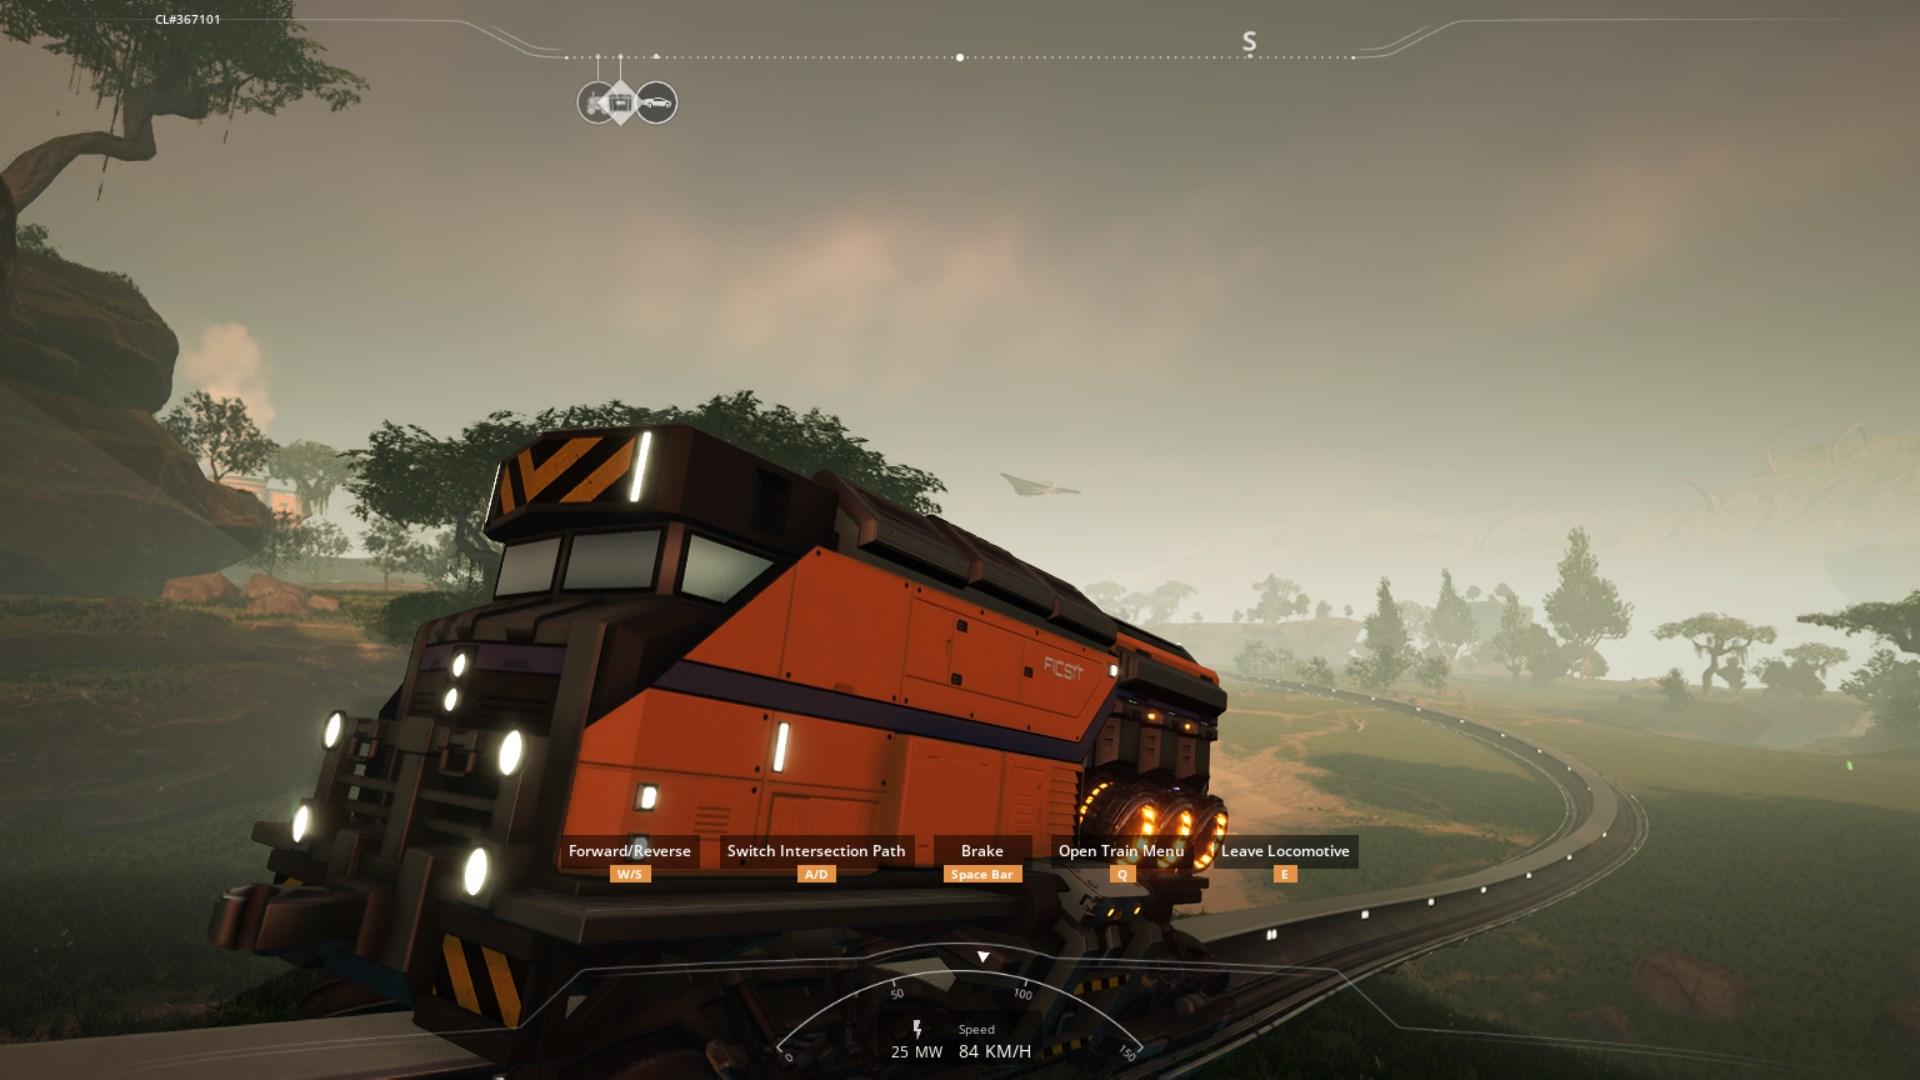
Trains are not just fast; they can haul a ton of goods, making them a vital part of your factory's transportation system. So, if you're looking to optimize your operations, here’s how to set up your railway.
Unlocking Trains
To start, you’ll need to unlock the trains in Tier 6. This requires setting up oil processing to craft Computers. Don’t forget that you also need Heavy Modular Frames and Motors. Once you have these unlocked, you can start your railway adventure.
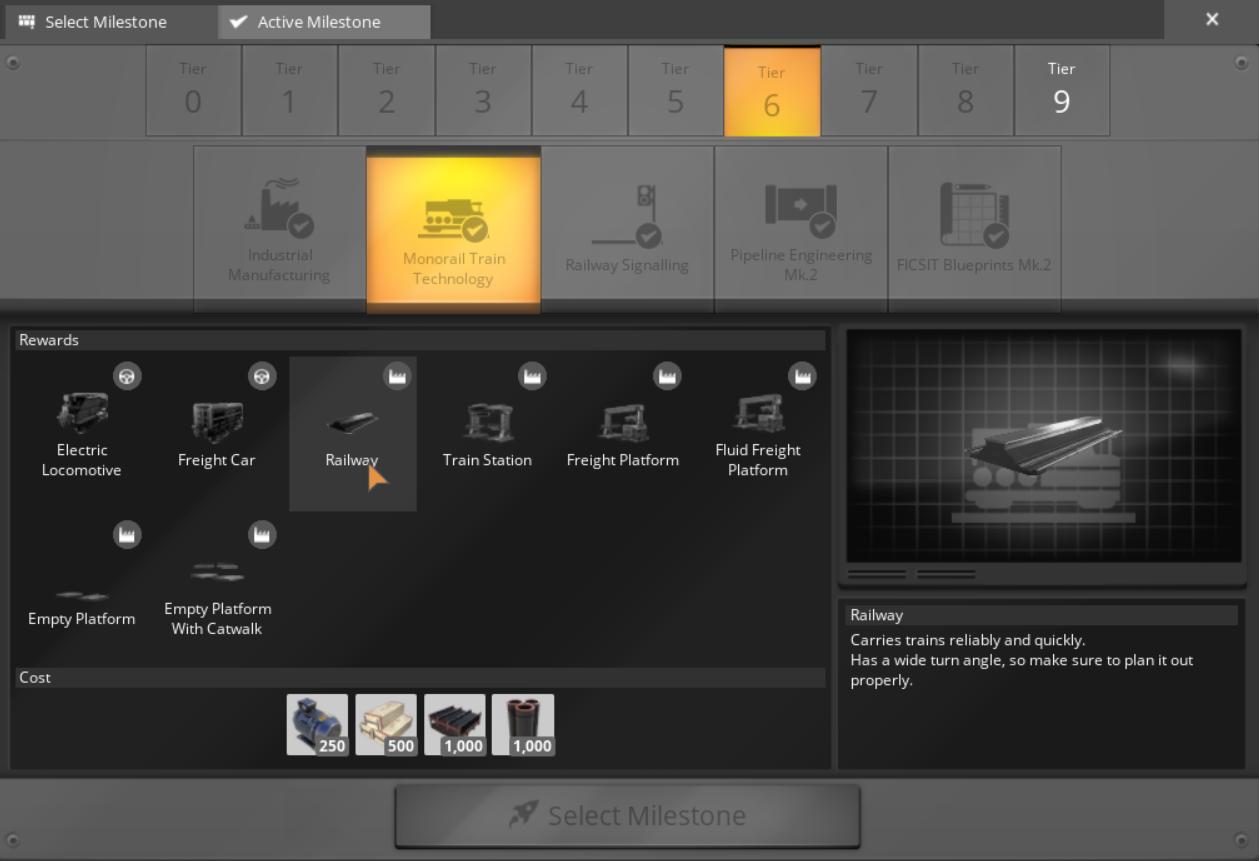
Gather the materials you'll need. To construct railway tracks, you'll require Steel Beams and Steel Pipes. A single railway segment can stretch up to 100 meters. For added precision and aesthetics, consider building your tracks on Foundations. You’ll also need Train Stations and Freight Platforms, so stock up on Iron Plates and Concrete while you're at it.
Planning Your Route
Sketch out where you want your tracks to go. Consider the terrain, as steep inclines can affect your train's performance. Mark your starting and ending points clearly. This is where you’ll place your Train Stations, so make sure they’re strategically positioned for optimal transport.

Building Train Stations
Once you’ve mapped out your route, it’s time to build your Train Stations. Each station is directional, meaning they dictate how trains will arrive. For bi-directional trains, ensure both stations face the right way. Open the Constructor Menu by pressing Q and choose Transport Section.
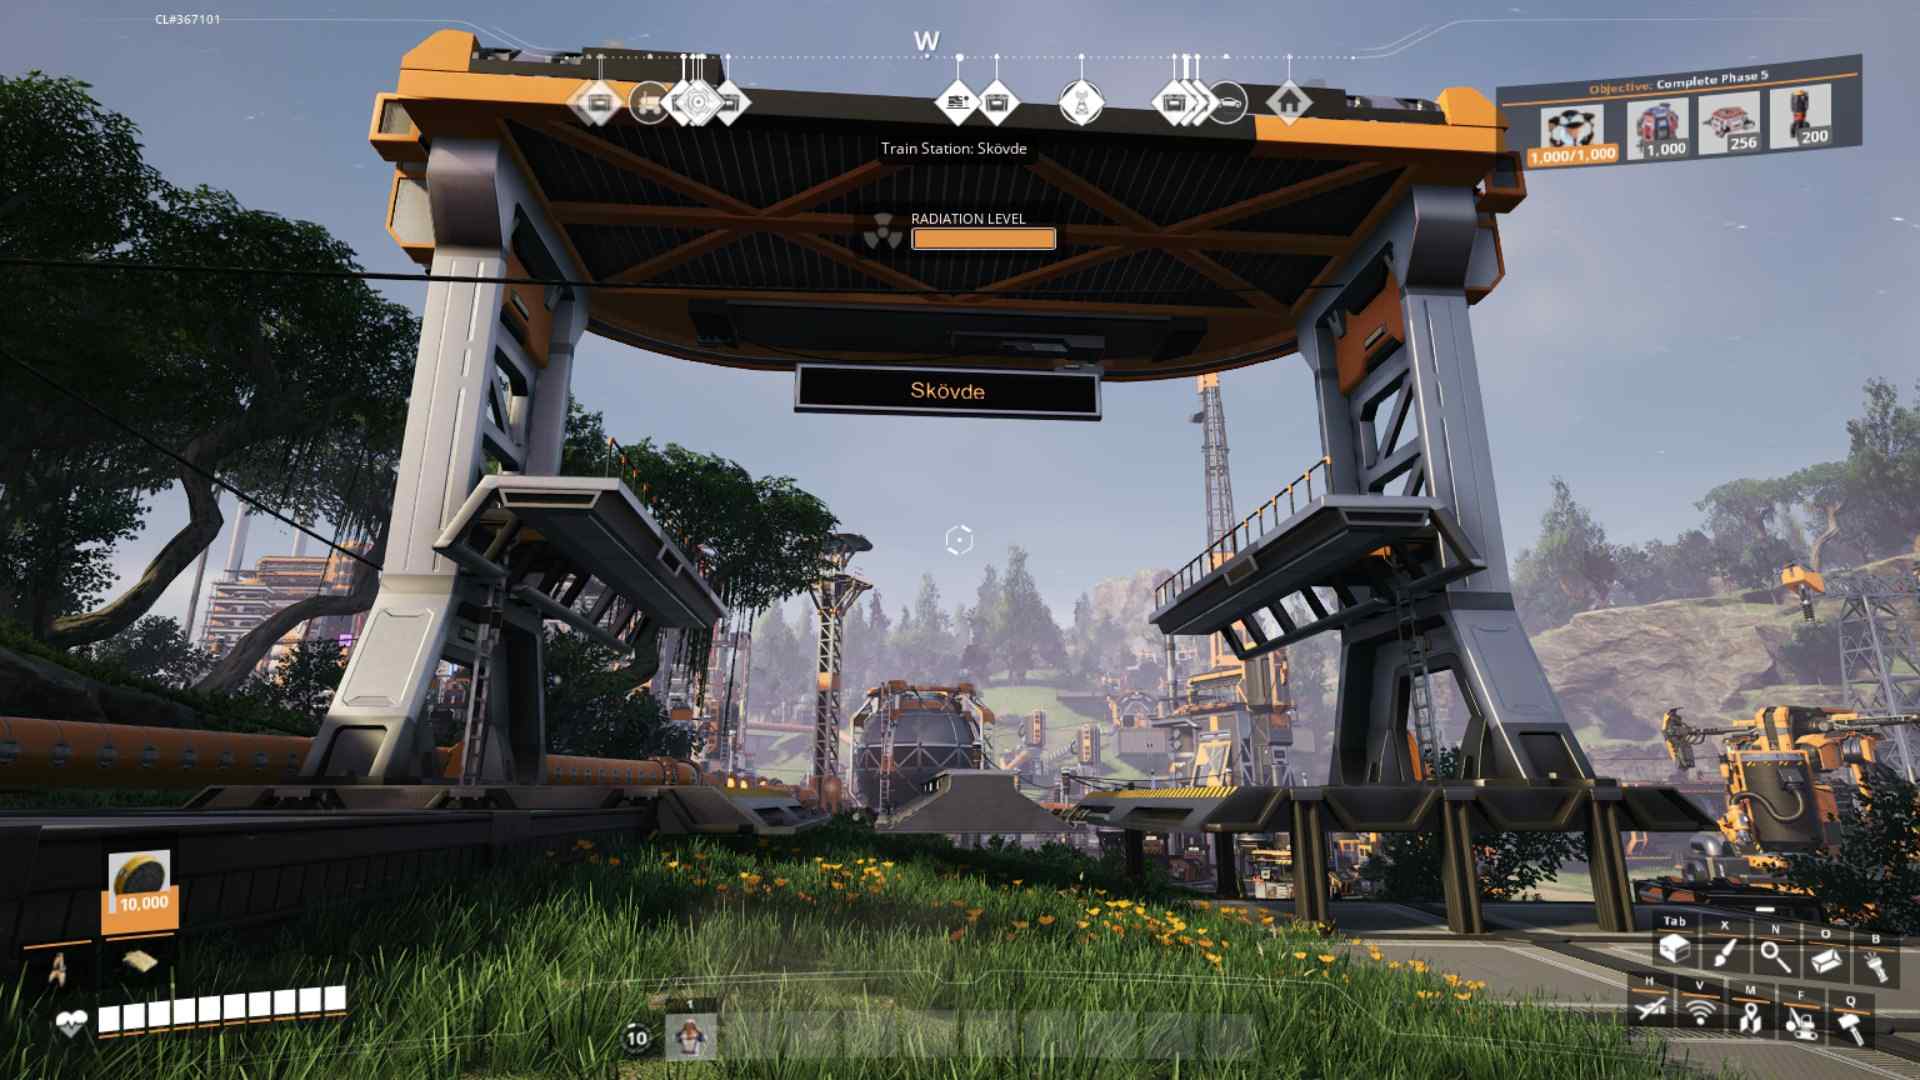
Power them up with electricity—each station requires a steady 50 MW. You can connect them to your existing power network or create a dedicated supply.
Laying Down the Tracks
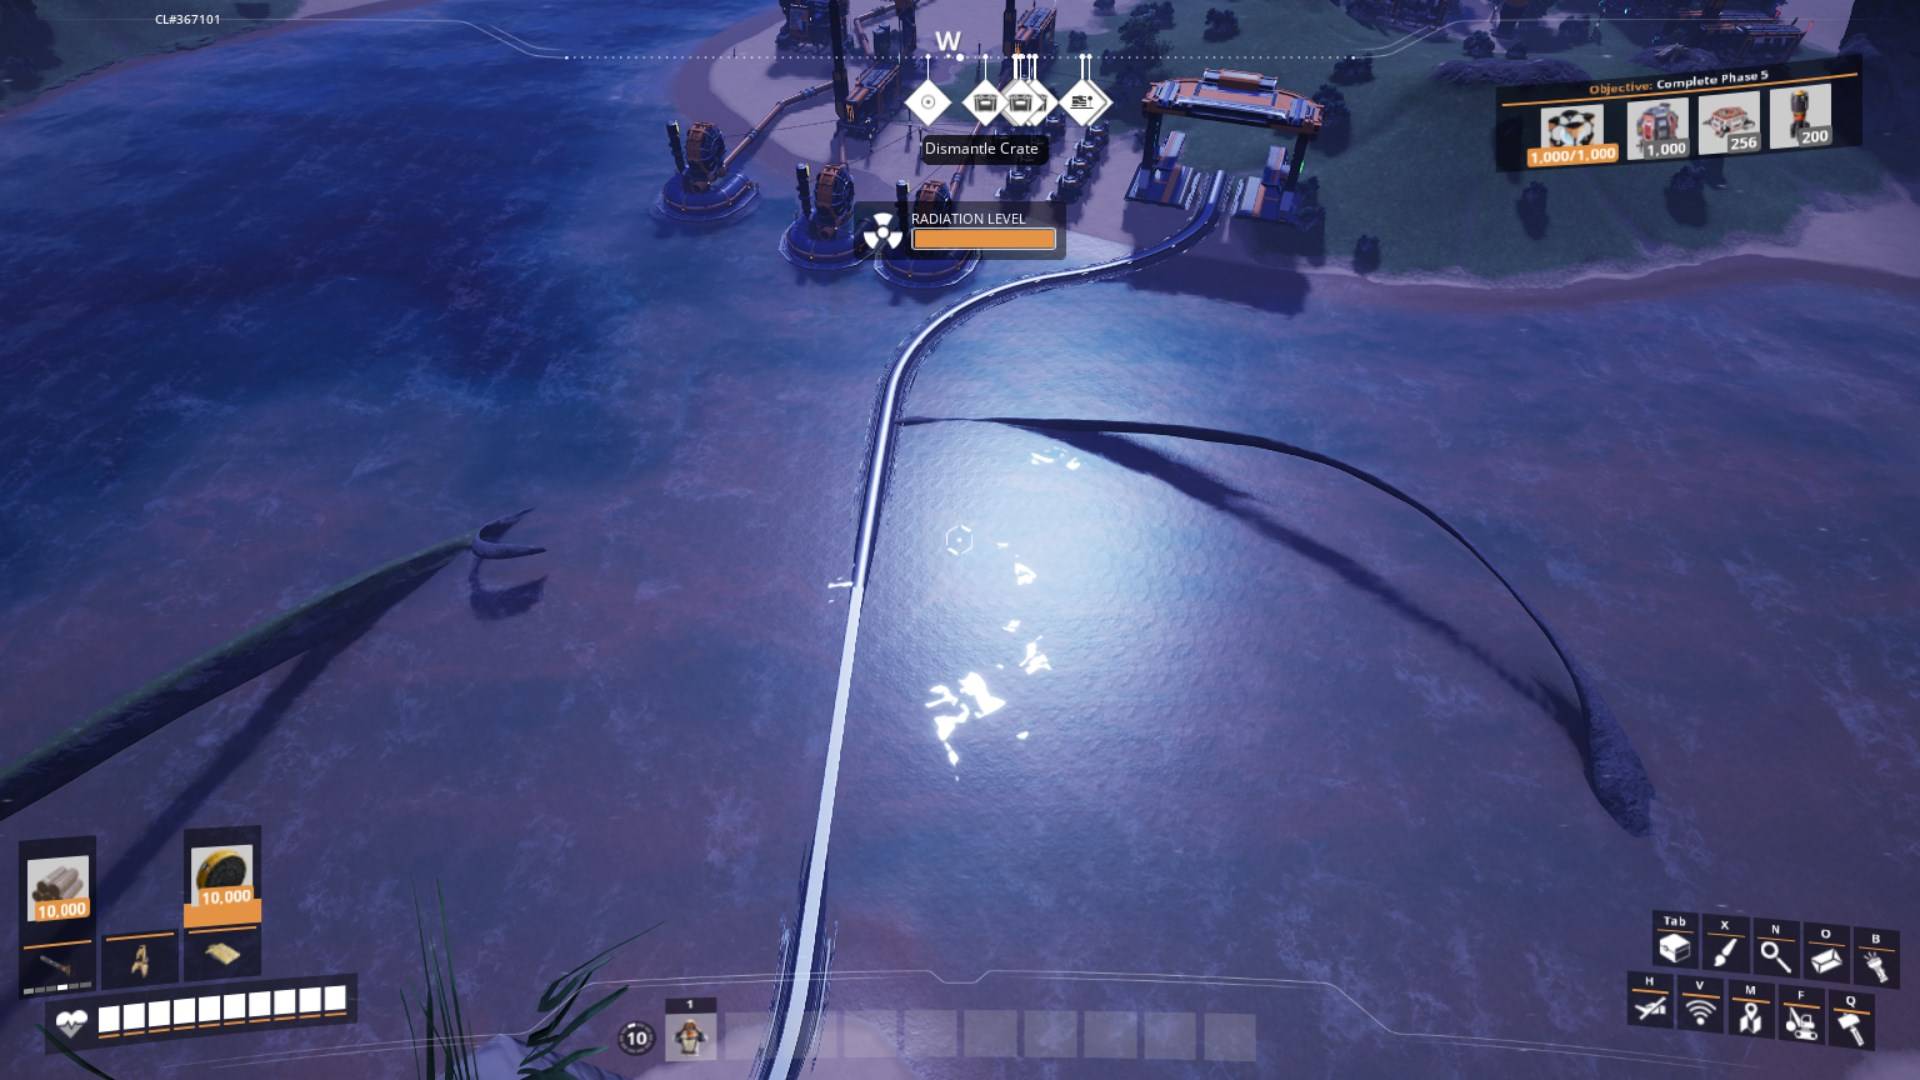
Connect your Train Stations with tracks. Use the build menu to place your railway segments in the desired direction. Keep your tracks smooth and avoid abrupt turns for a faster, safer ride. If you want to get fancy, consider using Switches to create junctions or intersections. Just remember, a switch can’t be placed directly before or after a Train Station.
Adding Freight Platforms
To load and unload items, attach Freight Platforms to your Train Stations. You can configure these platforms to either load or unload cargo. Each Freight Platform handles one Freight Car, so plan accordingly based on your train's composition. For instance, if you have multiple Freight Cars, add enough Freight Platforms to keep your trains moving efficiently.
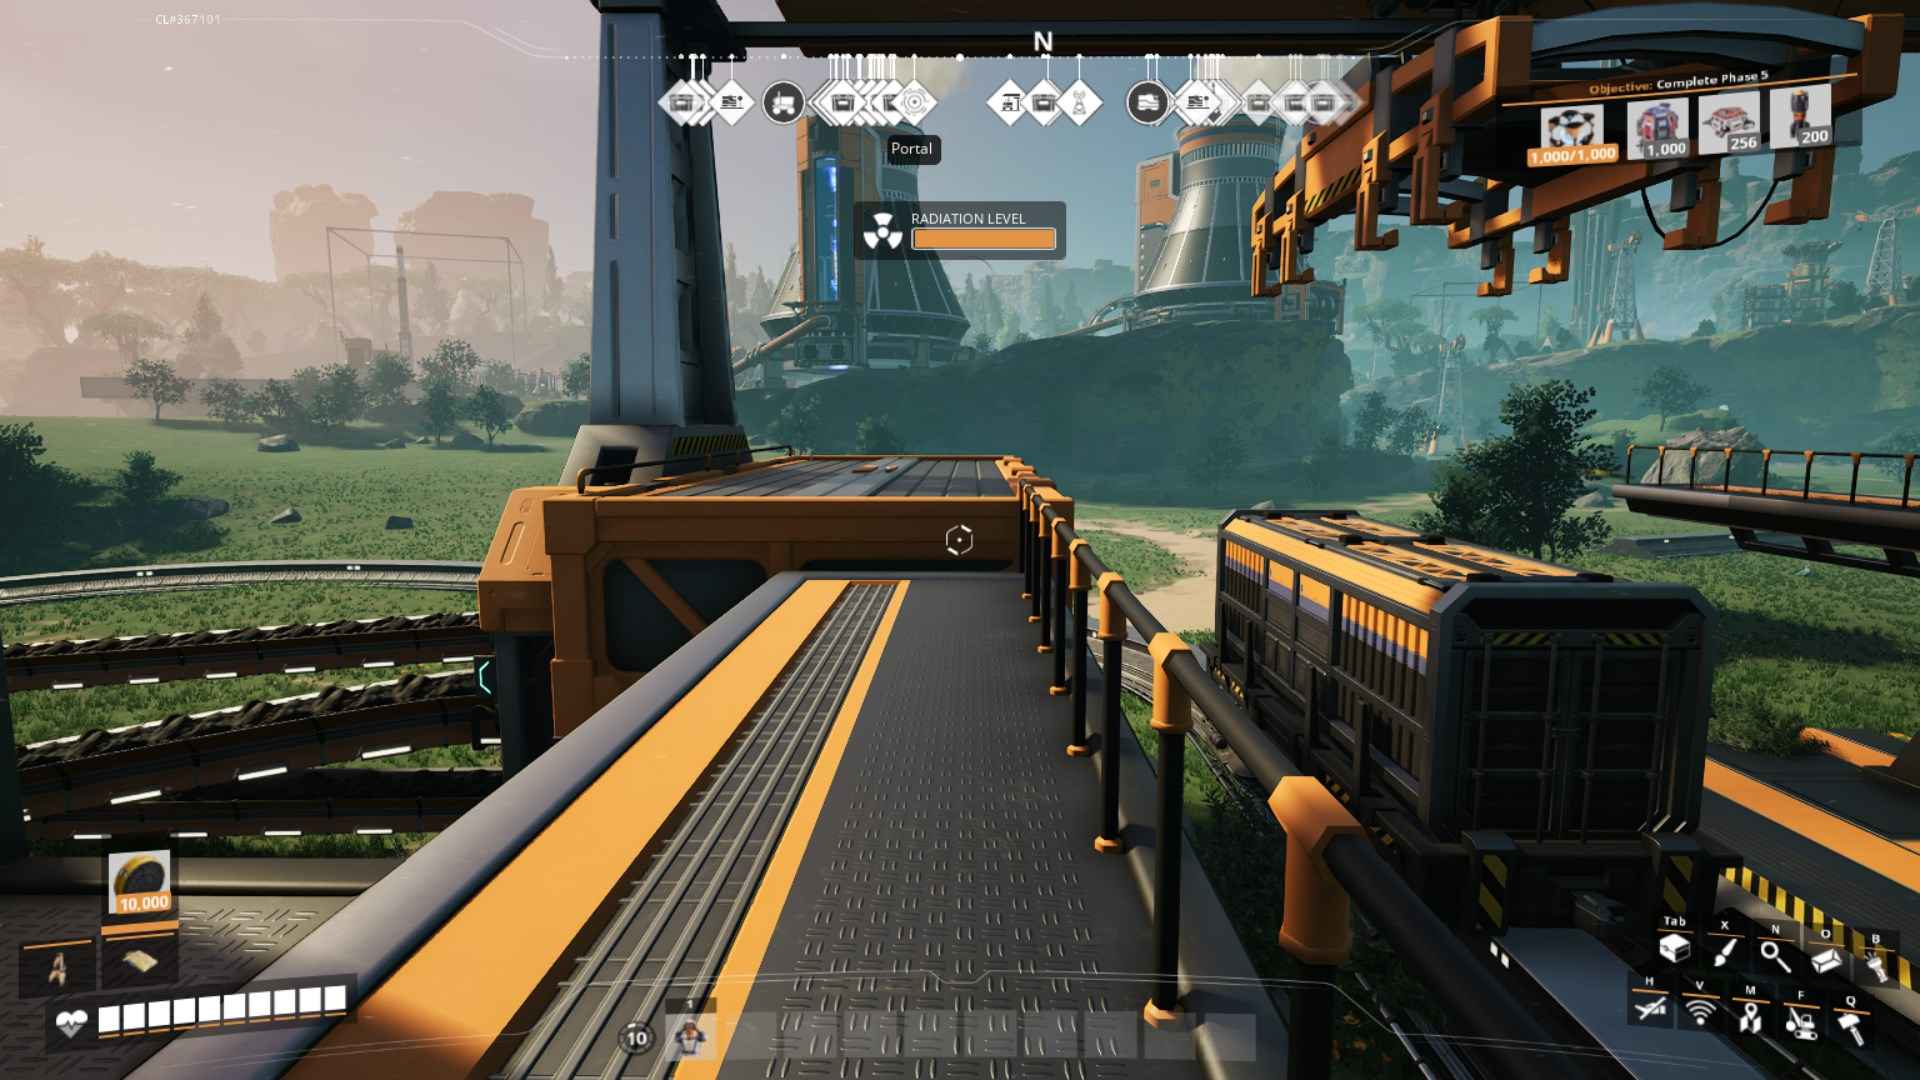
Automating Train Operations
Once everything is built and connected, you can automate your trains using a timetable. This lets your trains travel between stations without manual intervention.
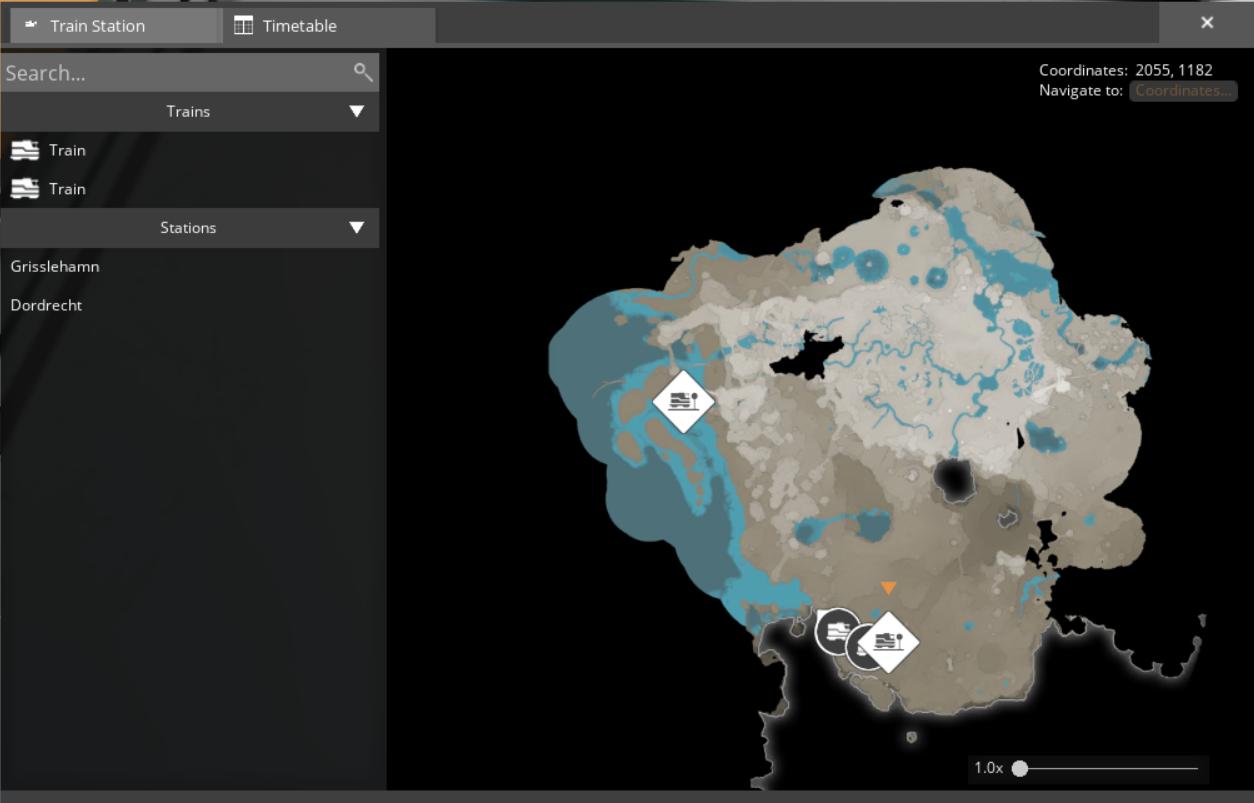
Interact with the floor of your train station and open Timetable Section. Choose one of your Locomotives and press Edit Timetable. On the left side of the opened window, select the station you need and press on the Cross button.
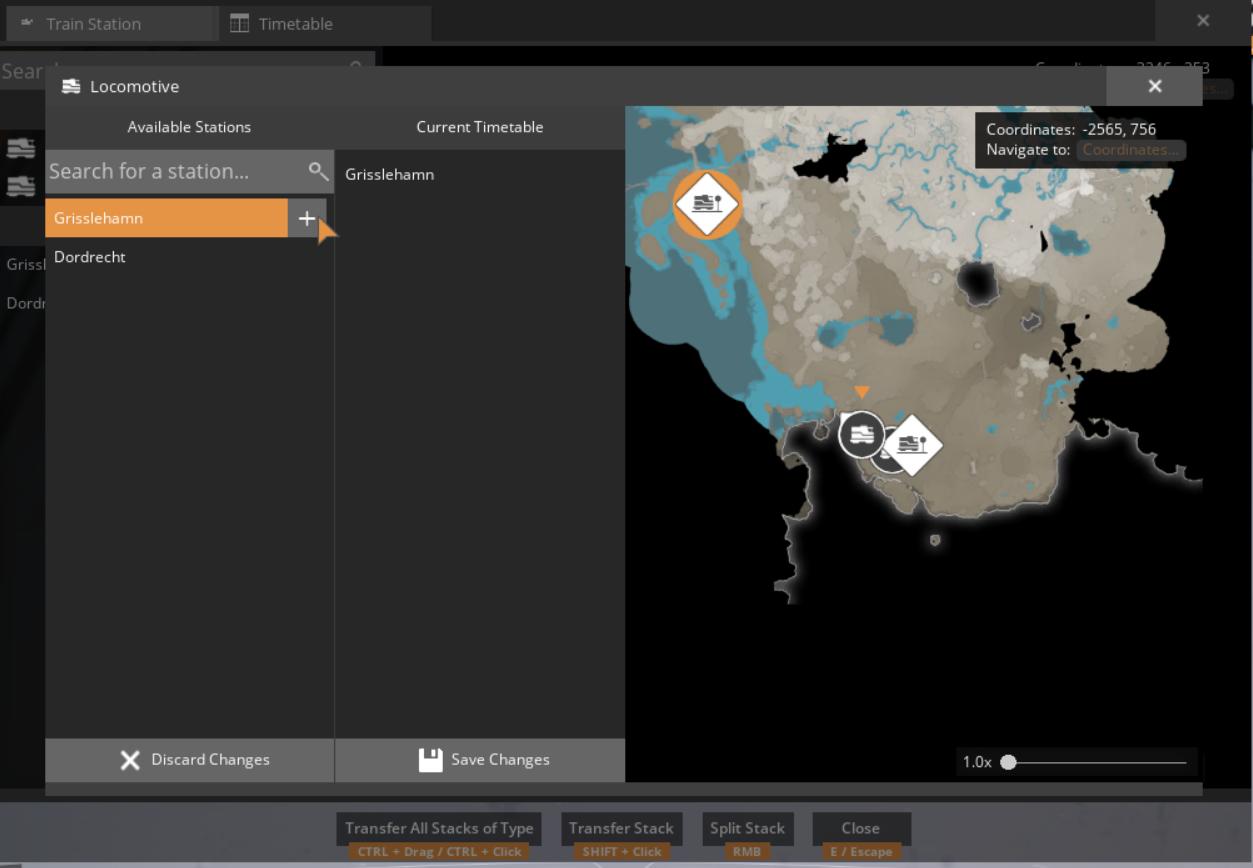
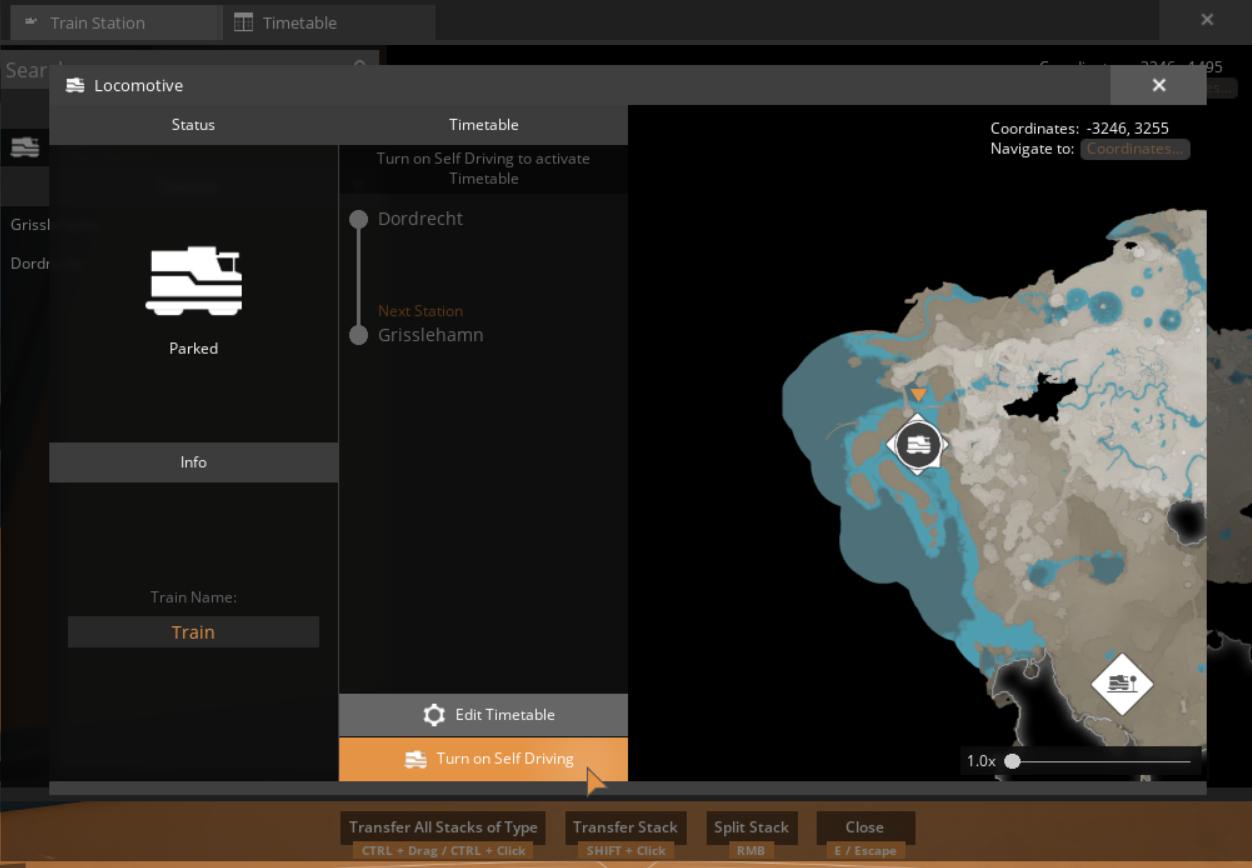
Set up your timetable by listing each station in the order you want your train to visit. Automated trains will follow this route automatically, but make sure all tracks are clear and stations are properly connected. Save changes and press Turn on Self Driving.
Signaling for Safety
To prevent collisions, it’s important to use signals. Block Signals and Path Signals help manage train traffic. Block Signals ensure that only one train occupies a block at a time, while Path Signals allow multiple trains to share a block safely. Use these signals strategically at intersections to keep your railway flowing smoothly.
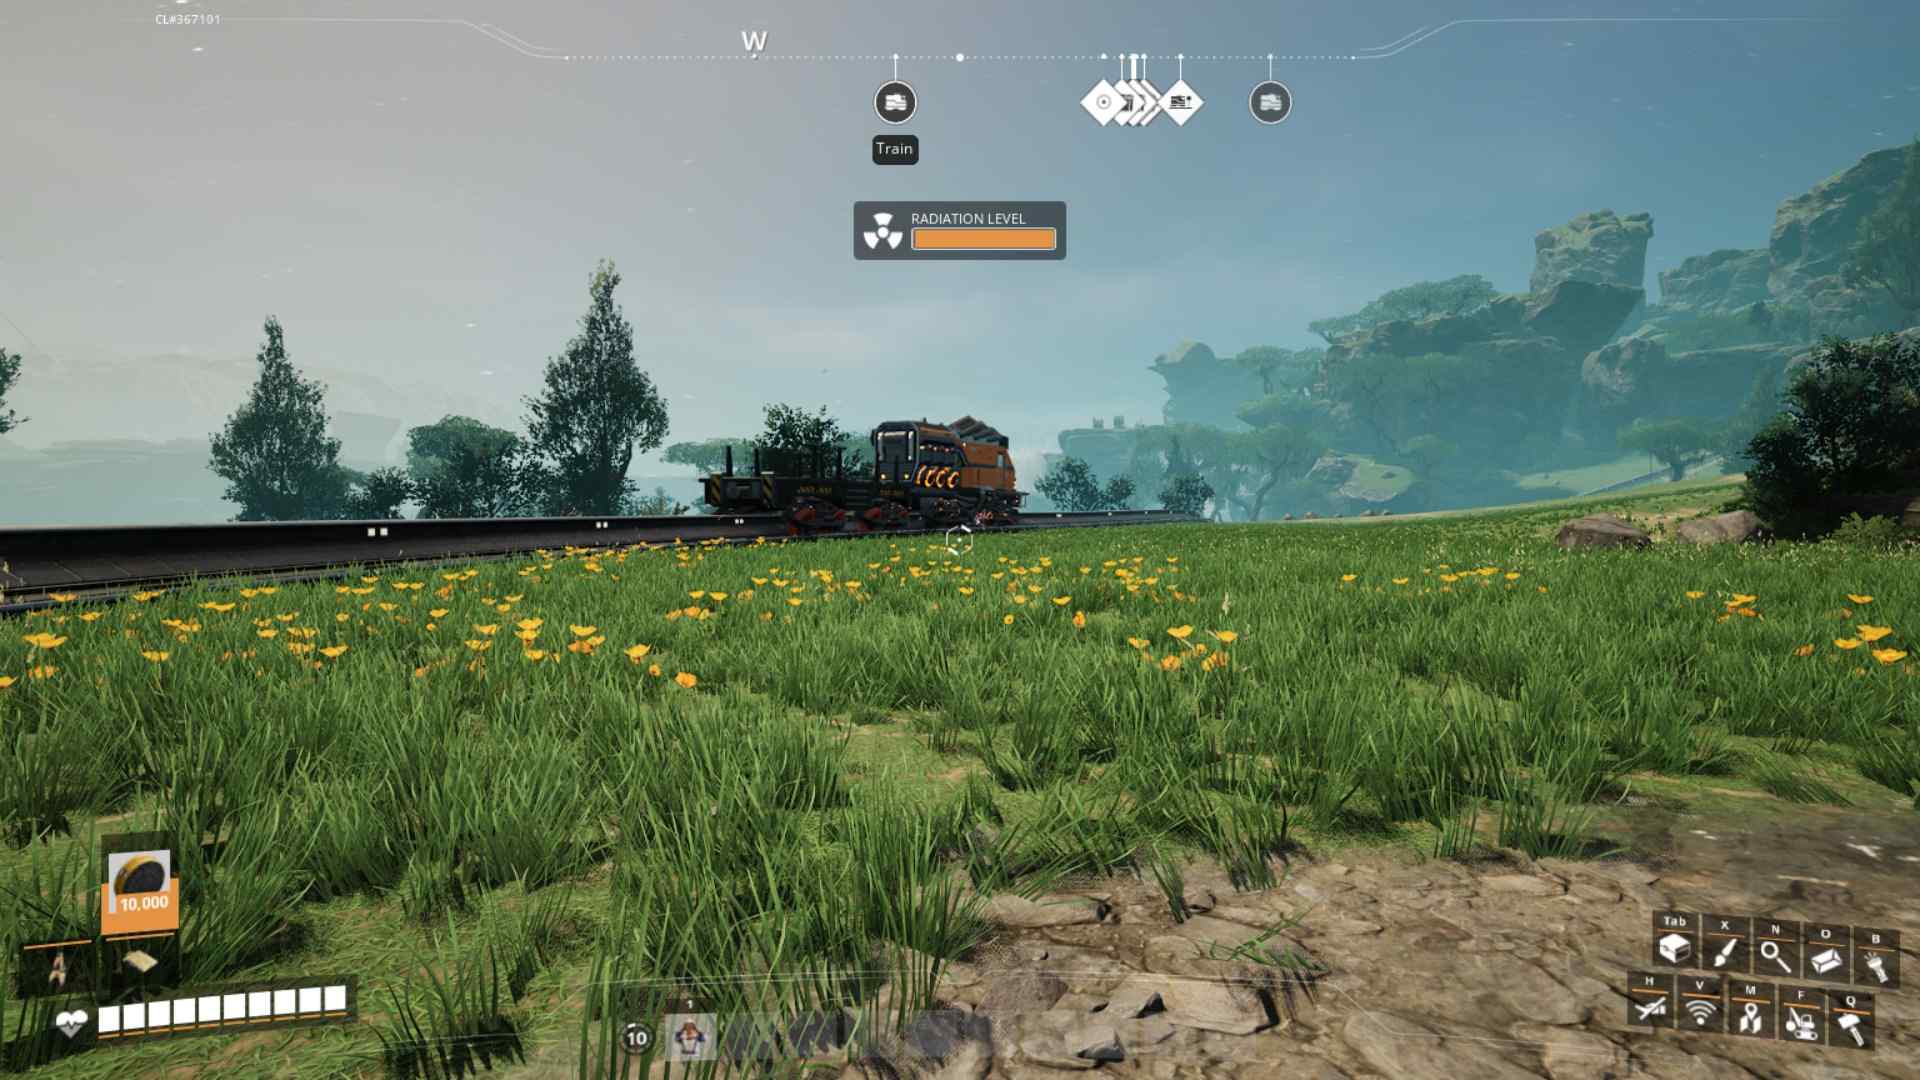
With your railway system up and running, you’ll notice a significant boost in efficiency. Trains are fantastic for transporting large amounts of materials quickly, and they add a whole new level of fun to your factory-building experience. So, go ahead and explore the vast world of Satisfactory—your factory deserves it!