
How to Beat the Greydwarf Shaman in Valheim: Stand Close to Cancel Its Poison Blast
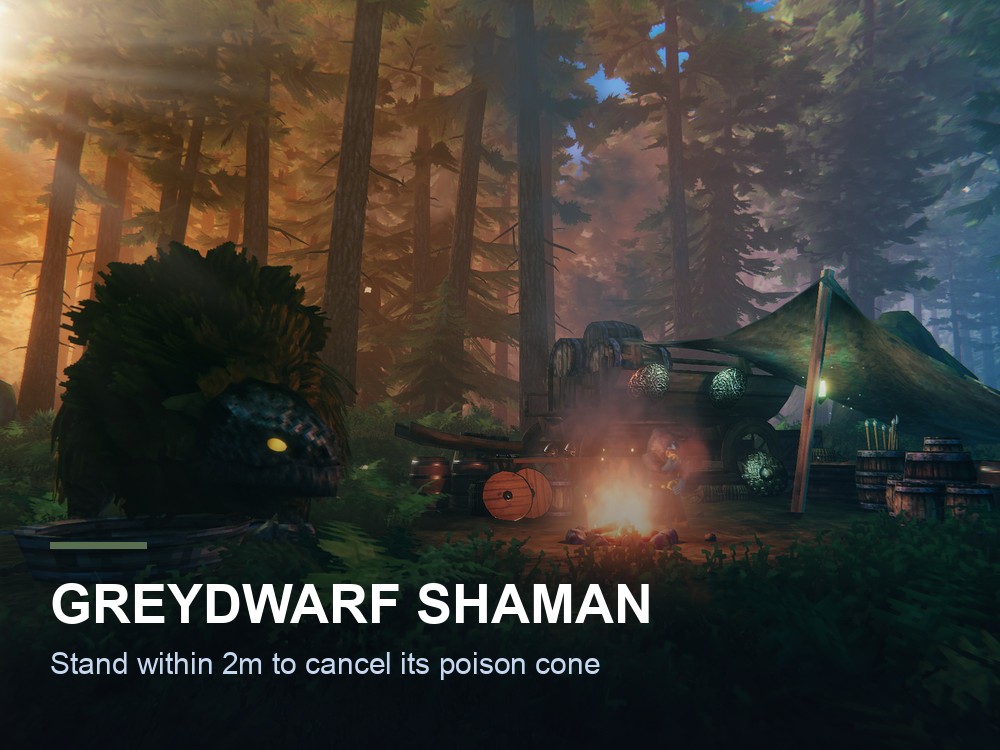
The Greydwarf Shaman's poison cone deals 30 to 60 damage depending on its star rank, and the wiki's own patch notes confirm it can be shut off entirely by standing inside 2 meters of it. Found patrolling the Black Forest alongside ordinary Greydwarves, the shaman is the support unit that turns an easy pack fight into a ranged headache — it heals its allies on a 10-second timer and peppers you with unblockable Poison from range. Once you know the one distance number that disables its signature attack, the fight collapses.
Greydwarf Shaman at a Glance
| Field | Value |
|---|---|
| Location | Black Forest (also Meadows at night, but only after The Elder is defeated) |
| Faction | Forest |
| Health (0★ / 1★ / 2★) | 60 / 120 / 180 |
| Weak to | Fire (very weak) |
| Resistant to | Poison |
| Immune to | Spirit |
| Stagger threshold | 33% |
| Drops | Greydwarf eye, Greydwarf Shaman trophy, Resin, Wood, Bukeperries |
Health triples from zero stars to two stars — 60 × 3 = 180 — with a clean doubling in between (60 × 2 = 120). The shaman is squishier than it looks; the danger is entirely in its ranged kit, not its health pool. Notably, it resists the exact damage type it casts on you: burning it down with Poison arrows or a Poison-coated weapon is wasted effort, since Fire is its actual weakness.
Its Three Abilities, and the Heal's Real Math
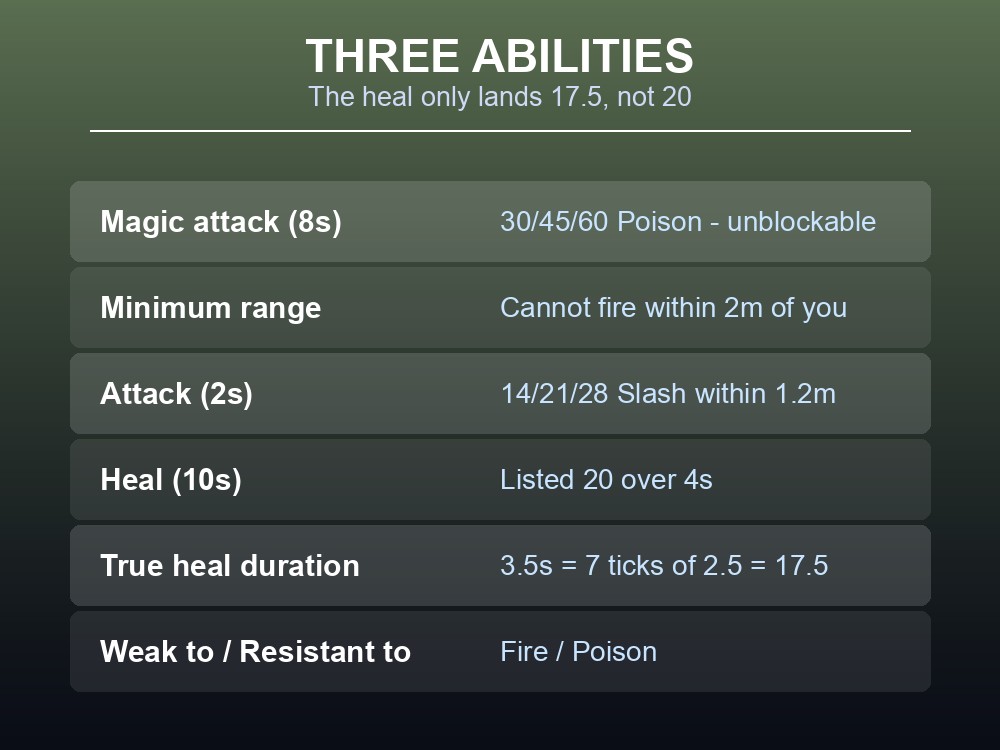
The shaman has exactly three moves, on three different cooldowns:
- Magic attack (every 8s): a 7-meter, 35-degree conical Poison blast dealing 30 / 45 / 60 Poison across the three star tiers. The wiki is explicit about the counterplay: "This ability can be used every 8 seconds within 2–5 meters of a player, making it possible to disable the attack by standing close. This attack cannot be blocked." It has a minimum range — inside 2 meters, it simply cannot fire.
- Attack (every 2s): a 1.7-meter, 90-degree hand swipe for 14 / 21 / 28 Slash at 0★/1★/2★, only when you're within 1.2 meters.
- Heal (every 10s): lifts both hands to create a healing mist for allies within a 4.32-meter radius, ticking every 0.5 seconds. The infobox lists it as 20 Health over 4s, but the actual effect only lasts 3.5 seconds — 7 ticks, not 8. At 20 ÷ 4 × 0.5 = 2.5 health per tick, that's 7 × 2.5 = 17.5 health actually healed, not the full 20 the nominal duration implies.
The practical read: since the poison cone can't fire inside 2 meters and can't be blocked, closing distance is strictly better than trying to shield through it, provided you can survive the 14–28 Slash damage from the melee swipe while you close.
Where Greydwarf Shamans Spawn
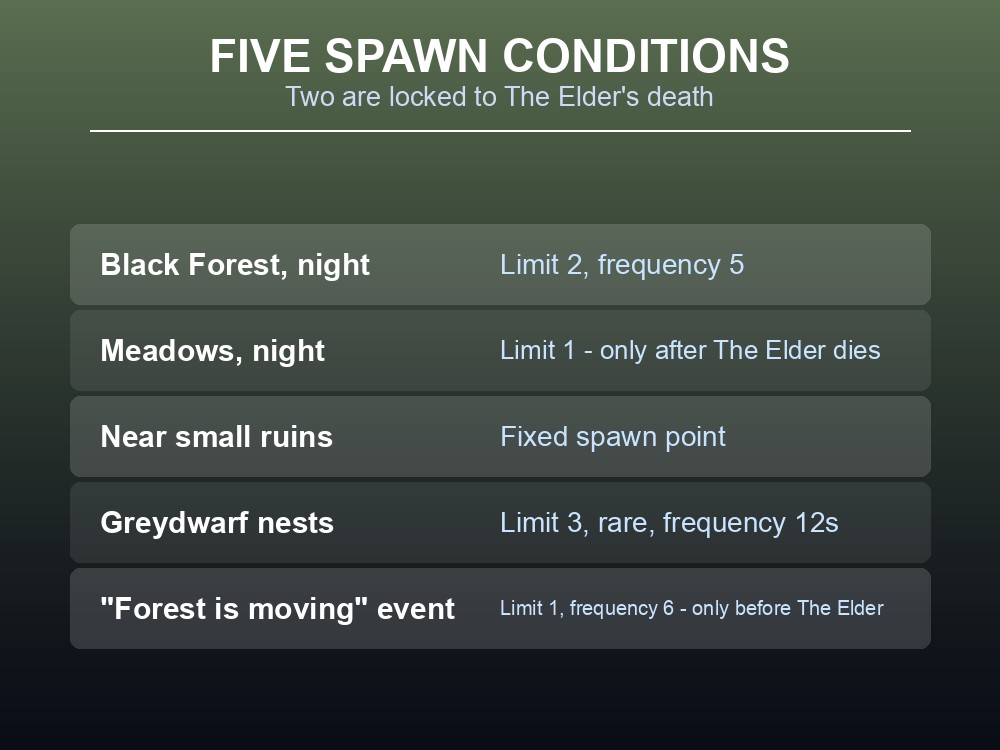
| Spawn method | Limit | Frequency | Notes |
|---|---|---|---|
| Anywhere in Black Forest, nighttime | 2 | 5 | Despawns at dawn |
| Anywhere in Meadows, nighttime | 1 | — | Only after The Elder is defeated; despawns at dawn; no star variants |
| Fixed point near small ruins, Black Forest | — | 0 | Static spawn point |
| Greydwarf nests, Black Forest | 3 | "12 seconds" | Rare; the source lists this frequency in seconds, unlike the plain weight values on the other rows |
| "The forest is moving..." event | 1 | 6 | Only before The Elder is defeated; no star variants |
Two of these five conditions are locked to your progress against The Elder — one only fires before the boss is dead, the other only after. A Meadows base is not automatically safe from shamans once you've moved past that fight; it's the opposite.
Drops and How the Loot Scales by Star
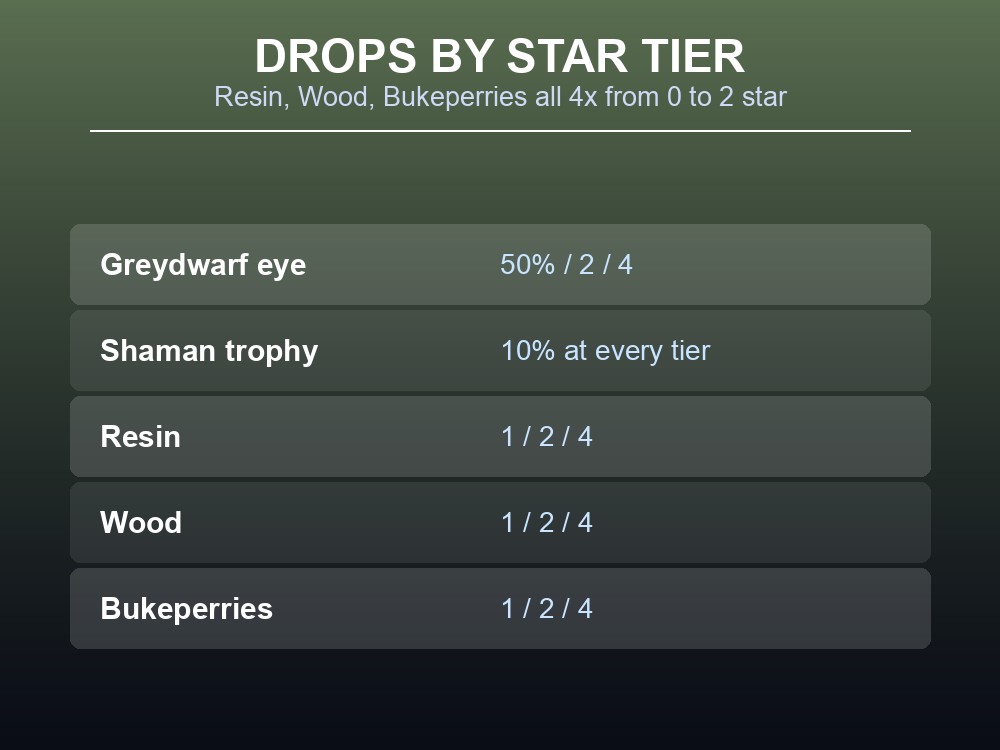
| Drop | 0★ | 1★ | 2★ |
|---|---|---|---|
| Greydwarf eye | 50% chance | 2 (guaranteed) | 4 (guaranteed) |
| Greydwarf Shaman trophy | 10% | 10% | 10% |
| Resin | 1 | 2 | 4 |
| Wood | 1 | 2 | 4 |
| Bukeperries | 1 | 2 | 4 |
Resin, Wood and Bukeperries each double at one star and double again at two stars — a clean 4× total from zero to two stars (1 × 2 × 2 = 4). The trophy is the outlier: its 10% chance never moves across tiers, so a two-star shaman isn't worth more trophy odds than a zero-star one, only more raw materials.
The facts JSON does not document a fixed color legend beyond a passing note: ordinary shamans have brown bark flecked with green, one-star shamans have green bark flecked with teal, and two-star shamans have blue bark flecked with teal — useful for identifying the tier before it's close enough to matter.
Practical tips
- Close to under 2 meters to shut off the Poison cone entirely — it has a hard minimum range and cannot be blocked otherwise.
- Don't bring Poison weapons or arrows. The shaman resists Poison; its actual weakness is Fire.
- Kill the shaman first in any mixed Greydwarf patrol — every 10 seconds it's alive, it's topping off its allies for up to 17.5 health.
- Check the bark color at range — brown/green is 0★, green/teal is 1★, blue/teal is 2★ — before you commit to a fight.
- Don't assume Meadows is safe from shamans after The Elder — that boss kill is exactly what unlocks their Meadows nighttime spawn.
- The trophy rate never improves with stars — farm higher tiers for materials, not trophy odds.
Running your own Valheim server
Both of the shaman's progression-locked spawn conditions — the pre-Elder forest event and the post-Elder Meadows spawn — are world state, not something tied to whichever player happens to be logged in when The Elder dies. A gamever Valheim server keeps that world, and its day/night clock, running for up to 10 players around the clock, so the switch from "forest event" spawns to "Meadows at night" spawns happens exactly once, consistently, for the whole group. One-click backups mean a bad pull from a shaman patrol doesn't have to cost a base.
Conclusion
The Greydwarf Shaman scales from 60 to 180 health across its three star tiers, is very weak to Fire, resistant to Poison, and immune to Spirit, with a 33% stagger threshold. Its Magic attack cone deals 30/45/60 Poison, cannot be blocked, but — per the wiki's own wording — can be disabled by standing within 2 meters of it. Its Heal ability is listed as 20 health over 4 seconds but actually delivers only 17.5 health in its true 3.5-second window (7 ticks of 2.5). It spawns under five documented conditions, two of which are gated by whether The Elder is alive or dead, and its drops — Resin, Wood and Bukeperries — all quadruple from zero to two stars, while its 10% trophy chance never changes. Know the 2-meter rule and this "ranged nightmare" becomes the easiest kill in a Greydwarf patrol.
Want a world where boss kills and spawn conditions stay consistent for the whole group? Rent a Valheim server at gamever.io — instant setup, up to 10 players, one-click backups and updates, and 24/7 uptime. Start with a free trial and use promo code WELCOME.