
How to Ban and Unban Players on Your Soulmask Server

Running a public Soulmask server means you will eventually meet someone you'd rather not have on it. On a server you rent from gamever you don't need any special software to moderate — everything is done through your gamever control panel and Soulmask's own in-game GM (admin) tools. Soulmask has no RCON row in the panel and no "ban" button in the web interface, so the actual kick and ban happen in the in-game admin console once you're authenticated as admin. This guide covers how to ban a player, how to lift that ban, and how to edit the ban list by hand. For the full admin-login steps, start with How to Become an Admin on Your Soulmask Server.
Set your Admin password first
You can't moderate until you're an admin, and in Soulmask that means having an Admin password set on the server. You set it in the panel under Settings → Server Settings:
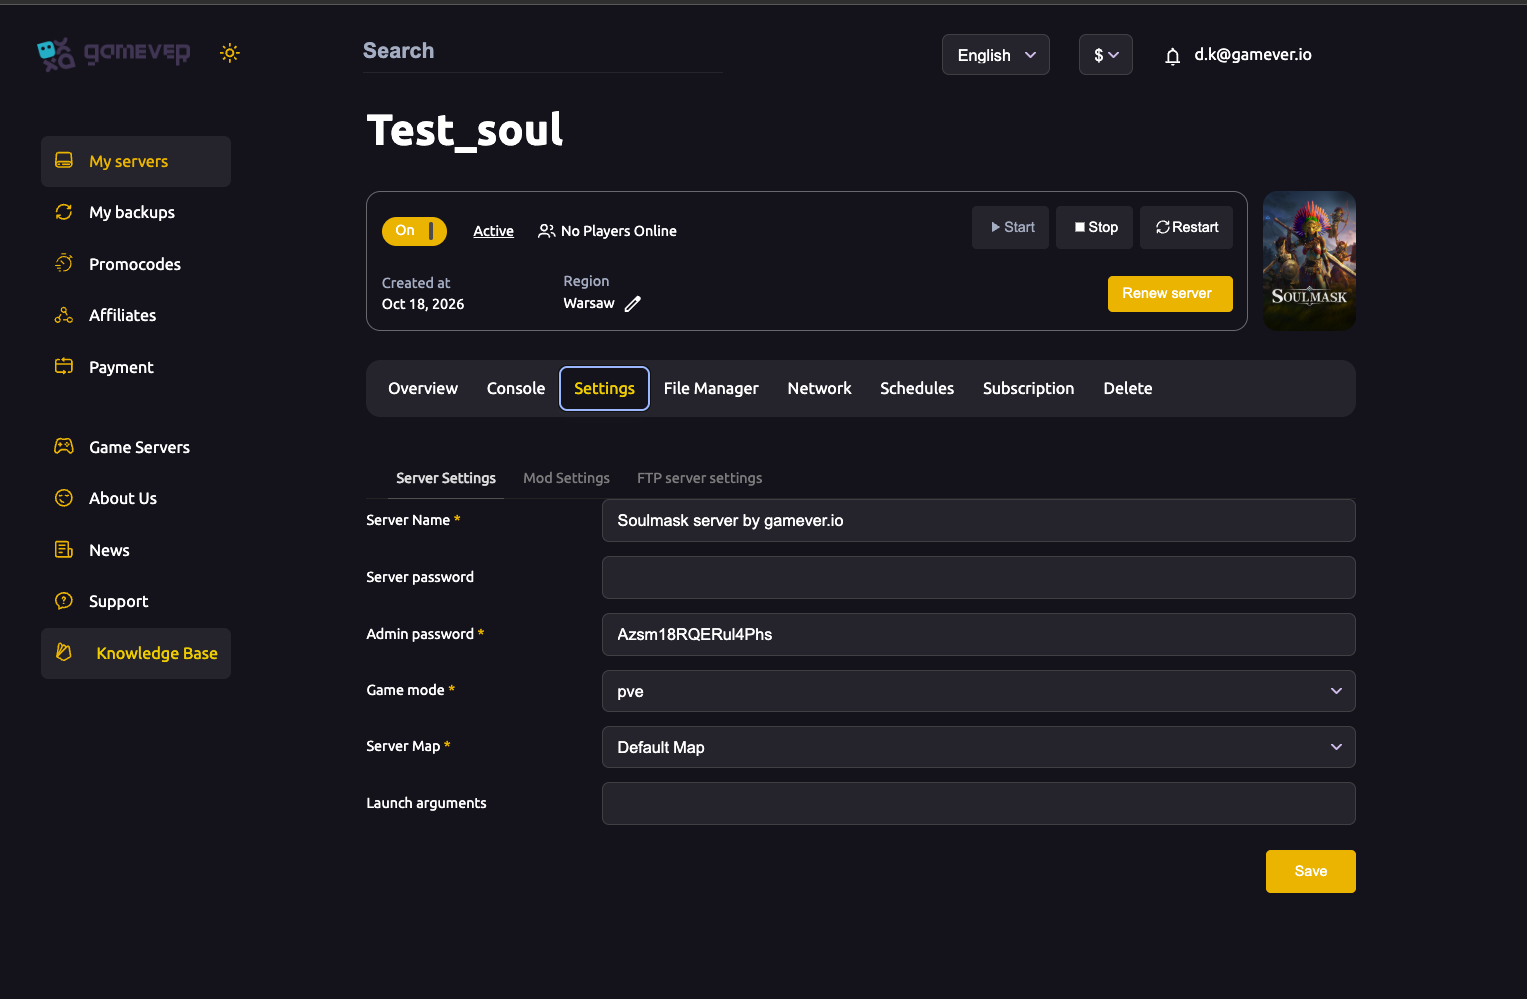
| Field | Type | What it does |
|---|---|---|
| Admin password * | text | The admin/GM password you use in-game to unlock moderation tools |
| Game mode * | dropdown | pve or pvp — sets the base rules players sign up to |
| Server password | text | Blank = public; set a value to make the server private by password |
After editing any field here, click Save, then Restart the server from the Overview tab so the change takes effect. Once the Admin password is live, join the server, open the in-game console, and authenticate with that password to unlock the GM tools — the exact login steps are in the admin access guide.
Ban a player from the in-game GM console
With GM tools unlocked, Soulmask manages bans through its server permission list. Banning a player both kicks them from the session and blocks them from reconnecting. The permission list has to be switched on before bans take effect, which you can do with a GM command in the console or with a launch flag.
- Enable the ban list. In the in-game console, run
gm EnableServerPermissionList 1 1(the first number selects the ban list, the second turns it on). Alternatively, add-serverpm=2to the Launch arguments field under Settings → Server Settings, then Save and Restart — this enables the permission list at boot so you don't have to re-enable it each session. - Get the player's Steam ID. Bans are keyed to a player's 64-bit Steam ID (SteamID64), not their character name. You'll need that ID before you can ban.
- Ban them. Run
gm AddServerPermissionList 1 <SteamID64>. This adds the player to the ban list — they're kicked immediately and can't rejoin.
You can review the current lists at any time with gm ShowServerPermissionDetails. Soulmask's admin command arguments have shifted between major patches, so if a command is rejected, check the current in-game admin documentation for your server's version before assuming it's broken.
Unban a player
Lifting a ban is the mirror image of setting one. In the in-game console, run:
gm RemoveServerPermissionList 1 <SteamID64>
This removes the player from the ban list, and they can reconnect on their next attempt. There is no waiting period — the change applies as soon as the command is accepted.
Edit the ban list through the File Manager
Every ban is also written to a plain-text file on the server, so you can audit or edit the list without being in-game. Soulmask stores server data under WS/Saved/, reachable from the panel's File Manager (root /home/server/) or over FTP (get your login from Settings → FTP server settings; the host and port are on the Network tab). The ban list lives at:
/home/server/WS/Saved/BlackAccountList.txt
Because the server only reads this file at boot, stop the server before editing it (Overview → Stop), make your change, save, then start the server again. Editing by file is the most reliable way to clear a ban in bulk or to confirm exactly who is currently banned.
| Task | Route |
|---|---|
| Ban a player | gm AddServerPermissionList 1 <SteamID64> in-game |
| Unban a player | gm RemoveServerPermissionList 1 <SteamID64> in-game |
| Review the lists | gm ShowServerPermissionDetails in-game |
| Edit the list by file | WS/Saved/BlackAccountList.txt via File Manager / FTP (stop server first) |
Additional Tips
- Record Steam IDs as you go. Bans are tied to SteamID64, so keep a short note of who you've banned and why — the raw ID in the file tells you nothing about the person.
- Prefer a launch-arg enable. Putting
-serverpm=2in Launch arguments keeps the ban list switched on across restarts, so a banned player can't slip back in after a routine reboot. - A password-protect is the lighter tool. For a small private group, setting a Server password under Server Settings is simpler than maintaining a ban list — only people with the password get in at all.
- Back up before bulk edits. Before hand-editing the ban list or any file under
WS/Saved/, take a backup from My backups in the left sidebar so a bad edit never costs you the world. See backing up and restoring your server. - Admin status is per-session. You typically re-authenticate as admin after each restart, so keep the Admin password handy — but never put it in a public Discord or the server name.
Conclusion
Moderating a Soulmask server is a two-part job: set an Admin password in the panel so you can unlock the in-game GM tools, then use the server permission list to ban (AddServerPermissionList) and unban (RemoveServerPermissionList) by Steam ID — with the BlackAccountList.txt file in the File Manager as your backstop. There's no RCON and no panel ban button to worry about; the panel's job is to hold your Admin password, your Launch arguments and your files, and the moderation itself happens in-game.
Rent your Soulmask server at gamever.io — full panel and File Manager access, scheduled backups, and friendly support when you need a hand. Free trial, promo code WELCOME.