
Getting Started with Your Enshrouded Server on gamever
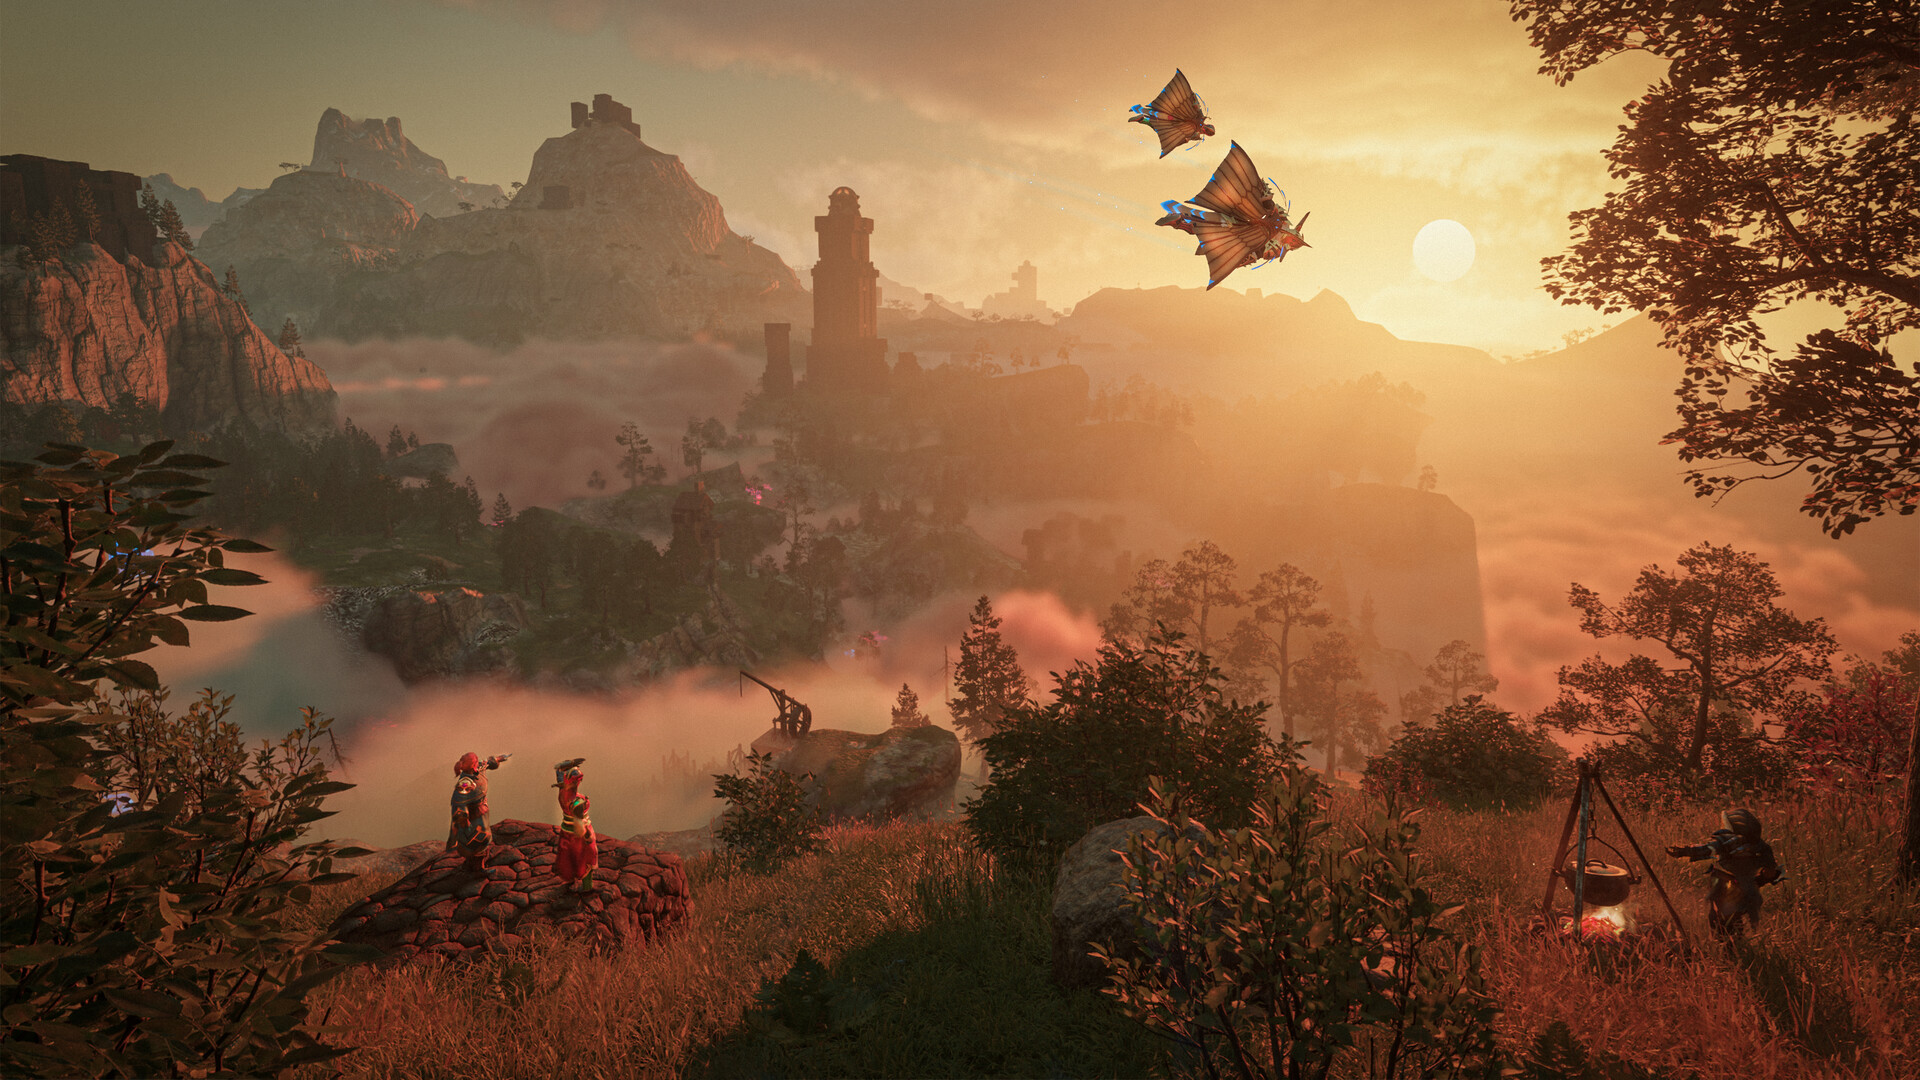
Welcome to your gamever Enshrouded server. A dedicated server is the best way to play Enshrouded co-op — it's online 24/7 so your group can build and explore whenever they want, with no host needing to stay in-game. Everything you need is on the control panel, and friends join by the server address. This guide is the quick tour plus a first-time checklist, with links to deeper guides.
The Overview tab
When you open your server you land on Overview:
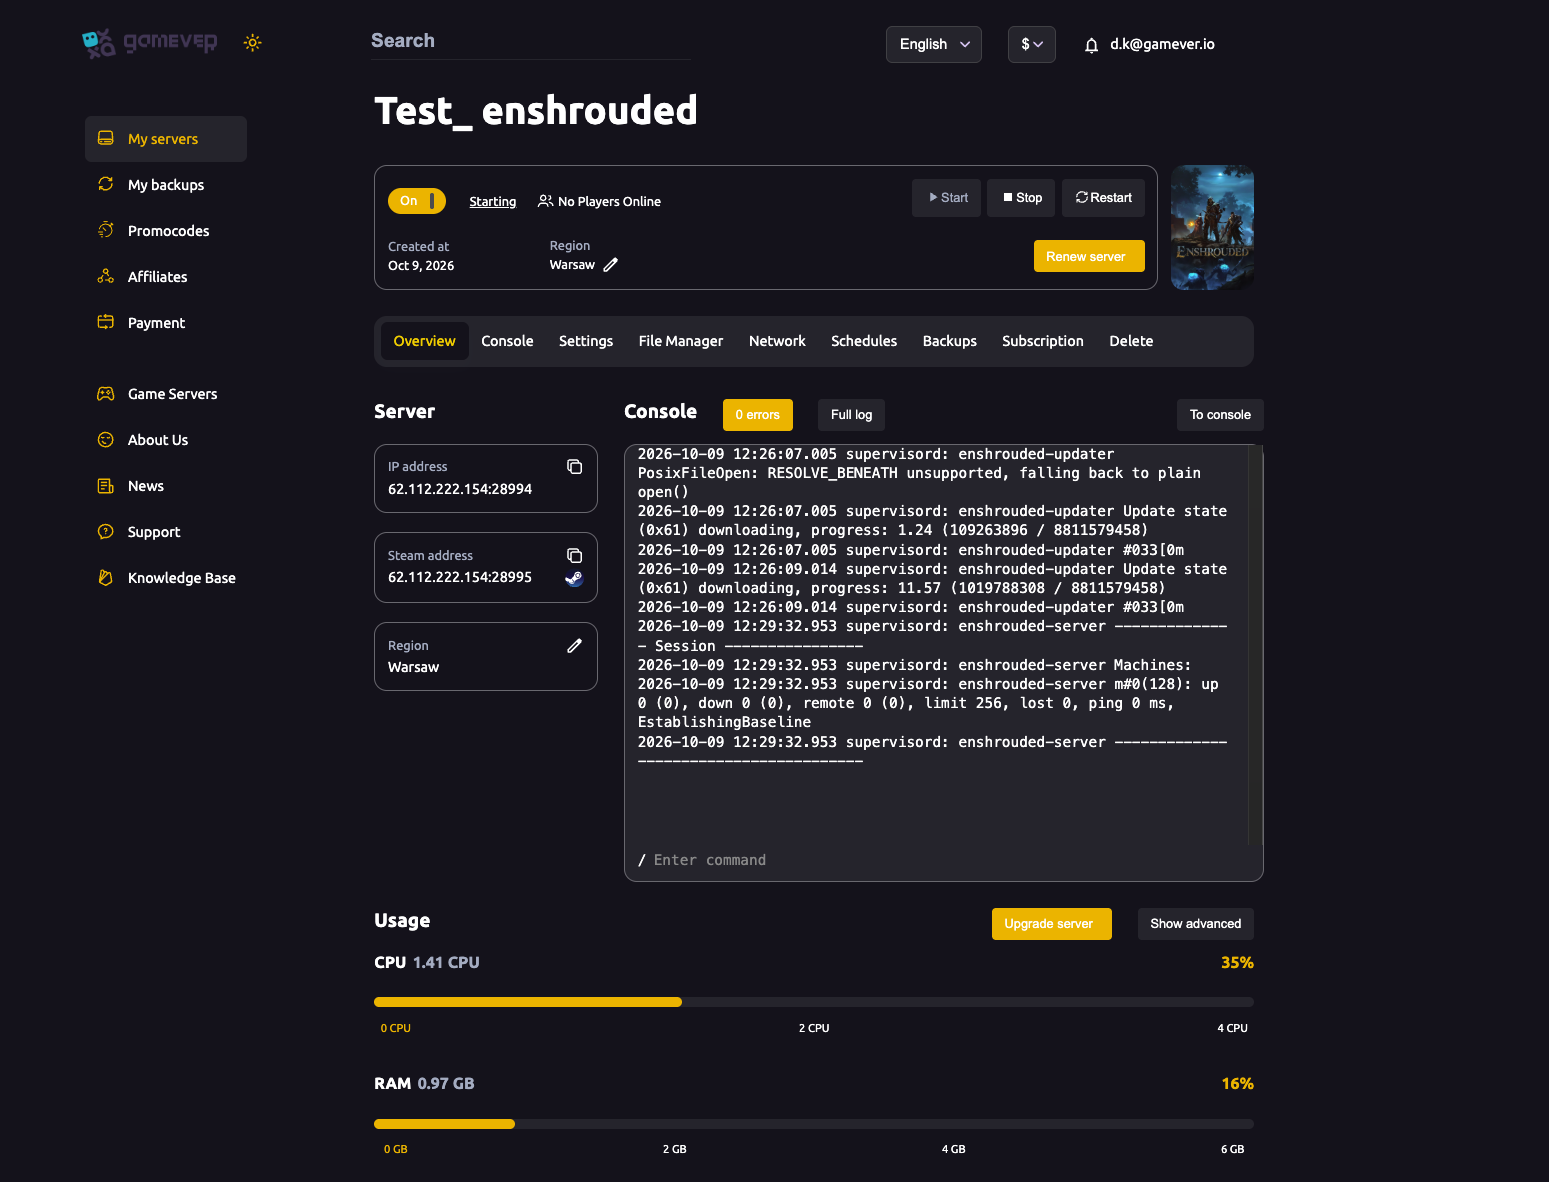
- On/Off, Start / Stop / Restart — power controls.
- IP address (
IP:28994) and Steam address (IP:28995) — copyable; the IP is what players use to join. - Console — live server log with an Enter command box.
- Usage — live CPU and RAM meters, with Upgrade server if you need more power.
The tab bar: Overview · Console · Settings · File Manager · Network · Schedules · Backups · Subscription · Delete.
What each tab is for
| Tab | Use it to |
|---|---|
| Settings | Server name, password, difficulty preset, day/night length, FTP — see name & password and difficulty. |
| File Manager | Edit enshrouded_server.json, manage your world saves, reset the server. |
| Network | Your server, Steam and FTP addresses. |
| Schedules / Backups | Automated restarts and your backup history. |
How your friends join (co-op setup)
Enshrouded doesn't rely on a host staying online — your server is always up. To play together:
- Share the IP address from Overview (
IP:28994). - In Enshrouded, each player opens Play → Join via IP and enters it.
- They enter the password you set (see name & password), which also decides their role (Admin / Friend / Guest).
That's the whole co-op setup — no Steam invites, no host dependency.
Your first-time checklist
- Wait for Active. On first boot the server downloads Enshrouded (progress shows in the Console). Give it a few minutes.
- Set your server name and base password on Settings — see name & password.
- Set up roles (Admin/Friend/Guest passwords) in
enshrouded_server.json— see admin roles & permissions. - Pick a difficulty preset (or Custom) — see difficulty settings.
- Turn on backups and a scheduled restart — see backups and scheduled restarts.
- Share the IP and start building.
Sizing your plan (requirements)
Enshrouded is fairly demanding for a survival server — the world and physics add up, especially with a full group. A rough guide:
- CPU matters most for smoothness; Enshrouded benefits from strong per-core speed.
- RAM scales with players and world size — a small group is comfortable on a modest plan; a full 16-player server (the max) wants more headroom.
- Watch the Overview → Usage meters with your group on and Upgrade server if they run hot (see fixing lag).
Additional Tips
- Players join by IP — share
IP:28994; no host needs to stay online. - Be patient on first boot — the Console download is normal; wait for Active.
- The password sets the role — give co-admins the Admin password, others the Friend/Guest one.
- Turn on backups immediately so you always have a restore point.
- Stop the server before hand-editing
enshrouded_server.json— it rewrites the file on stop (more in the config guide).
Conclusion
Your gamever Enshrouded server is ready the moment it reaches Active: set a name and password, define your Admin/Friend/Guest roles, pick a difficulty, turn on backups and a restart, and share the IP. The panel handles everything a dedicated Enshrouded server needs — work through the checklist and your group's world is online around the clock.
Rent your Enshrouded server at gamever.io — instant setup, 24/7 co-op, automatic backups and a browser console, all in one panel. Free trial, promo code WELCOME.