
Getting Started with Your Core Keeper Server
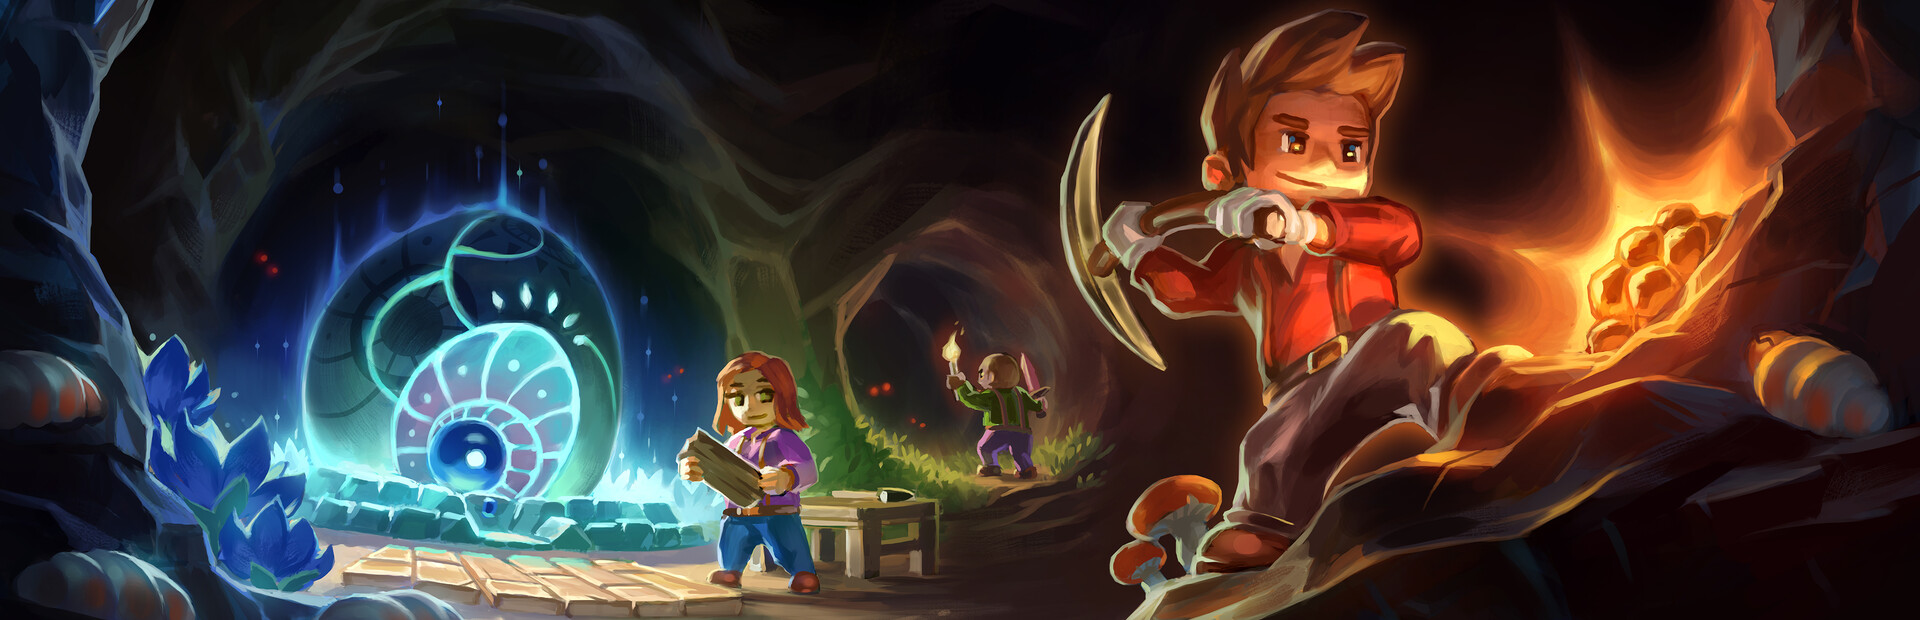
You've just rented a Core Keeper server from gamever, and it's already live in our Warsaw region — there's nothing to install and no dedicated-server package to download. Everything you need sits in the gamever control panel: starting and stopping the world, naming it, choosing its mode and season, adding mods, and finding the Game ID your friends use to join. This guide walks you through each tab in the order you'll first use it, so you can get your group underground on day one.
Overview — your control centre
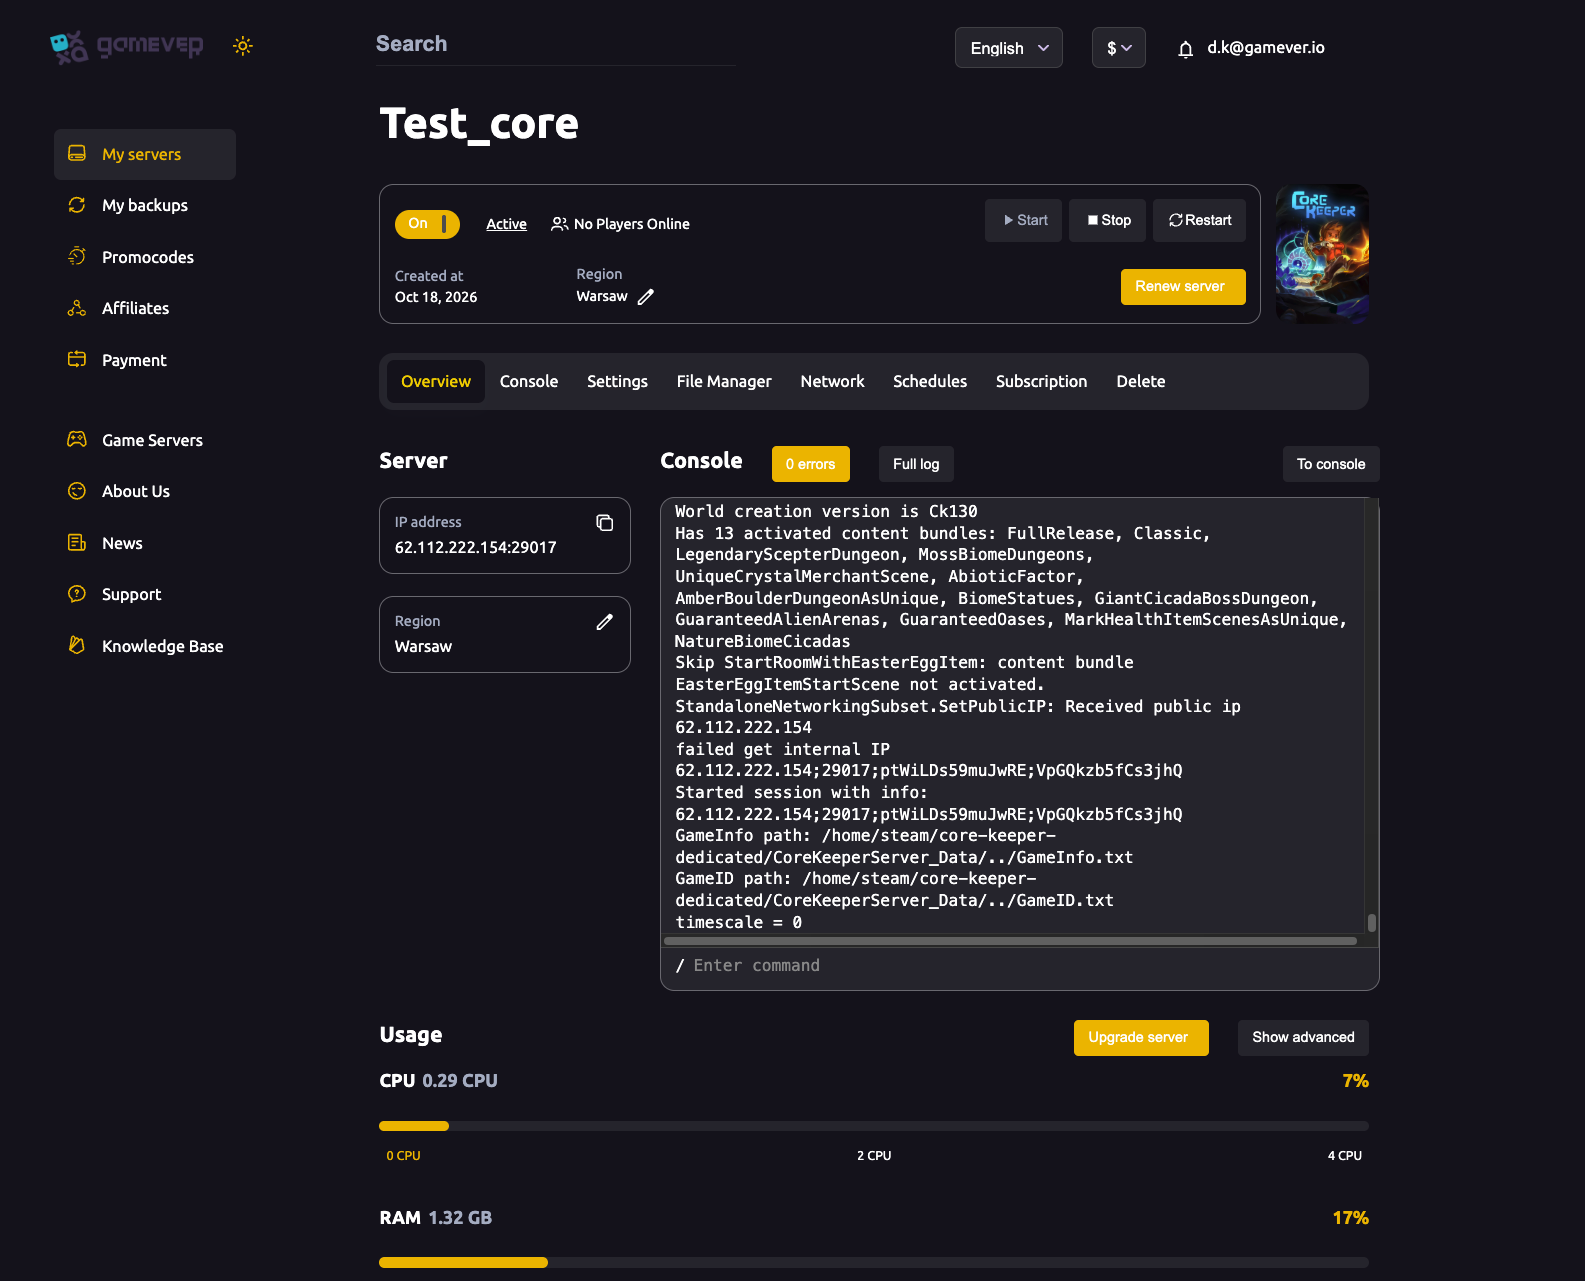
The Overview tab is where every session begins. Across the top you'll find your server name, the On/Active toggle, and the Start, Stop and Restart buttons, alongside your Created-at date, Region, and the Renew server and Upgrade server options.
| Control | What it does |
|---|---|
| Start / Stop / Restart | Power the world on, off, or cycle it to apply changes. |
| On/Active toggle | The server's current running state at a glance. |
| Console preview | A snapshot of recent server output, with an error counter and a Full log link. |
| Renew / Upgrade server | Extend your plan or move to a larger one. |
The single most important habit: after you change any setting, come back here and Restart so the new value takes effect.
Console — where the Game ID appears
Core Keeper doesn't ask players for an IP address. Instead, each world has a Game ID — a long code that is the primary way people join. Open the Console tab (a live server console with a / Enter command entry box) and watch the output each time the server boots. On startup Core Keeper prints the world creation version (for example Ck130), the activated content bundles, and a session line in the form IP;port;gameId;password. The gameId in that line is exactly what players paste to join.
By default a fresh Game ID is generated each boot. If you want a permanent code that never changes, you can pin one in the config file (see File Manager below). For the full join walk-through — on the player's side — see connecting with a Game ID.
Settings — name, mode, season and mods
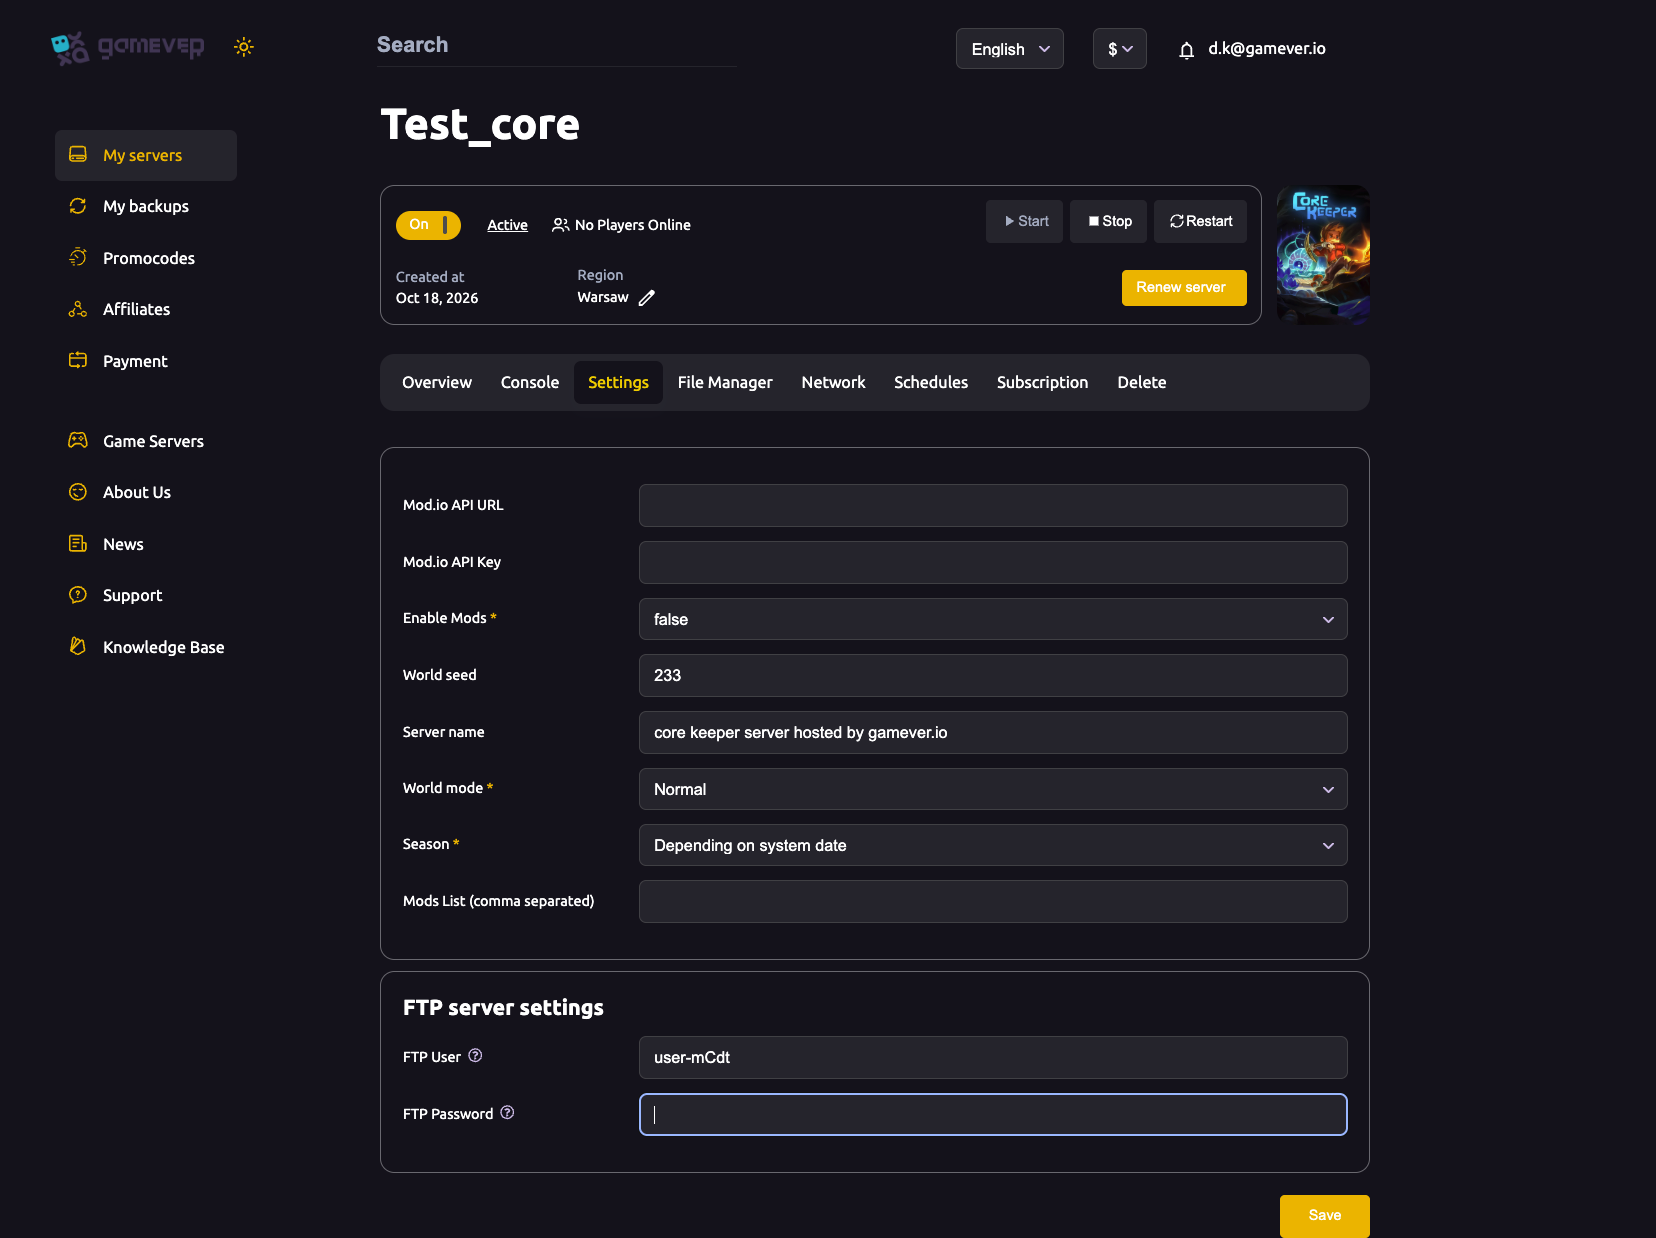
The Settings tab is a single page covering how the world behaves. Change a field, scroll down to Save, then Restart from Overview.
| Field | Type | What it's for |
|---|---|---|
| Mod.io API URL | text | Endpoint for mods — Core Keeper mods come from mod.io, not Steam Workshop. |
| Mod.io API Key | text | Your personal mod.io API key. |
| Enable Mods | dropdown | true or false — the master switch for modding. |
| World seed | text | e.g. 233; blank or 0 picks a random seed. Only applied when the world is first created. |
| Server name | text | The name you'll recognise in your server list. |
| World mode | dropdown | The world type/difficulty (for example Normal). |
| Season | dropdown | Controls seasonal events — e.g. "Depending on system date". |
| Mods List (comma separated) | text | mod.io mod IDs, separated by commas. |
Below these you'll find FTP server settings — an FTP User and Password used to connect a file client. A couple of things worth knowing up front: the World seed only matters the moment a world is first generated, so changing it later won't reshape an existing save. And World mode deserves a deliberate choice — see our dedicated world mode guide before you change it on an active world. For a field-by-field reference of this whole page, see Core Keeper server settings.
Network — your server address
The Network tab lists the connection details our panel has assigned to you: a Server address in the form IP:29017 and an FTP address such as IP:27240. Core Keeper runs over UDP, and the panel assigns the port for you — there is nothing to port-forward and no port to set by hand. Direct IP connection is available for clients that prefer it, but for most groups the Game ID is the simpler route.
File Manager — the settings the panel doesn't show
A couple of important options aren't on the Settings page — notably the join password and the maximum player count. These live in a config file you edit through the File Manager, a web file browser with Upload Files, Create Folder and a breadcrumb path (plus a note to use FTP for larger uploads).
The File Manager root is /home/configs/, which contains the mods and modloader folders and two key files:
| File | What it holds |
|---|---|
| ServerConfig.json | The world's core settings: world (the numbered save slot), gameId (set this to pin a permanent Game ID; leave blank to auto-generate each boot), worldSeed, worldMode, maxNumberPlayers and name, plus the password. |
| Admins.json | The admin identities for the world. |
Two notes from the official config documentation: maxNumberPlayers can range from 1 to 100, but Core Keeper co-op is designed around 8 players, so most groups set it there rather than leaving the shipped default. To set a join password, edit the password value in ServerConfig.json — our full password guide covers it step by step. Because these values are only read when the server boots, stop the server before editing the file, then start it again afterwards.
Your world saves are the numbered N.world.gzip files in the worlds folder — download one via the File Manager or FTP any time you want an off-server copy.
Additional Tips
- Share the Game ID, not the IP. It's the easiest way for a mixed group (Steam, Epic, GOG, Microsoft Store, Xbox) to join the same world.
- Pin your Game ID by setting
gameIdinServerConfig.jsonif you don't want it changing on every restart. - Decide the seed and world mode before your first boot — the seed only applies when the world is created, so it's effectively locked once you're playing.
- Keep players at 8 for a classic co-op experience unless you specifically want a larger crew.
- Back up before big changes. Use My backups in the left sidebar, and set automated backups or restarts under the Schedules tab.
- Always Save, then Restart. A changed setting doesn't take effect until the server cycles.
Conclusion
That's the whole panel in one pass: Overview powers the world and prints quick status, the Console shows the all-important Game ID, Settings names the world and sets its mode, season and mods, Network gives you the address, and the File Manager holds the password and player-count options in ServerConfig.json. Get the name and world mode right, grab the Game ID from the Console, and your friends are a paste away from joining. From here, read up on connecting with a Game ID, the full settings reference, and setting a password.
Rent your Core Keeper server at gamever.io — instant setup, a friendly panel, Game-ID joins and backups a click away. Free trial, promo code WELCOME.