How to launch your own server by using GAMEVER
Sometimes, for starting to play with your friends online you need to launch your own game server. You can do so by using GAMEVER instruments, specifically designed to be used without any additional difficulties by anyone. So, here are several steps listed lower, that you need to follow for successfully launching your own private/public server.
STEP 1 – Registering your account
For a start, we need to register an account that you are going to use further for managing your servers and linking your credit card. For this you need to open main page of GAMEVER website and click on the red button “Register now” in the right corner of a webpage (picture 1.1). 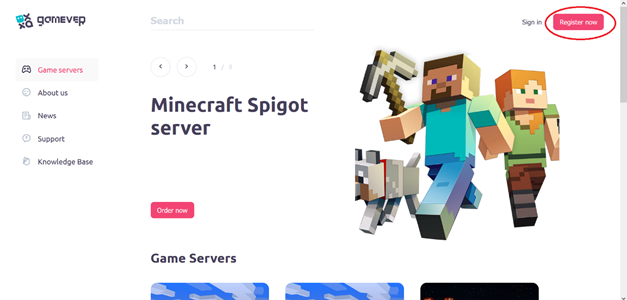
Picture 1.1 – “Register now” button position (in the red circle)
By clicking on this button, you will open registration webpage (show on picture 1.2), where you need to fill in your information (email, password and confirmation of password line).
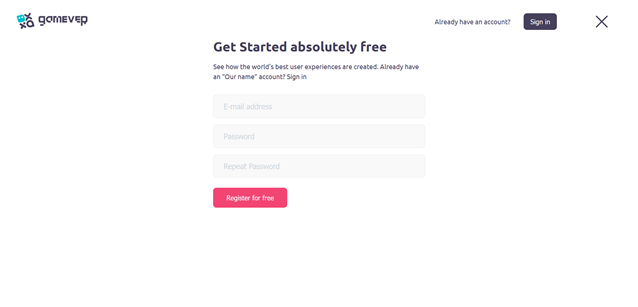
Picture 1.2 – registration webpage
When you are done with that, proceed by clicking on the red button “Register for free”, which is located under your filled in poles.
STEP 2 – linking your credit card
For opening your server, we require to have credit card connected to your account. So, our next step will be linking your credit card to your account. To do so, you need to log into your already registered account, and then click on button “Payment” located on the left side of the webpage (shown on the picture 1.3 lower).
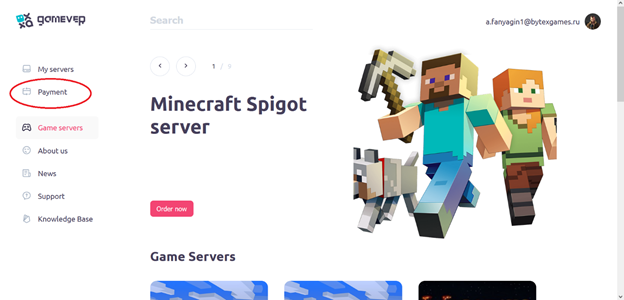
Picture 1.3 – “payment” button location
After you click on “payment button” new webpage will be opened, where all your further potential subscriptions and credit cards management are located. There, you need to find big “Add card” button. By clicking on it, you will open submenu, where you need to list all required credit card information, and then, press “confirm” button for confirmation. If everything done right, your credit card will be linked to your account, and we can proceed to the next step.
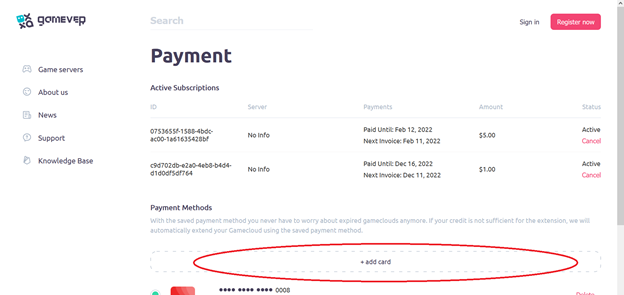
Picture 1.4 – “add card” button
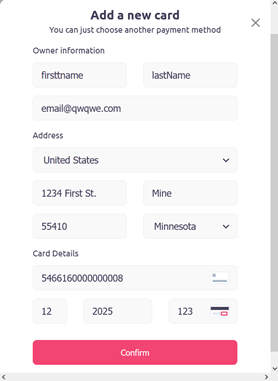
Picture 1.5 – credit card information submenu
STEP 3 – opening your server
Finally, after all previous steps finished, you can open your desired server. For it, we need to scroll main page list and choose required type of a server. 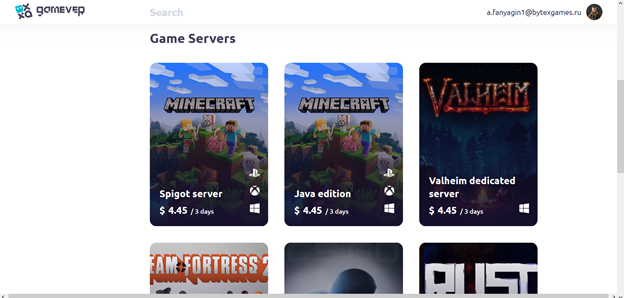
Picture 1.6 – list of available servers
For demonstration purposes, we will use Minecraft Java edition server. To proceed, we clicked on “Minecraft Java edition” button. Up next, additional server information webpage will open, which contains all available subtypes of server (number of slots, for example). 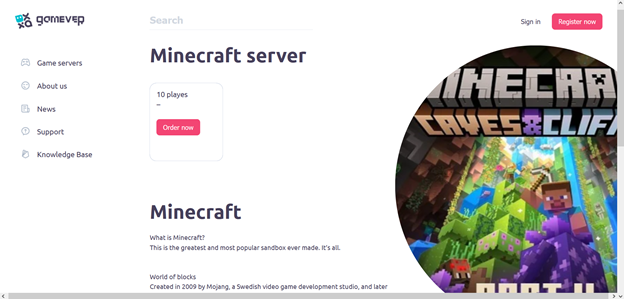
Picture 1.7 – additional server info webpage
After choosing desired type of a server and clicking on “order now” button, “Server rent” webpage will appear. There are listed many different parameters, that are needed to be filled before opening a server. 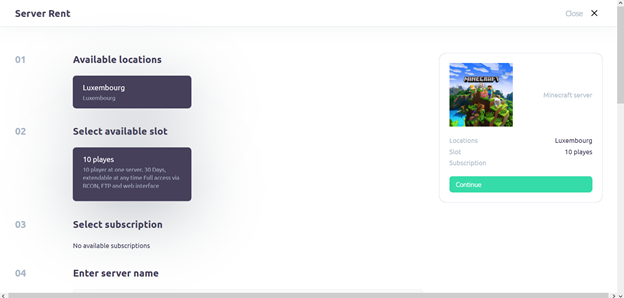
Picture 1.8 - “Server Rent” webpage
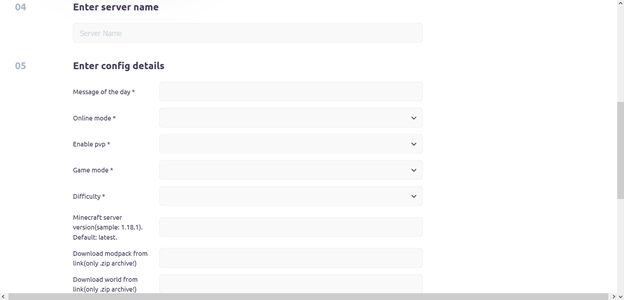
Picture 1.9 – configuration details information
After filling all lines of additional information, required for opening a server, you need to press the “continue” button located in upper right corner of a webpage. 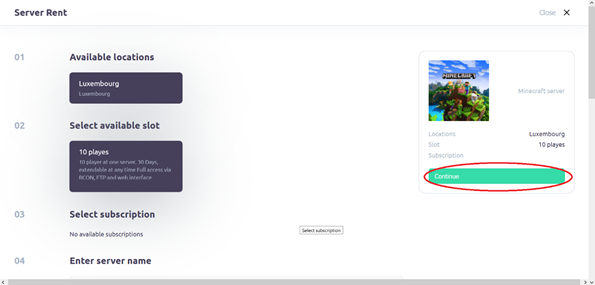
Picture 1.10 – “continue” button
After following all the steps successfully, you have opened your own server! Congratulations, you can now use it to play the game with your friends!
STEP 4 – managing your opened server
In this additional step, we will cover the ways you can manage server status and overall settings of your recently opened server.
For a start, we need to open “My servers” webpage, where we can do all required procedures for managing a server. There, you can see a list of all your opened up servers, their status, and ability to check other different settings of a server. 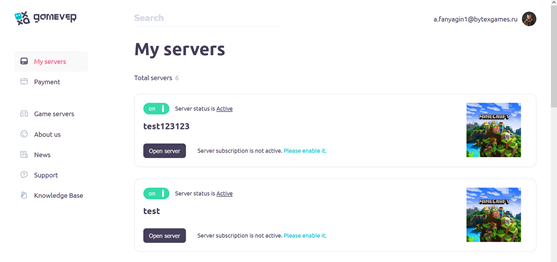
Picture 1.11 – “My servers” webpage.
If you did all 3 previous steps correctly, you should see your server in this list, with your defined name of a server with a status - “active”, which means that your server is already enabled and ready for use. You can also turn off your server by clicking on “on/off” green status button.
To see different additional settings you need to click on a button “Open server”. By clicking on this button, we can see a lot of different parameters of your server, which you can change according to your preferred choices (for example, you can turn off and on different weather conditions right on this page! Or, you can ban a player for example). To find your server address, we press the button “Open Server”, located under name of your server. After you opened it, you will see address of the server located in the “server info” menu. There will be listed your IP address, which can be used to connect to your server. 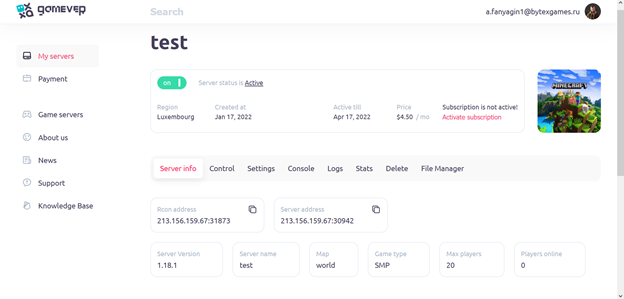
Picture 1.12 – “Server info” panel